Just a quick tip. I know there is a lot of recent info about using AI to create 3D relief carvings.
If you want to get really nice 3D relief carvings from photographs, FreeCAD has a tool that is very simple and works extremely well.
It’s called the Lithophane Workbench in FreeCAD. Those not familiar with FreeCAD, it can be intimidating because there are various “workbenches” you can choose in order to create what you want to create. There are also a lot of 3rd party workbenches you can download. The Lithophane workbench is one such workbench.
But once downloaded and installed, all you have to do is select the Lithophane workbench, import your photo, do what it calls “create a box” which creates the Lithophane from the photo, then export that to an STL file.
That STL file can be imported into Vcarve or other software to create your toolpaths for cutting it on your machine.
Here’s a video on how to create and export the Lithophane in FreeCAD. This guy is doing it for 3D print, but it’s the same for Carving.
If you have trouble getting it imported into Vcarve, post back here. I’ve done it several times now and once you get the hang of it, it’s really easy.
I made a relief carving of a photo that worked well. The end result didn’t come out as nice as I wanted because I used the wrong bits. From some research it looks like a fine tapered ball nose bit is the best thing to use. I have one on order. Once I get a good result I can post some photos of it.
Personally I think it does as good as the AI offerings online. The difference is that FreeCAD is free.
Update: I forgot to add the video link in the original note. Thanks to @Jens for pointing that out!
I had a chance to check out the link and indeed it seems to show how FreeCad can help to produce a lithopane …
HOWEVER …
A lithopane is NOT a relief carving!
Here is what wikipedia says about lithopanes and relief carvings:
A lithophane is a thin plaque of translucent material, normally porcelain, which has been moulded to varying thickness, such that when lit from behind the different thicknesses show as different shades, forming an image. Only when lit from behind does the image display properly.
In wood carving, relief carving is a type in which figures or patterns are carved in a flat panel of wood; the same term is also used for carving in stone, ivory carving and various other materials. The figures project only slightly from the background rather than standing freely. Depending on the degree of projection, reliefs may also be classified as high or medium relief.
@gabo I don’t do a lot of 3D models but the best software I’ve seen so far is Vectric Easy Create. But it is a paid product that charges on a per model basis. Another decent product is the True Depth add-on for Blender. Low cost (<$20) and a flat rate for a perpetual license.
I believe these programs all use AI to convert a picture to a depth map. The depth map is then used to create the 3D model. The depth map is a monochrome image, with the colour gradient representing the depth of the object elements.
If the depth map is gray-scale, it can look like a black and white photo. But it is not a black and white photo. On a depth map, the dark colours would be in the background and the light colours in the foreground. That would not be the case with a black and white photo. For example, take a picture of a person with a black beard. If you use a black and white photo to directly create the 3D model, you’ll end up with a carve where the beard is actually carved into the face instead of sticking out. I see a lot of carves done like that.
A good modeling software package would create a proper depth map based on the actual depth of the elements in a picture. Easy Create and True Depth both do that, but Easy Create seems to do a better job.
I didn’t look at the lithograph software you mention so I don’t know if it does a good job of it or not.
@Jens That definition in wiki is very incomplete. I’ve done lithophanes on my Long Mill, using Vectric applications. There was no moulding involved. I carved them as relief carves. Vectric has videos on how to do them for anyone interested.
This is the first one that I tried. It’s old, but you get the idea.
I stand by my original statement that lithopanes are not relief carvings.
You could argue that you can generate a lithopane using relief carving methods but they are fundamentally different things. Lithopanes are meant to have a light shine thru them to provide a good outcome while a relief carving produces it’s beauty without light.
You perfectly demonstrate this with your example pictures - without light shining thru your example it is rather dull and dare I say ‘ugly’ … get some light flowing through it and you get a beautiful picture.
Having said all that, I have never generated a lithopane and have no desire to do so but I have generated relief carvings and love the end product.
@Jens We can agree to disagree. You are correct, without the light, my first-carved lithophane is far from attractive. Athough, they can be much more attractive than the one that I posted. However, I’ve seen some very “ugly” moulded ones, too.
Some of the better ones now are 3D printed using translucent filament.
@Jens Lithophanes may not be relief carvings, but in this instance I’m just using the produced lithophane to produce a relief carving.
From that video, what you end up with after the export is an stl file.
Then import that stl file into Vcarve as a 3D object. When importing, the first question you’ll be asked is about size and position. In the size piece, what I found is first, with the “lock xyz” check, select either an x or y for the piece of wood you want to carve. That will actually also modify the “z” which is what will become your relief depth. So after you get your x/y set, then uncheck the “lock xyz” button and change only the “z” setting. For a 3/4” piece of wood, I like to change it to something like 0.4 or so. Again, this will become the depth of your relief carving.
Once you get that set and “ok’d” the next page will let you select the position of the import relative to the top of your material. It will default to whatever you set “z” above, which is what you want.
That will complete the import. Now go to toolpaths and select a finish 3D finishing toolpath to create the toolpath.
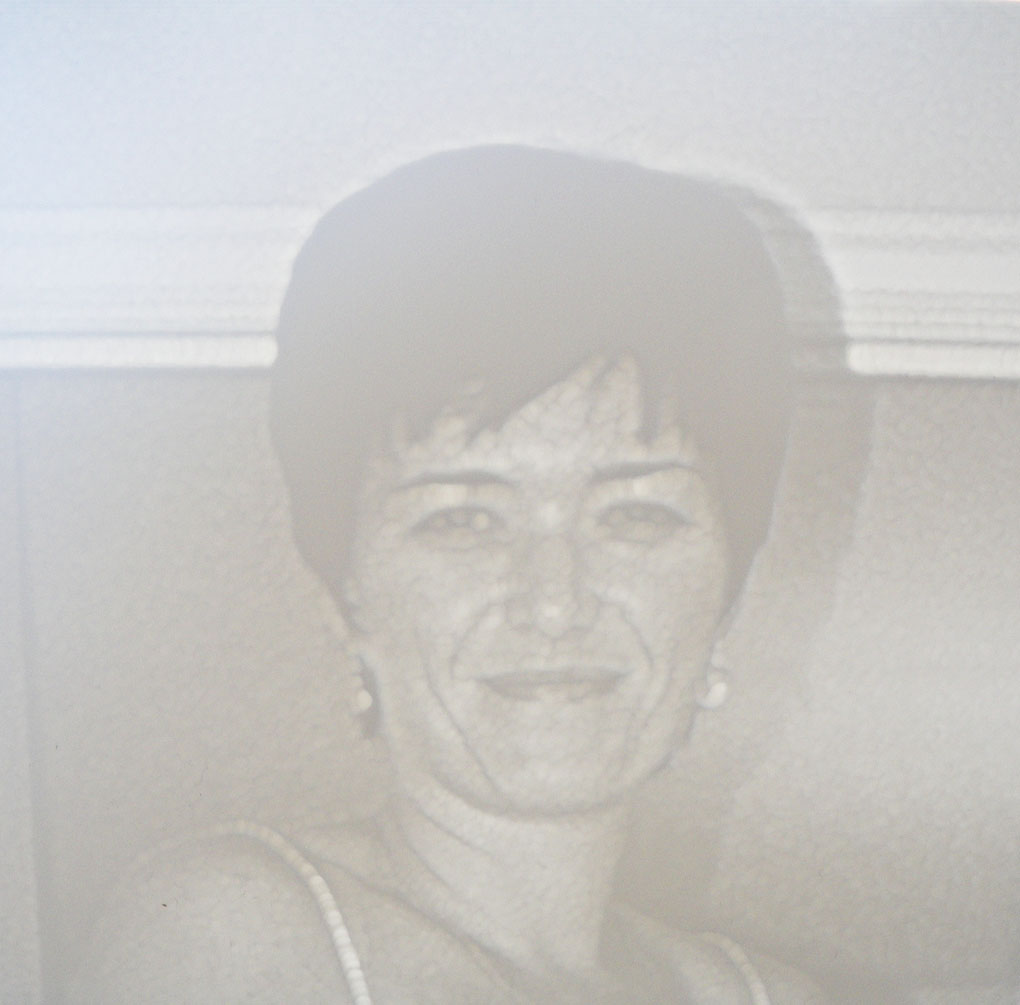
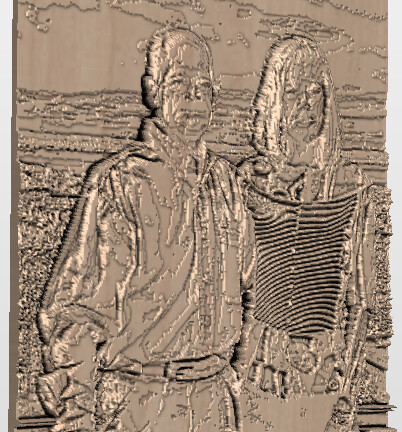
Here’s a couple of snips from the rendering in Vcarve of a couple of pictures I’ve done this way.
The depth of the carve for each of these is 0.4 in. So that’s how deep the relief will be. If you want them deeper or shallower, adjust the “z” when you import the STL file. Also, if you don’t like how it does the background parts, modify you’re pic prior to doing the lithophane in freecad to either remove the background or convert it to a solid color.
I’ve taken the same photo and imported into the Vectric AI tool. The results are just about the same as this method. But no credits required to run through many iterations to get what you want.
OK, maybe I am getting hung up on semantics.
Your first pic looks like a relief carving, the second looks like a lithopane but I can see the different levels of thickness so maybe I am wrong.
Neither one of these examples, IMHO, is something that I would consider a relief carving but yes, there is relief and it’s carved so hey, what do I know …
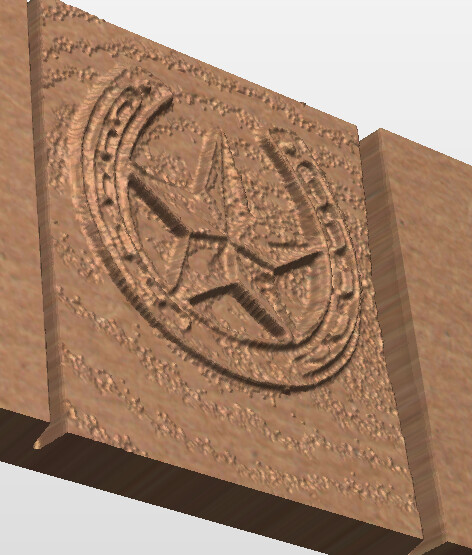
Yep, the pic you posted is certainly a relief carving. And with a little tweaking, the pic above of the horseshoe and star can get pretty close to as clean as the one you posted.
There are several challenges in taking a photo and creating the clean relief carving like in your photo. The AI version from vectric has all the same problems. In Vectric Vcarve there are several ways to do these things. The photo vcarve toolpath, which is a much shallower rasterized version, but has a little depth to it. I’m not as fond of that style for most things, but it has its uses. Then there is the Sketch Carving toolpath, which is a bit more of a relief style carving, but I was also having trouble making that have the depth and look I wanted. Then there is the 3D toolpath, which just takes whatever 3D object you have and carves it however it is drawn in 3D space. Both the photo carve and Sketch carve methods work with 2D things and convert it to 2.5D with the tools you choose and the settings in those tools. The 3D toolpath carves whatever depth the 3D drawing you give it has.
To get the first two 2D methods to do a nice smooth relief carving like you’ve posted is pretty difficult. There is a very old thread on the forum here from someone who was fairly successful at it by really manipulating the photo. I tried some of that and I found it very difficult to make it work.
The method from the AI tool the Vectric offers, and from the lithophane tool are both actual 3D drawings. So both of those offer up something that can be controlled a bit more.
Relief carvings of things like flowers and ornamental things is easier, full picture relief carvings are a bigger challenge. Hopefully with refining the techniques a bit I can get to something that looks more like Mount Rushmore and get it done without spending a huge amount of time.
