A newbie question here, tried to look for it here and other websites but couldnt find the answer. Any help is appreciate it
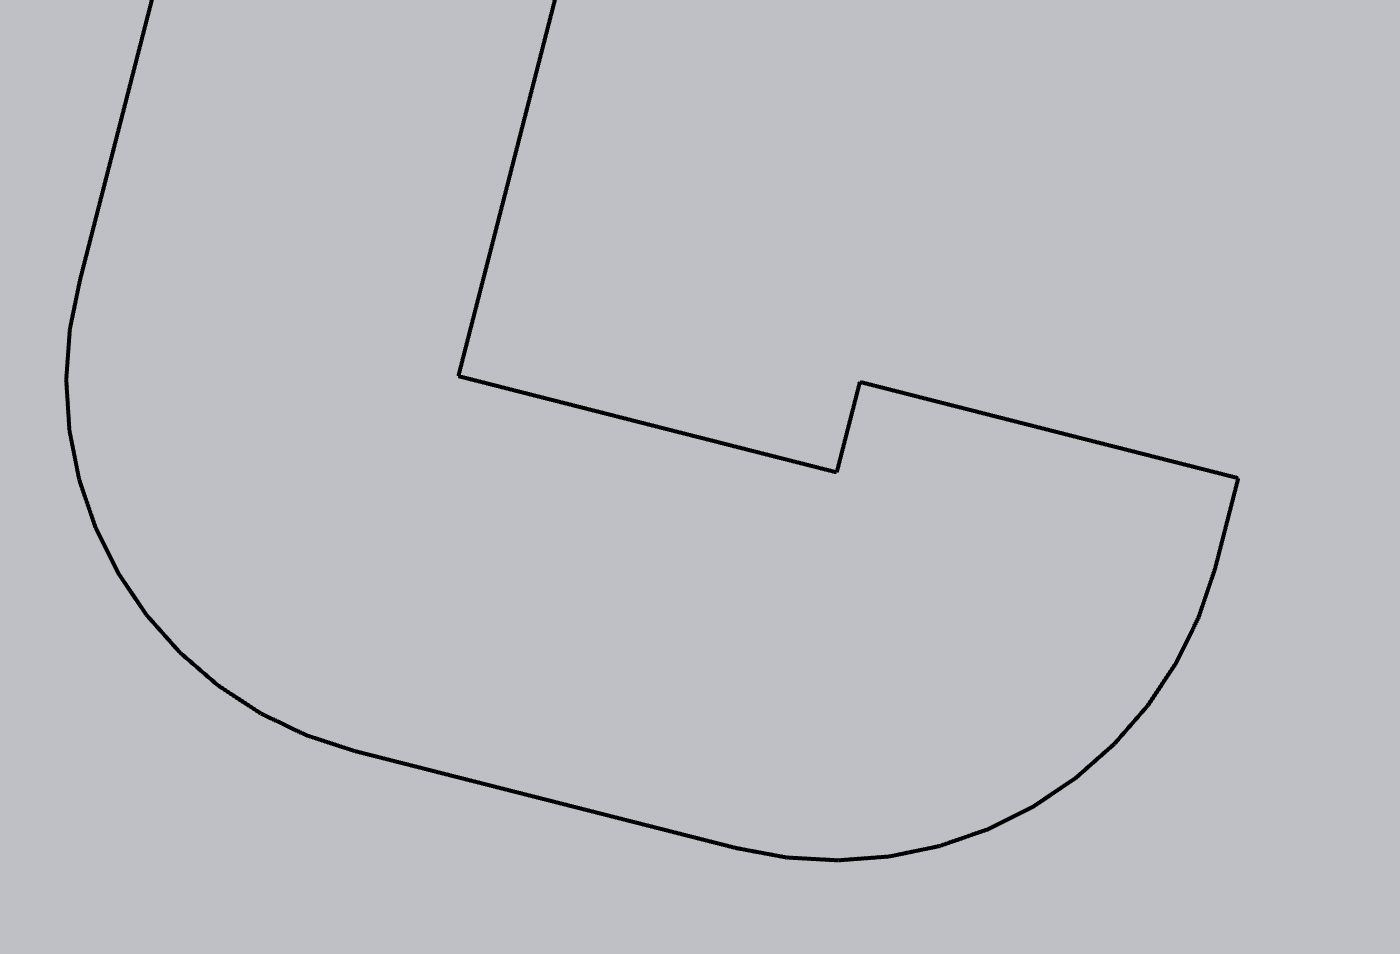
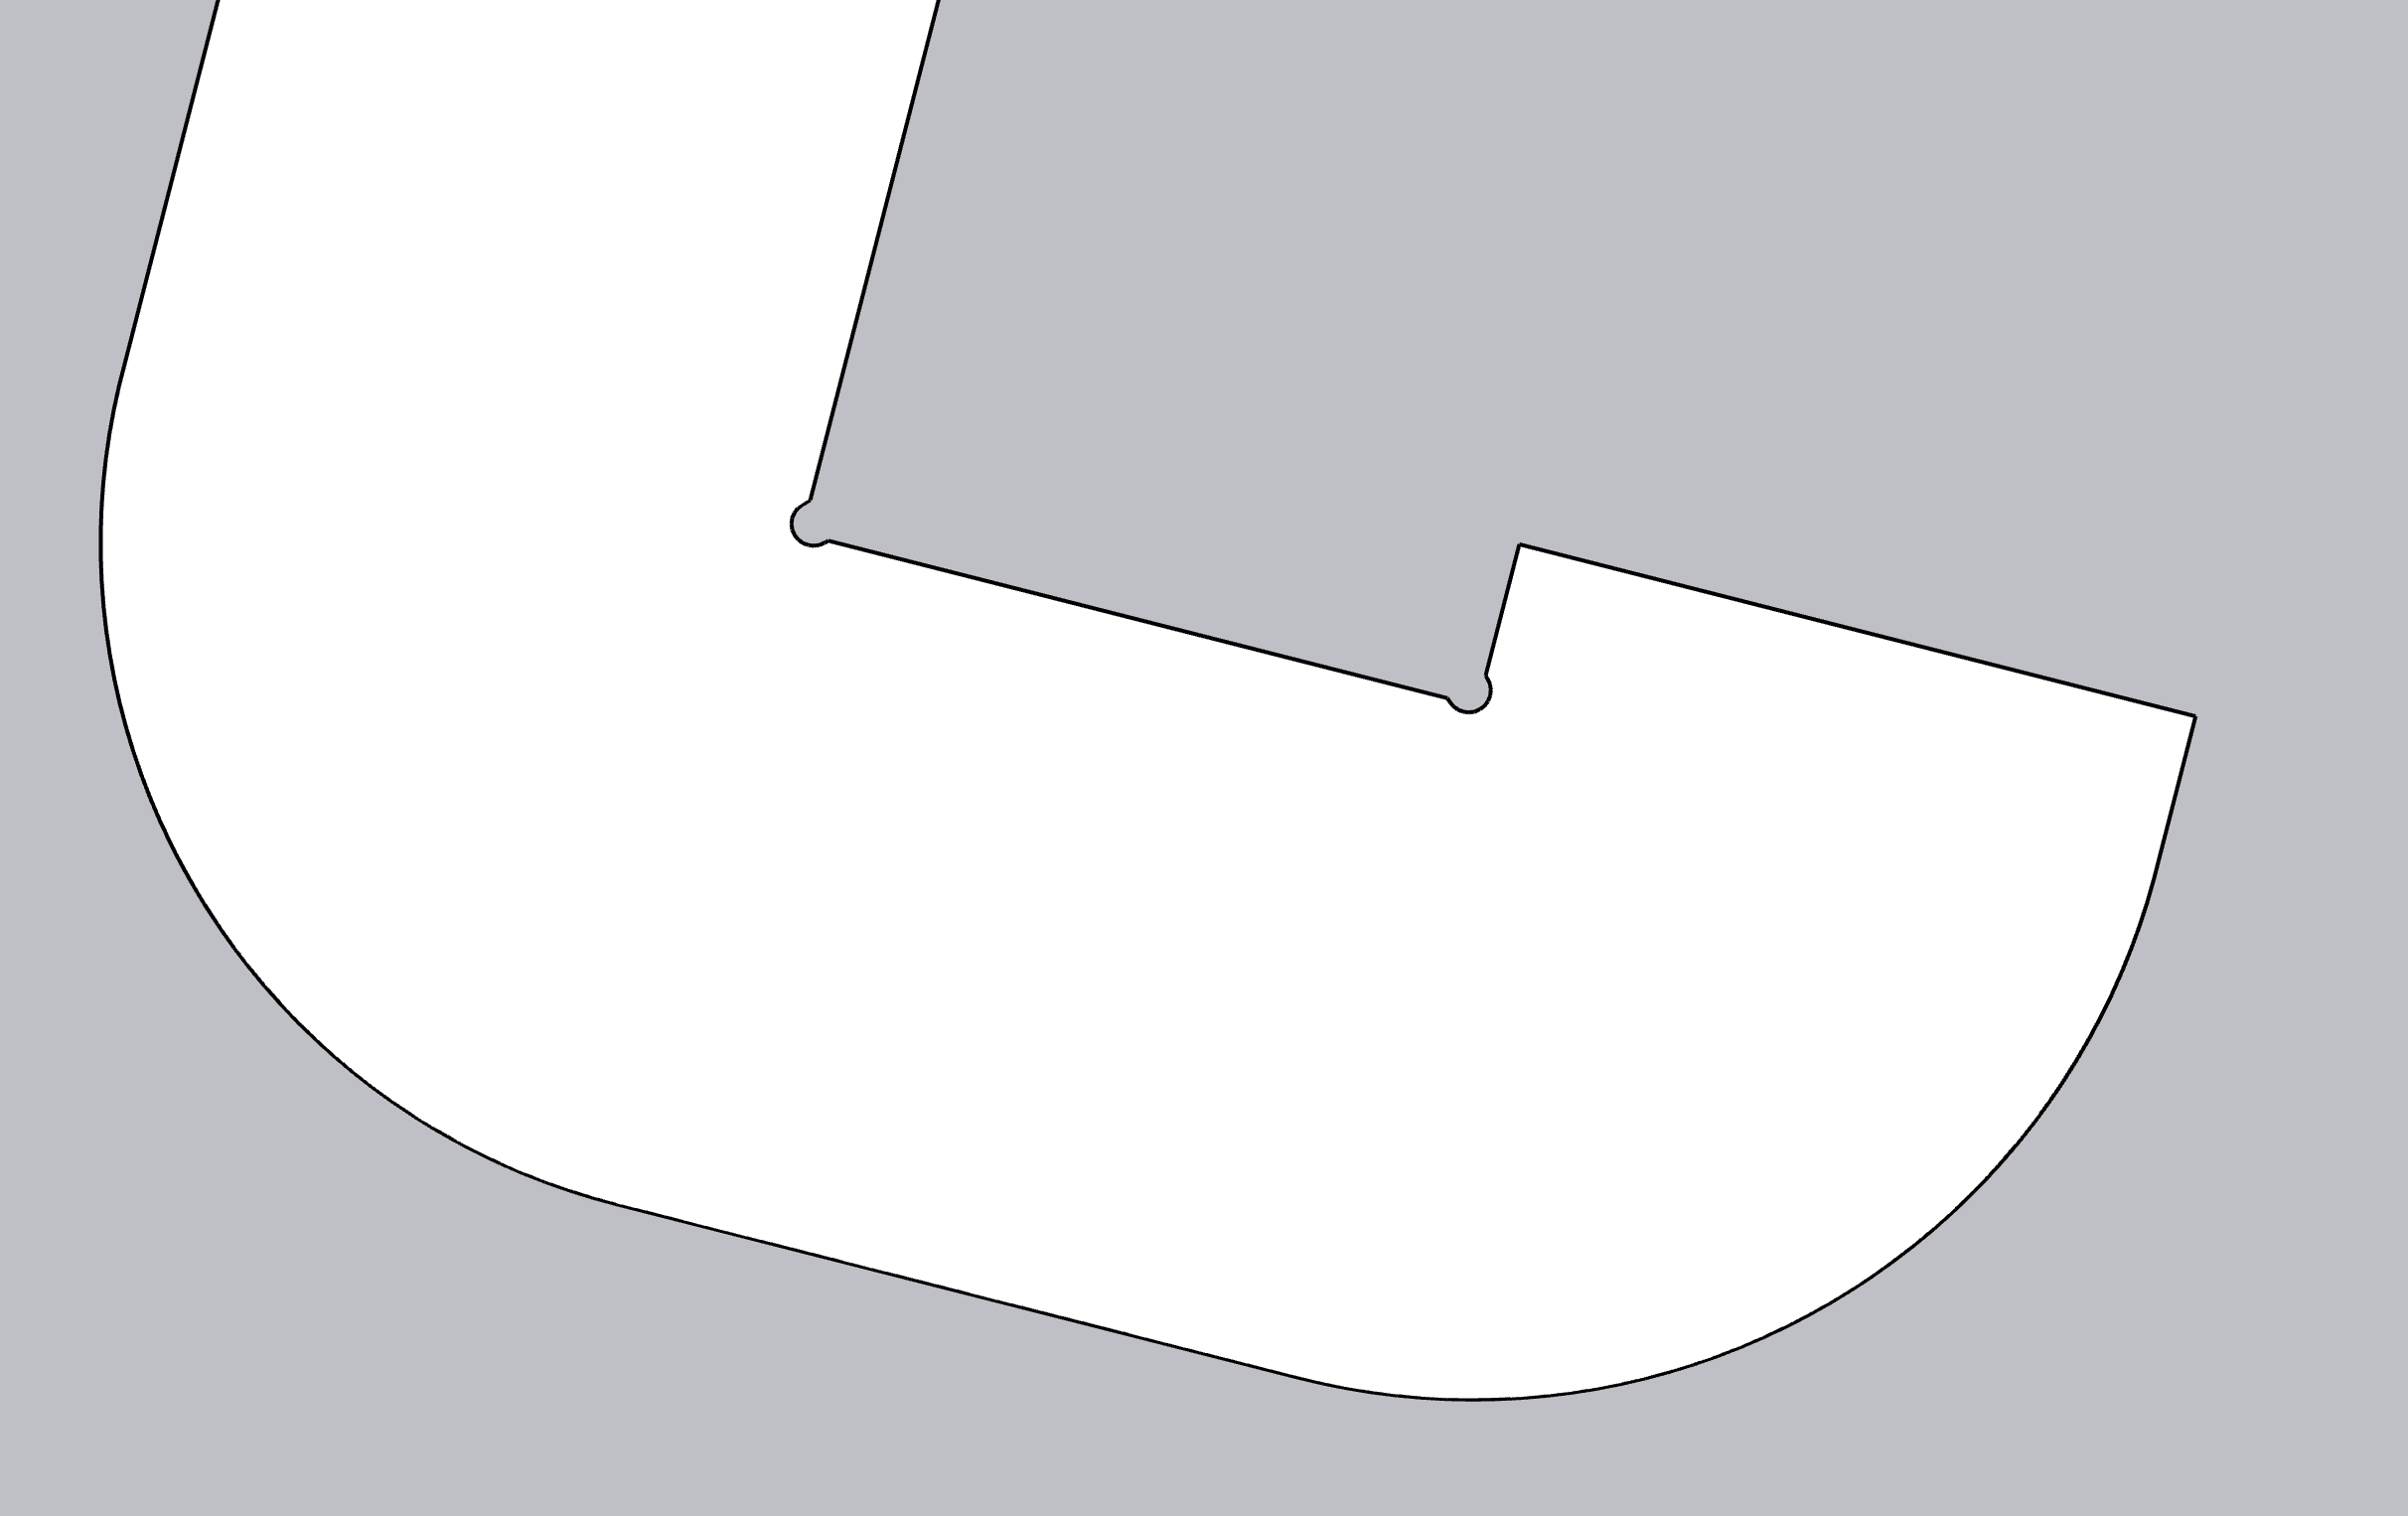
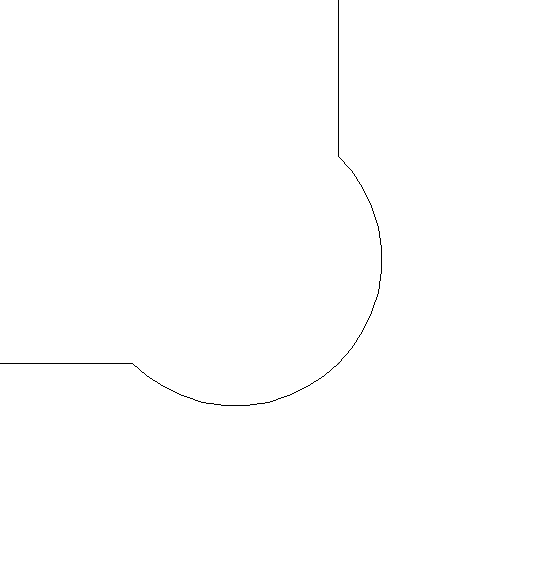
I am trying to make a piece that has sharp inside corners like the picture.
One way is to make round relief (not sure even if this is the right terminology) as you can see in the picture.
I have two question:
If I have to make these extra circles what the easiest/ best way, are they best practices I should follow, when I try to make these usually they all looks slightly different and sometimes it doesnt even accomplish what I want (when I look at simulation the bit doesnt seem to go there even though the opening is large enough)
My second and more important question is, is there any ways I can tell carvco I want you to follow the line no matter what even if that means cutting extra to the wood. Basically in this case since the tool is round, Carvco is erroring on the side of cutting less, I basically want to change that so it cuts more if it has to and always folow the line, I think that would accomplish the same thing without needing me to create circle shapes and add to my original parts (and maybe have them be too big of a circle that is not really needed)
In this case my bit size is 1/8"
Note: I was hoping the checkbox “Sharp Corners” in the profiling tool accomplish this but It didnt , maybe Im missing something leg test 6.art (520 KB)
Hi @moosa I would say yes you are in the right place - unfortunately I don’t use Carveco though (I use Fusion 360), so I can’t help much.
With Fusion, I have to manually draw / create the extra parts in the toolpath, by changing the design to include the necessary corners and cutouts. It does get a bit tedious to do so, but can also lead to a neat effect if you embrace the corner cutouts as a style thing.
I don’t use Carveco and don’t know of a way to automate what you are trying to do. I do have a suggestion to help with the following part of your post though.
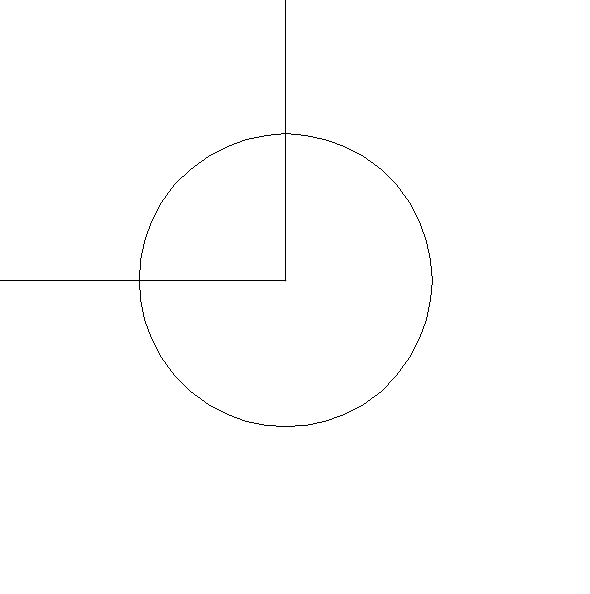
I might be wrong but it looks to me like your circles are too deep into the corner. If more than half the circle is left after trimming the vectors the bit can’t fit into the opening. To make your ‘circle reliefs’, which I have heard called ‘dog bones’ because a rectangle with them resembles a dog bone, I would do the following.
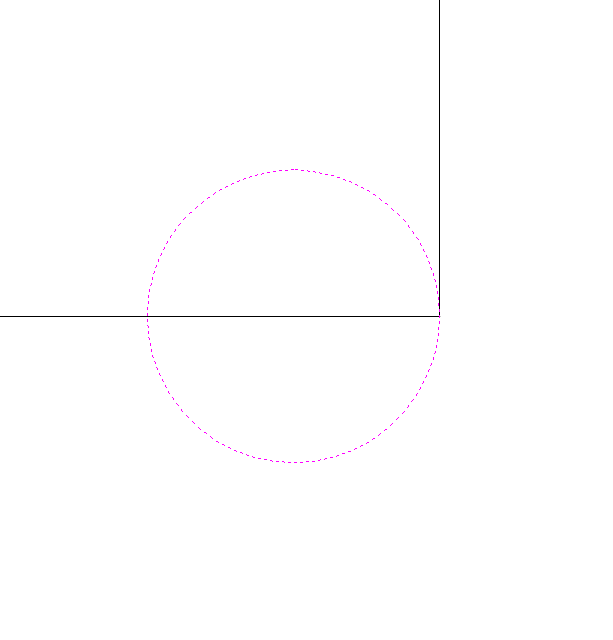
Start with a circle centered on the corner like so.
This leaves an opening to the circle that is the diameter of the circle. If you still have problems then make the circle just barely bigger than the bit.
Thank you @elbarsal ! your torsion box looks AWESOME!
its good to know Fusion also doesnt have this as a built in feature.
As always, thank you @_Michael for your detailed explanations.
Its definitely what I was looking for, my circles were all different shape but following your guide they are gonna be consistant (and the bit will fit). Appreciate the help
I am guessing Carvco also doesnt have this as a feature.
As a software engineer (my past carrier ) I really dont think it would be too hard for them to make this feature built in. basically having an option to say, follow the line no matter what (error on the side of cutting too much than too little). Not sure why its not done yet, maybe not enough demand.
If I understand what you’re trying to do, you want a sharp corner with a round bit. From my knowledge of Carvco, the only way to achieve that is to us the V-bit carving toolpath, and the more acute the angle, the better it will be. For example, a 30 deg bit should work & make sure you use the largest roughing bit otherwise the are may take a while.
Good Luck.