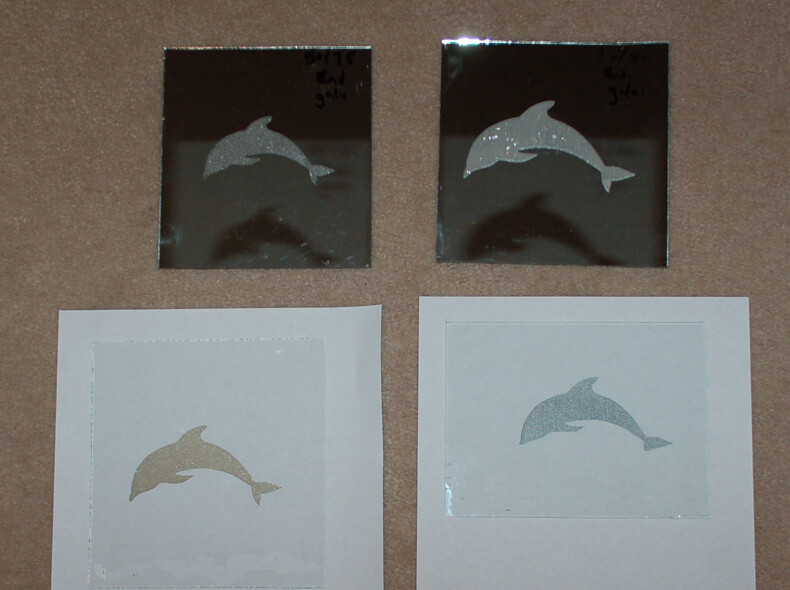
Knowing how difficult it is to get laser onto glass, I had an experimental period. I was using Rustoleum Flat White (I know… it sounds like a coffee) and a single coat was really effective. This experiment was on a good quality 4mm thick piece of plate glass. I am given to understand that the poorer quality glass gives a better image because it has more impurities for the laser to burn. My laser is a small diode laser of 4.2W and I was not sure it would have the power to etch anything but the Rustoleum paint made all of the difference. My understanding is that it is the Titanium Dioxide in white paint that causes the effect of burnt paint.
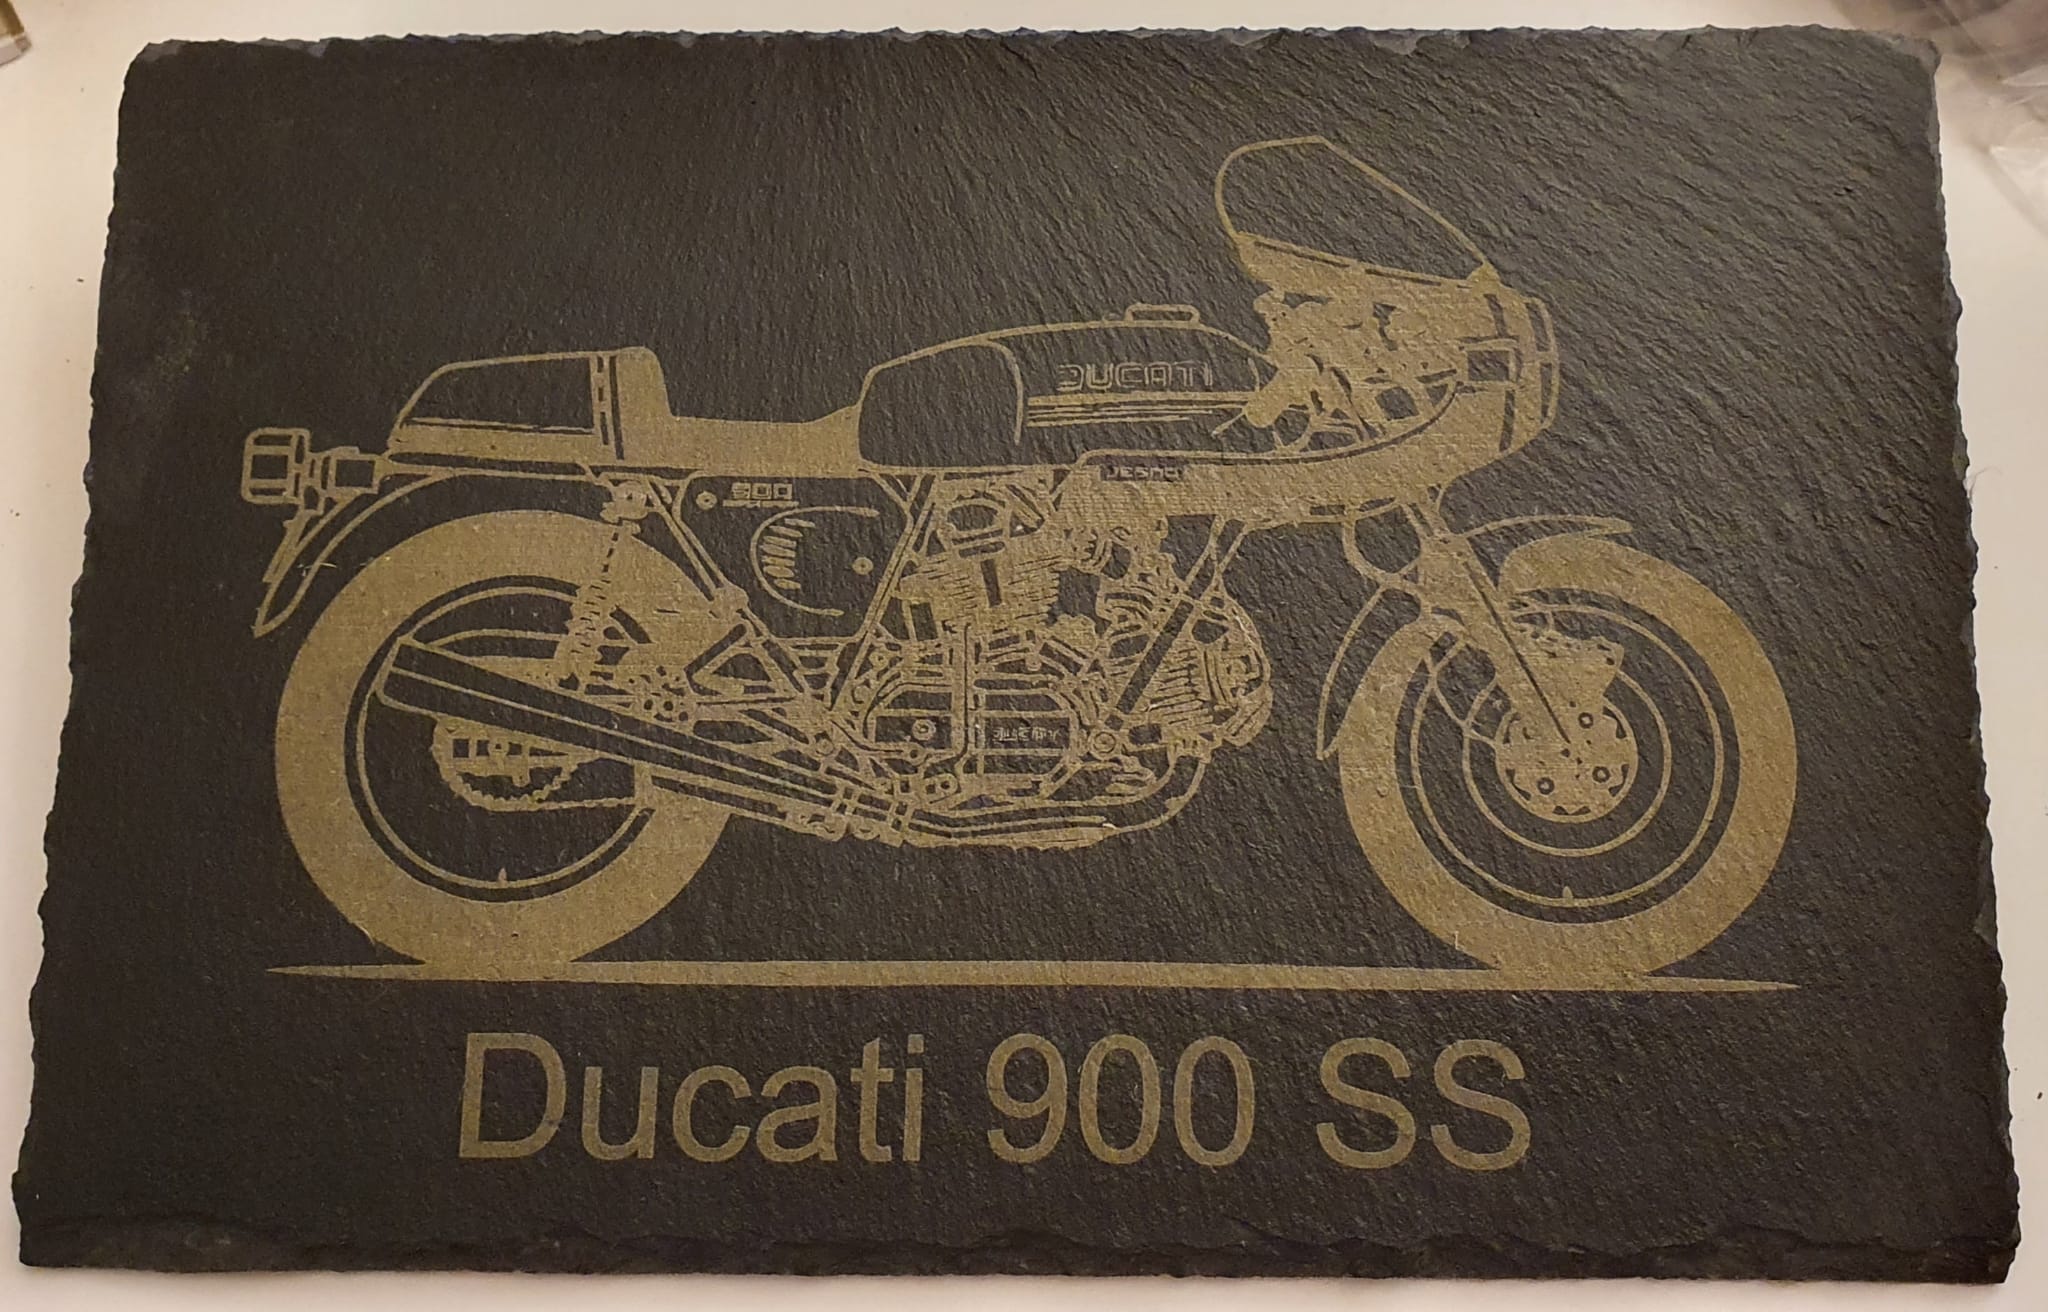
I also managed to engrave some slate and I like the gold effect of the laser beam heating the slate and I thought this 300 x 200 place mat looked good.
I’ve played with white paint, black paint, red paint and the cold galvanized. On tiles, I find the white works best. On the mirrors, the galvanized. There are not a lot of difference among them, though. I did some tiles where I painted the tile day glow orange, then black. The laser burned through the black and I got a really nice orange butterfly. @Heyward43 did a really fine tiger using the same process.
Fun stuff.
I have a few other examples. The white on ceramic tiles gives a good result. I have not tried colour paint yet. I think it sounds like it could be a good technique. The Duke on the slate was the first one where I succeeded in getting a gold coloured burn. It is normally a grey colour, which looks ok on the black but I discovered the gold colour by accident.
I ran the laser at 100% power and slowed down its traversal speed to 100mm per minute (4" per minute) and the result is from the continuous slow burn in the target area. The area under the laser beam appeared to be bubbling slightly when I was burning this bike. I think this is the reason that the image is not quite as sharp as I was expecting. It is a really cool effect but too many of them and the laser diode would probably wear out fairly quickly.
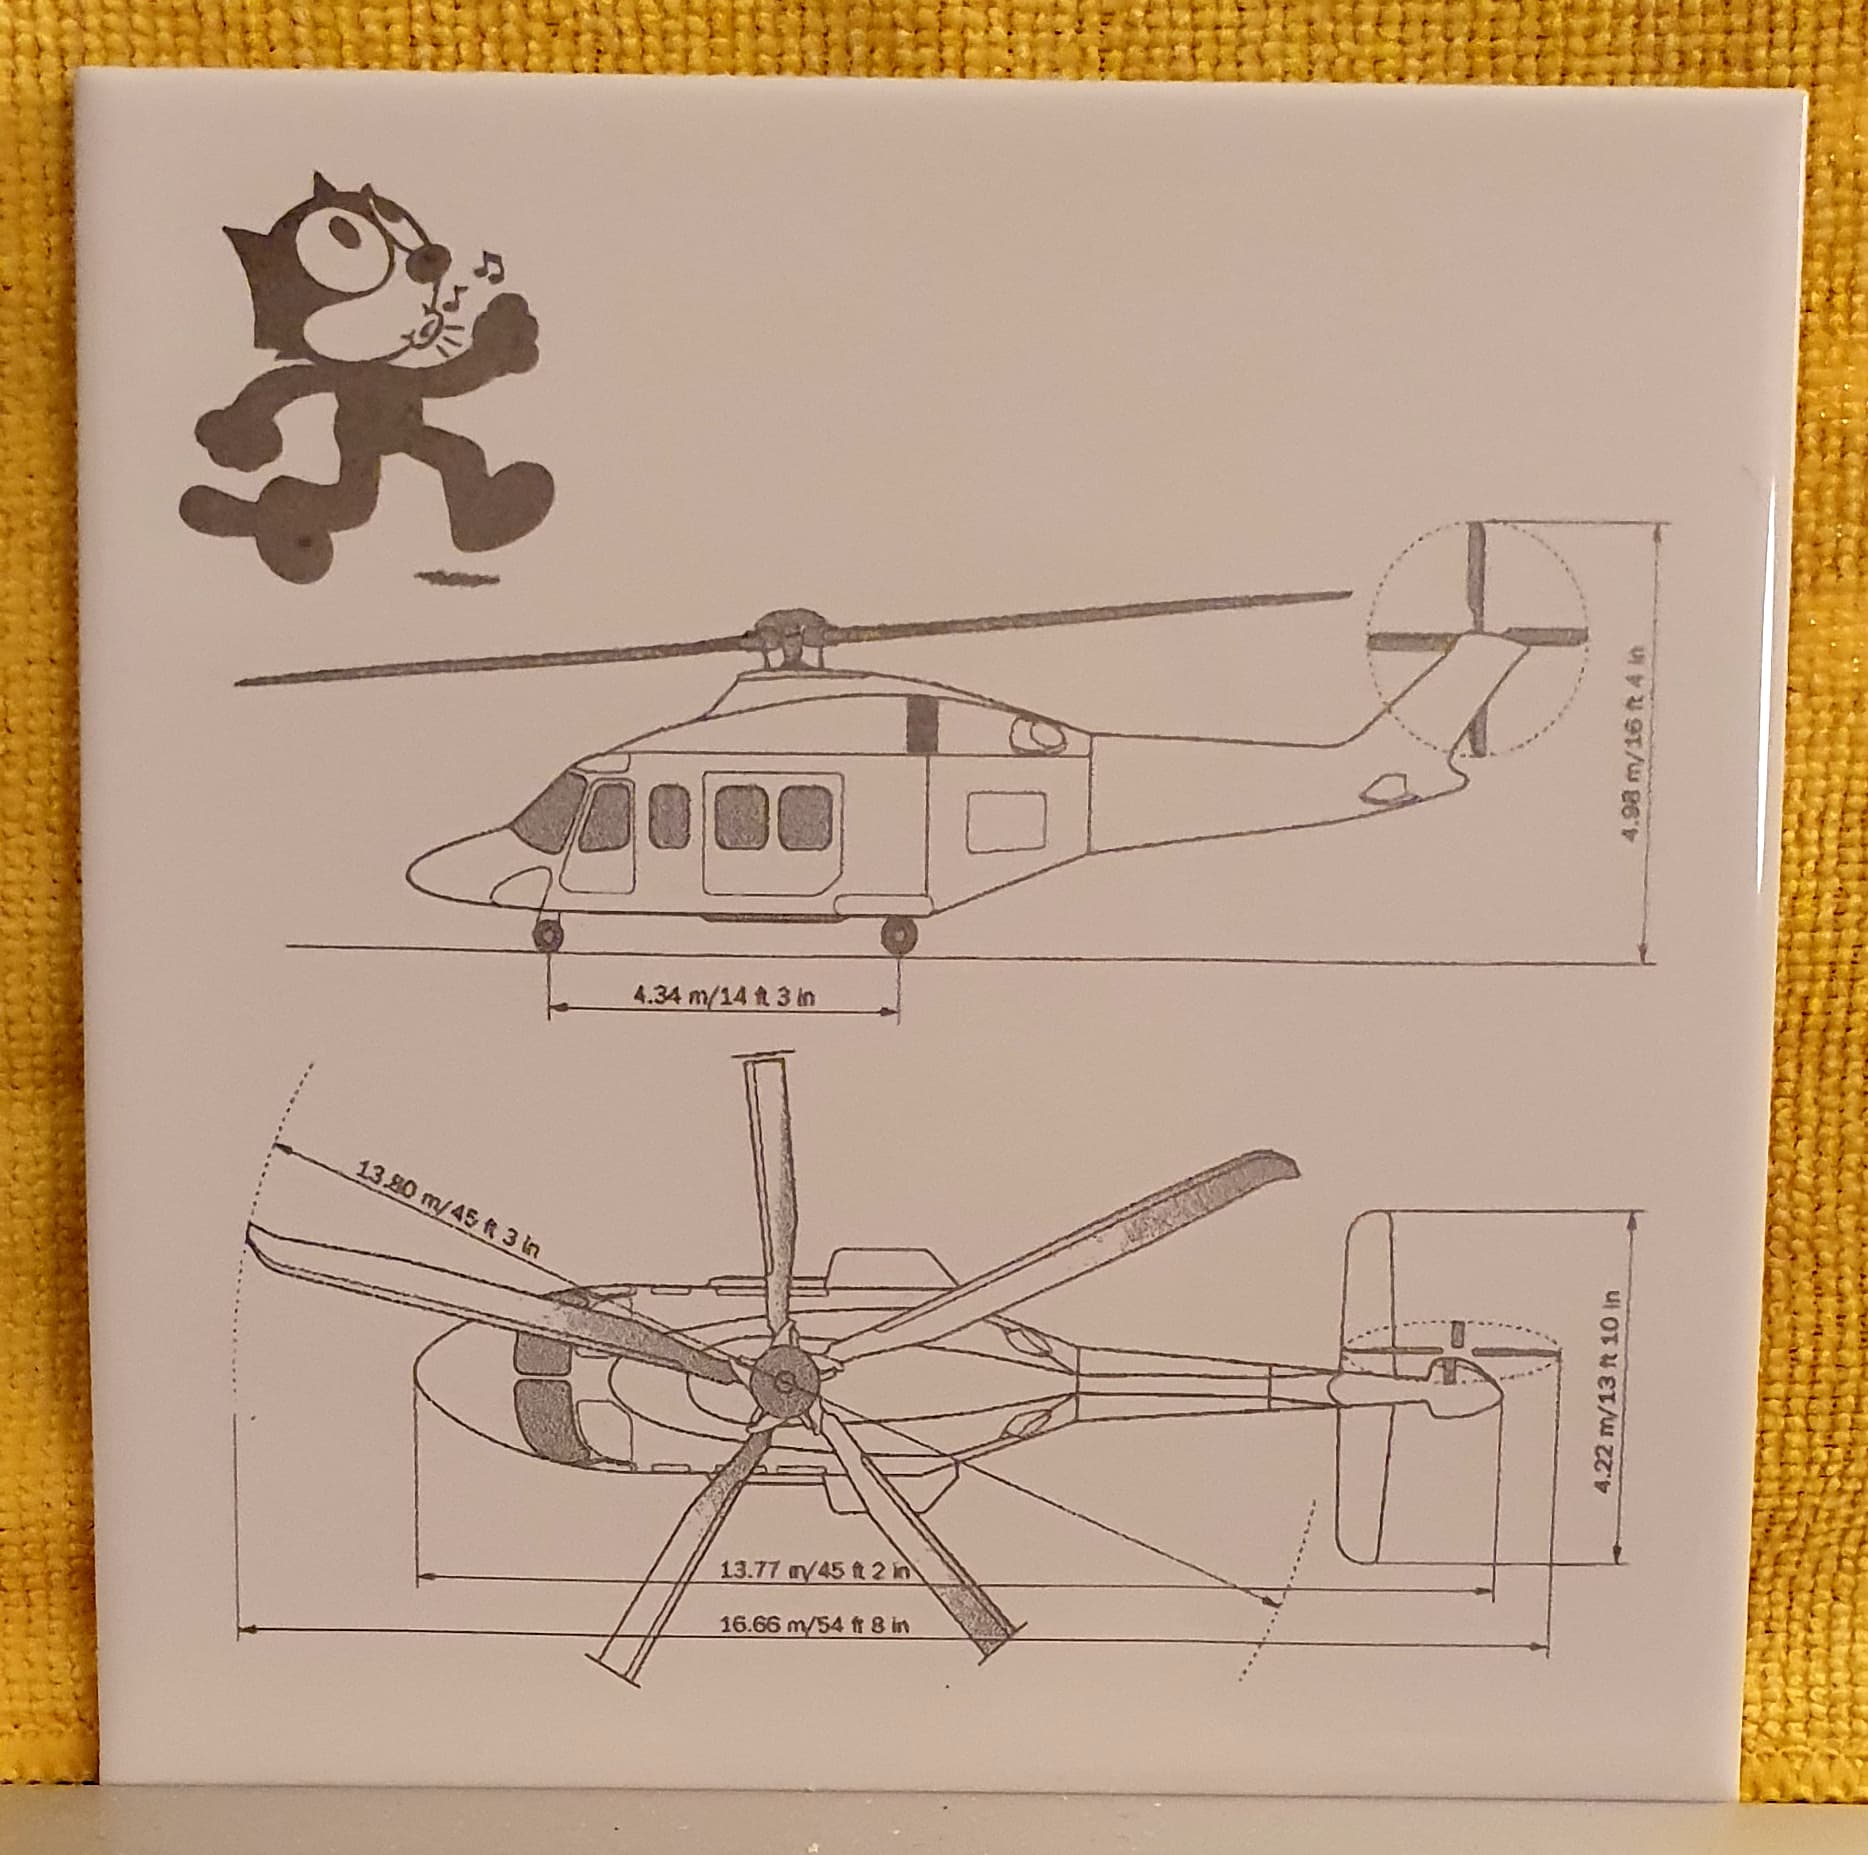
The image below is a 6" tile for a relative. His name is Felix and he flies AgustaWestland 139s for a living. I could not get the blackness into the image so these days I am trying borax… without much success.