I am fairly new to CNC. I do have a small CNC engraver and was looking for a larger one. I was just about to order a Shapeoko 4 when I discovered that the resolution was 40s/mm! The Longmill is 200s/mm (with 1/8 micro) . It is also about $600 less expensive. My small cnc is primarily used for PCB prototyping. The 40s/mm doesn’t cut it. The 200s/mm should be just fine. Is it a no brainer, or am I missing something?
@jelanier I’m with @megistus / Wayne, James. You are not missing anything. The Long Mill cannot be beat in value for cost. Add to that excellent after sales support and a great group here and you can’t go wrong.
How long does it take to assemble the product? The build instructions look intensive and difficult (granted that is hard to evaluate without holding parts in you hand)
Awesome choice! A couple of things to keep in mind, the USB that I received was intermittently faulty so I purchased a high quality one from Staples. Make sure to keep Windows updates… Up to date. I love my long mill so far, the massive pricetag for the other machines sent worth it. I built my table 7ft x4ft and I have lots of room. Good luck
And keep your rails clean.
A good call. I was initially nervous about the build process too… (110 pages!!!) Being a creative type rather than engineering inclined, I had concerns - I must have read the assembly manual at least twice in full before making my purchase.
I can honestly say that the assembly manual is accurate, well written in unambiguous language, and well illustrated- to wit, superbly done.
Another concern I had was regarding accuracy. Although it took me just 5 days to assemble the Longmill in my time off, (for me that was fast) it took me a few weeks to make sure it was accurate. When I encountered some hiccups with parts, Sienci tech support was fast & invaluable with advice and part replacement.
I have no doubt that you will be glad you bought the Longmill… I am!
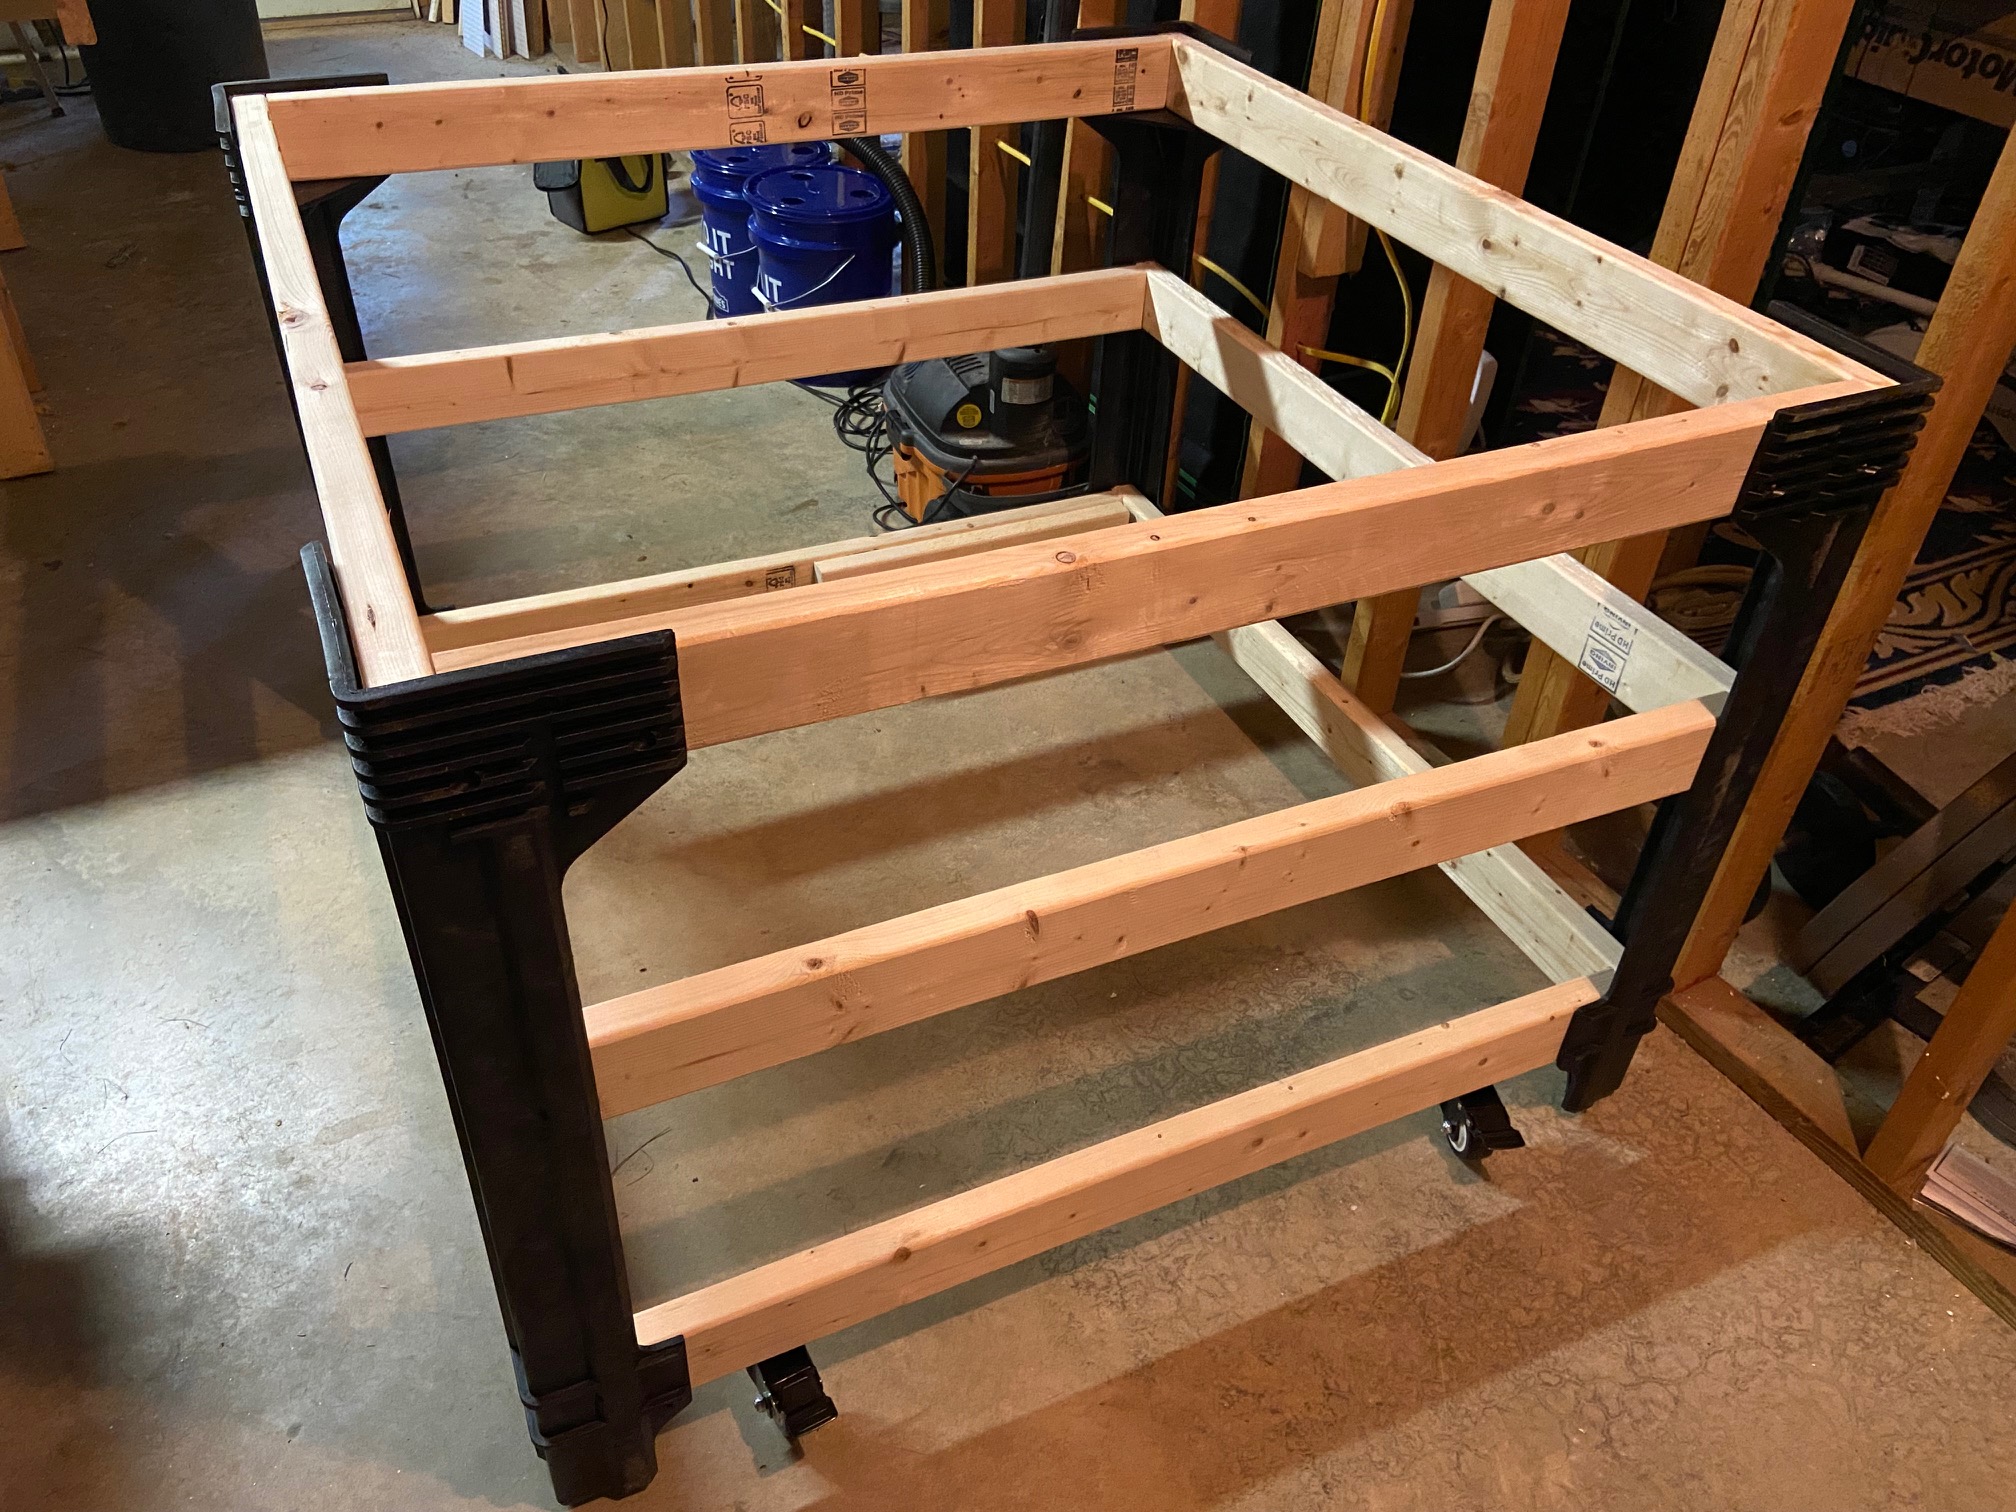
Thanks everyone for your comments. I have received my LongMill but I have not unboxed it yet. I am building a 4x4 table using 2x4 basics frame. (If I had ‘do overs’, I would not have used it) Adding casters is difficult because the design is only for ‘positive weight’ for shelving. There is no negative support for each level, so if you add casters mods are required. I am modifying the design to accomplish this. I have already cut my 4x4 MDF top but I still need to cut my 6" MDF strips for the wasteboard. I wish I had started this sooner.
Just an update. I have completed the mechanical part of the assembly. It was fairly smooth but a few issues with bad parts. I will start a new thread that shows how much time I spent for each section of the assembly. I think that would be beneficial to those that have questions about assembly time. In 2 of the sections I spent way too much time because of bad parts, but I fixed what I could and continued. I have contacted Sienci about my issues with parts so hopefully they will call me back soon.
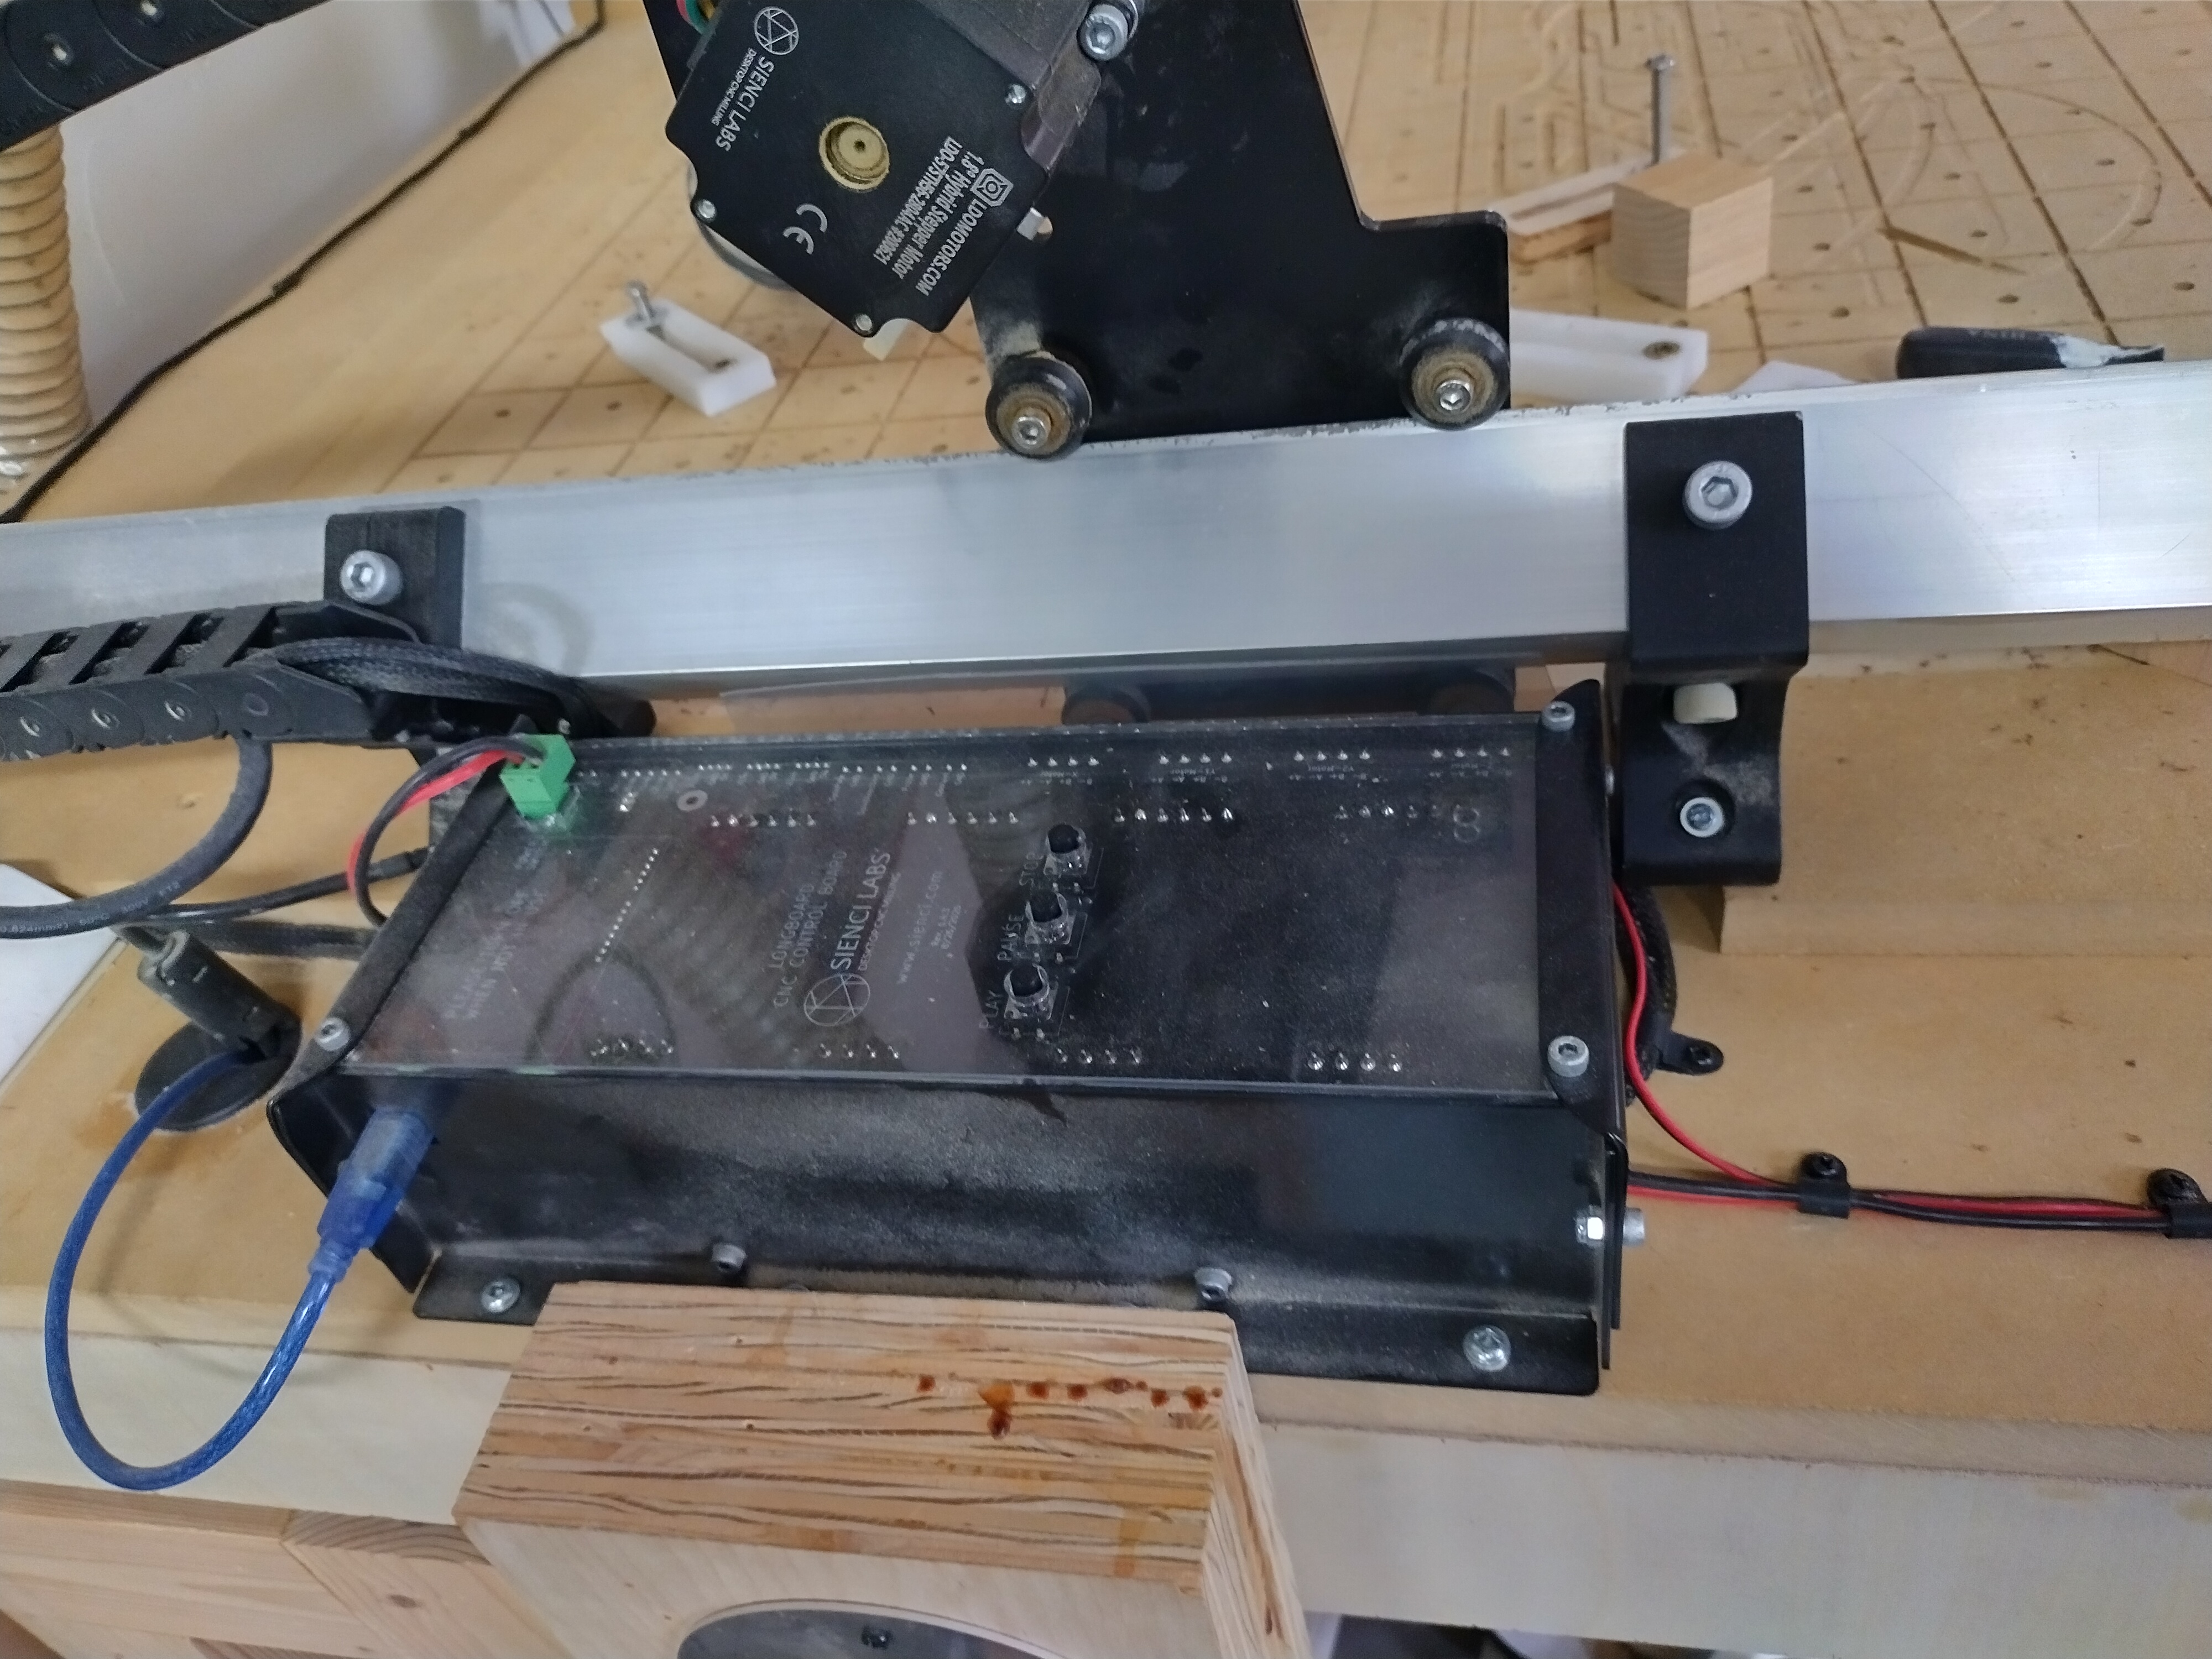
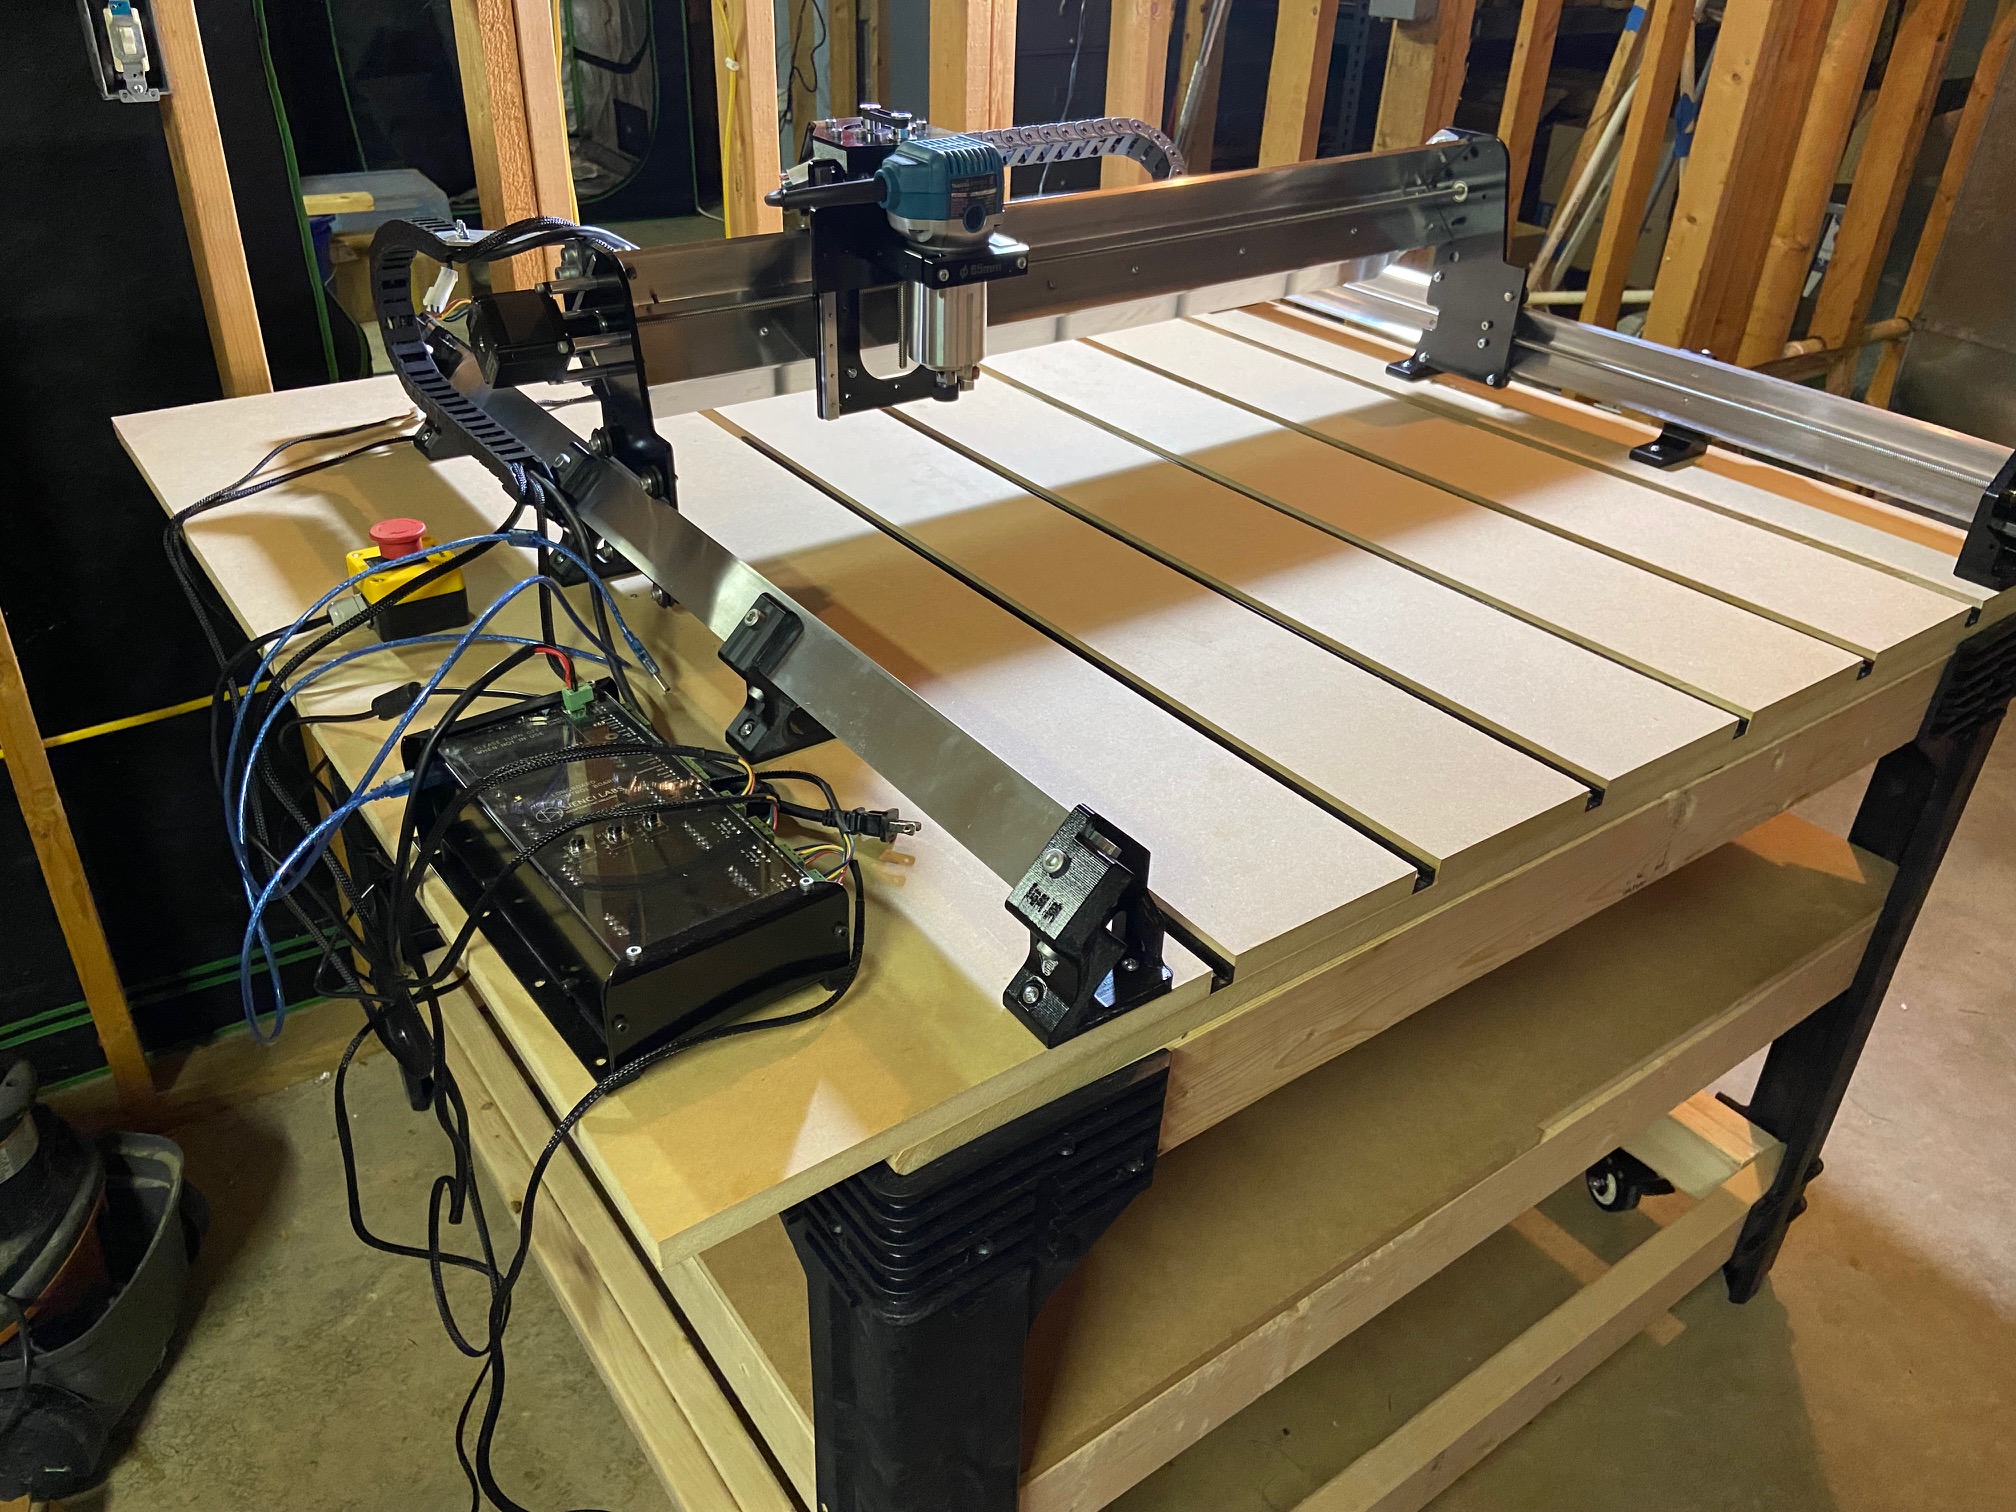
I also made my table 48X48 and on the X Asis it is a tad tight. My work around was placing the controller between the mounting feet on the left side, then I noticed the wires were touching the left gantry so I added a piece of plexiglass to insulate and separate. I could have mounted the controller inside the table but under the table wasn’t feasible due to mine is a tilting design. Good luck, have fun and this forum is a great resource for talking me down off the ledge.
Thanks for the info and pictures. I noticed I might be cramped on the X axis, so when I cut my wasteboard strips from a piece of 49x49 MDF I used all of it and the leftover overhangs on the left side.
So 5.5" on the right, then (5) 6" wasteboard slats, then all of the leftover to overhang on the left. See picture.
I have completed my table build as far as rails and spoilboard slats are concerned. I used the LM to mill countersink holes for screws in the active work area.I still need to work on lead dress and a few other things.
I measured the relative Z of the surface before doing a surface mill (9 measured points). I wanted to see how accurate my table build was before continuing. My maximum error is 1.44mm. Do you think this is OK?
I agree, 30 X 30"total spoil board, you hopefully realize that will become surface destroyed, whatever you have surface it with the LM, When you realize pieces don’t sit flat, drop it another 1/16th for a new surface.