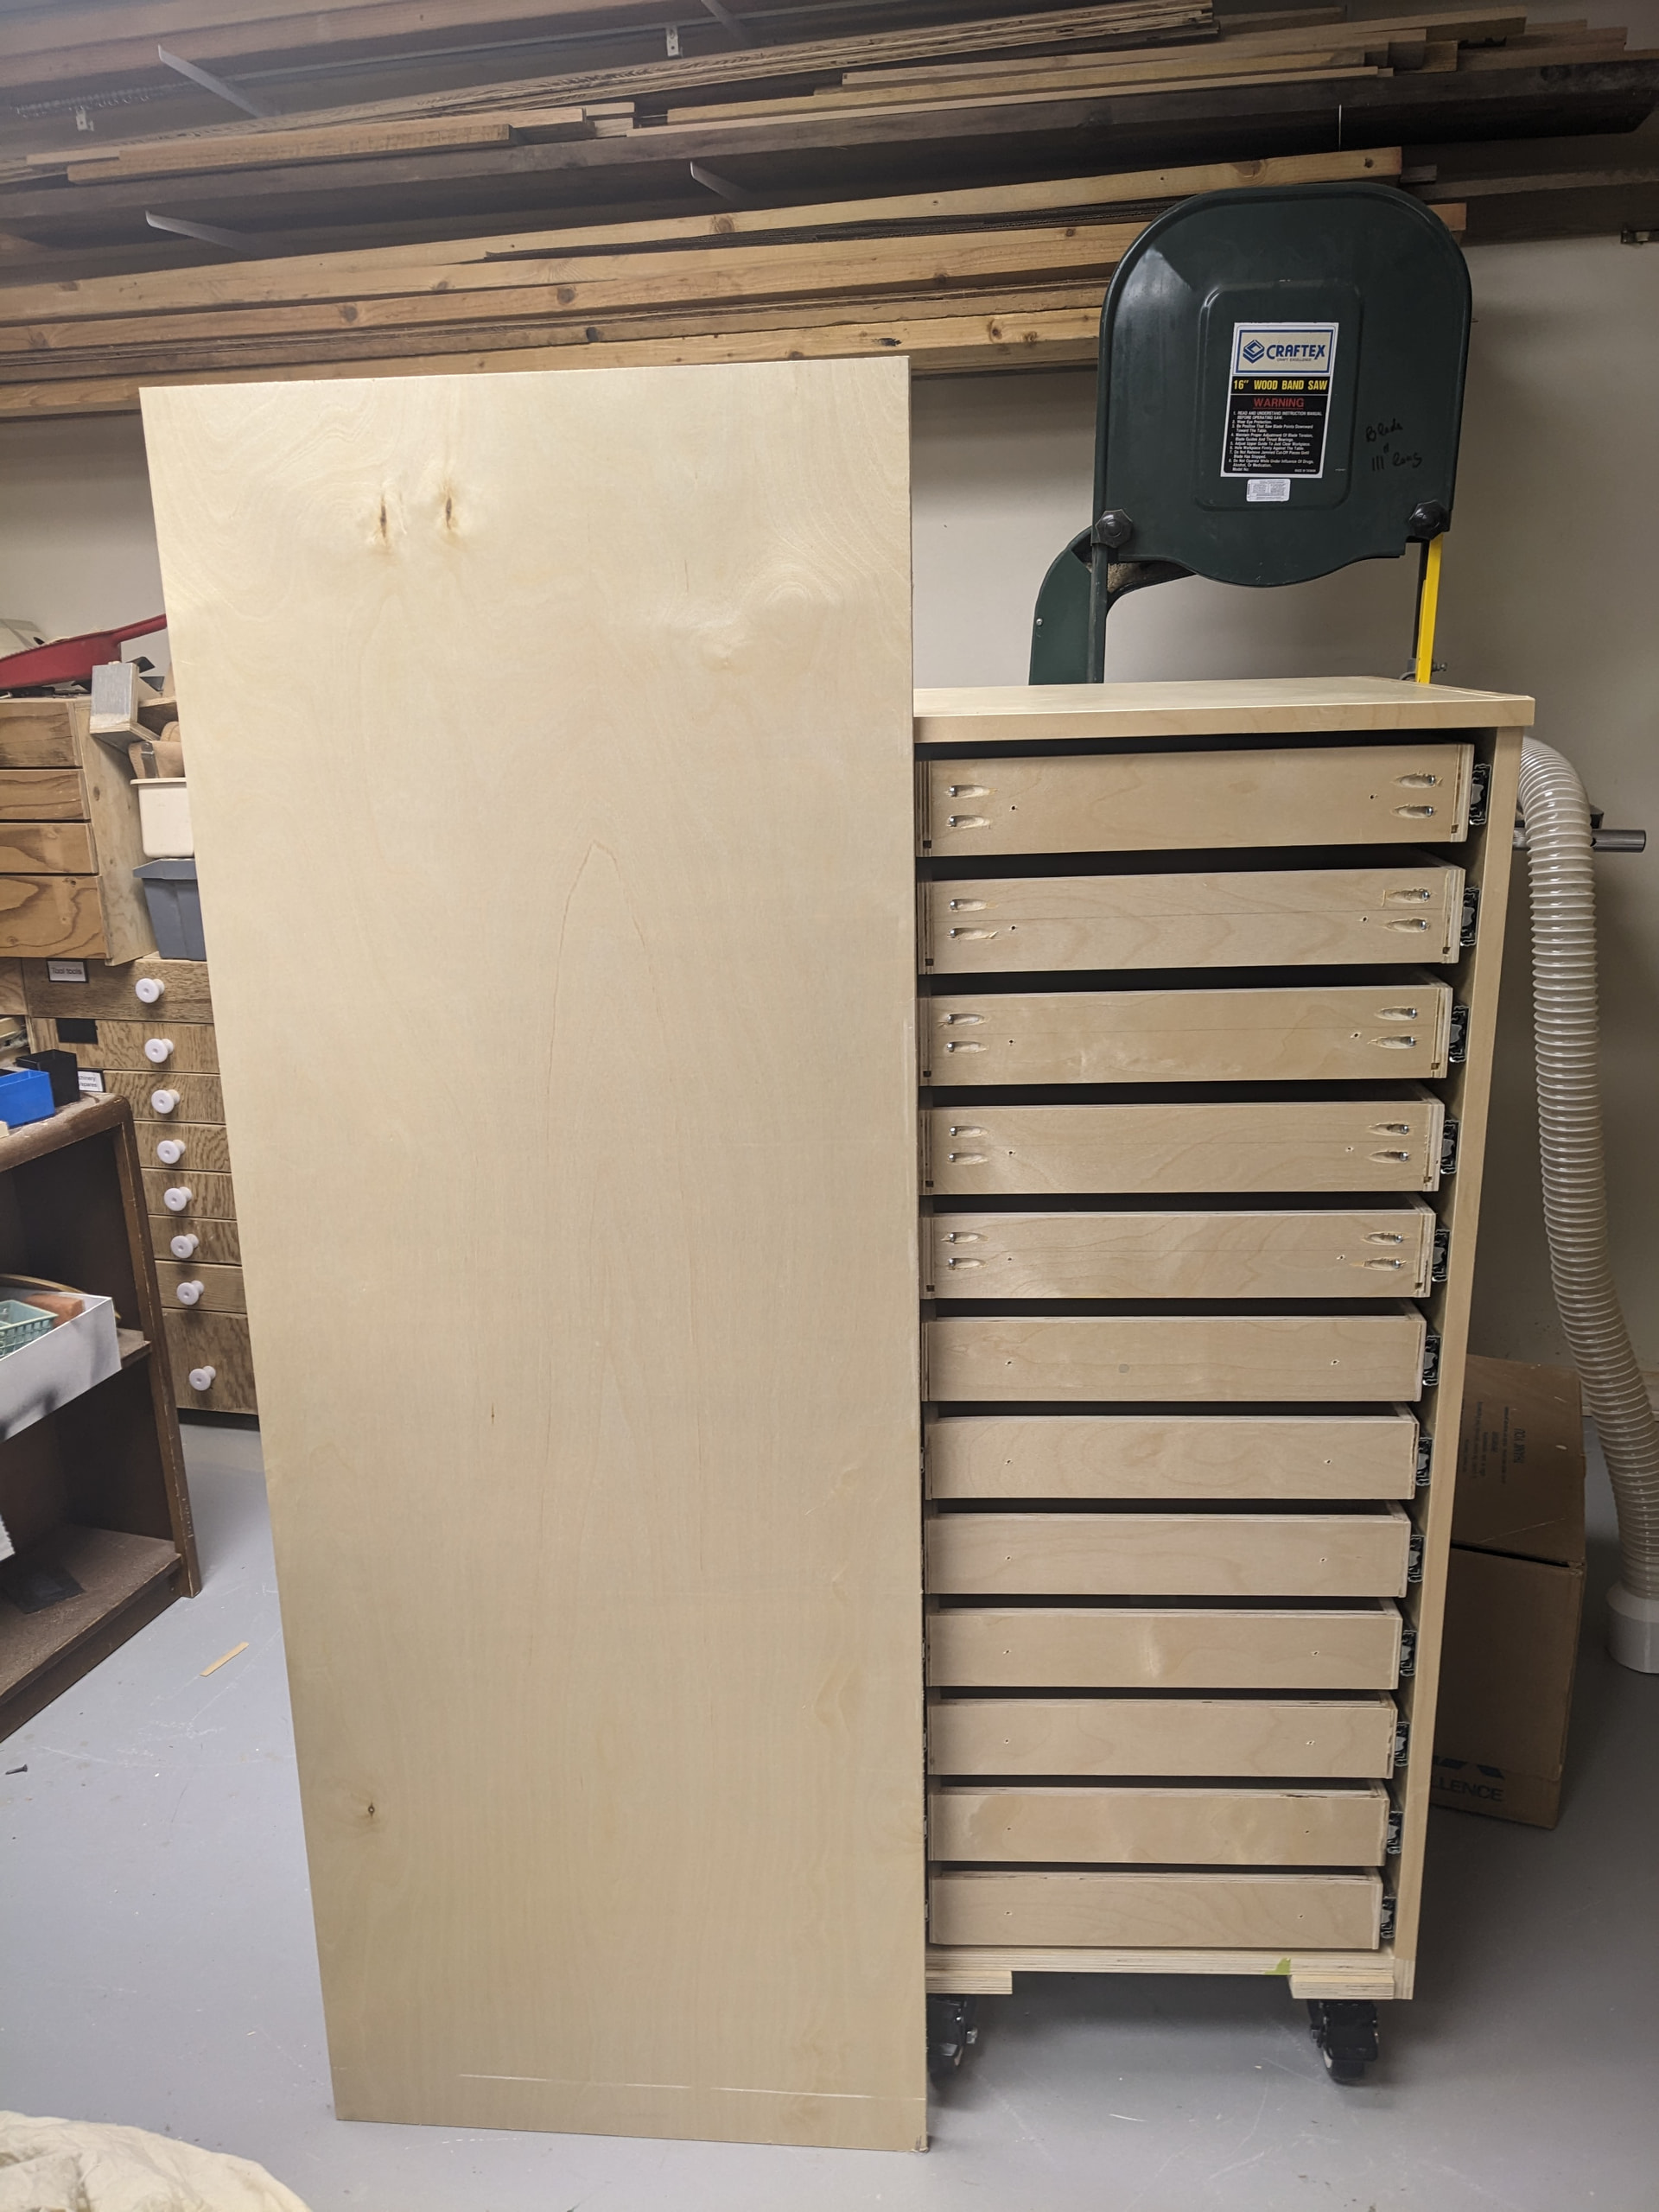
I am building a chest of drawers. There are 12 drawers and the assembly is about 45 inches tall. I need to build drawer fronts to mount onto the drawer boxes. I want to have the grain on this plywood flow continuously over all 12 drawers.
My idea was to cut all the drawer fronts out of a single large piece of birch plywood. I normally leave tabs (2 mm * 2 mm) when I do a cutout from a larger piece of stock. I am concerned that since I am cutting out 12 drawer faces from one sheet, that the result will be like a wet noodle. There is a 15 mm area of stock around the outside but the inside (all 12 drawer faces) are just held together by tabs.
Question:
Is it reasonable to expect this project to survive the last cut when everything is just held together by tabs? I could hold each drawer face onto the mill table with some double sided tape but I am concerned about being able to lift the resulting drawer faces off without peeling off the very very thin birch finish layer.
Should I maybe go with a larger tab or is the 2mm * 2mm tab enough (it is at 100 mm spacing)
How would you tackle this problem assuming you don’t have a vacuum table?
Maybe the tape and cyanoacrylate method would work? But since there’s such a large area, maybe I’d just use PVA glue. Don’t know if that would bleed through the tape though.
I’ve had the same issue as you and I just put steel weights on my plywood to keep it flat. But that’s only because I realised it was becoming a problem mid-carve. It will become a wet noodle like you say.
An alternative is to not cut through the plywood at all and use a band saw to separate the pieces and a router to trim the excess. You have to do that anyways to remove the tabs.
I would ask myself what part of the job needs a cnc and what part ca be done with another tool that will give the same or even better/quicker result. Chuck mentiones a band saw. A good saw table may be a better choice to do the cutout with too.
I have been there too. Too much focus on my cnc and forgetting I have a hand palm router sitting on a shelf, right next to the mill. Yes the cnc can, for example, do an outline champfer, but waaaay slower than I can do it with the palm router, leaving the same result.
Maybe you can use the mill to make a jig to use a handpalm router for the cutout. Classic tools can still trump a cnc, especially on straight jobs that need setting up once and repeat often.
The reason I have the CNC mill is because I am simply not good enough (for my taste) with other tools. I have built drawer cabinets the old fashioned way but slight errors here or there have always added up. I have tried to use jigs wherever I could but error has always reared it’s ugly head in the end. It might only be a fraction of a mm here and there but combine it and all of a sudden that little error becomes a mm or two. When you have a gap of three mm between drawer faces, a 1 mm error sticks out like a sore thumb. It won’t affect the utility of the drawer cabinet but every time I look at it I can see the errors and I get angry at the end result.
I would rather spend many times the time it takes to get it right on the mill but have a product that approaches factory accuracy. As @Spamming_Eddie points out, CNC is generally slower for one-of jobs but I have the time. I can’t (with my limited wood working skills) achieve my desired results using traditional tools.
For the problem at hand, I have considered leaving a mm or so of depth un-cut and then using the table saw to separate the pieces but I am pretty sure I would screw that up somehow.
My only other option is to slice up the sheet into oversized raw drawer faces leaving 10 to 15 mm of extra material all around, mount each drawer face one at a time on the mill and cut it out to it’s final accurate shape. I am concerned that doing it this way might show that a chunk of material was removed between drawer faces and the grain might not line up visually. This might not be an issue with Birch as it is rather plain as far as veneer goes but I would like to be able to use the technique with other materials where grain becomes more interesting.
@Jens In that case, I’d go with the tape and glue method. You really don’t need a strong adhesive. An adhesive that may seem inadequate because it peels away too easily may have enough shear strength to keep the piece from moving sideways or enough pull strength to keep the piece flat on your spoilboard.
Multiple strips of 1.5" masking tape with PVA glue or contact cement is surely sufficient. You might need to seal the MDF spoilboard to get adequate bond. Or use pine stretchers between the spoilboard and your plywood.
Good point re shear strength. I am not too concerned with the stock being not tight against the spoil board because I am cutting all the way through the material.
I have never used the masking tape method so forgive my ignorance … how do you make sure the tape that is laid down on the spoilboard matches up with the tape on the large piece of stock? I can see how this would work with smaller pieces but a sheet 46in * 20in ?
I have actually had pretty good luck with double sided tape. In this particular case, the plywood is pre-finished so it has a very smooth surface to which double sided tape would stick extremely well. This, combined with the fact that the veneer is extremely thin and peels off when you look at it funny, concerns me a lot. It is only an issue right around the cut line but I have previously seen large chunks of veneer pull off once it gets started.
As I am thinking about this, it might be possible to lay out the grid on the underside so I can make sure that there isn’t any double sided tape anywhere near the cut lines.
First, I think it would be tricky to get glue everywhere it’s needed before it starts to set up, but if you do go that route…
Put tape on the outer edges, down the very center and then at measured intervals from the edges. Duplicate that grid on the table. Use 2” tape and only apply the glue near the center of the tape so that it doesn’t squeeze out.
I would use double face tape myself. You mght also consider onion skinning it as @Chucky_ott suggested in addition to the tabs. Even a very thin onion skin (.5mm) holds parts together well and is easily separated with a knife.
One other thing I’ve done in similar setups is to put in screws where the pulls are going to be mounted.
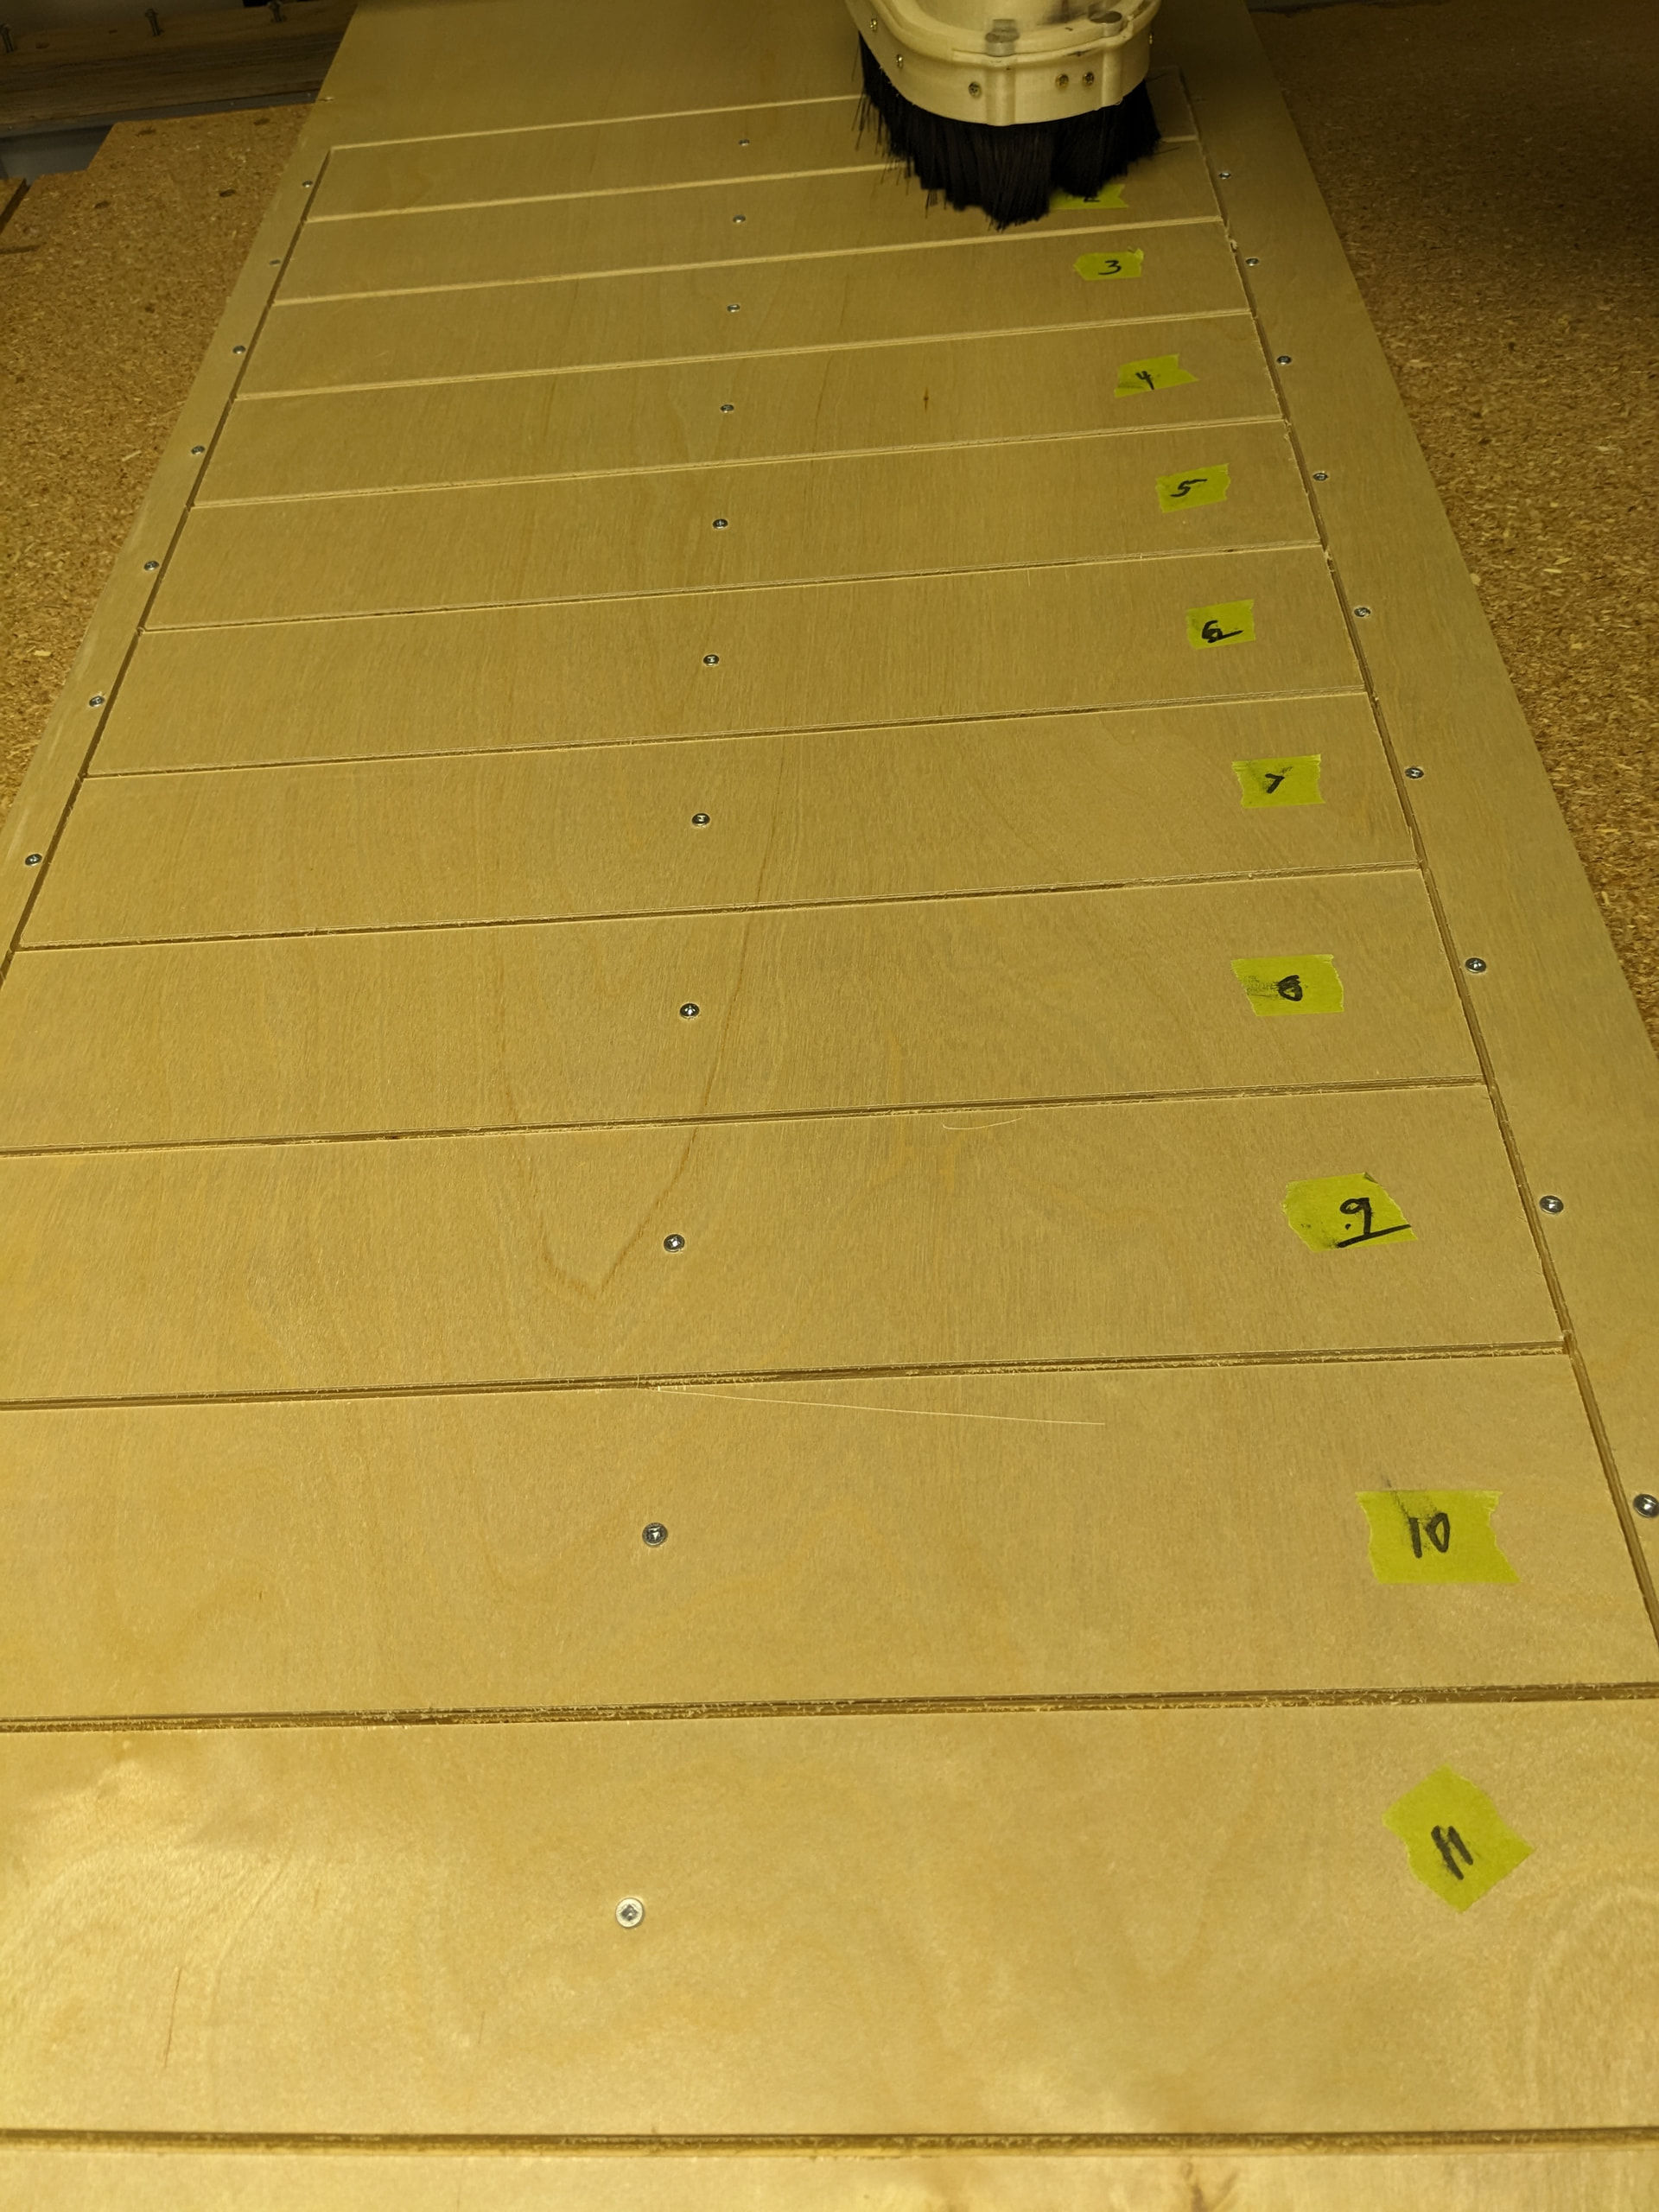
I have decided on a method … I will use a 1/8" endmill, first pass will be a downcut, the remaining passes will be upcut. I will leave the last 1 mm uncut.. I will then cut the last mm with tabs. I will either use the pull holes or apply double sided tape in the center of each drawer front. I am leaning towards using the pull holes.
Using a 1/8" endmill will hopefully keep the cutting forces pretty low. I will cross my fingers and my toes and say three hail Mary’s just to be on the safe side.
This is how I ended up milling the front drawer faces … 38 screws are holding it down so it isn’t going anywhere. I did make a bit of a mistake in only cutting down to the spoil board - I should have gone another half mm further down to reduce the breakout of the veneer. Live and learn …