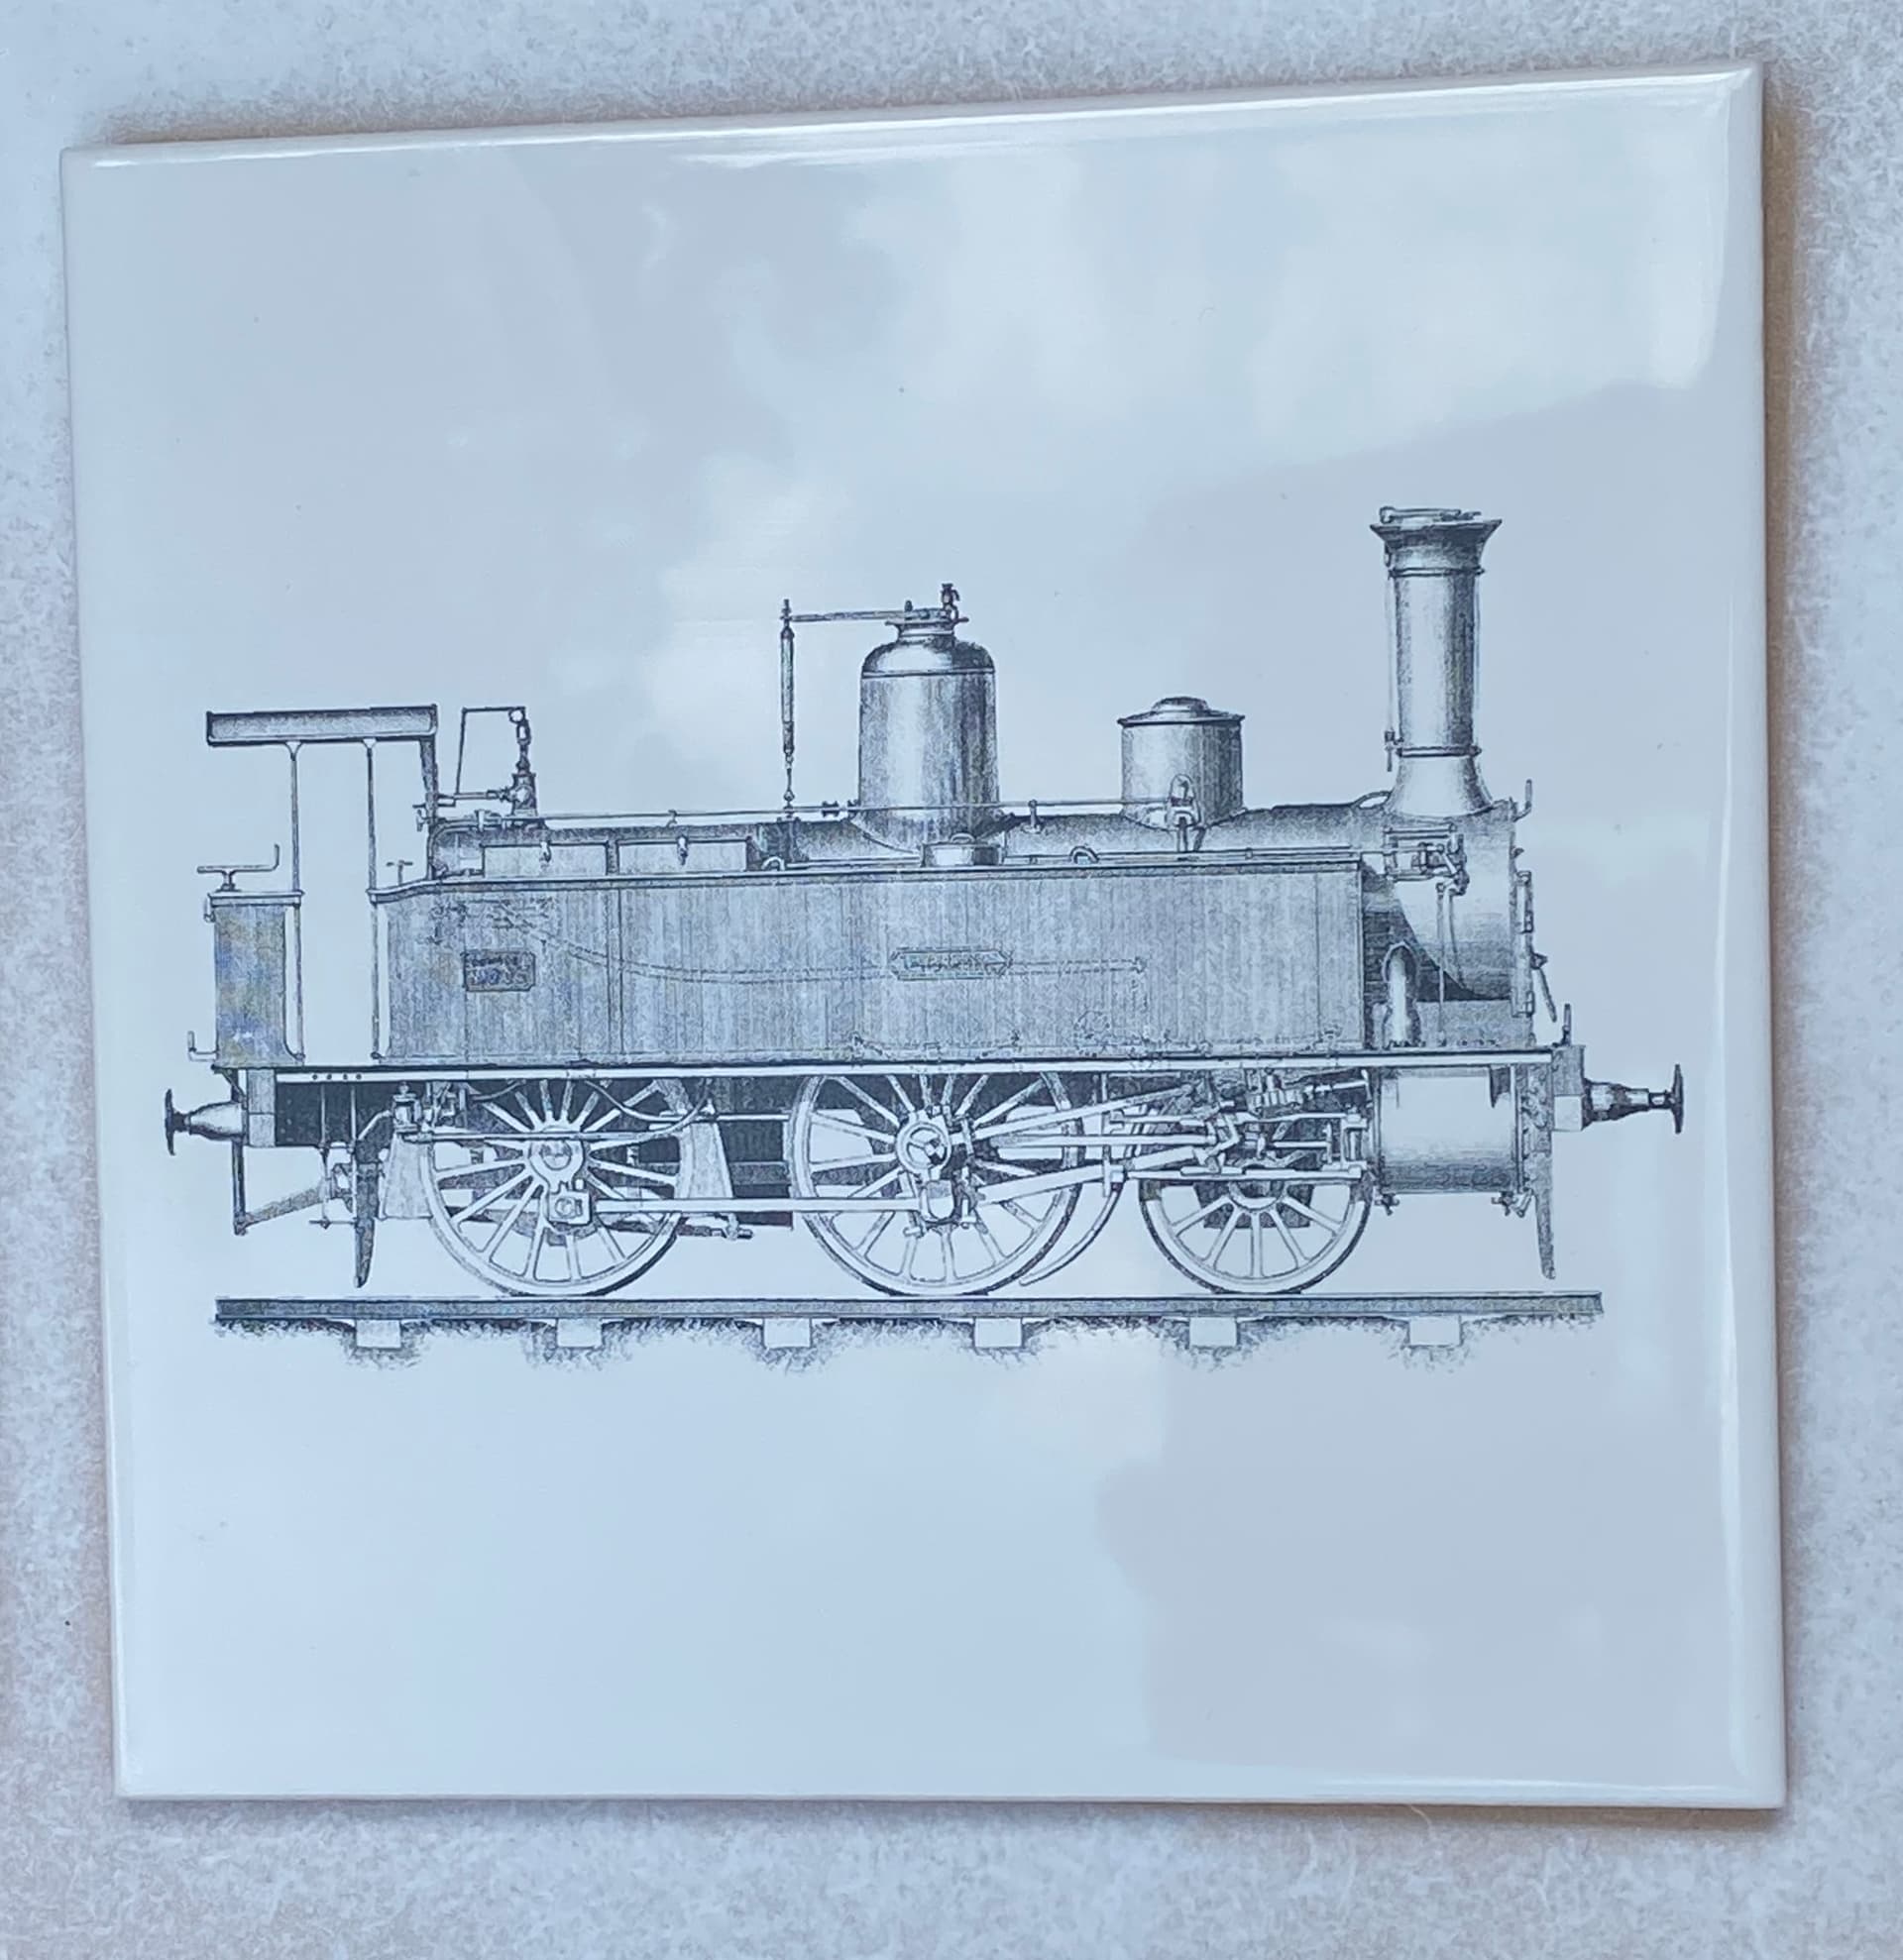
I have created many different styles of tile using the Norton method. I have settled on Rust-Oleum Flat White as my paint of choice. I get the most consistent results with it. This is a low cost gift for a person I know who is interested in narrow gauge railway locomotives and the one depicted is from 1896.
I used an imported 150 x 150mm (6 x 6")tile that I can buy in a box of 44 for around £5.90 ($7.16) so that works out to around 13p (16 cents) per tile. I clean the tile with acetone and then apply a thin but even coat of Rust-Oleum Flat White paint and let it dry.
I design my burn in LightBurn which is great for sizing images. This burn was an image arranged at a line interval of 0.091 (279 dpi) with an overscan of 2.5% and Jarvis dithering. I could get a reasonable approximation to the different grey colours using Jarvis and it is one of my goto dithering patterns for image processing in LightBurn.
Power was set to 75% on my JTech 4.2Watt Blue diode (445nm) laser. The feed speed was 1000mm/min. Cells per inch was 50 and the halftone screen angle was 22.5 degrees. This image was burned in around 56 minutes.
Image under flat white paint looks to have great contrast
@jepho i love it Jeff! You keep posting all the cool things you are designing and completing with your laser, makes me want to venture into that side of CNC! Keep up the great work!
Jake
Thank you for your kind comments, Brian. It takes a while to get familiar with the capabilities of a low powered laser but I experimented for a few months with engraving and cutting wood, engraving aluminium, and then extended my experiments to slate, glass and ceramics. I am in a happy place with engraving of ceramics with slate and glass almost up there. Wood is relatively easy and I try to work without creating scorch or smoke marks.
I think it is a really great addition to a CNC machine and it extends your range of abilities. Mixing techniques can be very productive too. I would say it required about 9 months to become very comfortable with laser work (YMMV and you are unlikely to be as dumb as I am ) I was lucky that my laser purchase was from a great American company, JTech. Jay was very helpful when I had some initial difficulties and he was really supportive. I think Oz at LightBurn demonstrates why LightBurn is a premium software that can be recommended to any user without hesitation or caveats.
That looks fantastic! I’m still trying to assemble my MK2. Interested to know if the laser by Scienci is capable of this fidelity? Looks like it came from a silk screen
Hi Jason. Welcome to the Sienci forum and community. I don’t own any of the Sienci manufactured kit but I do use and really like gSender. My intuition is that you are likely to find that one diode laser component is likely to be pretty much like any other. Differences are likely to be price and after sales service. In general, you can expect around 10,000 hours service from a diode laser component (blue laser around 445nm) before needing to consider replacement.
When I bought my laser (JTech 4.2W) I also bought a high resolution lens which you will need to research. I set mine up to focus at 1/8" for all work and I use a 1/8th" piece of plywood to rest the laser shroud upon. This gives me perfect focus very time and I do not have to deal with the focus dance that others have reported. I would say my results are mainly due to the versatility of LightBurn software. This has a multitude of different ways to set up the burn parameters, that it would be crazy not to look at what it has to offer.
Thanks for that simple explanation. I too have a friend that loves narrow gauge choo choos. Not sure he has a tile job coming up but this looks great just on a stand in the kitchen. Much appreciated.