Ya, just trying to help troubleshoot the App.

Hehe, my bad…I thought that this forum was running as an App on my phone, but just realized that it’s just a shortcut to the web through the browser. Switched to Firefox and works well.
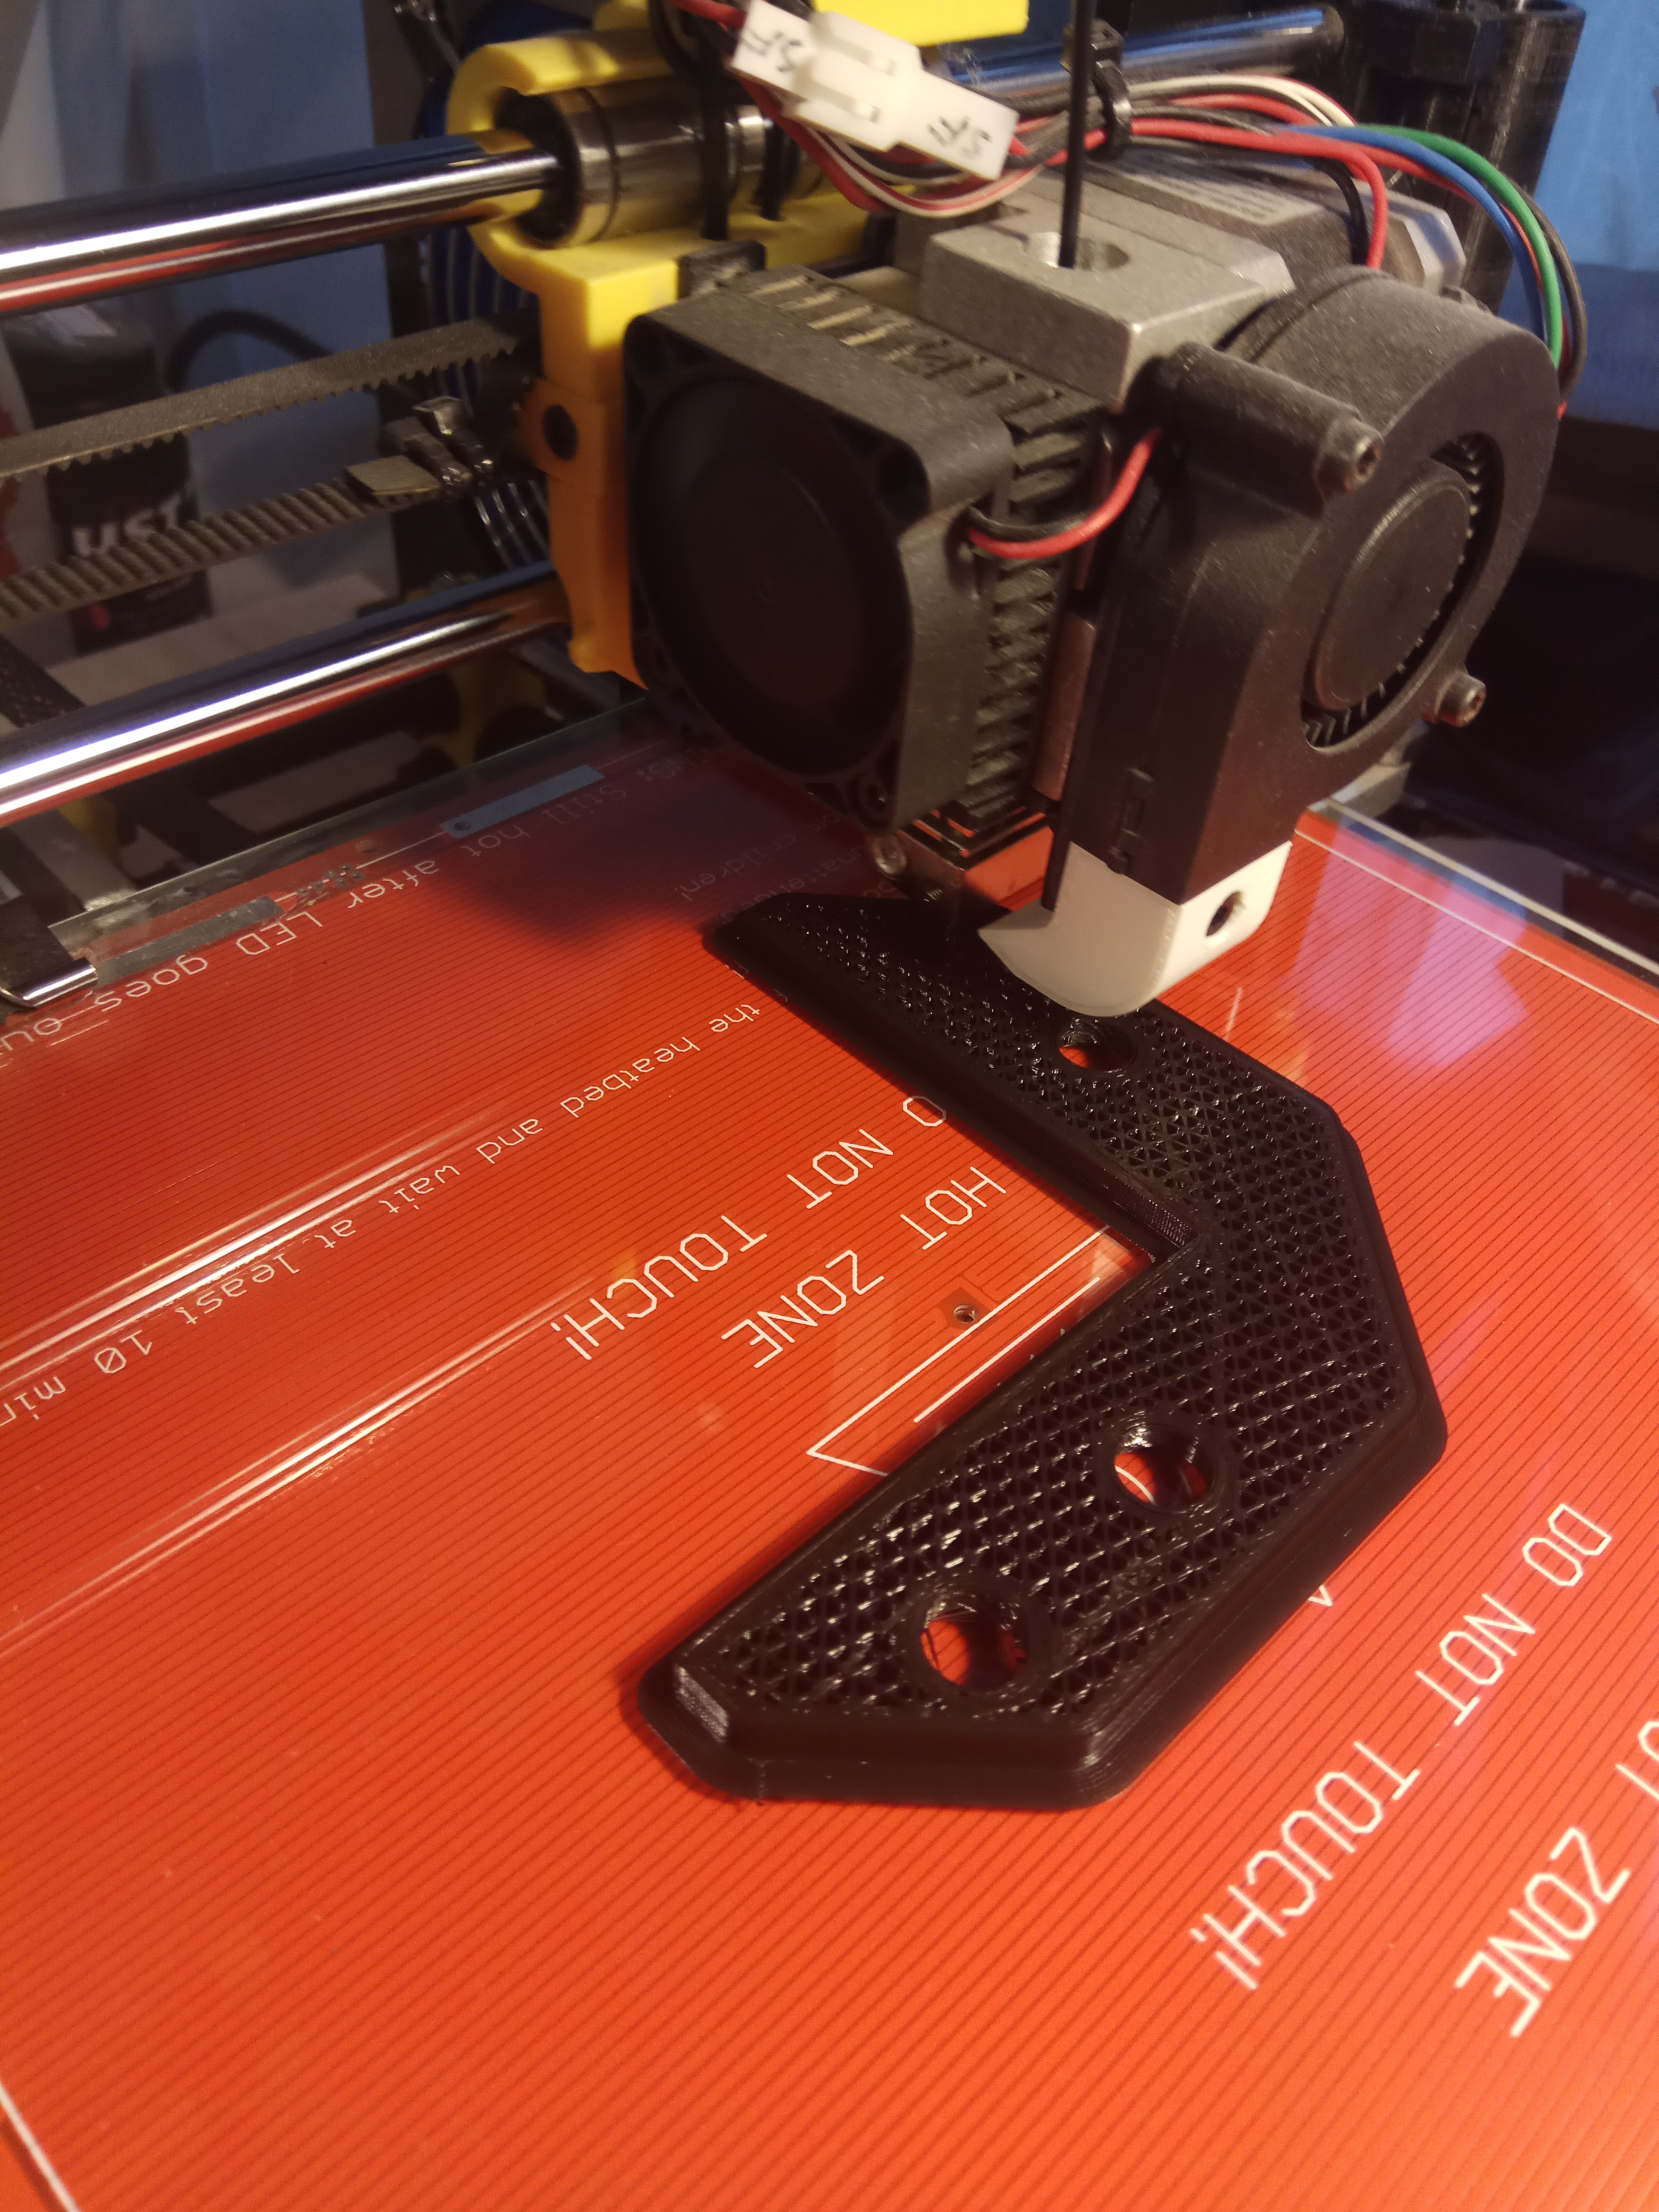
Ok, it all works… Uploaded my pic…PLA+ arrived, so I can start printing. 
1 Like
LOL There ya go that was funny thanks for the laugh.
Info on printing and my final settings, over on this thread…
Tried to post just the thread link, but it looks like it grabbed a specific post along with it.
Thats ok it will still take him there
Man, pretty quiet on here lately. Everybody must be milling good stuff  .
.
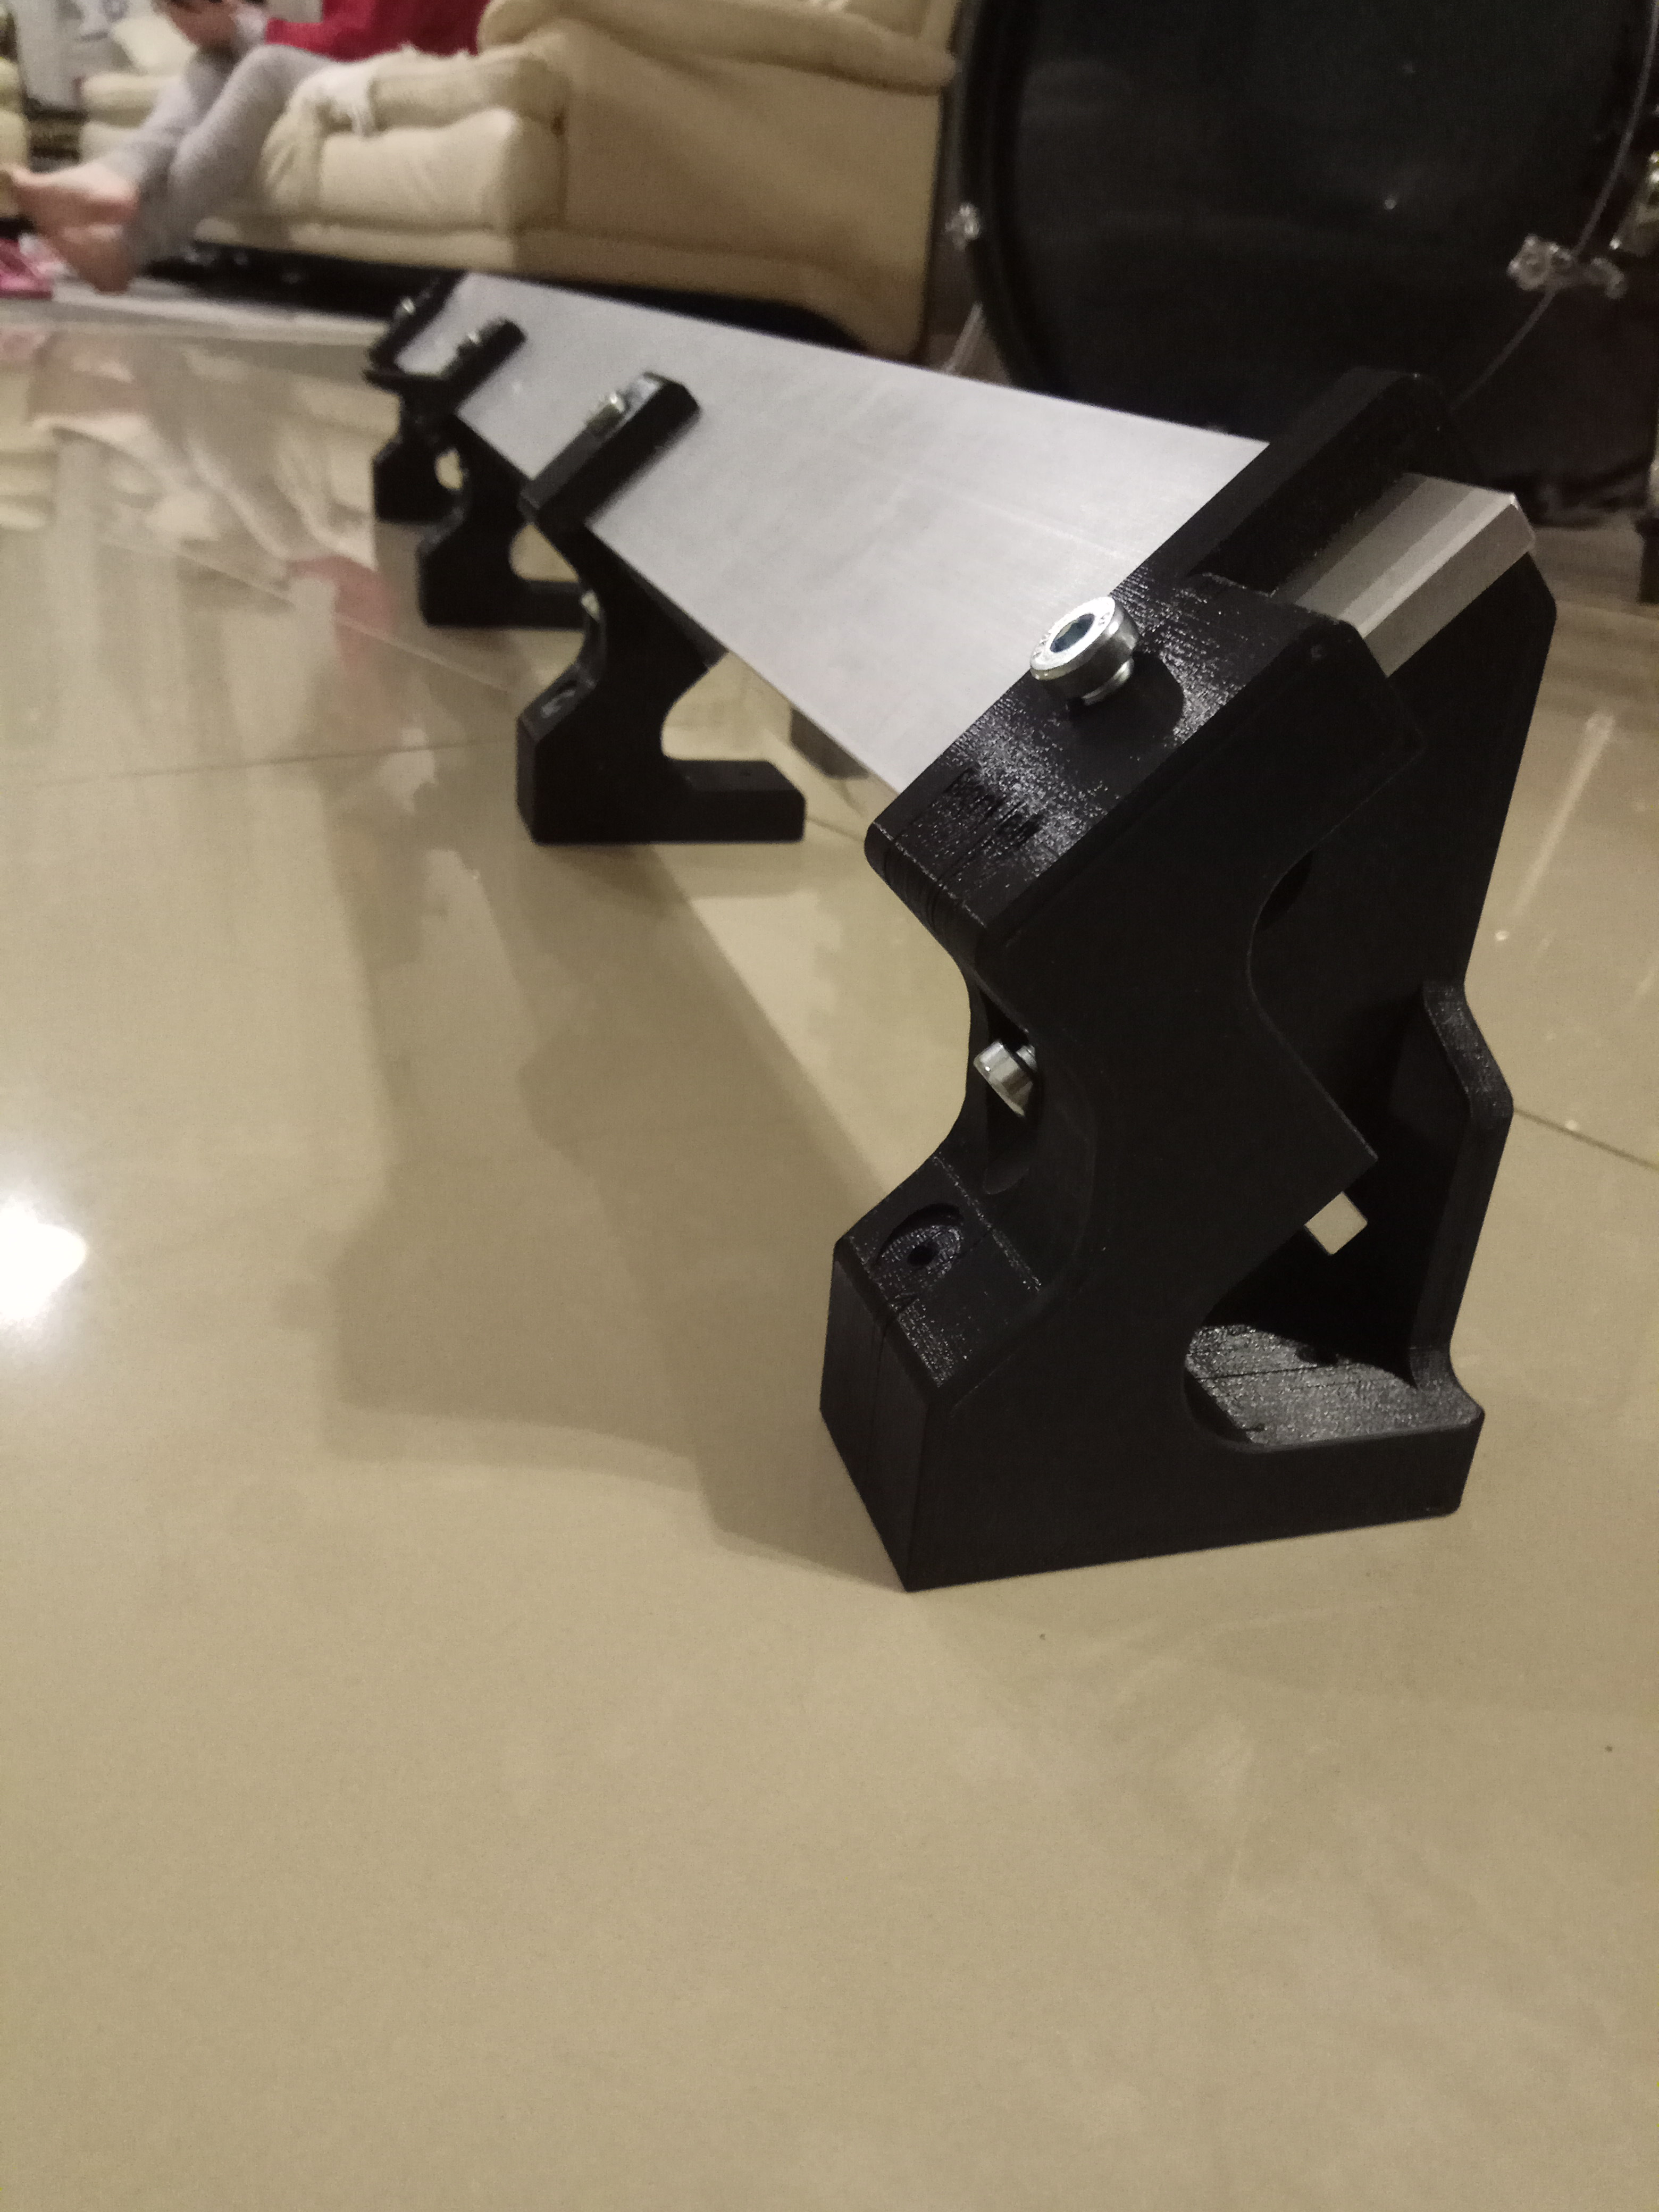
Well, I got all my parts printed. Sorry didn’t post my settings yet.
Working on the final drawings for the updated gantry plates ( modded since I’m using 70mm angle all axis)

1 Like
As part of my build, I’m looking for a way to connect a smoke detector to a relay, which powers my CNC. I want the detector to be smart, and text me, in the avent of an alarm. The router will be in my shed, covered by WiFi, but will run unsupervised on proven parts.
I’ve googled around, and I would need to combine a few builds I think.
DIY Smart Smoke Detector, is what they call it, but I would like to connect a relay.
I would use the same setup on my 3d printer, too.
Does anybody have some thoughts for me?
Thanks in advance
Never tried this or heard of doing it before but I’d imaging it would just require hooking the signal that triggers the buzzer circuit up to a relay and using the signal from there to control whatever you like. One thing you’d probably want to be careful of is that your added circuit doesn’t affect the original one in a way that the smoke detector doesn’t function properly (e.g. it doesn’t drain the battery pre-maturely). Of course you’d want to run a lot of testing to ensure that it will be reliable.
Chris, did you use the M5 through holes with lock nuts, on the gantry plates, for easier manufacturing? Or would you recommend me to drill and tap for M5 on my plates?
I would just use blue lock-tite if vibration is a concern. What do you think?
Yes we did it for easier manufacturing, I think you could drill and tap the plates with loctite just fine 
1 Like
I connected my 3d printer to a smoke alarm with one of these and it works well: https://www.sparkfun.com/products/14236
2 Likes
That looks like a quality unit. So if I understand it correctly, you have a hard wired signal coming from the smoke alarm? And then message to your phone via the IoT relay?
1 Like
I spliced the wires from the piezo buzzer on my alarm and connected them to the IoT relay control input. My printer is powered from the “normally on” socket. When the alarm fires, power is disconnected from the printer (to stop it from running).
If you want to send a text message/email/etc, you could insert a 3v supply to the “normally off” socket and connect this output to a raspberry pi, esp32, or whatever GPIO to trigger a logic high when the alarm fires.
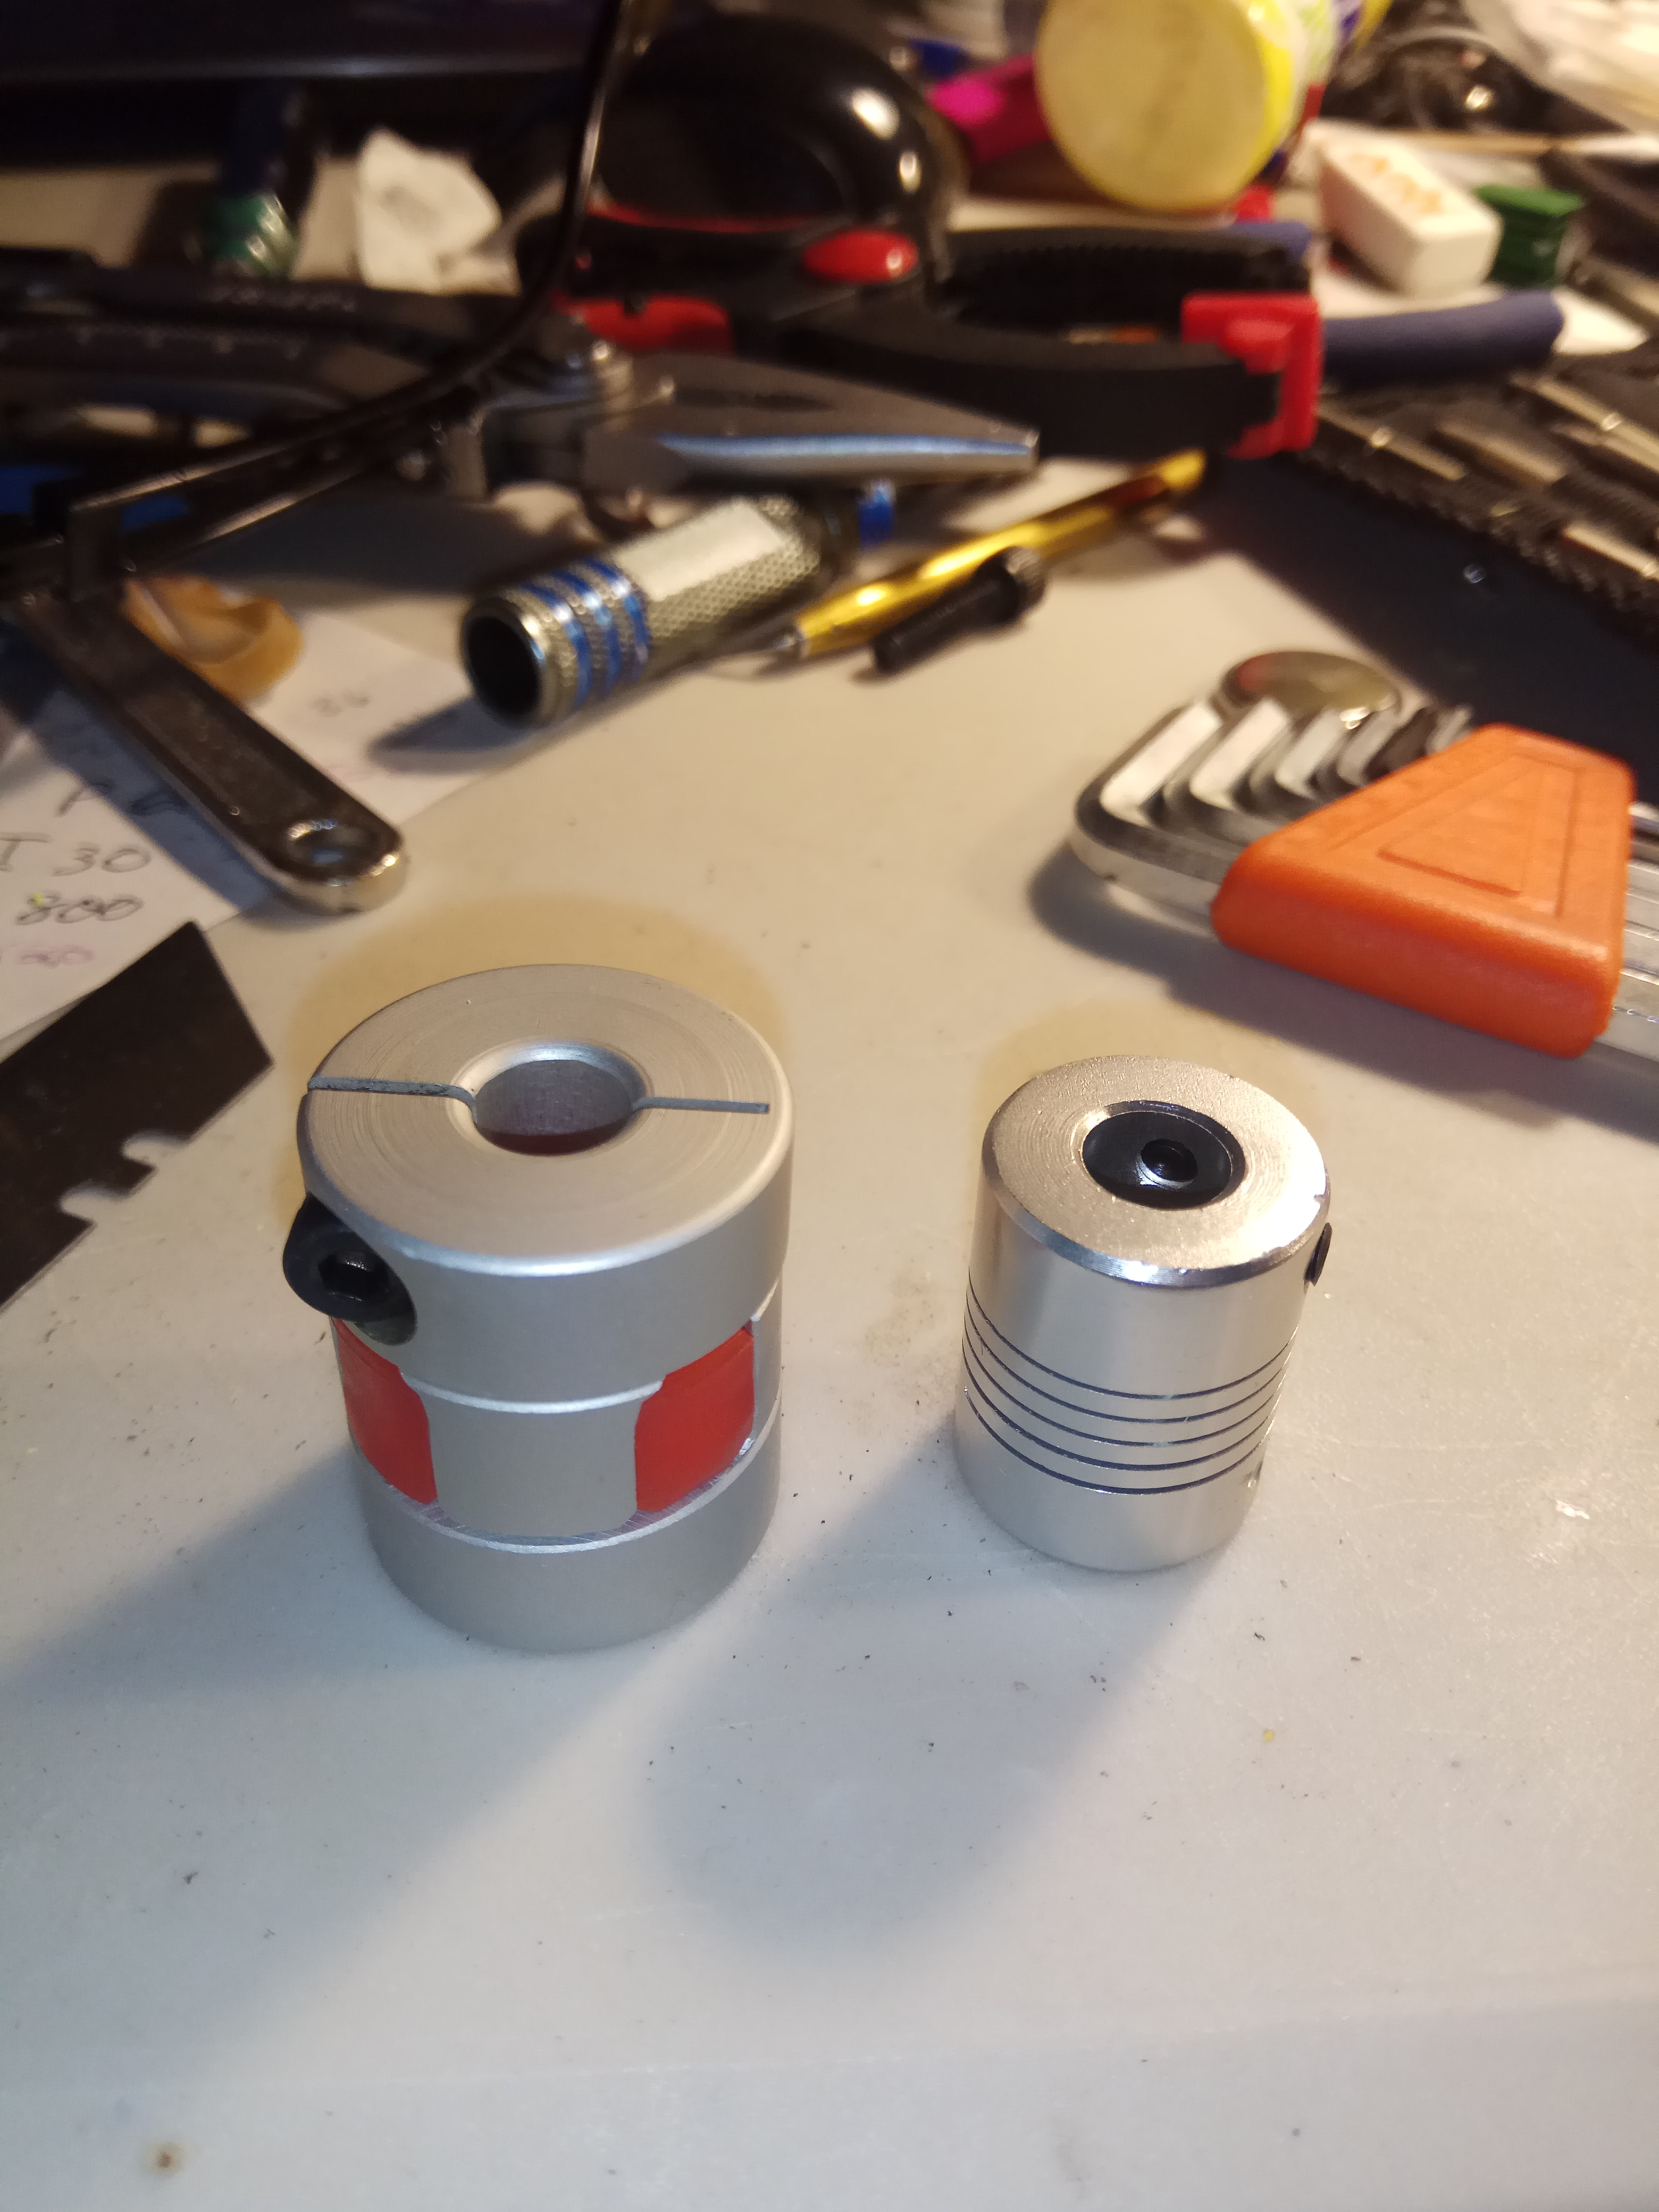
The coupling on the left is better. The spring coupling doesn’t couple rotational motion very well
Perfect! Thanks for the precise information!
1 Like