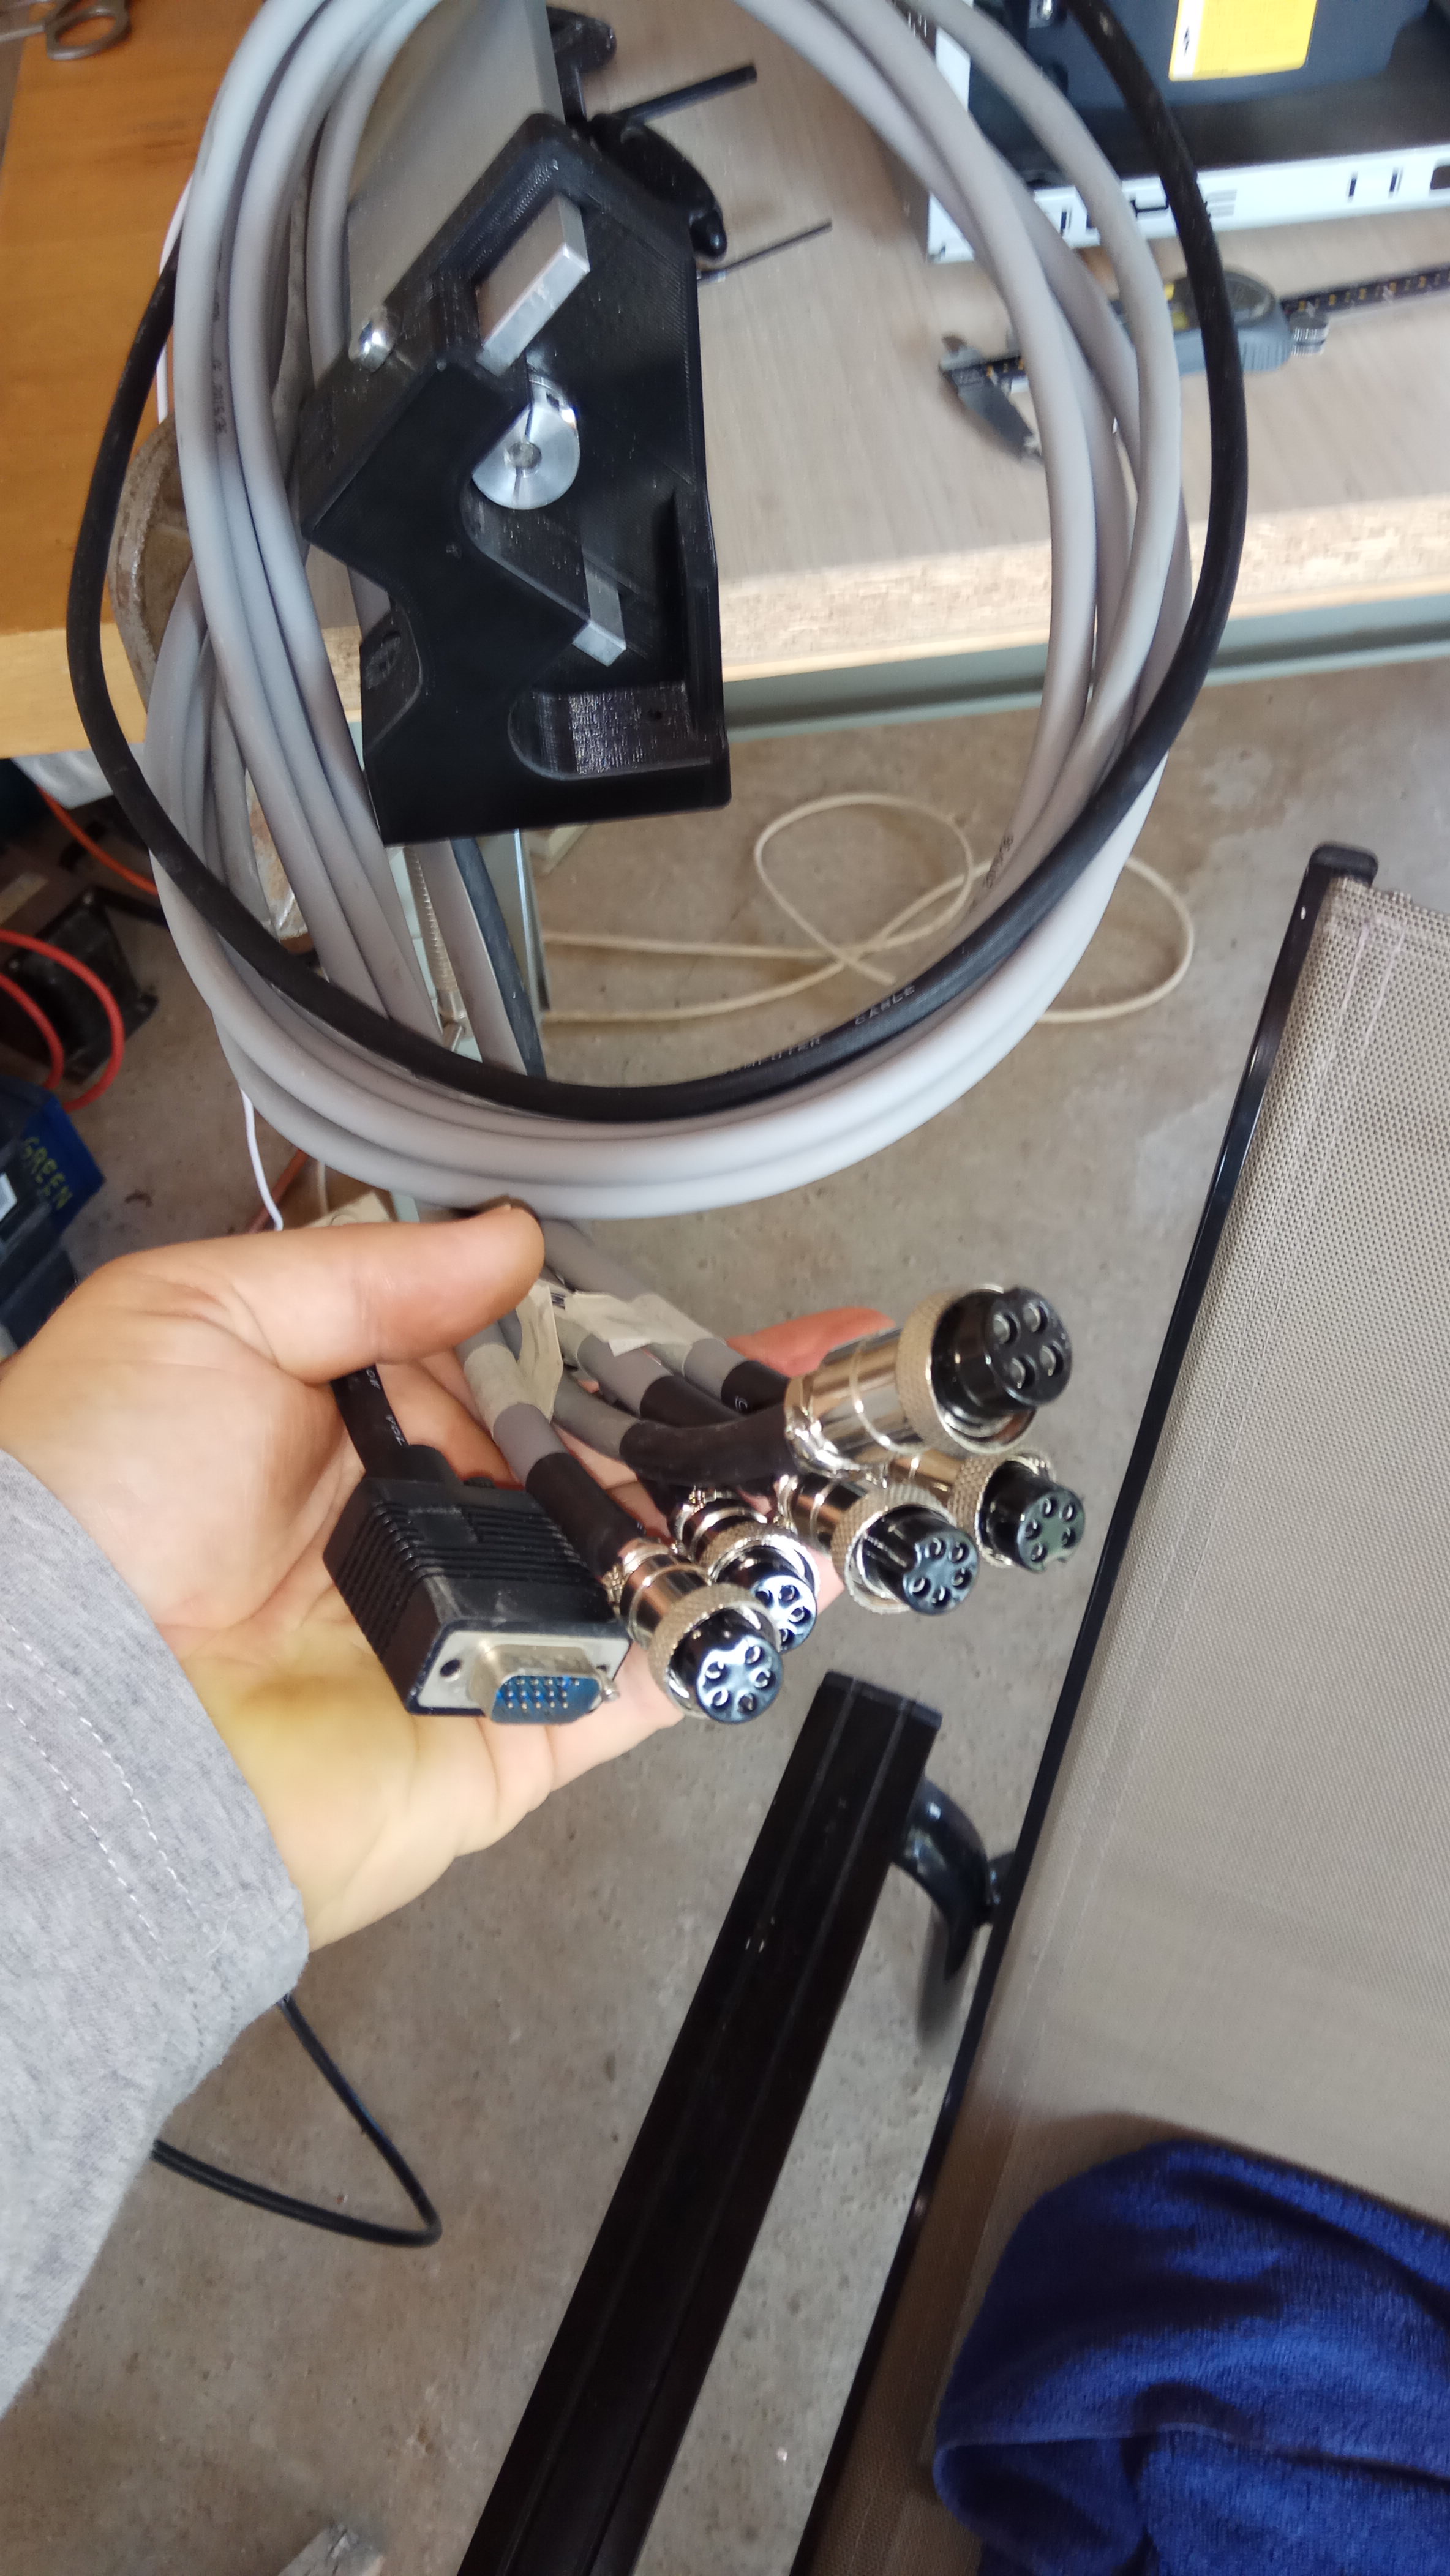
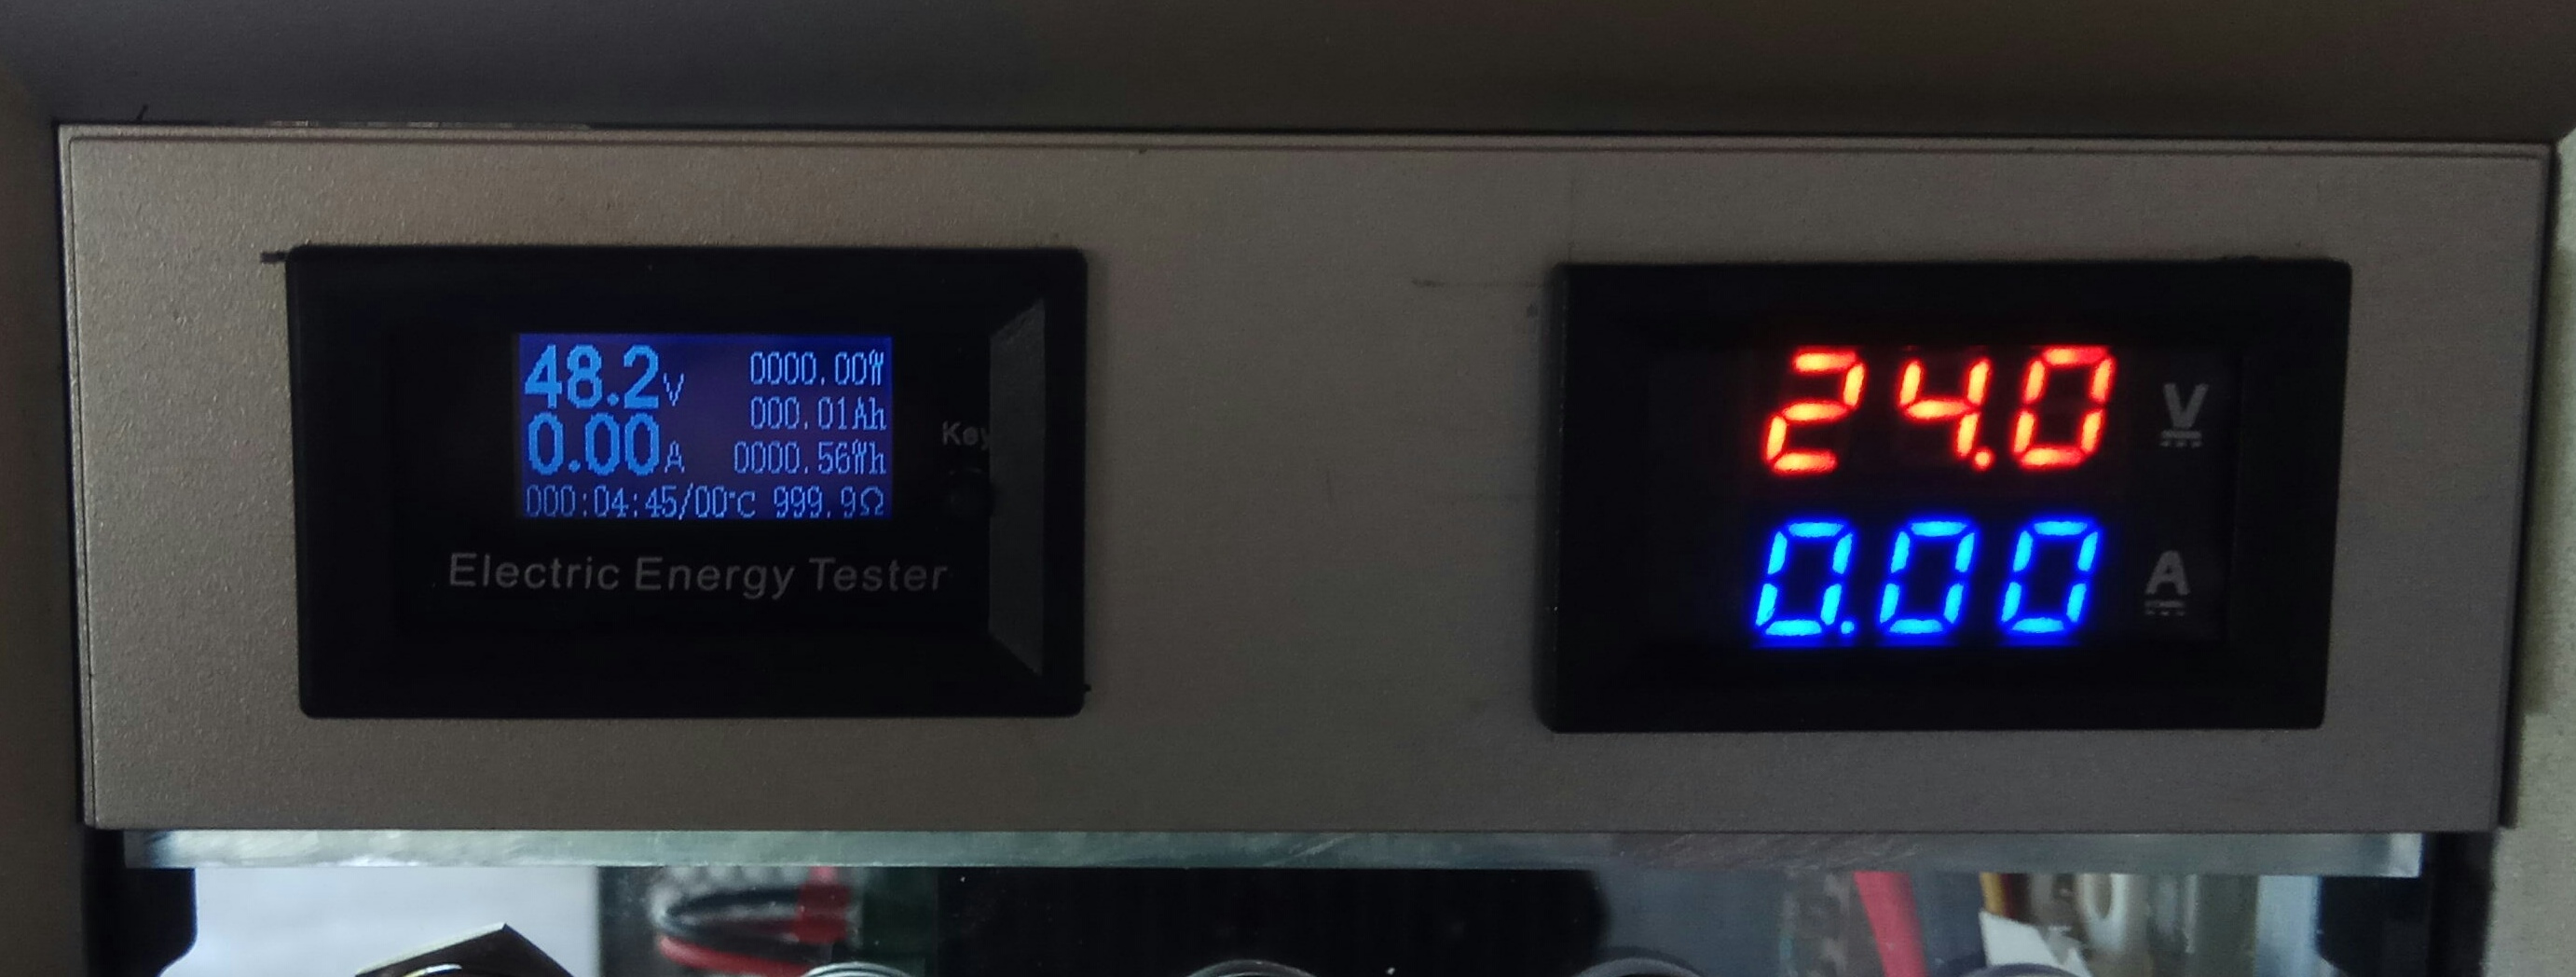
Power meters… The 48v meter is REALLY small, but it has a lot of features. I tried that one, because it has real screw terminals to handle 20amps.
The 24v meter is good for 10amps and has only JST plugs.
1 Like
Hello Hansi,
I am building my own LongMill. I live in Canada so I have purchased some of the parts from Sienci. I have printed my own plastic parts and I want to make my own aluminum rails. I also want to put together my own controller with Arduino and microstep drivers. Do you know what the microstep pulse setting should be on the driver?
Hi Neil:
Welcome to the group!
I experimented at first with 800 pulses per rev, and now I went up to 1600 pulses per rev.
Note though, that I am not milling yet… Just running motors and axis.
Please keep us updated on your Arduino build. I considered that at first too, and then went down the ddcsv route.
We have a team at work starting to build automation with Arduino’s, and would love to see how things go for you. Keep a close eye on shielding. 5v and 3.3v is really low and sensitive to EMI.
Hansi
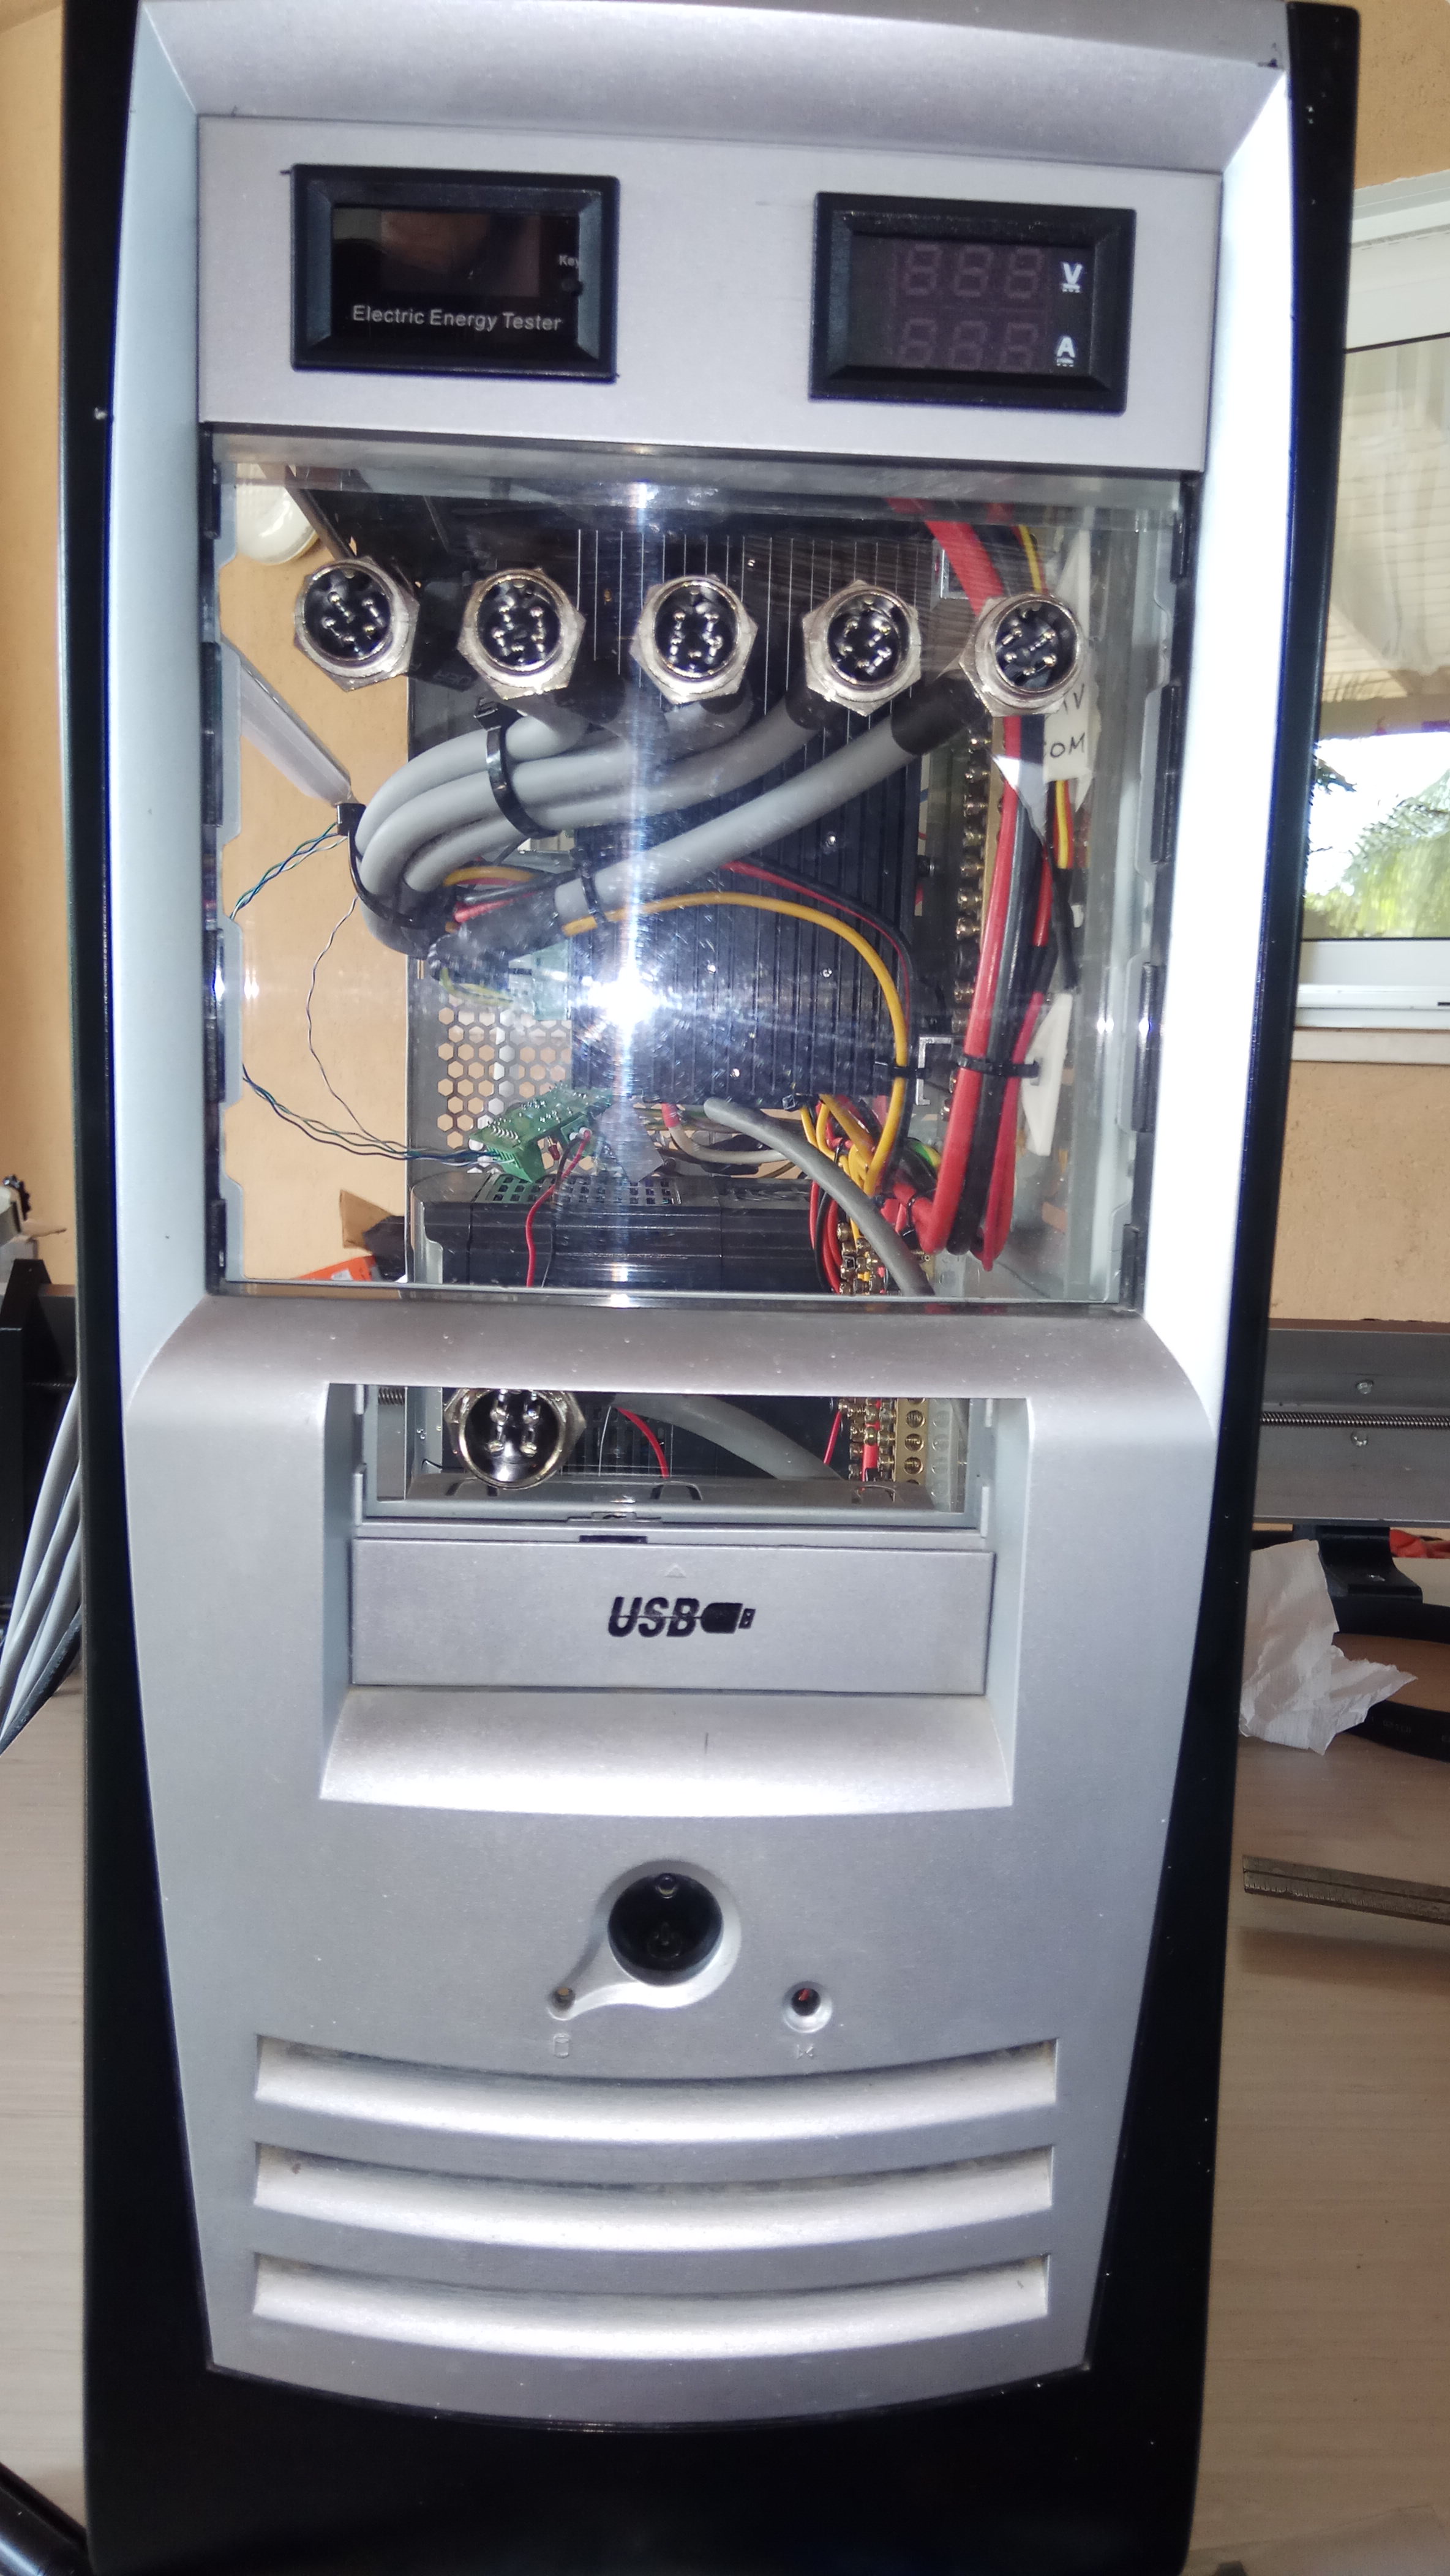
I really like the ATX case idea to house the various electronics. Now that I’ve added the sensors and related wiring and the relay board in between, I’m wondering how to wrangle it all in to a safe and manageable place. This is a great solution. Did you just drill holes where required or did you adapt to standard mounting formats found inside a PC?
In place of the motherboard, I put in a piece of lexan, Plexi glass, acrylic or whatever you have available. This way you can drill and tap mounting holes whenever you like… Actually very convenient. Just like panel building.
Great idea. I need to pick some up.
You can use anything you find… Some guys have used this plywood too.
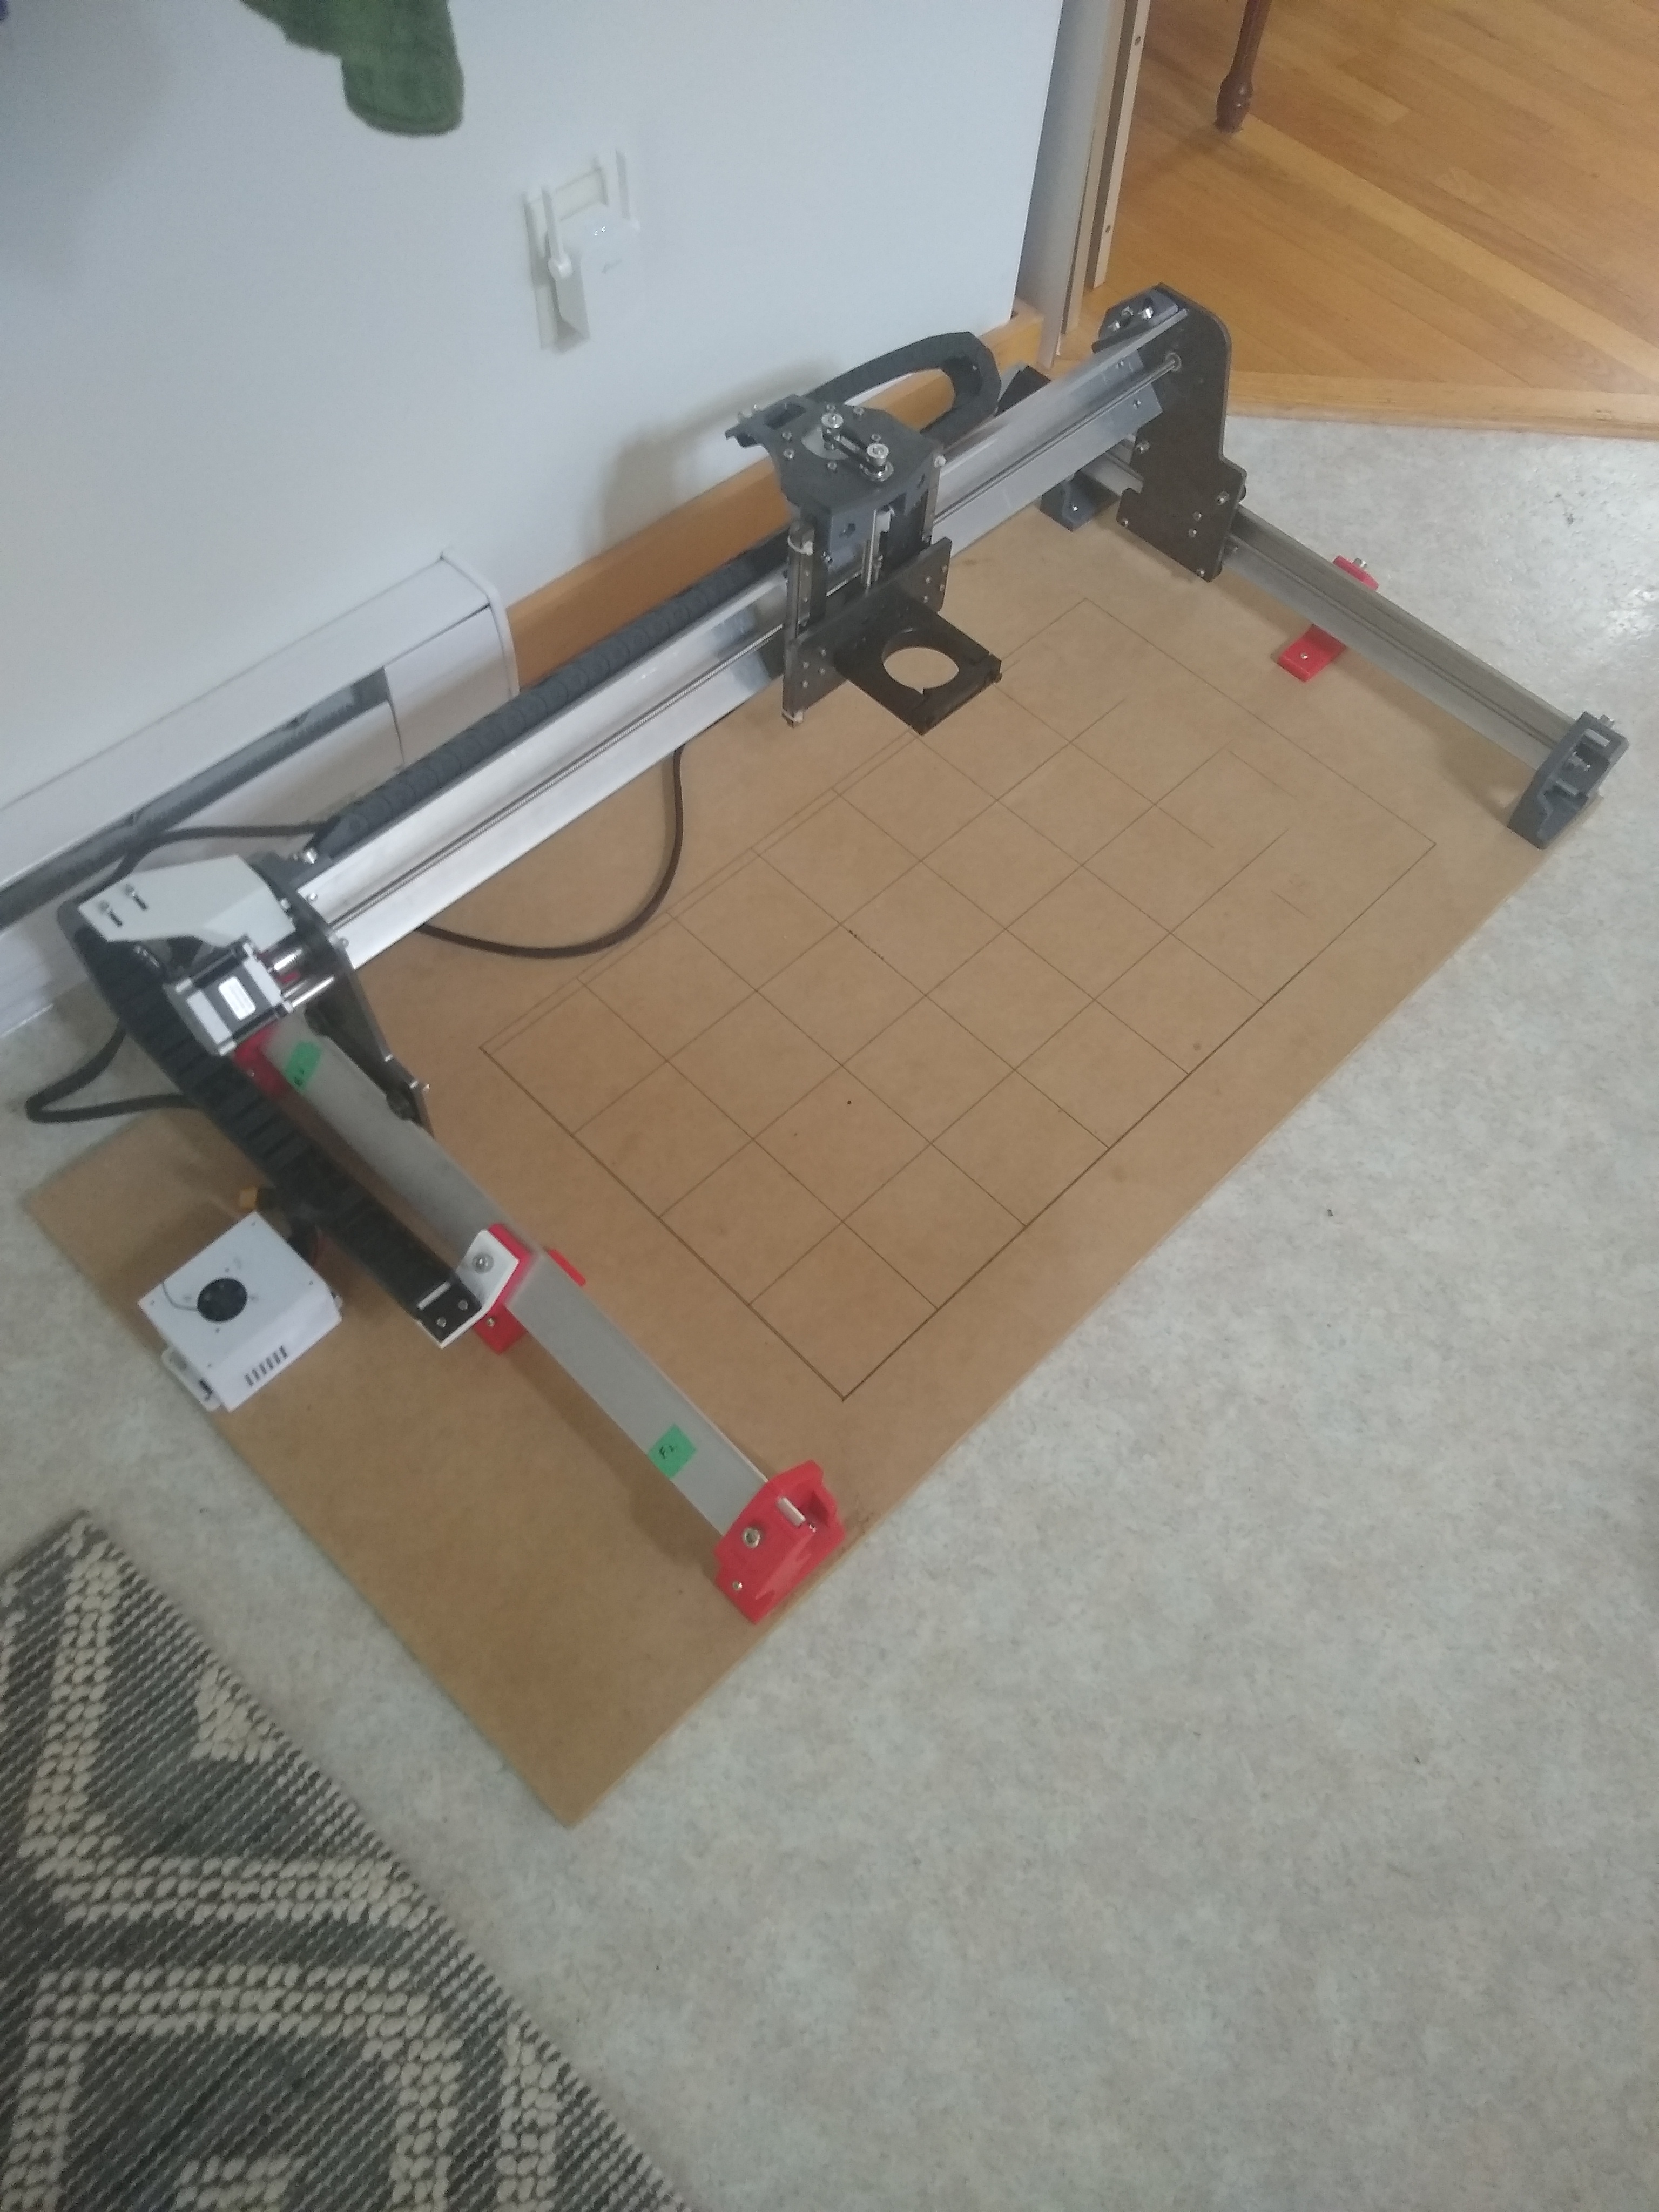
Oh yes! Very nice!
Glad to see somebody else hit the scratch build road, 

1 Like
How did you cut them Hansi?