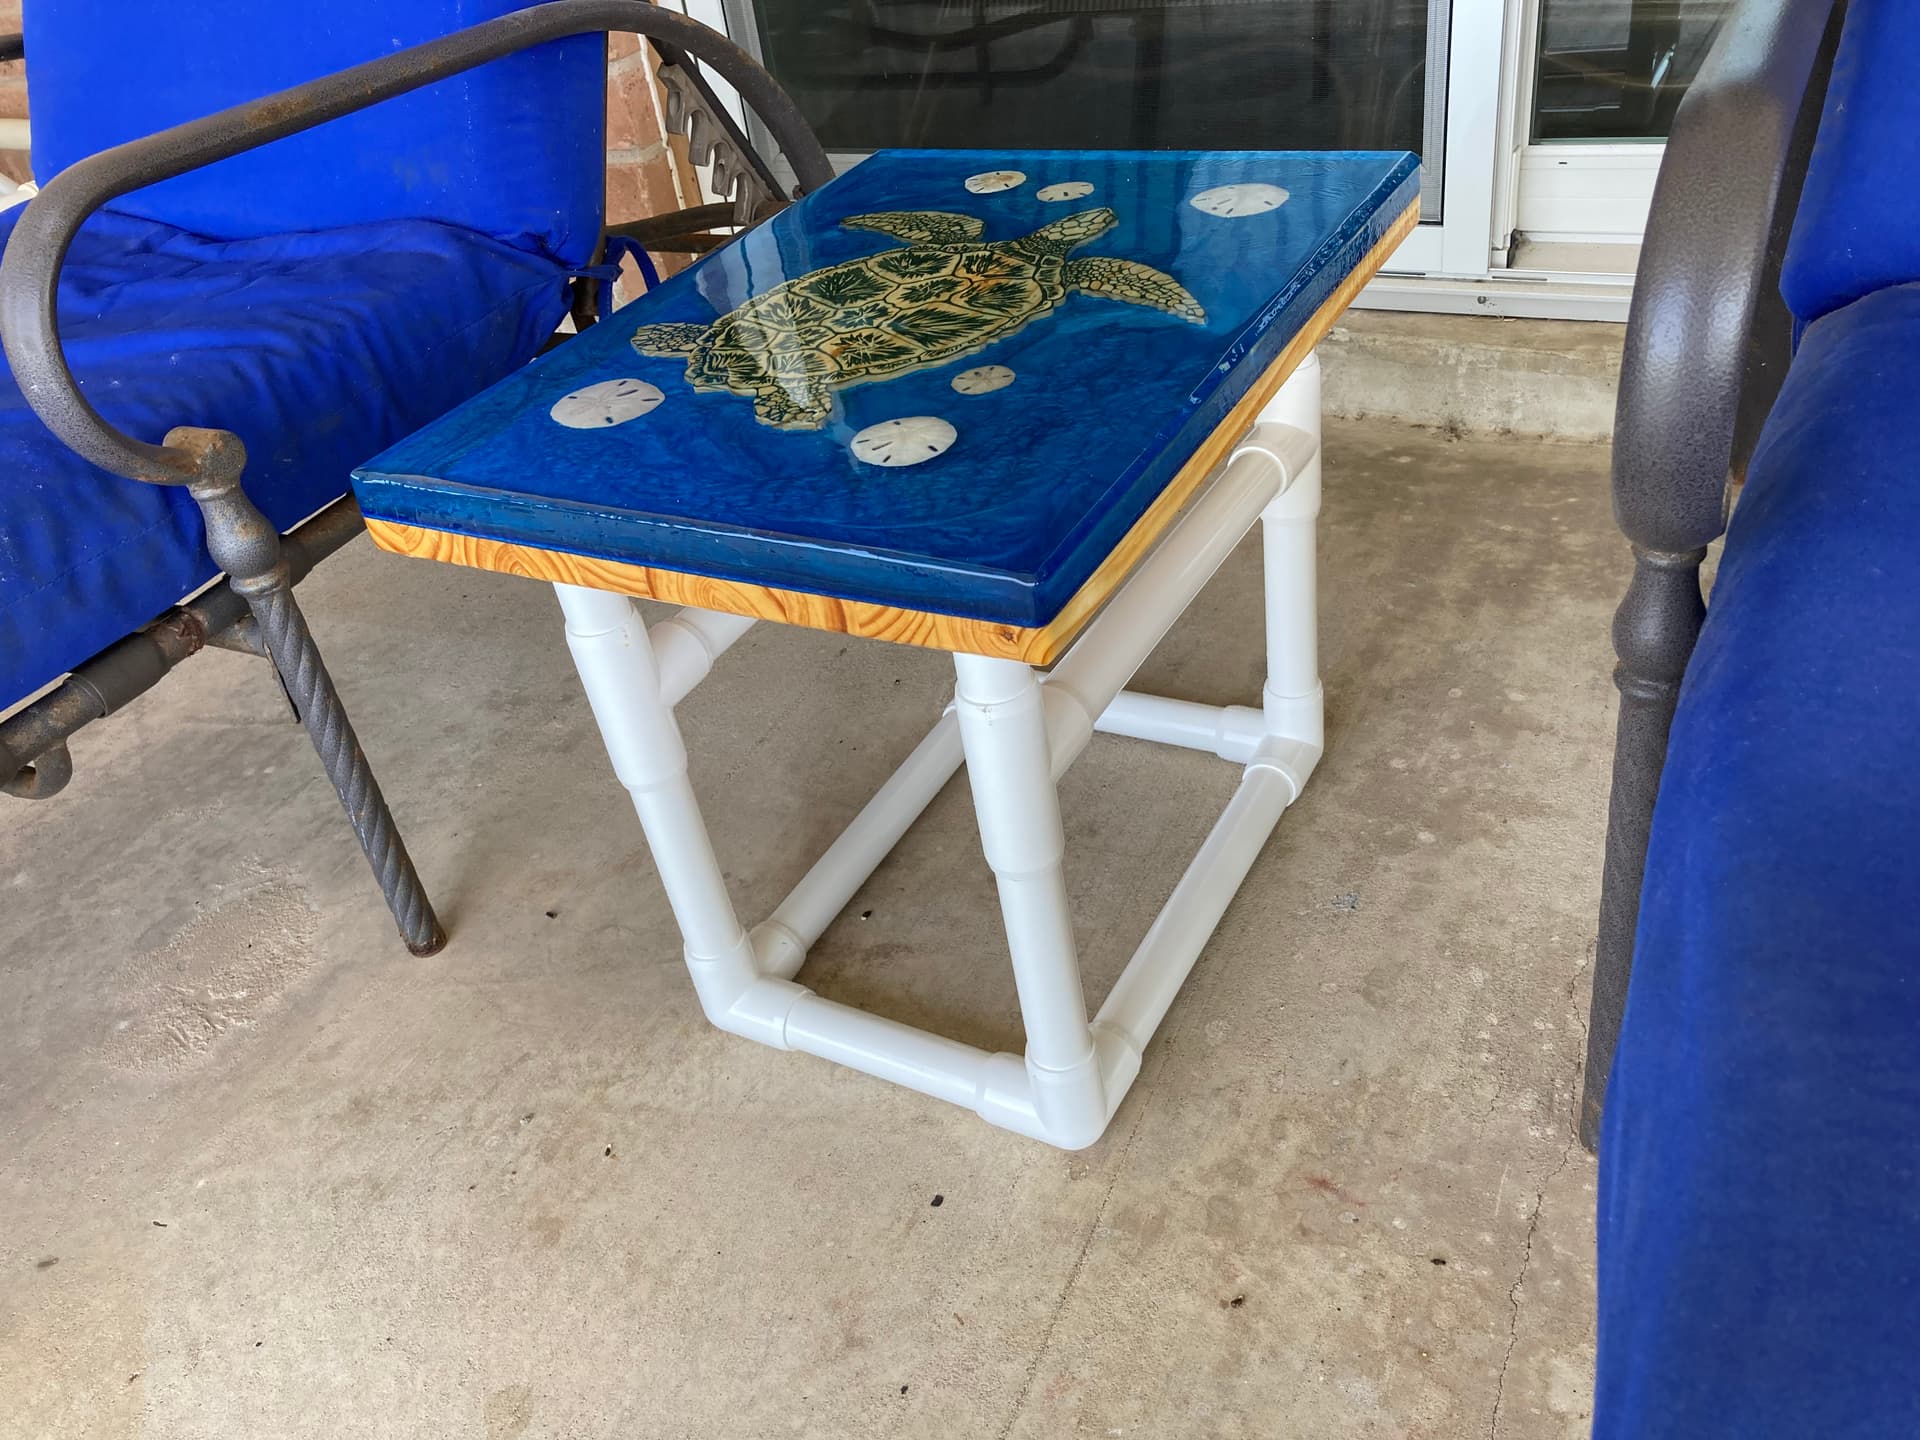
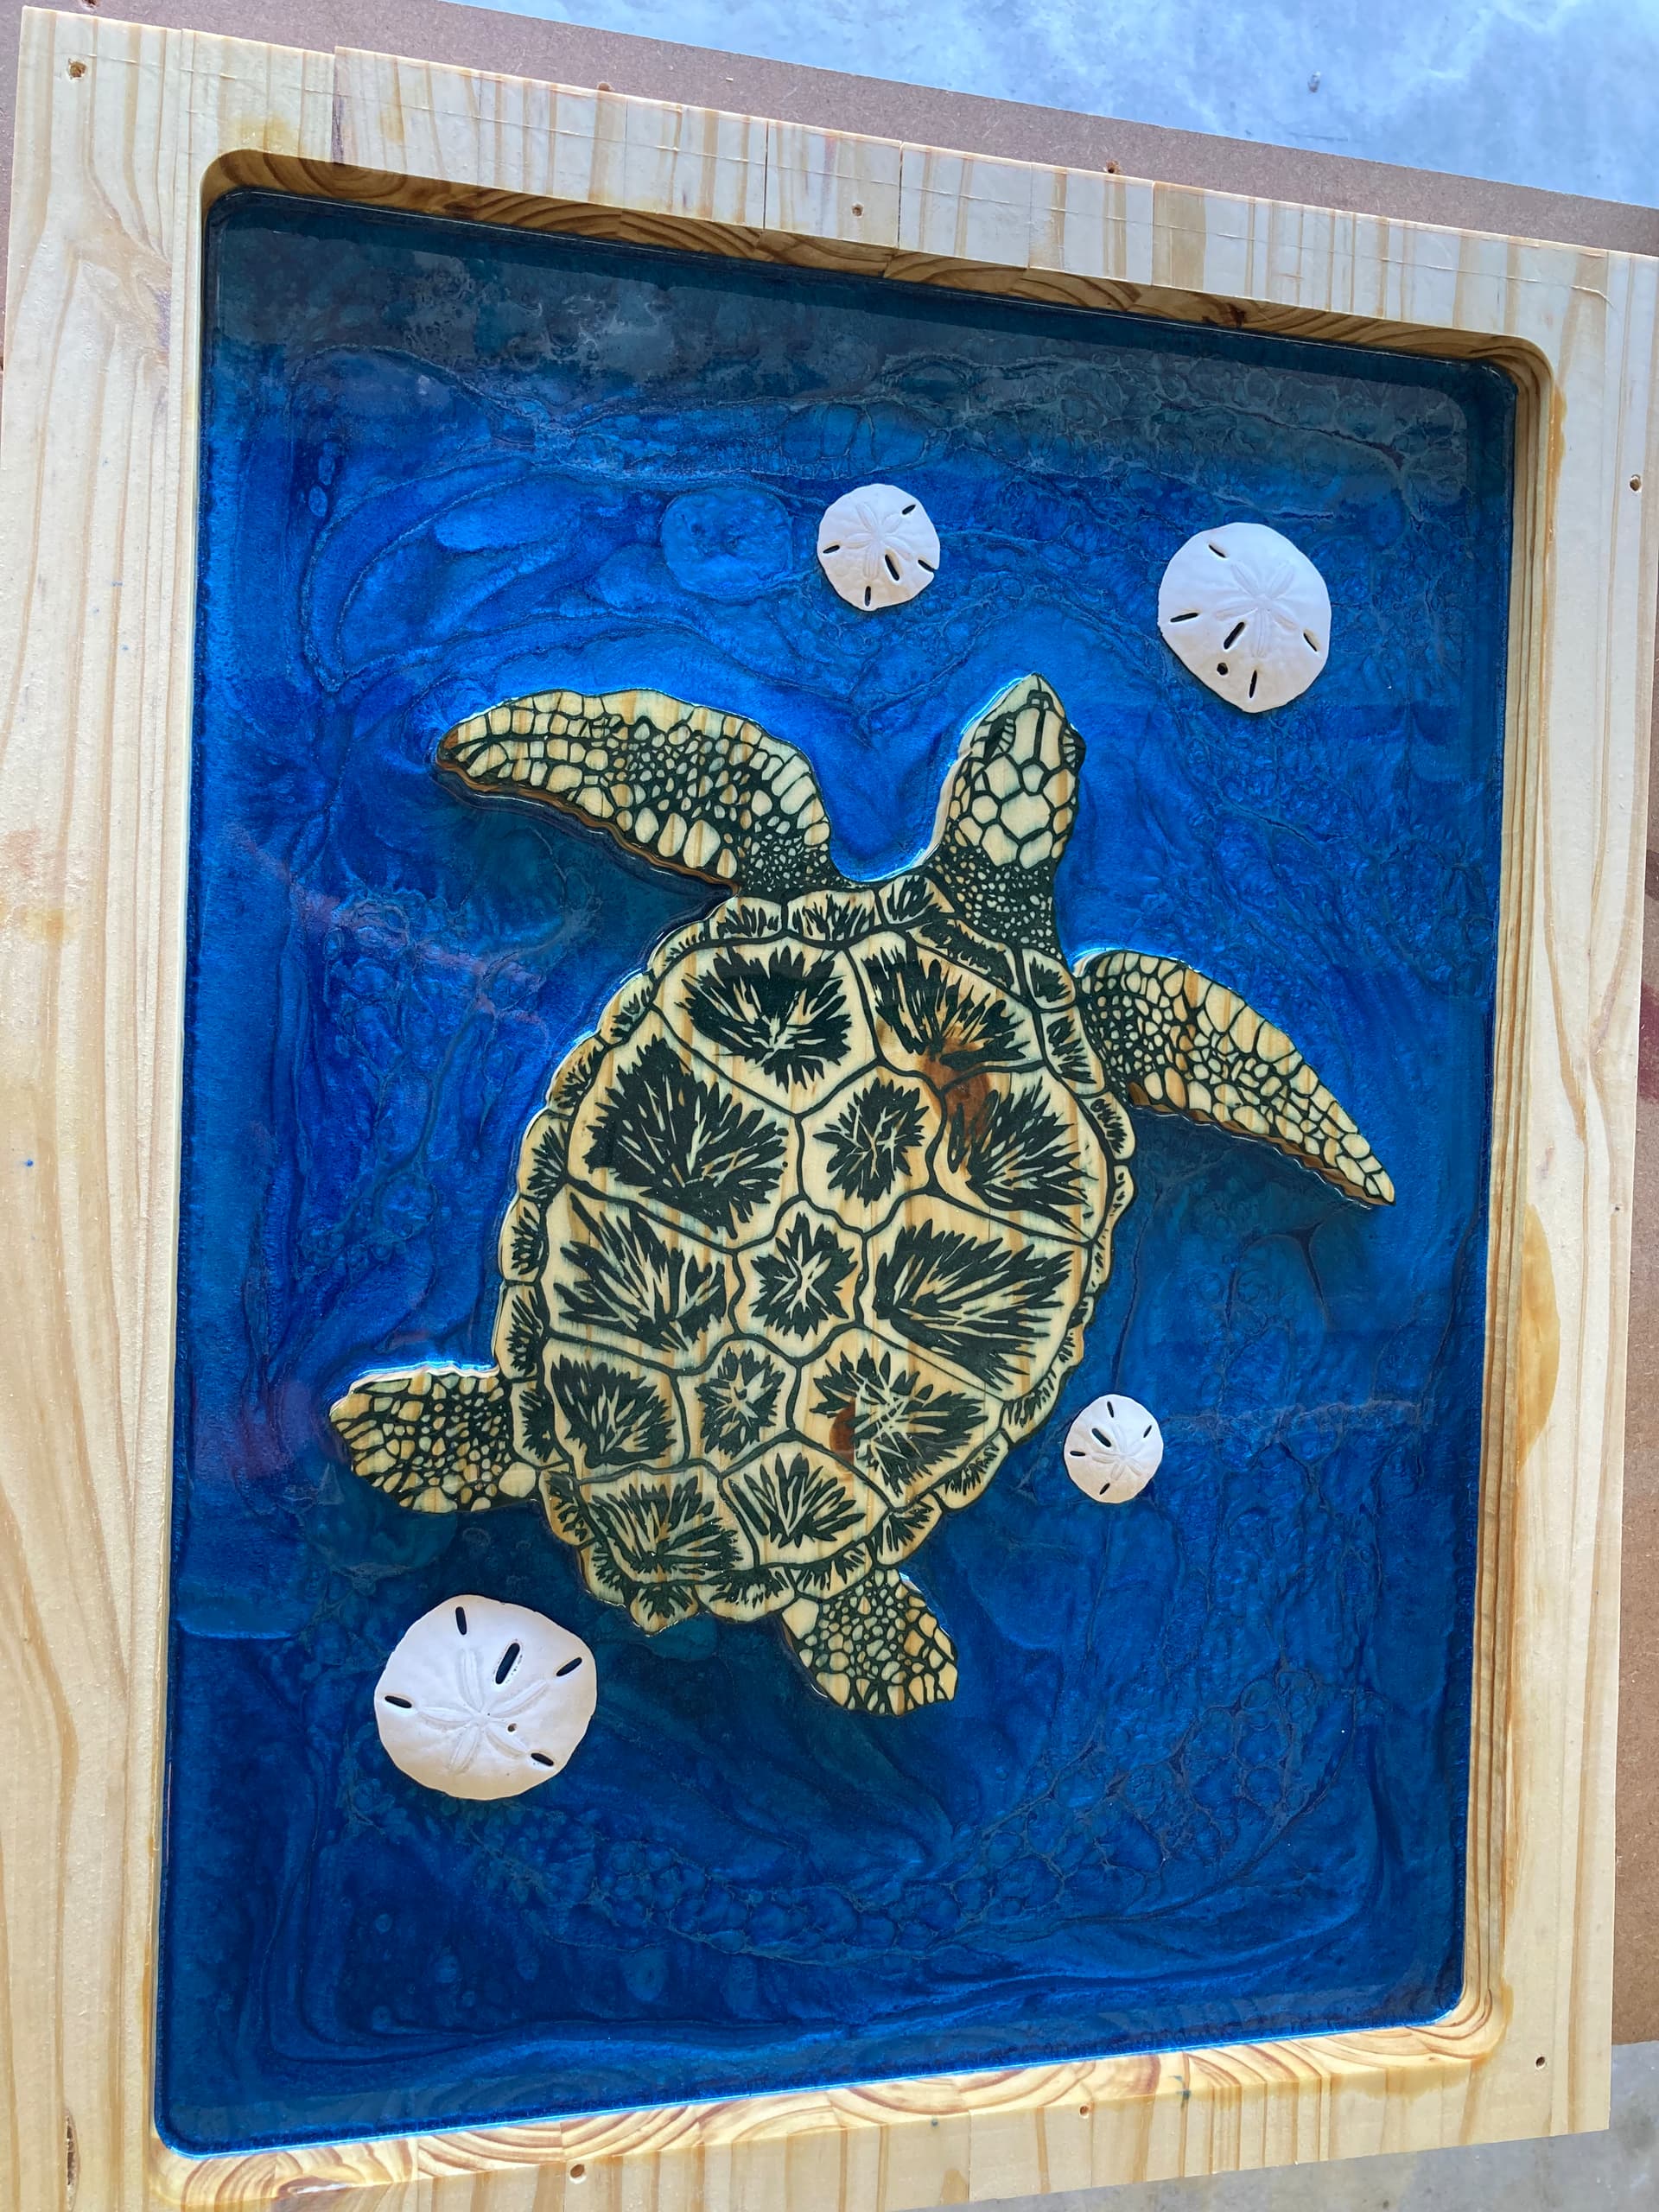
Since we live on the coast, green turtle seemed appropriate.
6 Likes
Nice work!I have never used epoxy. It looks quite an expensive purchase in the UK to get sufficient for a job like that. Did it take long to complete the epoxy phase of that project? Is the epoxy surface resistant to heat. e.g. say… a hot pan removed from a cooking device. Could that be stood directly onto the epoxy with damaging it?
This took almost 2 gallons of epoxy. All I had was flood coat type, limited to 1/4 inch per pour, so it took a couple of days to do the total pour. No epoxy that I am familiar with will handle very hot contact - a hot cup of tea is fine, but not a pan.
1 Like
OK. A two gallon kit from the Amazon link below would cost £277.94 ($338.39) without any colouring. There are many different types of epoxy available and I would not know which is the most appropriate type.
Unfortunately, many vendors sell kits measured by the ounce, pound, kilogram or millilitre. The USA gallon is smaller than an imperial gallon by a factor of 16.7%.
The following link looks to be the right place to buy a kit with pre-coloured resins. This looks to be an expensive hobby though.
I admire the amount of work you put into that table and the finish has made it well worth the effort. I should save some cash and see what I can produce.
I have wanted to do some epoxy work like this. Looks great!
https://www.amazon.com/Crystal-Clear-Table-Coating-Tabletop/dp/B01M1RAW6D/?encoding=UTF8&pd_rd_w=LYpeD&content-id=amzn1.sym.5fe95cd4-8512-42fa-bf21-63d83b898785&pf_rd_p=5fe95cd4-8512-42fa-bf21-63d83b898785&pf_rd_r=GBQASB2C8K46SJ8YDZ7E&pd_rd_wg=86pVe&pd_rd_r=5075f81e-6bd7-42e8-a7da-7c27e15e0876&ref=pd_gw_ci_mcx_mr_hp_atf_m
This is the epoxy I used. Color was : https://www.amazon.com/dp/B076KRPJ3L?psc=1&ref=ppx_yo2ov_dt_b_product_details
1 Like
Thanks for the link. The resin is out of stock for now. ![]()
@mhforbes Very nicely done, Morris. Thank you for posting. Did you use the Long Mill for the individual pieces?
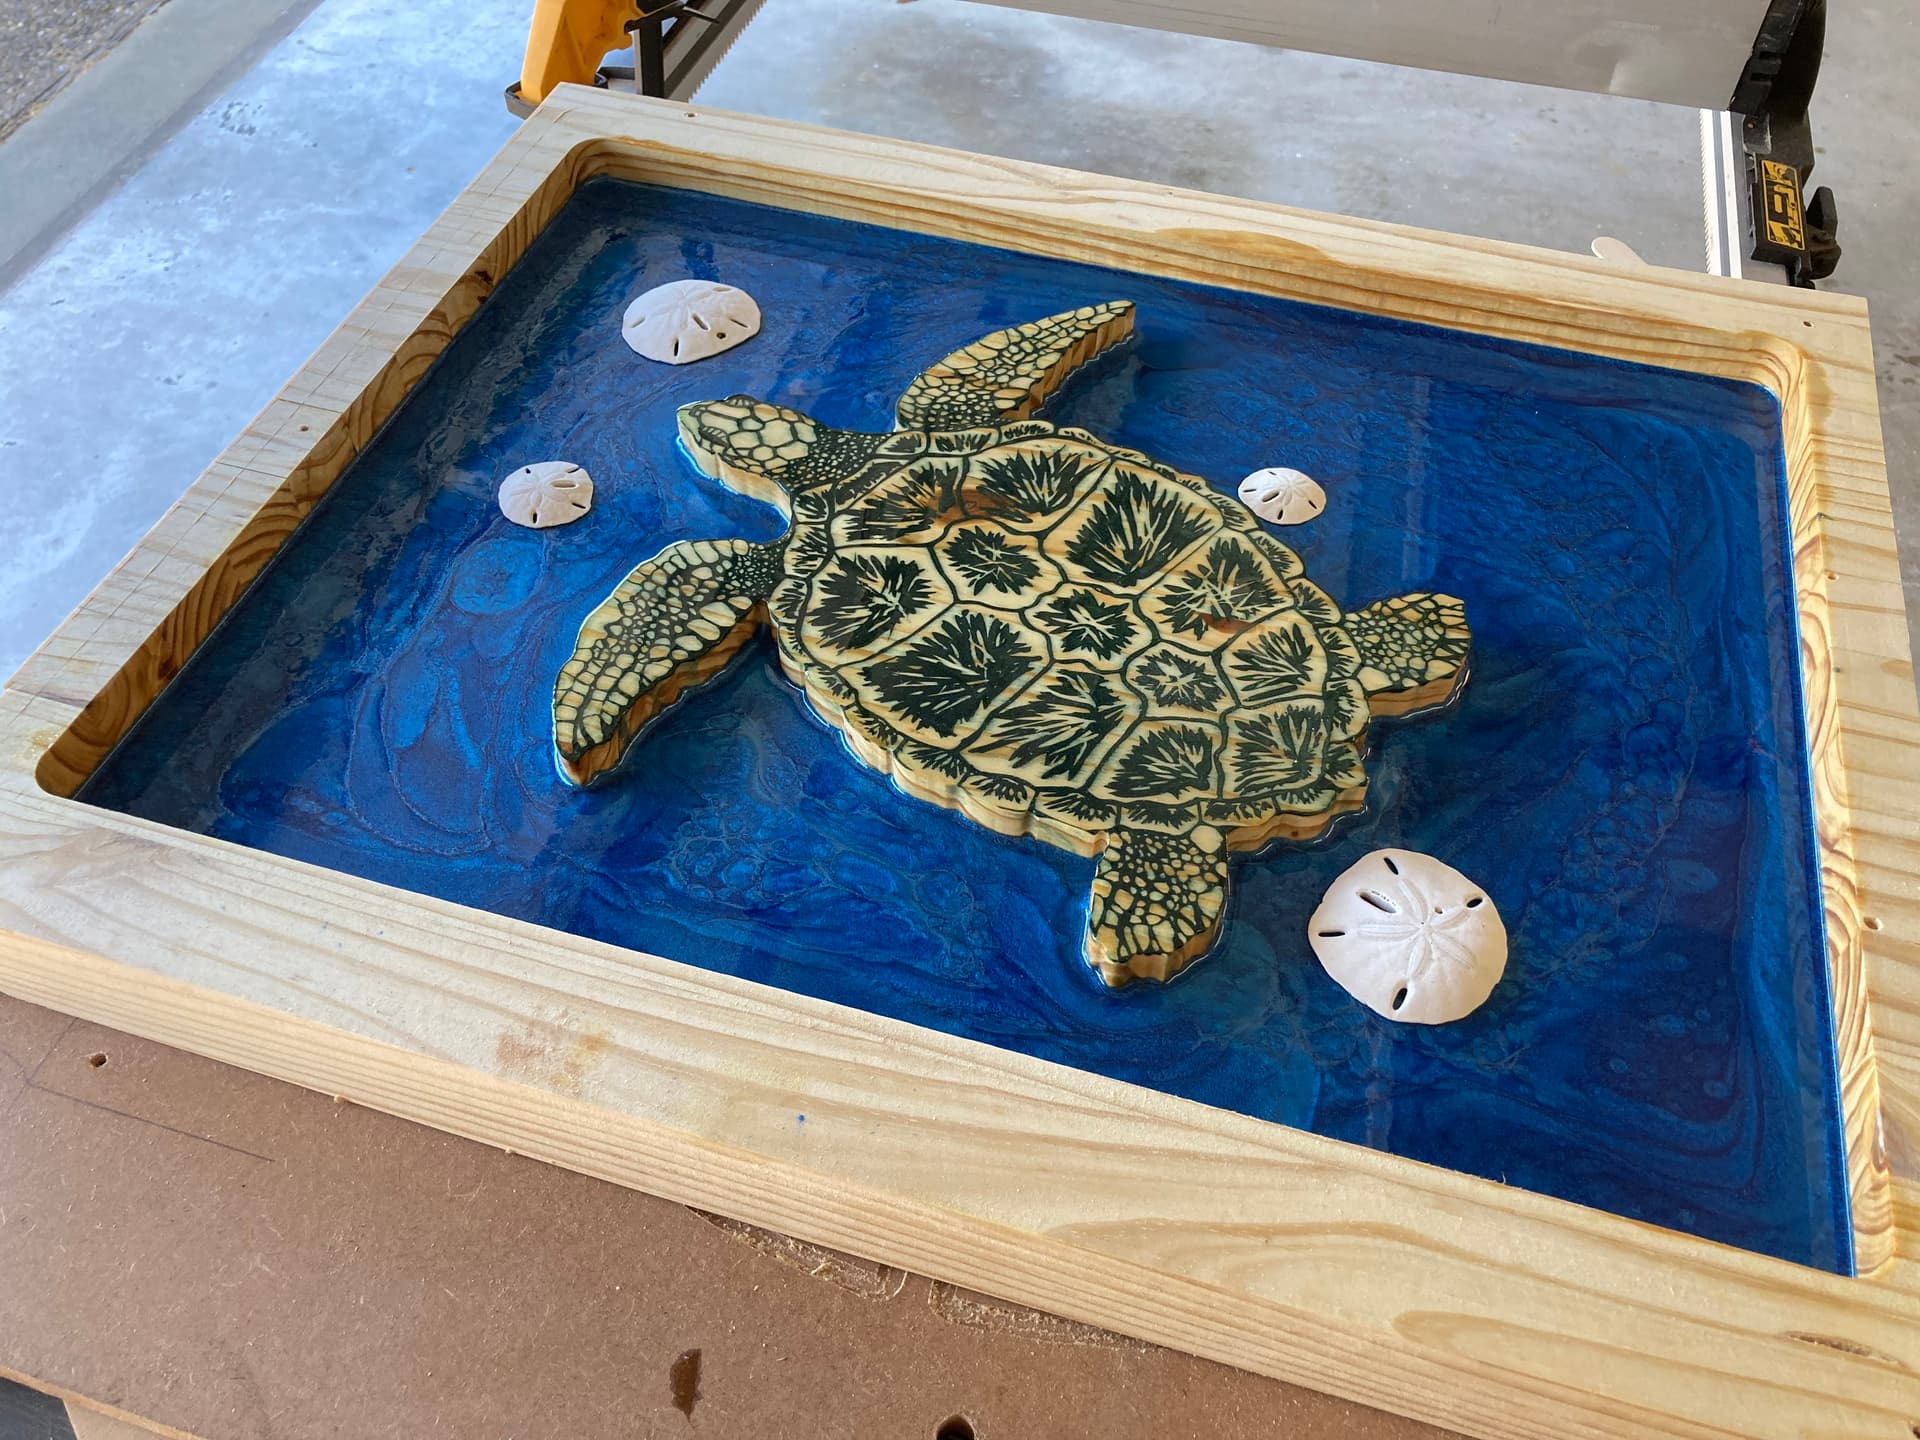
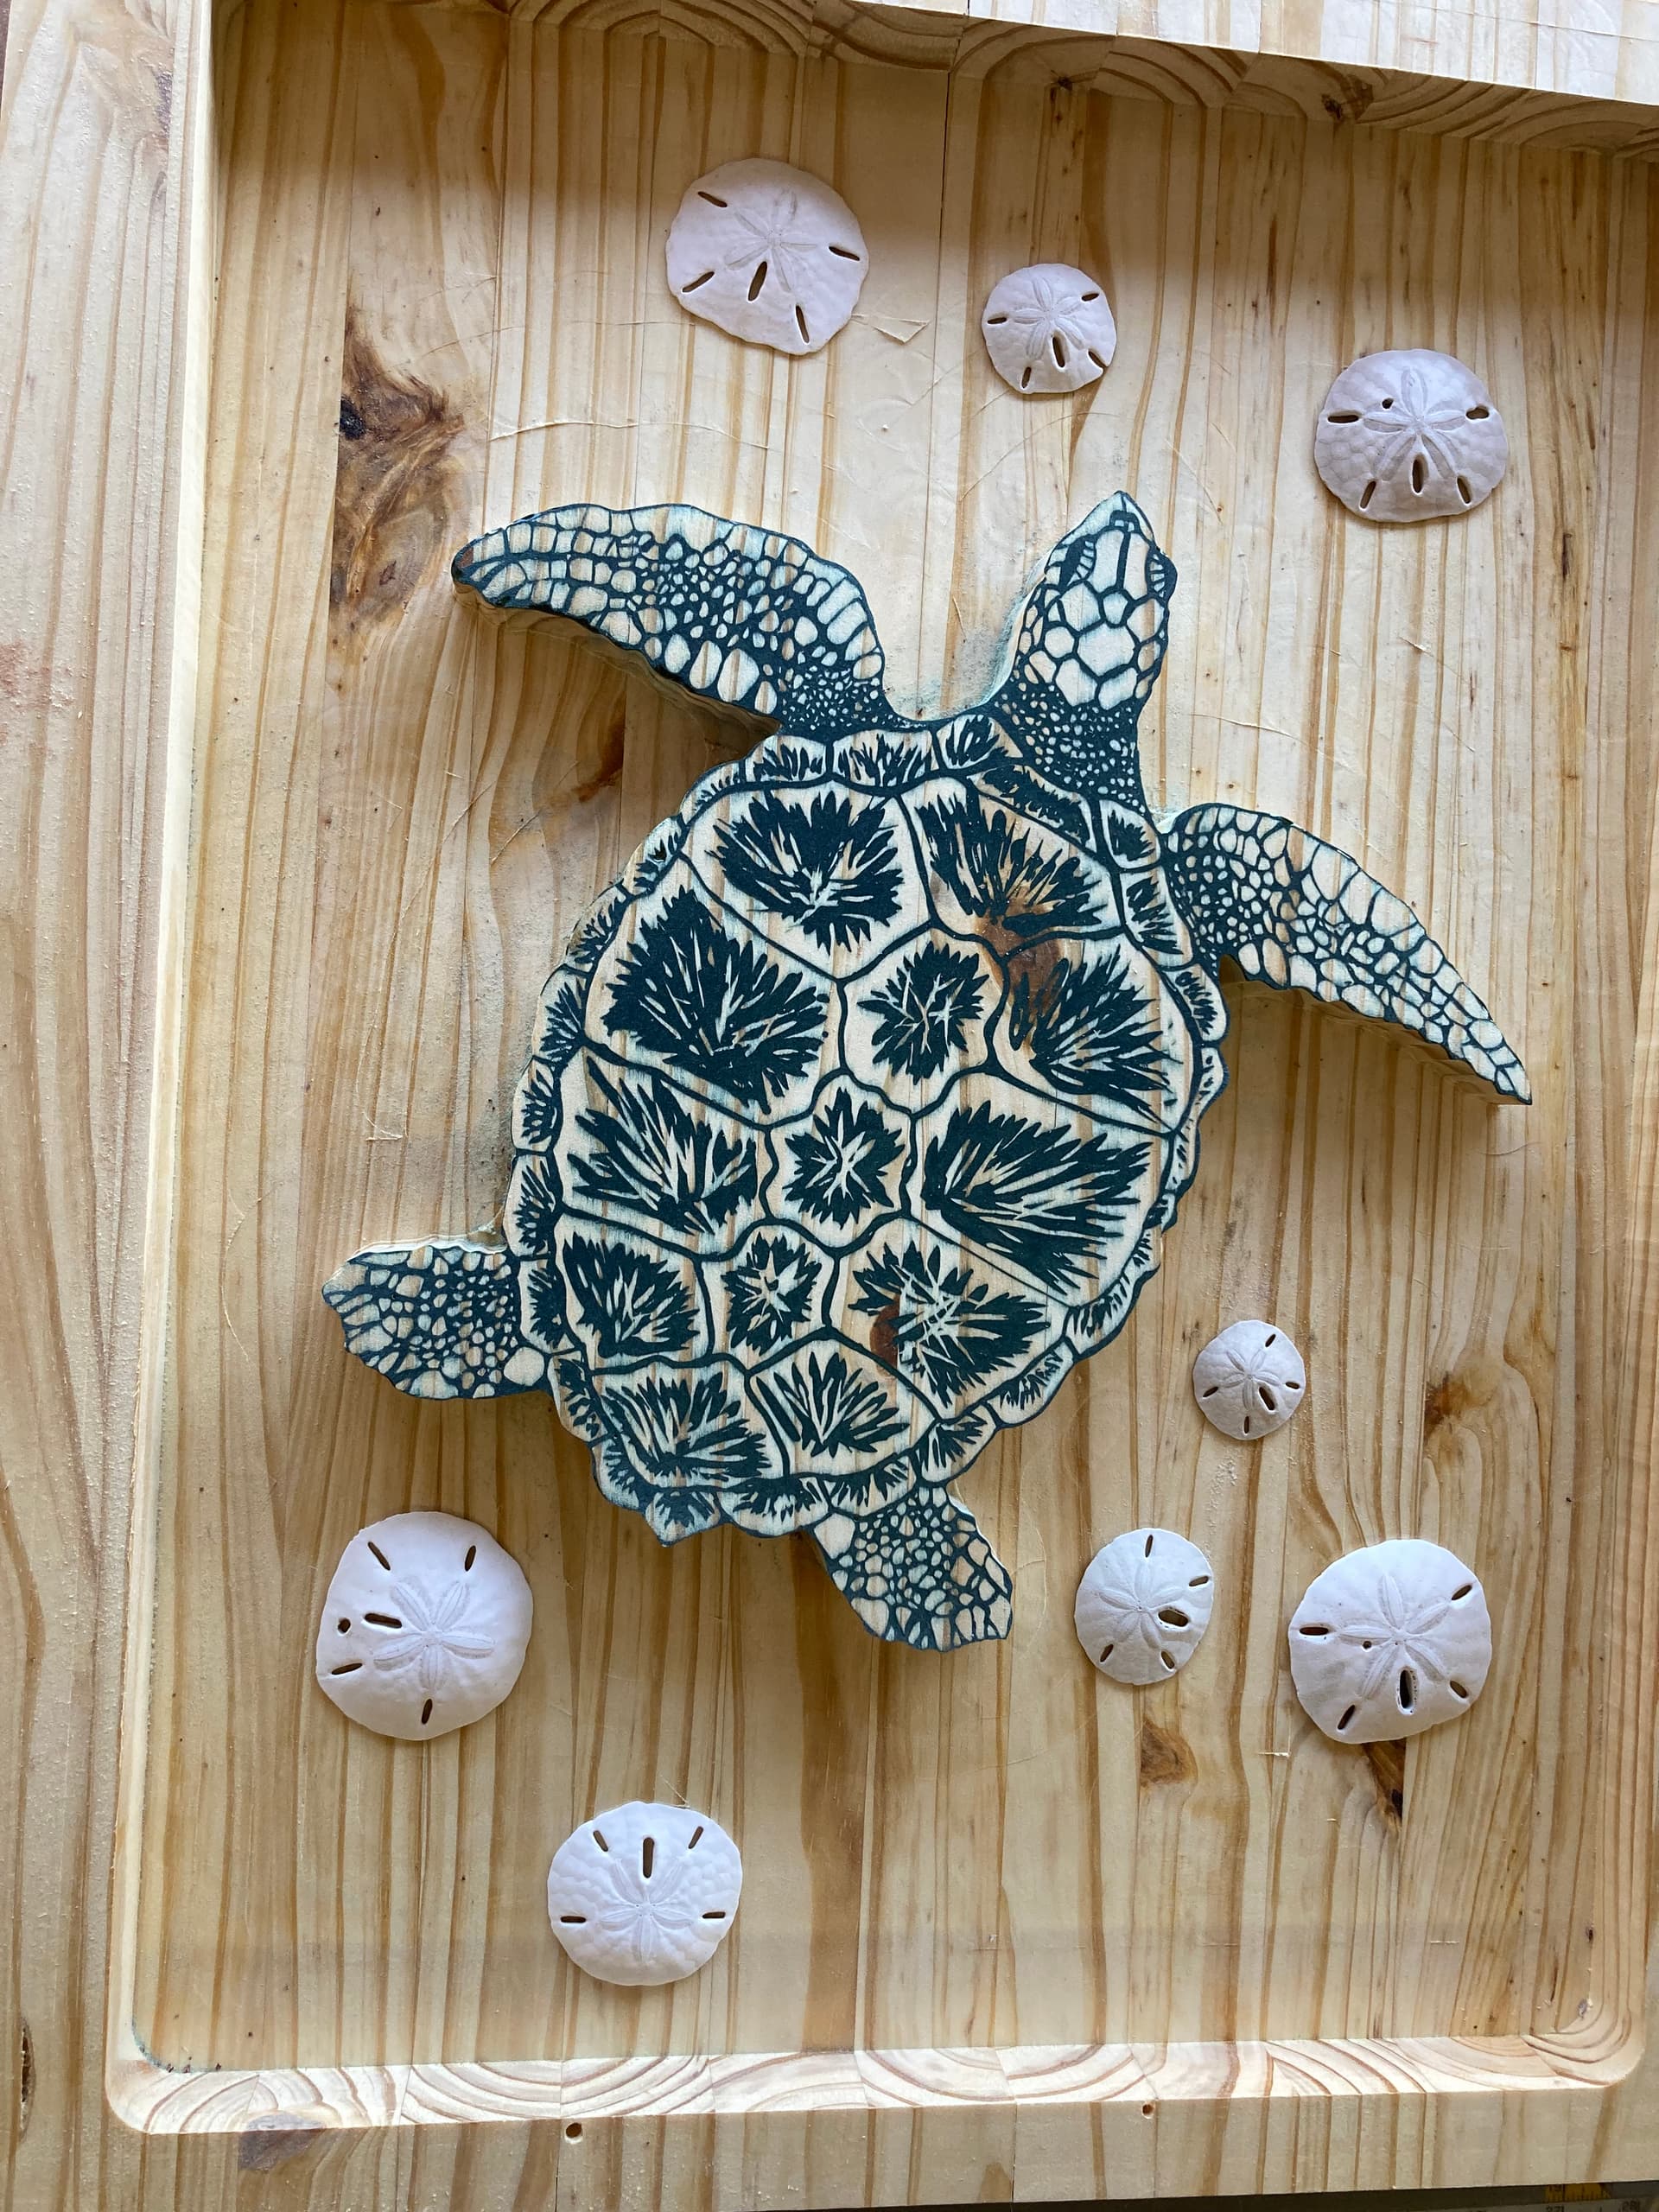
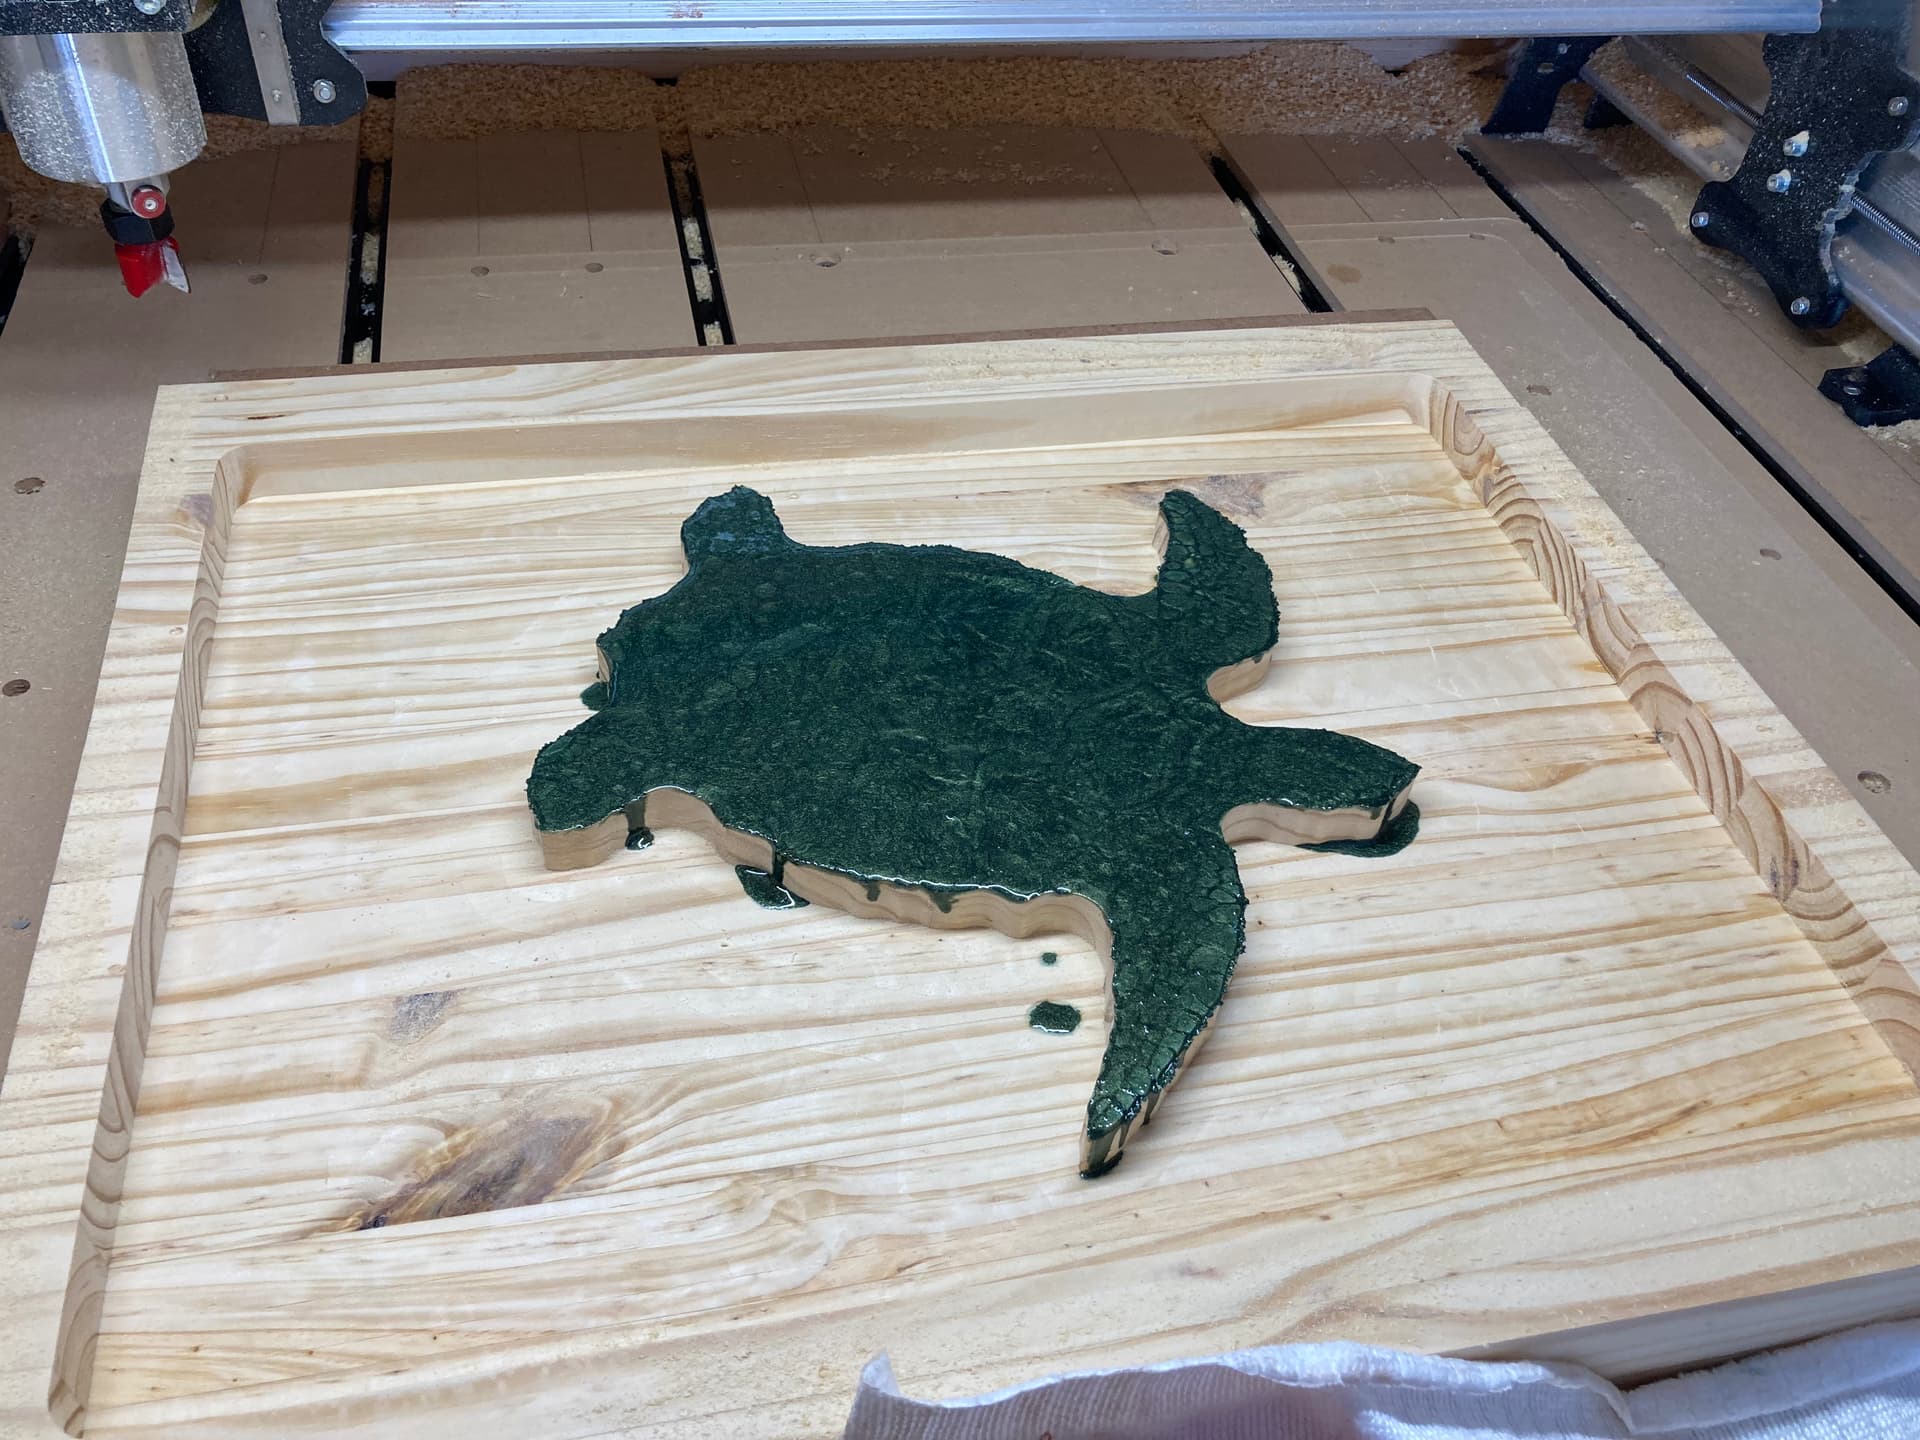
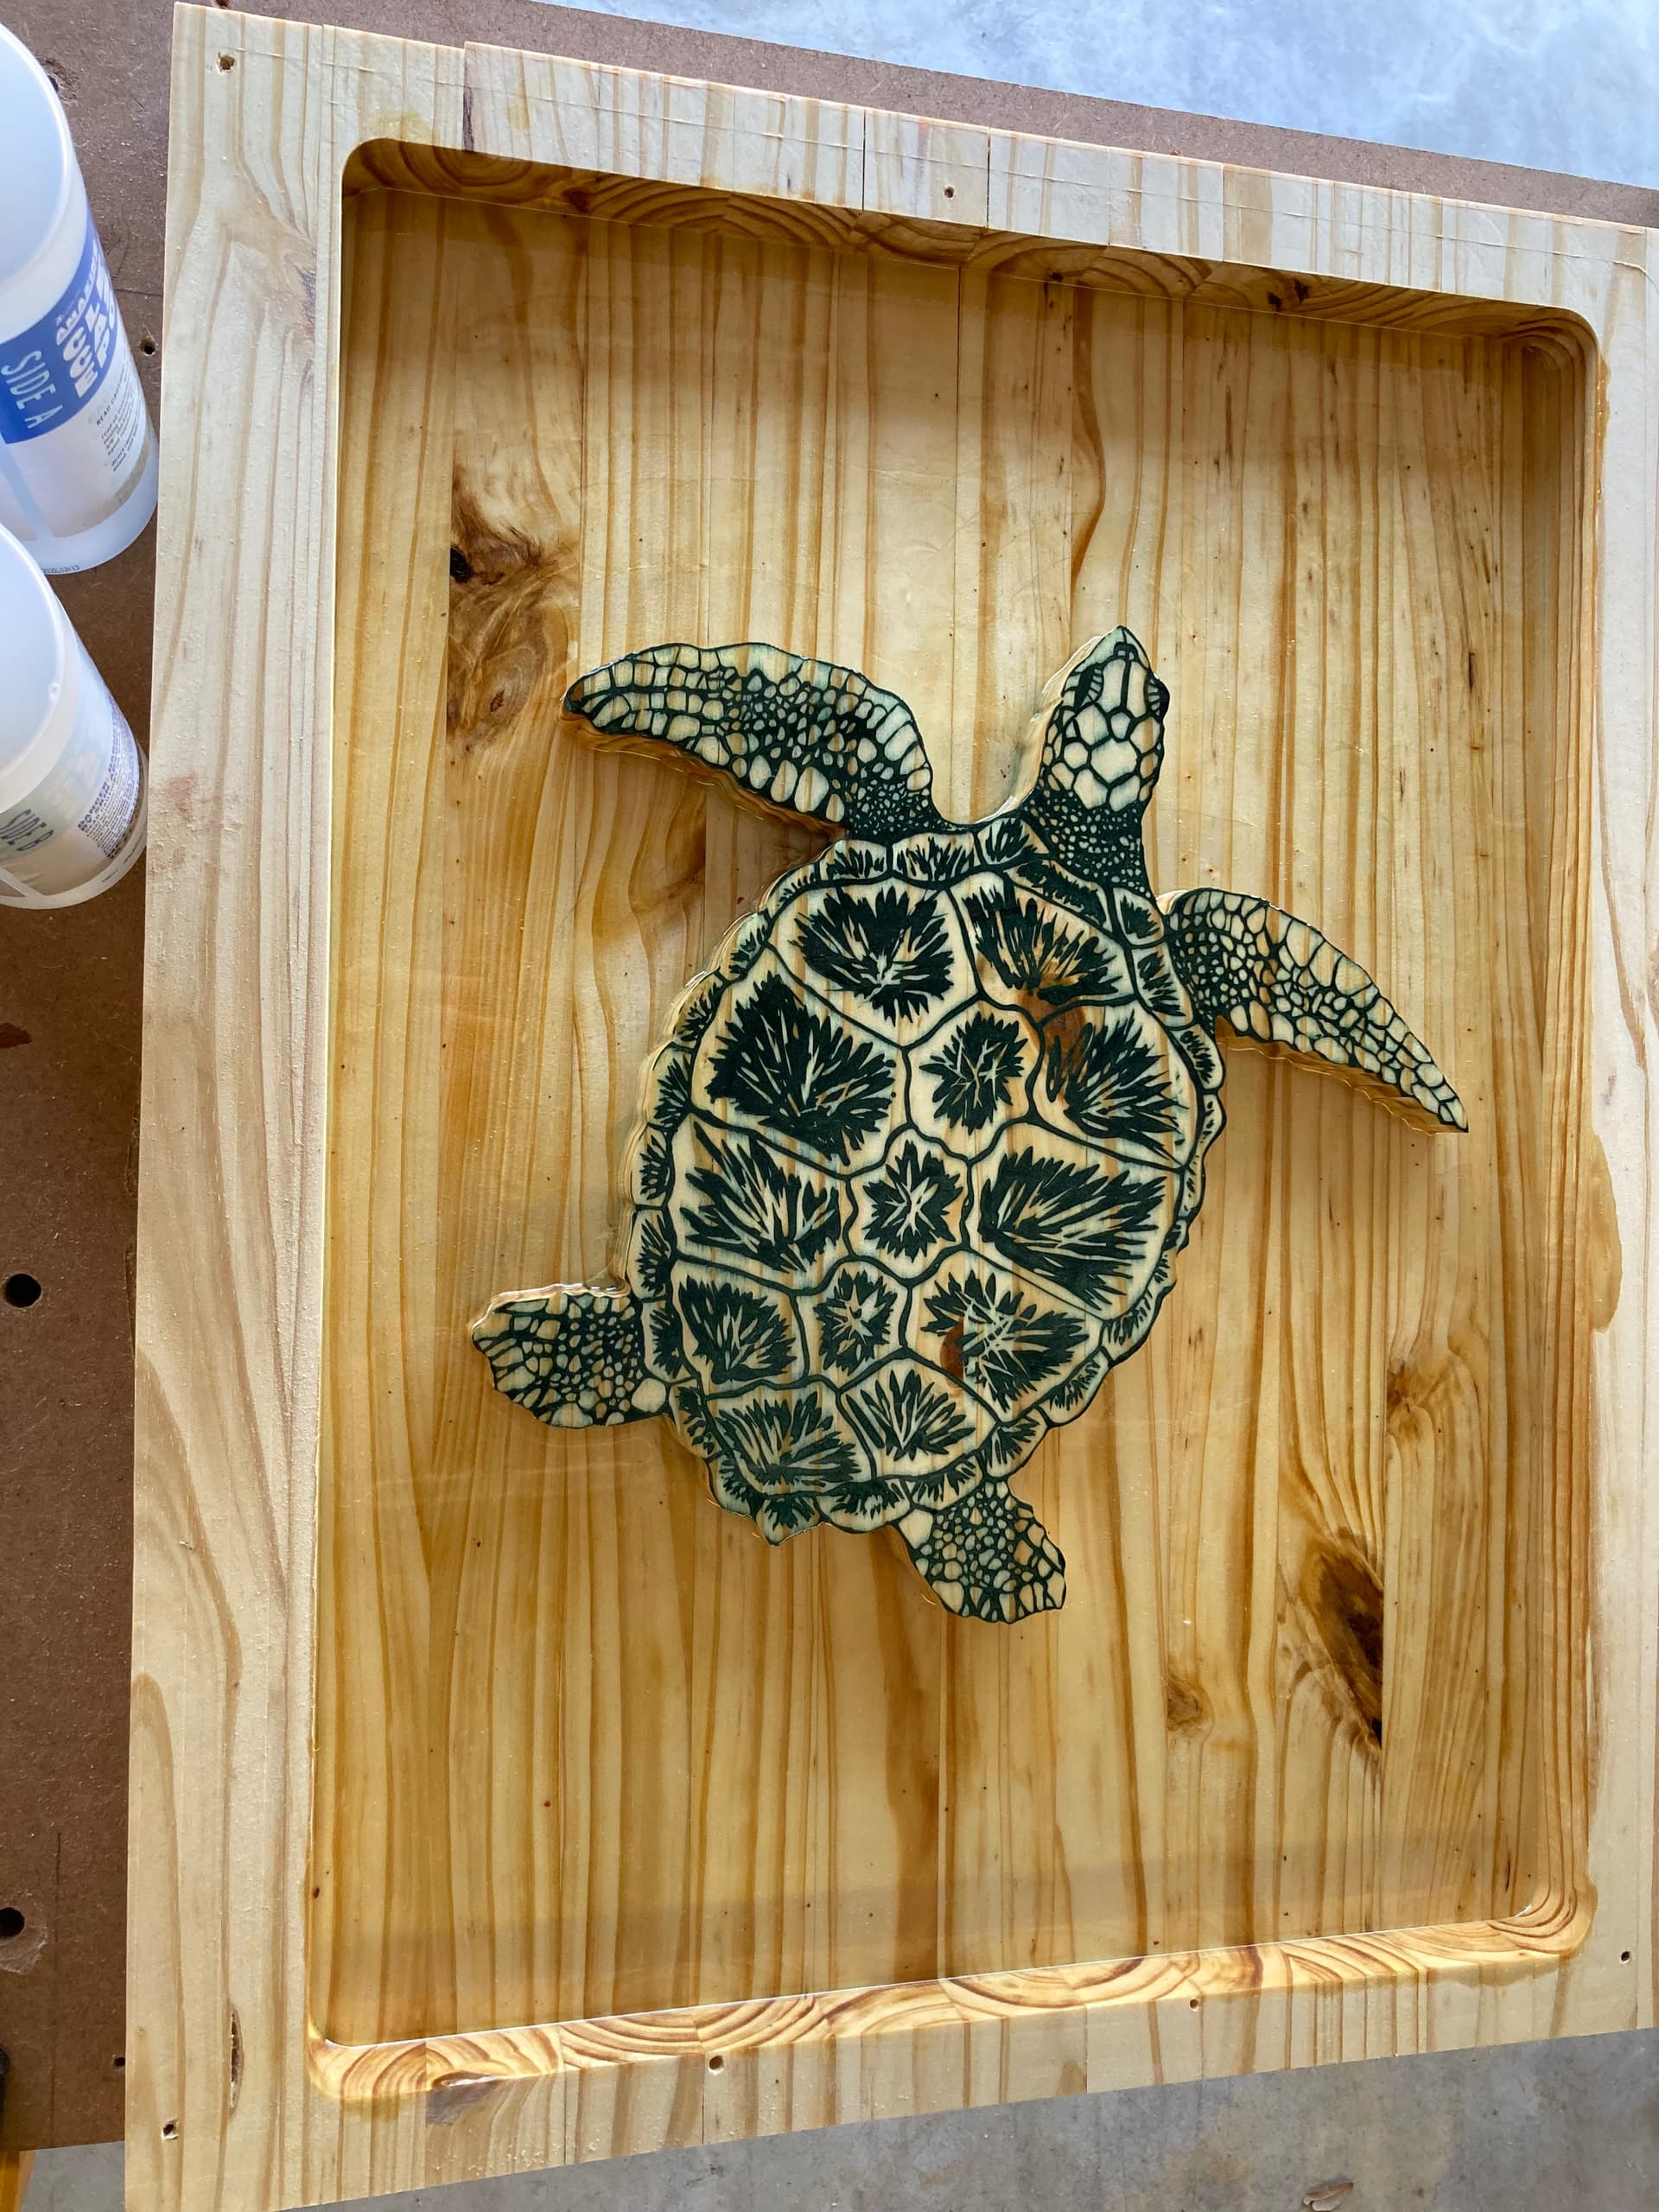
This was made from one piece of pine, cut on my MK 2. Used carbide create and cut the overall pocket, less the turtle shape. Then shaved the turtle down another 6 mm, so I would have some room over it to fill. VCarved the turtle, filled with green, shaved it back smooth, poured a blue layer, the filled with clear. Cut off the remaining pine sides, one more clear coat, and done.
@mhforbes Brilliant. Thanks much for the details.
Yeah what Grant said! The table really is beautiful and I appreciate the details to help expand my skills, hopefully.
Miles, I really like how you did the turtle! Good going on the entire job and I’m glad it worked out for you.
Marty
Kingston, ON Canada
Thanks all for the feedback. What I am not happy with is the base of wood showing on the side view. It is fine for my patio, but I would rather just see the blue. I was trying to avoid the expense/trouble of a mold for this, so I went with just building a pine board and hollowing it out.
Next table will probably still have a wood core, but I will use a mold so the base does not show except from below. I do need it for attaching the legs - I don’t want to trust the epoxy to hold screws, although I could just use stainless inserts directly into the epoxy and make it strong enough. Still contemplating that one.