Ok all. Here is my first attempt at an inlay. Didn’t work very well. The rooster is about 3.5 inches wide x 5 inches tall. I used VCarve Pro to pull in and edit the vectors. Then generated the gcode for the LM MK1. I created 2 pocket toolpaths to cut both the female pocket and the male inlay. On the female pocket I used a 1/8in upcut end mill for clearance and then a 1/4in (shaft) tapered ball nose (.4xx degree angle) for the finish. Unfortunately some of the thinner pieces were either cut away or broke. Continued anyway. On the male inlay I used the same two bits and it came out better but again the thinner pieces went the same way. I cleaned up both pieces by removing strings and fuzz. Tried the fit and seemed ok except a little loose. I filled the female pocket with glue and stuck them together. Clamped them to let dry overnight. I then used the gSender spoilboard surfacing generator to cut away the excess. Below is what I got. It definitely was surprised that the male inlay is way smaller than the female pocket. Not sure how that happened. I followed all the rules about mirroring the male from the female so that shouldn’t be the issue. Parameters for the female pocket were start depth of .000 and cut depth of .200. Parameters for the male inlay should have been start depth of .180 and a cut depth of .020 but now I’m not sure. I think I may have screwed up those numbers on the male inlay and left them like the female pocket. I’m going to completely rework the vectors to “fatten” the thinner areas so they don’t get damaged and redo the toolpaths (with the correct numbers). Also going to switch to a slightly less angled tapered ballnose to minimize thin area damage. Anyway if anyone can come up with another explanation I’m all ears.
@Heyward43 Hi Heyward, You are one of our longtime Longmill experts. How can you fail?
I’ve only done one small inlay and I used V bits for both male and female parts. I found instructions on the internet someplace. The cuts on the male side are not as deep as on the female side so that a gap for glue is left when they are assembled. The tapered sides take some of the necessity for precision out of the cuts. Don’t know if this helps at all.
@Heyward43 Here is my go to video for inlays, H. I’ve done a few dozen now and had no failures. I take absolutely no credit for that, as I simply follow this video’s steps to the letter.

@paullarson - thanks for the accolades Paul. I sometimes think I was born to fail so I could learn to do things the right way. Granted it takes a few tries but I’ll get there. I have watched a ton of videos and thought I put the right numbers in. But in my haste to try it out I goofed the numbers on the male inlay. I’m pretty sure now that I used the same start and cut depth on both pieces thus the mismatch. We will see on the next attempt.
@gwilki - thanks grant for the video. I looked at this video a long time ago and many others since. I thought I understood all that was presented but just got in a hurry and goofed up the numbers. I’ll view this one again and hope it reminds me how it works. I recreated the project, both sides, and checked it a little while ago. Did the same thing as the first time. Used same start and cut on both pieces. It doesn’t work as evidenced.
@Heyward43 I’m sure that you will figure it out, H. Take care.
@gwilki @paullarson - Ok all. I have figured out what my problem is/was (at least I think so). For some reason I selected the pocket toolpath instead of the v carve toolpath. I have no idea why I selected that one. Am going to start from scratch and redo it all. Will update on completion. Thanks for the all the input. Continued later.
@Heyward43 yes, you have to use vcarve and you can add a clearance tool path. There is a gadget I’m tinkering with from the Vectric site
I do have a Homer bucket full of inlays that didn’t work out, most with profanity text because, well you know.
Have you taken a look at Garrett Frommes inlay stuff? I’ve only done one, but it was his idea and it came out well.
@sekirk48 - Thanks Steve. I am flip-flopping watching the one Grant pointed me to and Garrett’s version. They are definitely different in some respects. In the near future, like this week, I will try both and see which one I can get right. I’ll get there one day.
@paullarson @RickW @sekirk48 - Ok guys and gals - Here’s the 2nd attempt at an inlay. Turned out a little better but still not there yet (picture below). Unfortunately I used the same wood for both so it didn’t show up very well. I tried to stain it a little but that didn’t work quite like I hoped. It did help show up the smaller gaps a little. Part of my issues are the wood I used is very soft and getting tear outs. One thing I forgot to do was tap on the male inlay to drive it into the female pocket. I just clamped it straight away which didn’t work as planned. I am going to start from scratch and design based on 2 different methods. One will be from the video @gwilki (Grant) pointed me to. The other will be from a video by Garrett Fromme. Whichever one works the best for me will be my go to method in the future. To Be Continued.
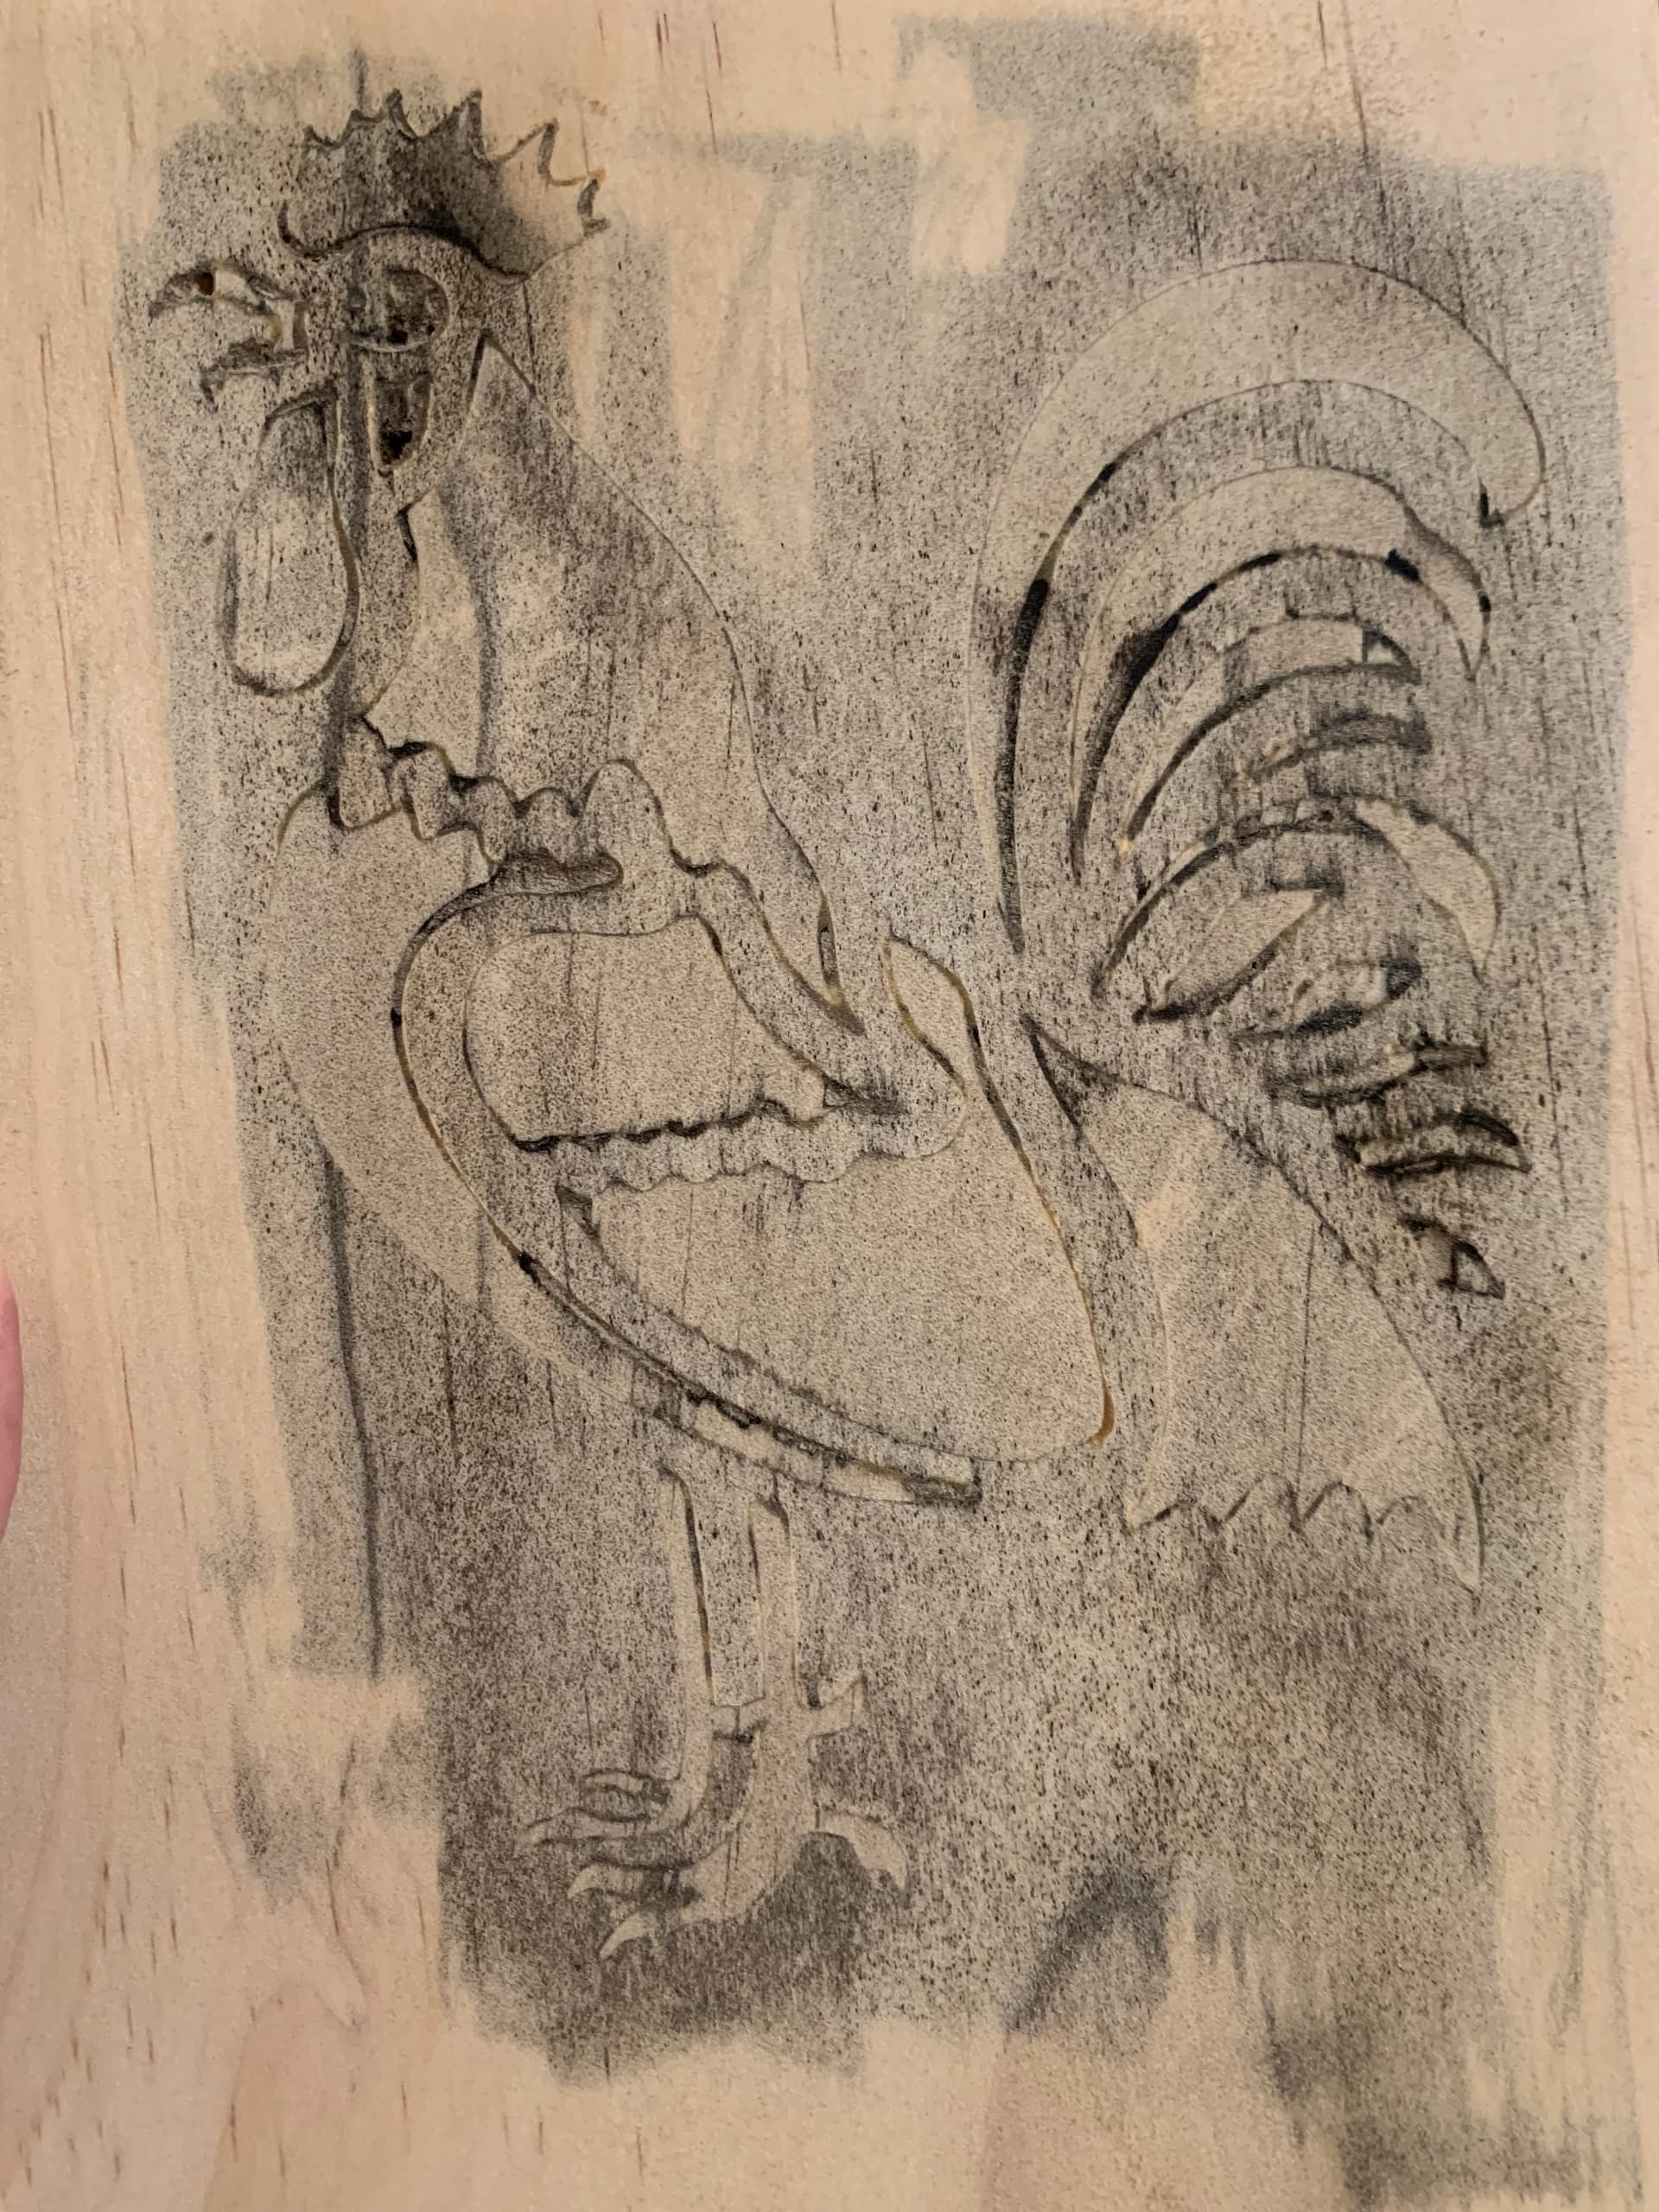
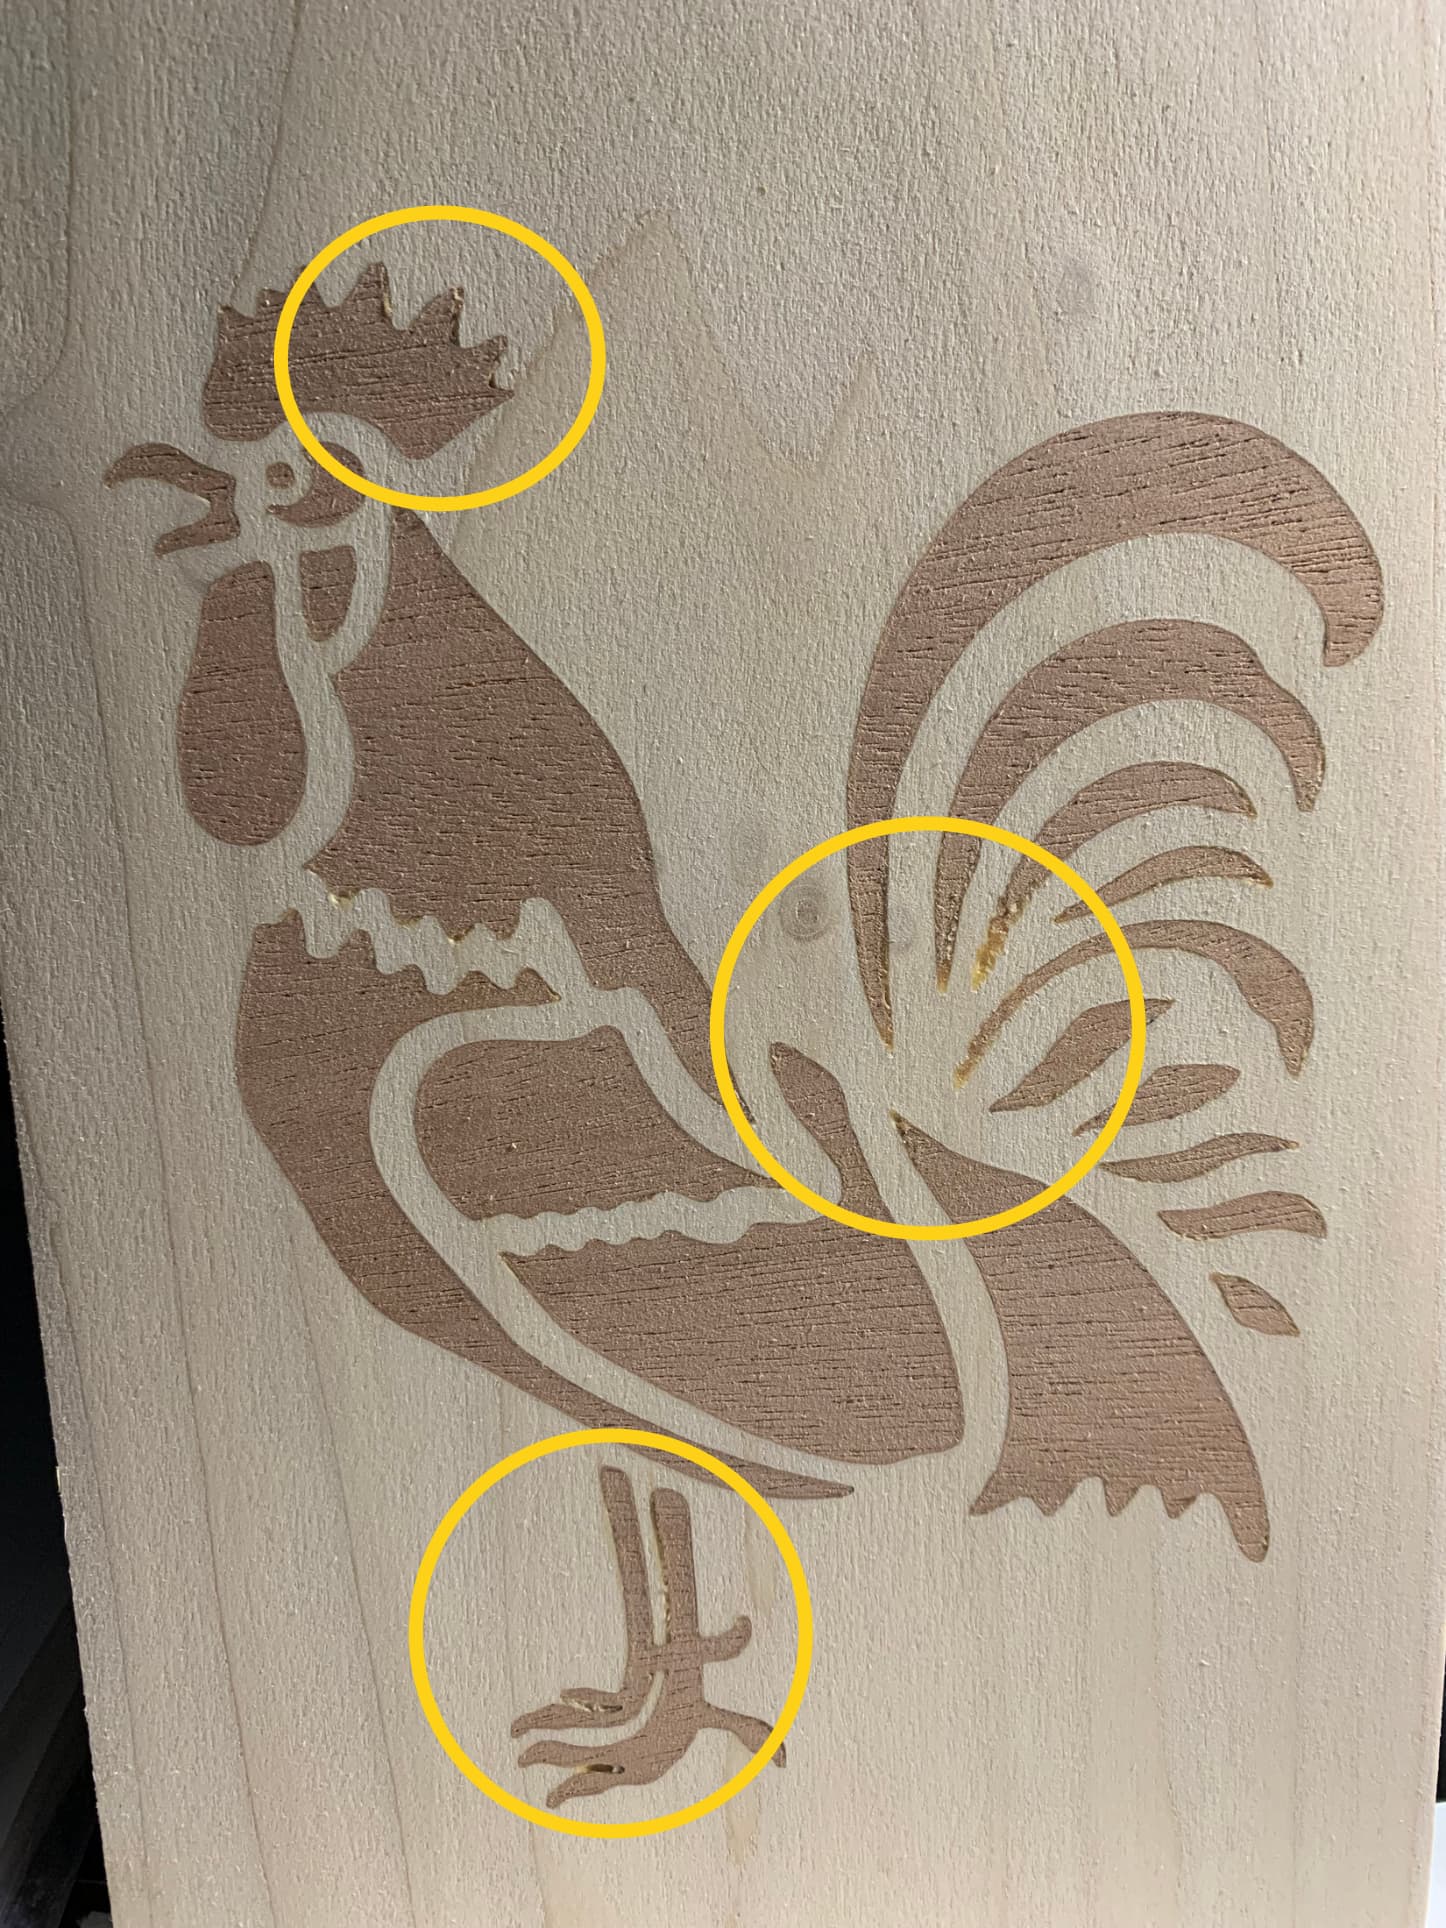
@paullarson @gwilki @RickW @sekirk48 - Ok guys. Here is the latest episode of my continuing saga. Things are definitely improving to the point I am thoroughly satisfied. Granted using the soft wood there are still some minor tear outs but I understand the causes. I’m sure hardwood would pretty much eliminate that issue. Below are the two methods I used. The first was created using the technique from Garrett Fromme’s video. The second was created using the technique from Shaun Gano’s video (Grants recommendation). I think both came out very well but Shaun’s was just a little bit better. So I will begin using that one forward. One tidbit of info between the two - Shaun’s design was a little deeper on the female pocket than Garrett’s. Only .04" but seems to have made a slight difference. One note on the bits I used - the clearing bit was a 1/8" end mill - the finishing was a 60 degree V groove bit. Same bits were used on both of the carvings. I did learn one thing on Garrett Fromme’s video. The V groove bit I used is more of a wood scraper than a cutting bit which is probably why the tear outs. I ordered his V carving bits which have a cutting edge instead of the scraper edge. Can’t wait to try them out. I ordered his 3 pack with a 90, 60 and 30 degree bits. A little expensive but I think will improve the inlays in the future. I have circled the obvious areas of concern in the pictures. Shaun’s was most all tear outs. Garrett’s had some of the tear outs but also some very minor gaps. Let me know what you guys think. See below.
Shaun Gano’s version:

Garrett Fromme’s version:
@Heyward43 , very good! I’ve used Shaun’s method, too, with success. Glad you figured it out.
I assumed all V bits were cutters, not scrapers. I’ll have to look into that.
@Heyward43 Both look very good, H. I’ll be interested in a review of the blade v bits.
@gwilki , Thanks Grant. I was curious about that too. Even though the V groove has a sharp edge it’s really not curved like a cutting edge. It’s just flat and sharp. The bits I purchased from Garrett actually have an edge that looks like an end mill or similar cutting edge. I will definitely be trying them in the next few days. I think I will do one more rooster just to compare apples to apples. Probably just the male side since that was chipping more and creating a lot of fuzz. And of course the same wood. Oh!, and thanks for directing me to Shaun’s video. A little extra work but not very much really. To Be Continued one more time.
@Heyward43 I’m glad that you are getting good results, H. I have not watched Garrett’s inlay video, but intend to. I saw Shaun’s quite a while ago, and since I got good results, I’ve stuck with that method. I use “ordinary” v-bits, but hone them with a diamond card frequently to get the best results that I can. The blade bits look very interesting.
Heyward, I was interested in the aspect of the thin, delicate pieces being broken away during their machining. I was wondering if taping them on both faces prior to machining would have helped? I’d like to hear your thoughts on this.
Marty from Kingston, ON, Canada
Interesting thought Marty. After thinking about it though some of the male inlay areas are carved slightly below the surface plane. These are the areas that seem to chip out. Therefore the tape would not be attached to these areas and I don’t think it would help much. It might help if the thin areas stay on the surface though. I have even thought about possibly sealing the wood with a couple of coats of shellac to see if that might provide some stiffening. Maybe down the road I can experiment some. Like I mentioned earlier the wood I’m currently testing with is very soft wood. It’s expected to tear out a little. After one more test with some new v-bits I recently purchased we will see if they perform better on the soft wood. Another update coming soon. Thanks for the suggestion as it got me thinking about it.
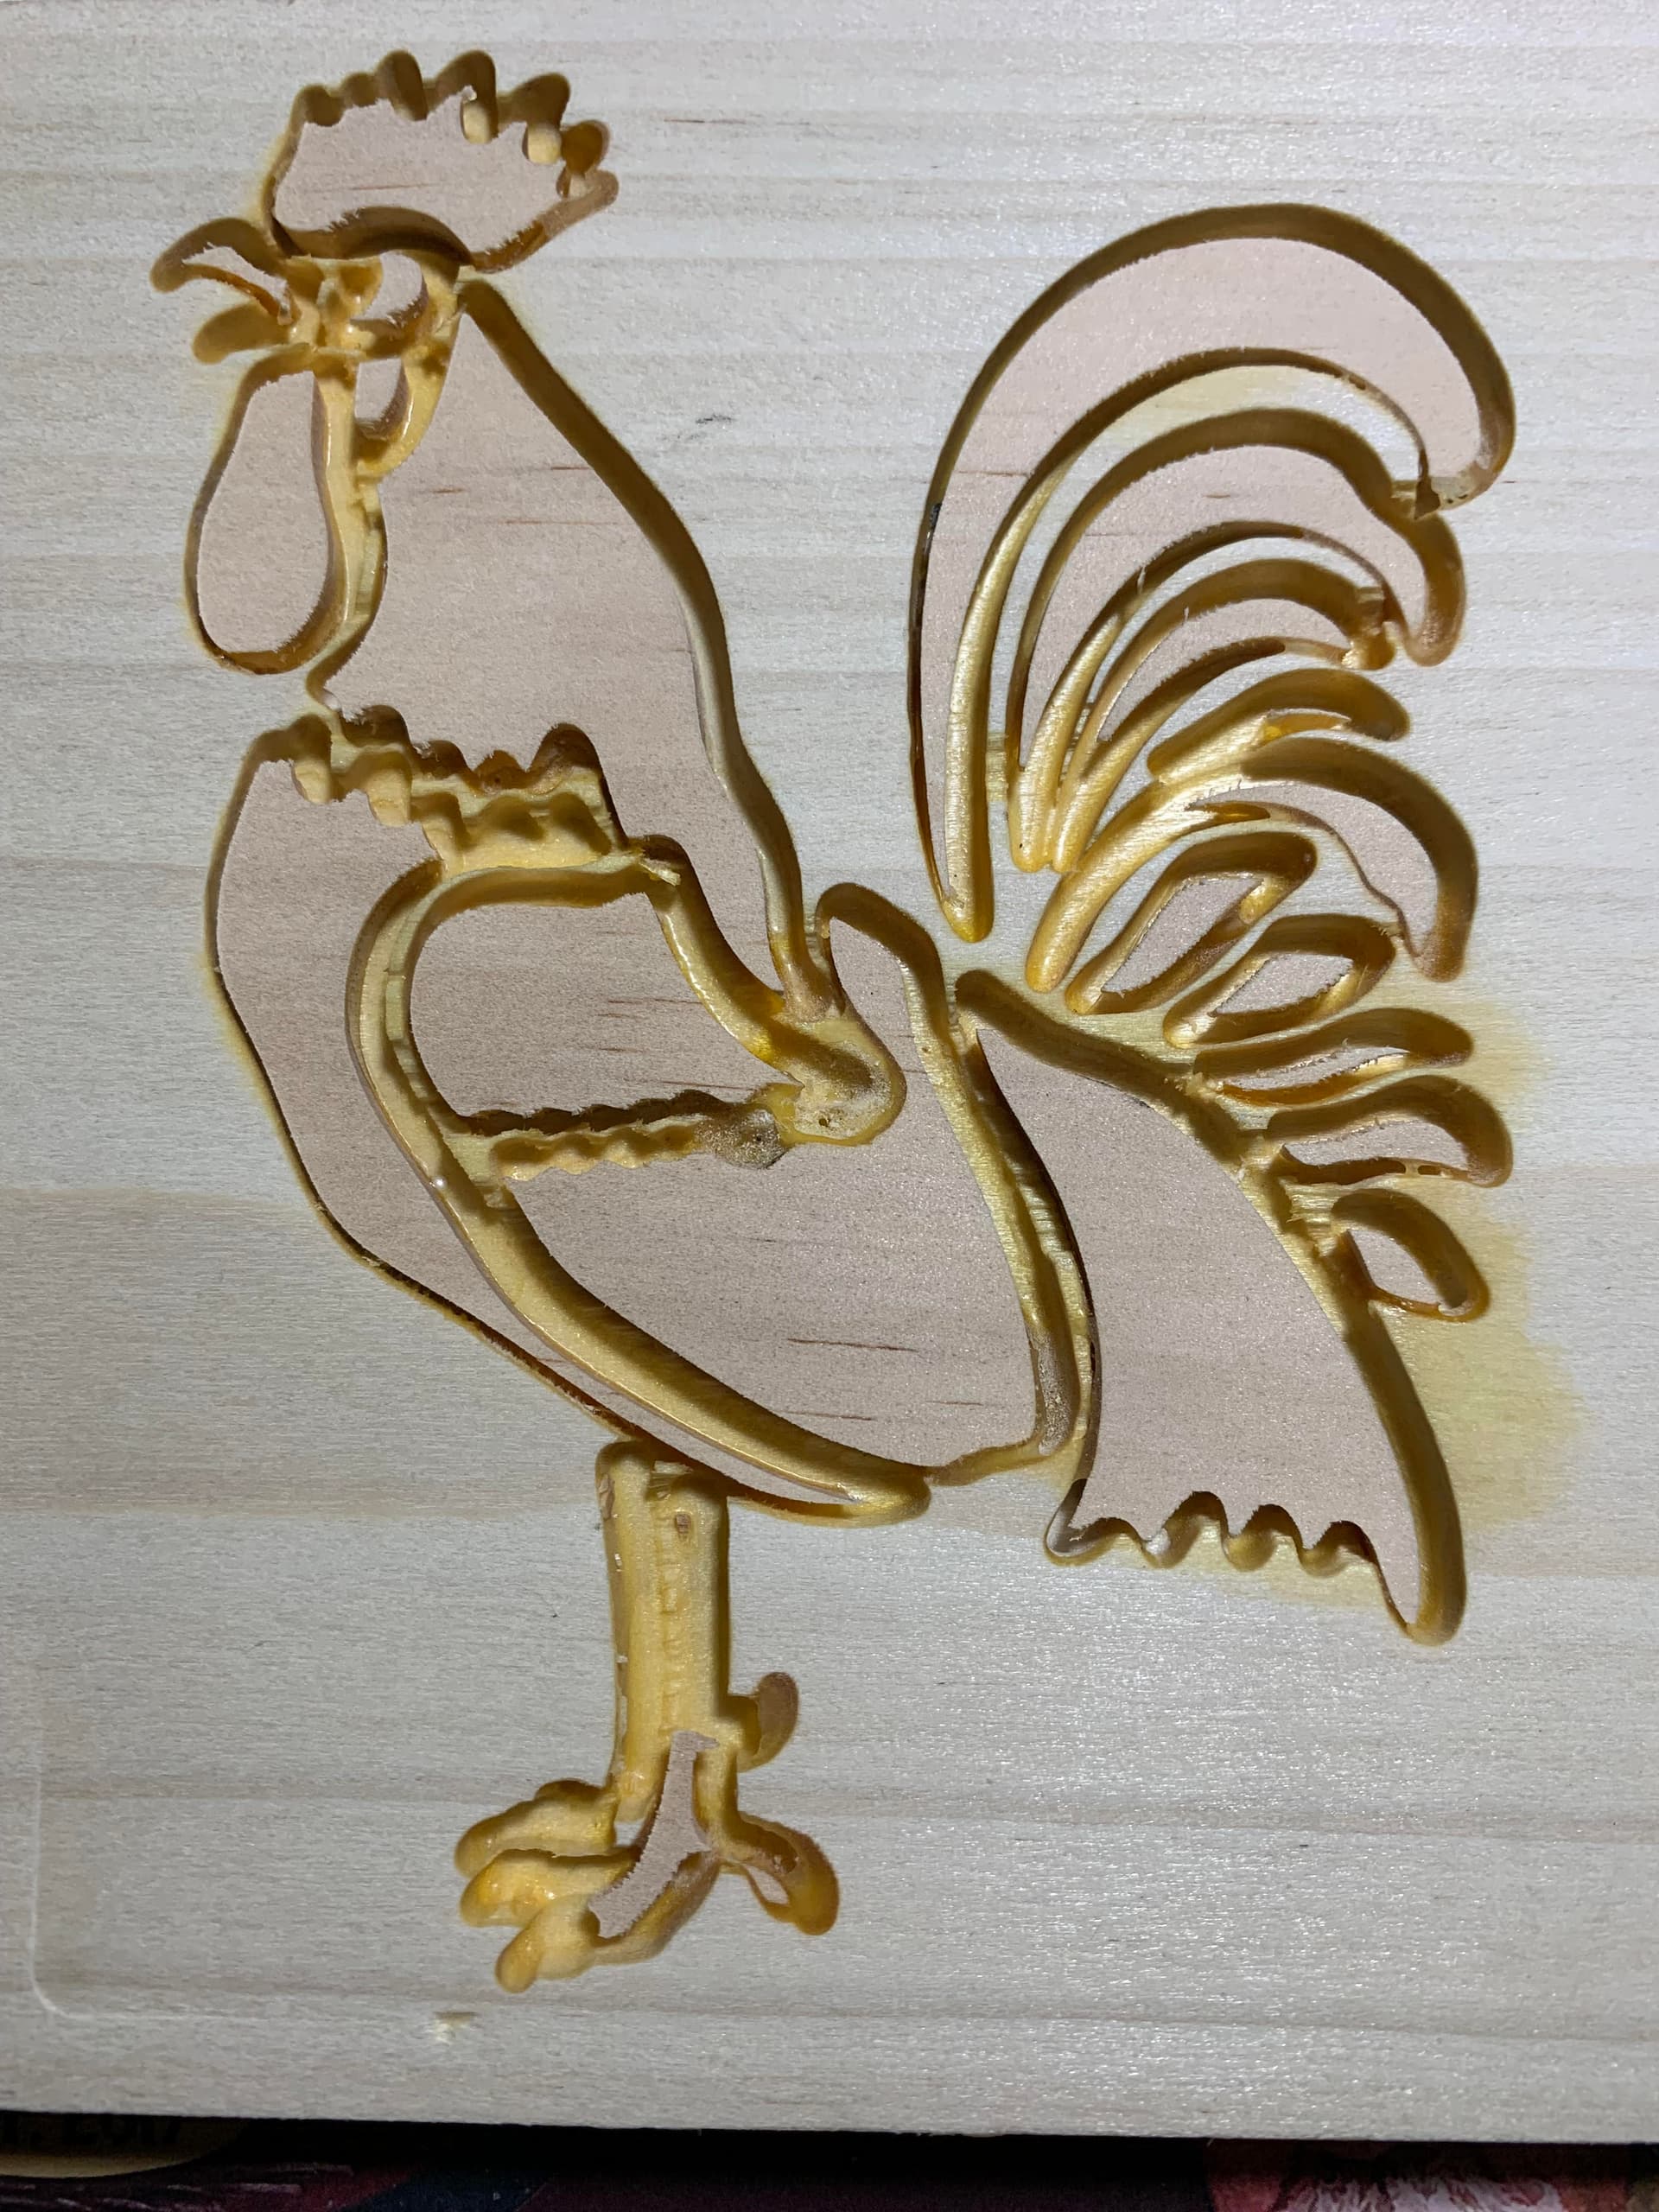
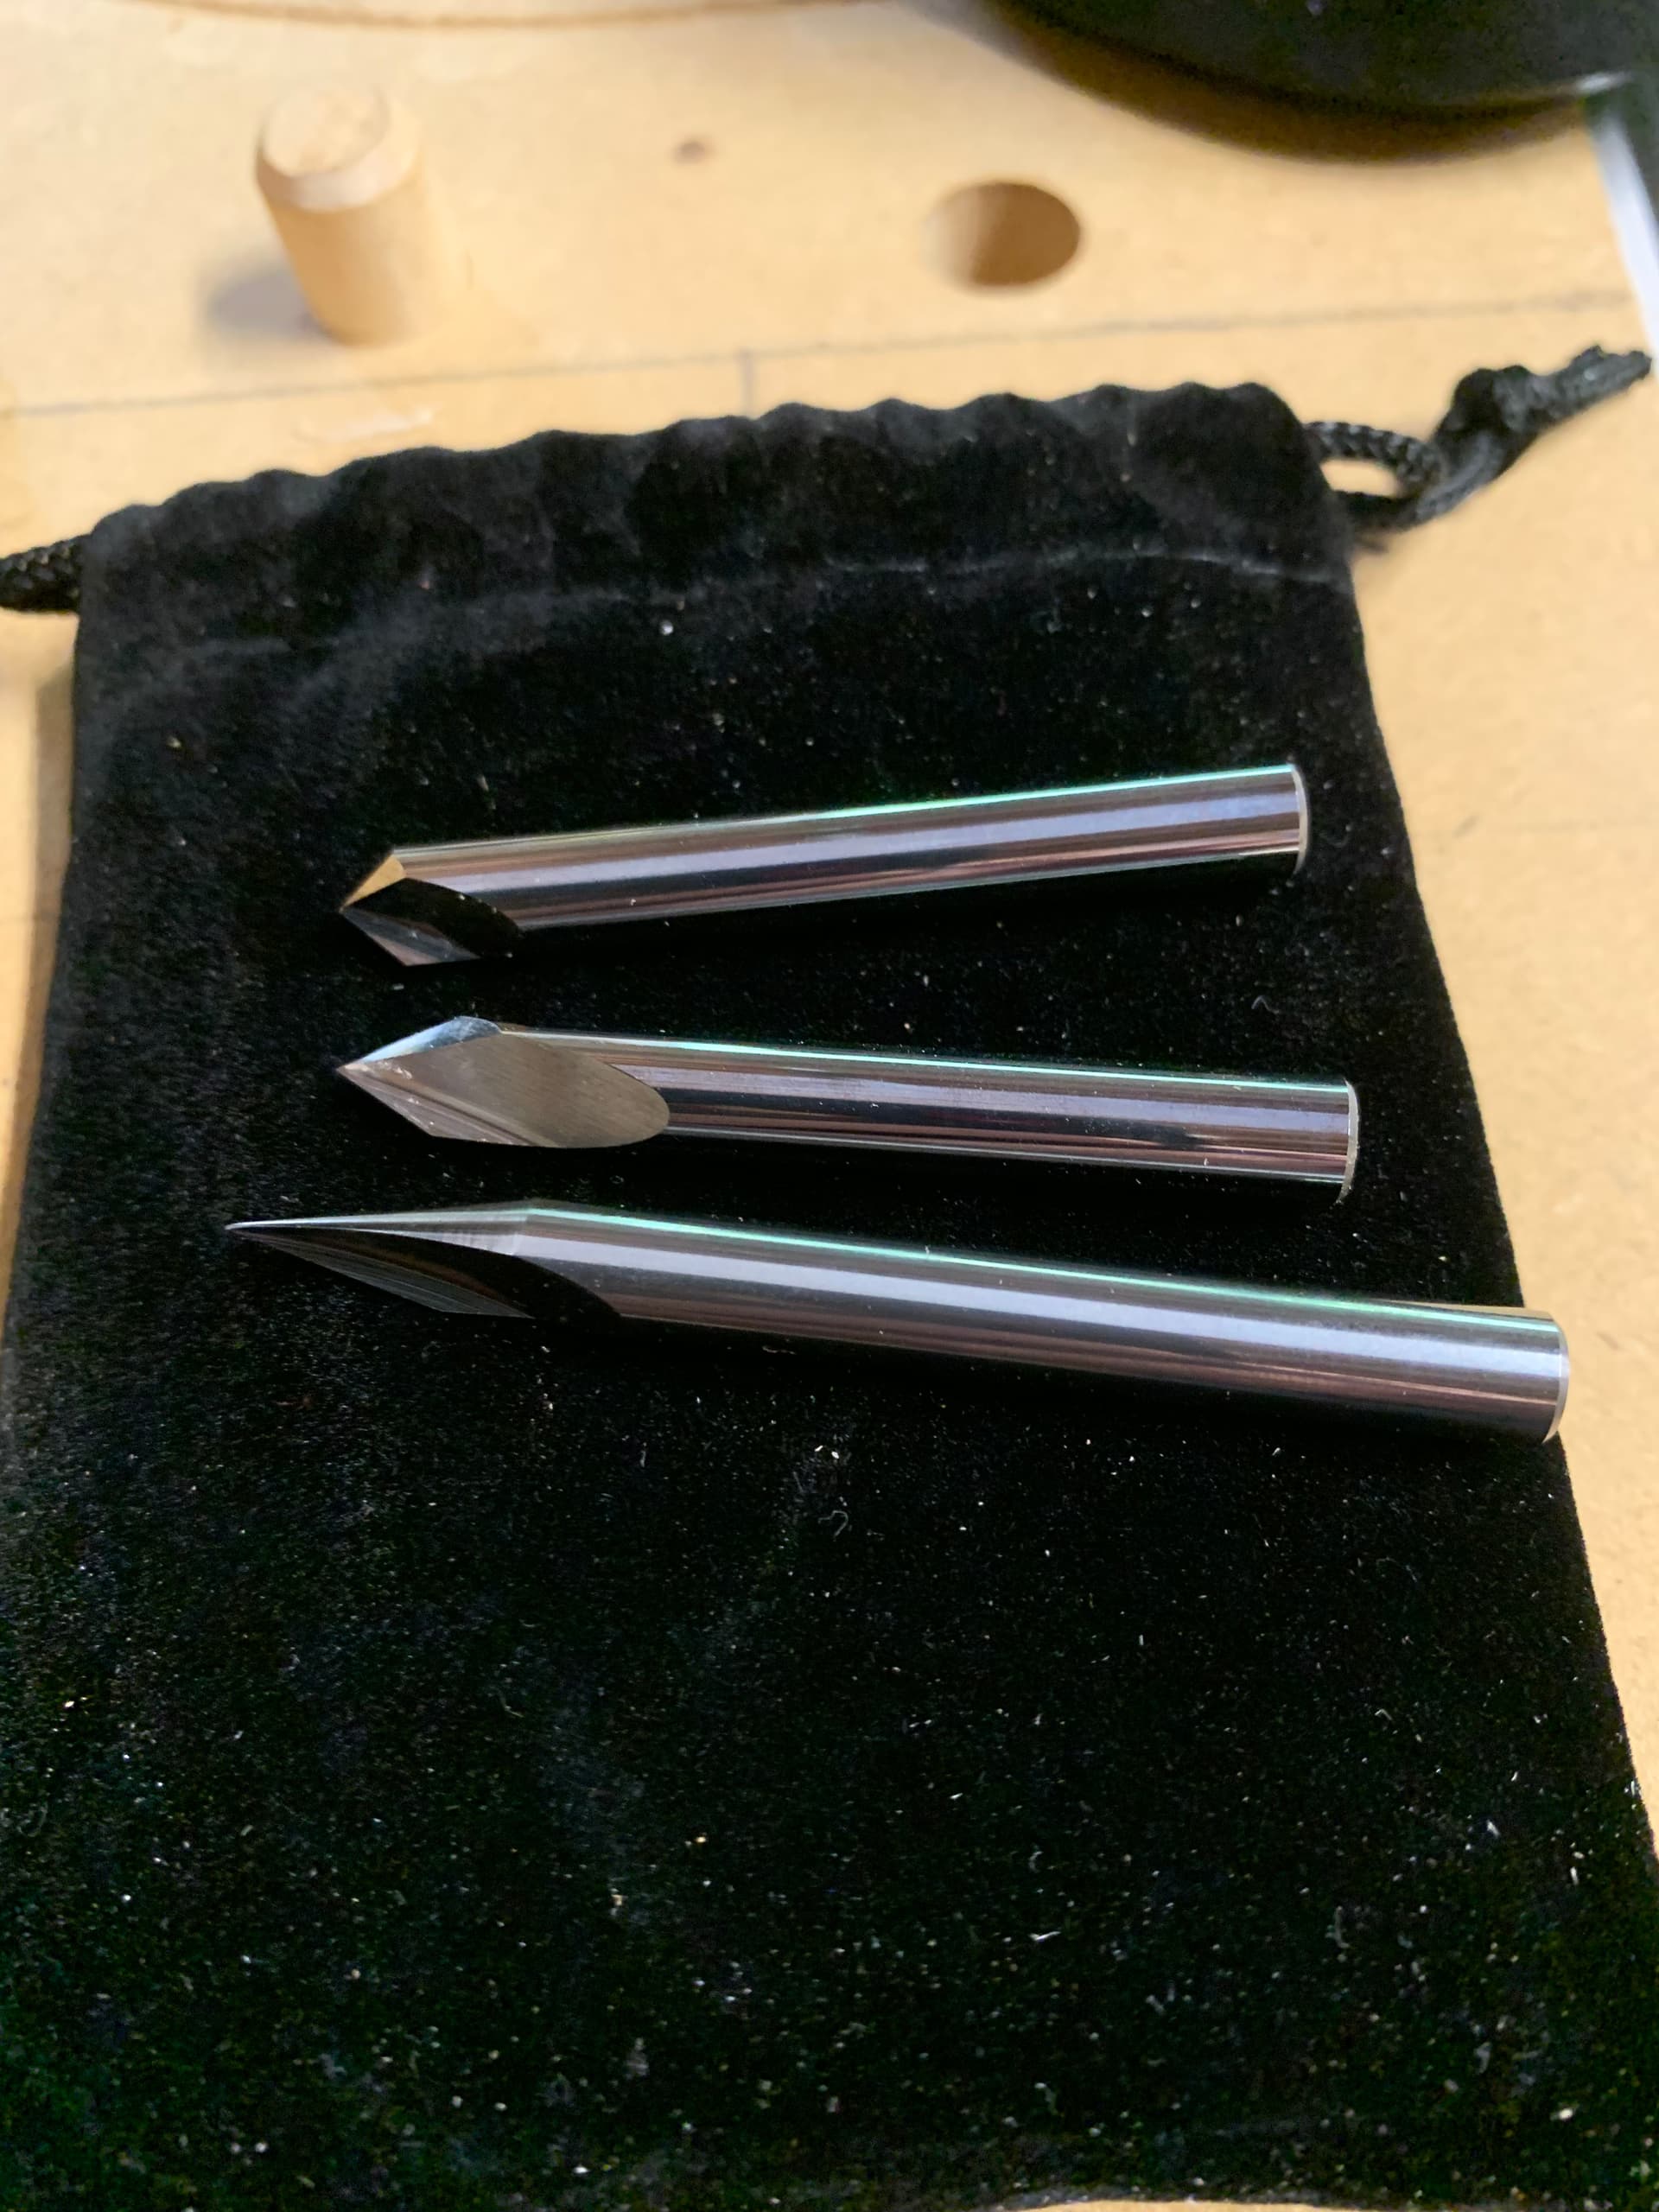
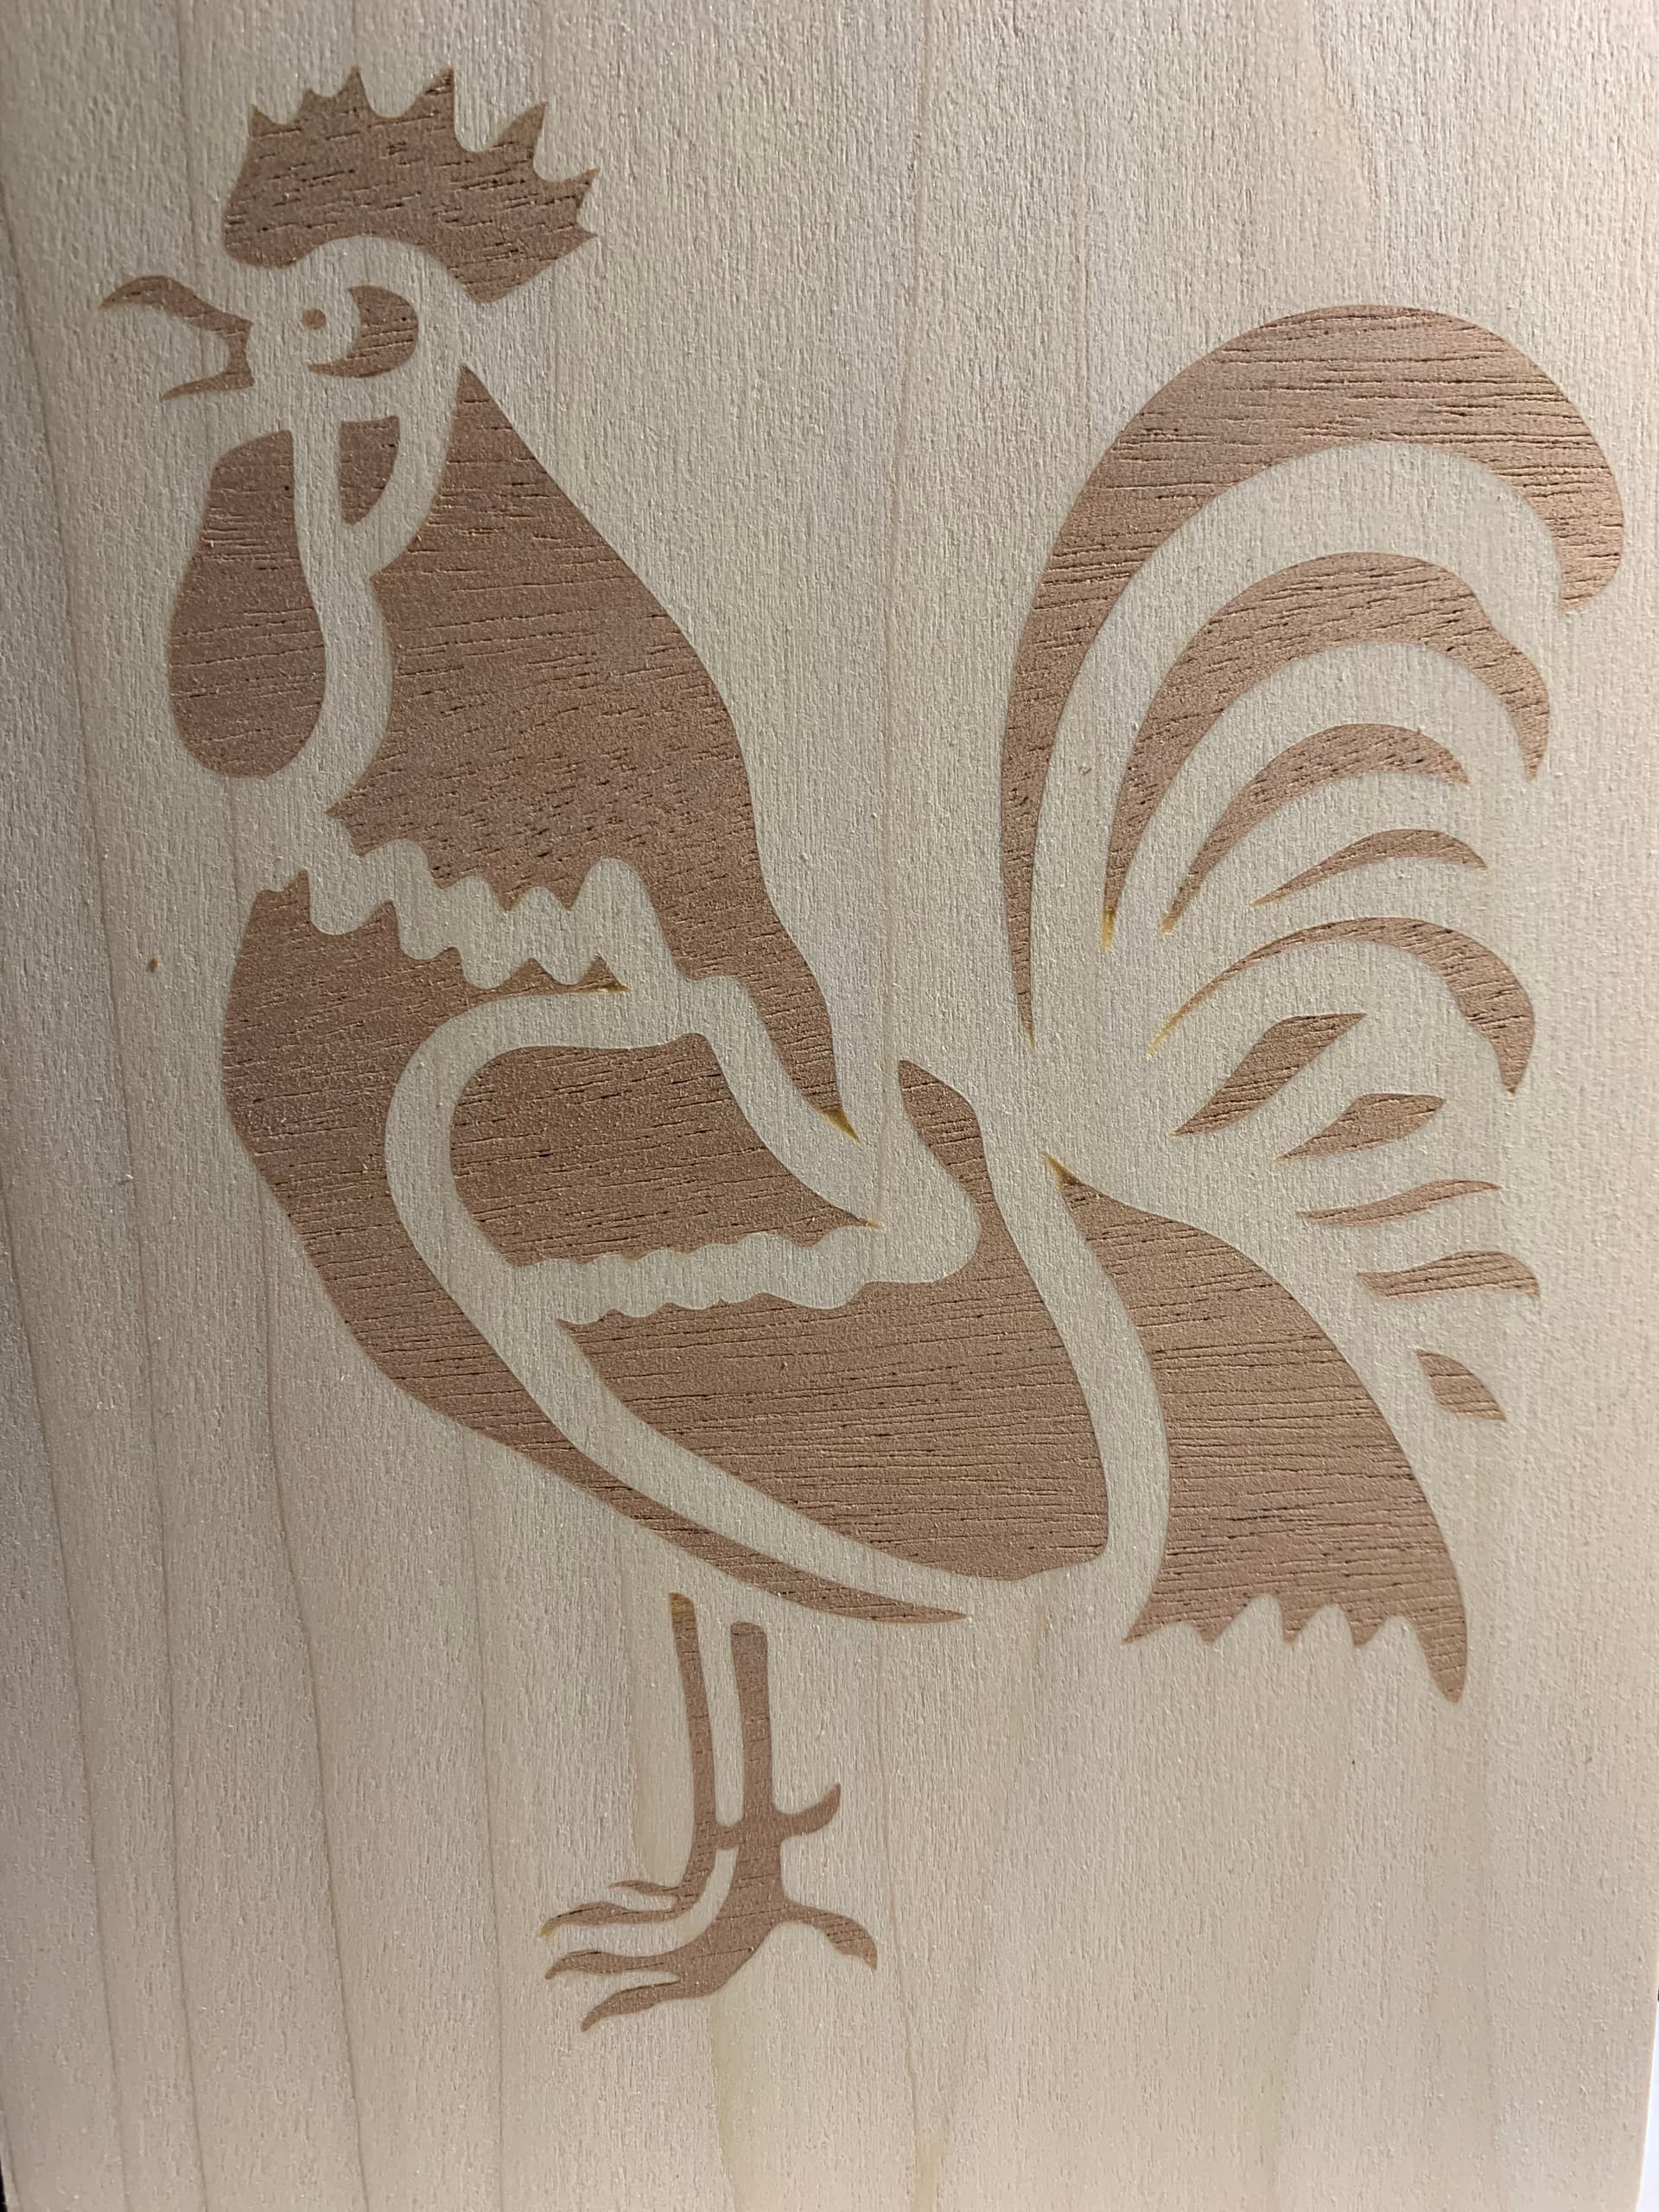
@gwilki @paullarson @ApexWoodworks @RickW @sekirk48 - Ok guys, here is the final episode on this topic. I used the new v-carve bits I purchased from IDC Woodcraft. I must admit they are very good. A lot quieter and smoother than the standard v-groove bits in my opinion. I am completely satisfied with the final test results. There was still some minor tear out but again the soft wood and very very thin areas (The tips of the rooster tail feathers nearest the middle). If anyone is interested the 3 v-bits came in a set, 90, 60 and 30 degrees. The 90 and 60 are 2 flute and the 30 is 1 flute. Below the first picture is of the male inlay after the 60 degree v-bit toolpath. Not much cleanup at all, just a light rub with a brass brush. The second picture is of the three bits I purchased (even came in the bag they are sitting on). The third picture is the final product of my efforts. Hope others are inspired to give inlays a try now. If I can do it so can you. It’s not easy but it’s not really that difficult.
The End.
That’s All Folks!
Male inlay right after carving.

Three v-bits. I used the 60 degree.
The final product.
With apologies to Heyward, I have deleted my posts so that there can be no further confusion about the point that I was trying, and clearly failed to make.
This is to be a thread, after all, showing Heyward’s excellent project.