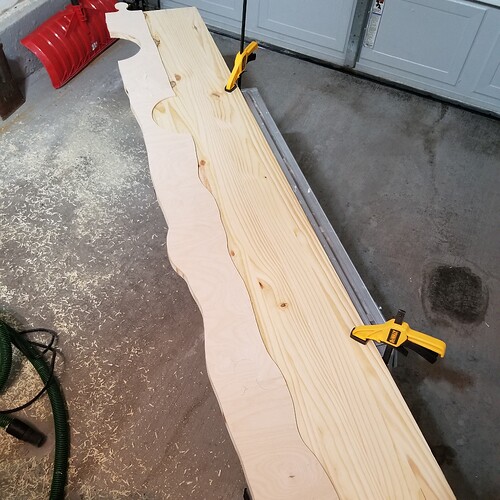
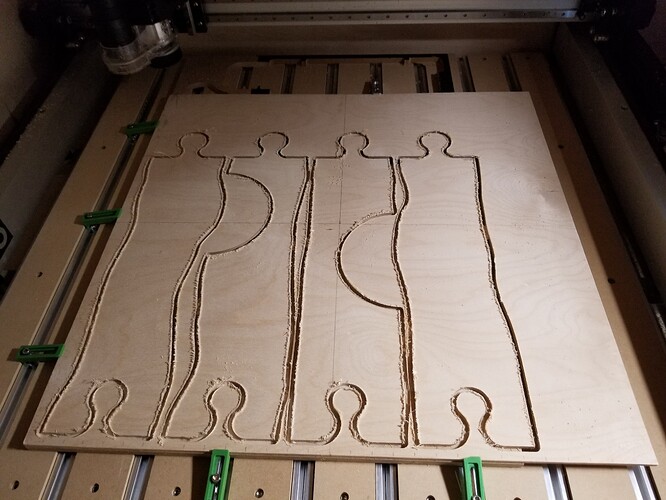
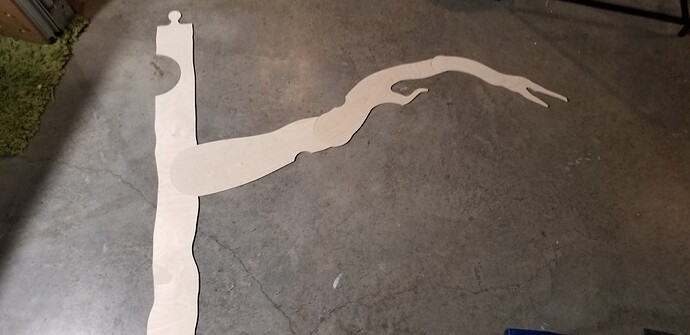
Tiling is a breeze in Vcarve Desktop so I can’t imagine it’s harder in Pro. Desktop has a width limit of 24" but since my Stepcraft D-840 has the same limit. They’re sort of made for each other.
So, set up a 48 wide by 96 job. You,ll have to make the width of the tree narrower than the ply so the tabs will hold it together. I would make the bottom of the tree no wider than 46 to give yourself room. Draw your tree or import your vectors. Create a 2D Profile and do it the way you normally do for ply of thickness you’re using. Calculate. Preview. You’re normal routine. It’s the same as a small project. Set up tall, wide, strong tabs. Every 8 " wouldn’t hurt. I wouldn’t
Now, go to Toolpaths and click the Tile Tool Paths button which is right beside the Save Tool Paths button. 3 tiles might work assuming the trees are well below 90" tall. If they’re more than 90" you’ll have to go 4. I wouldn’t cut it close. Might be best to just go with 4.
The Toolpath Tiling Manager dialog will pop up.
So in the dialog check the Tile Toolpaths checkbox.
Click the Feed-through in Y (that’s the default)
In the Tile Height text box type 24
Leave the overlap at 0 (can’t imagine you’d need an overlap for Christmas tree cutouts)
It will divide you job into four sections. T1 thru T4.
The bottom of the dialog has the Toolpath Drawing area. In this you pick which tile is active. It defaults to T1. This is mainly for previewing as far as I can tell. Previewing is a little tricky. Preview selected, or All or Visible. And which ever tile you select as “active” will be animated. You’ll have to play with this until you get the hand of it. But I’ve done a lot of tiling and never really got the hang of it.
Now you’re ready to save. Click save toolpaths as you normally do. Make sure the OutPut Tiled Toolpaths checkbox is checked. Save you tool path as you normally do.
Here’s what you’ll get. Instead of one file you’ll get 4 files. Each will be the file name you typed prefixed by T1- and T2- and T3- and finally T4. We’ll call them T1-treecutout and so on.
Here’s how I do tiling at the machine. I have a little one inch wide fence screwed down at the extreme farthest to the left (low X). This fence is exactly parallel with Y and runs most of the length of the spoil board. I made sure it’s parallel by trimming it. I jogged in the Y direction with the bit down into the spoil board trimming a little off the fence.
The fence becomes my registry for sliding the plywood down to cut the 4 tiles. I butt the workpiece against it and fasten.
I make a mark down close to the bottom of the Y on the fence. In your case about 3 inches up from Y 0 because you’re cutting 24" tiles on a 30" machine.
Now make marks on the left side of the plywood at 24" increments. Slide the plywood onto the spoil board with the very edge of the ply lined up with the mark on the fence. Make sure it’s butted against the fence. Support the overhang with rollers. Screw it down. I set my X and Y zero to the lower left hand corner of the plywood. Now load T1-treecutout and run it.
Now slide the plywood down until the mark you made at 24" on the ply lines up with the mark on the fence. You may need to support both ends now. Butt it against the fence and screw it down. DON’T RE-ZERO. Load T2-teecutout and run it.
Do the same for the others.
This method is fast and easy. More than good enough for Christmas cutouts. I’ve made 22x76 parts for furniture using it on my dinky machine. Just make sure the marks line up.


