I just saw a Sienci video on youtube about installing a Sienci Tool Length Sensor, however, I don’t see a TLS for sale to put on my Altmill on Sienci website. Did I miss it? A search for TLS turns up nothing.
Thanks,
Dave
I just saw a Sienci video on youtube about installing a Sienci Tool Length Sensor, however, I don’t see a TLS for sale to put on my Altmill on Sienci website. Did I miss it? A search for TLS turns up nothing.
Thanks,
Dave
@Davey It comes with the ATC but not as a standalone item. They have stated that they’ll sell it separately eventually.
They just posted a video to Instagram saying it is available to order.
Yeah, I just got an email from Sienci.
Thanks! I just received an email to order too… and ordered it.
Dave
same! now I have to update gSender 
Sienci store has been updated to include the TLS.
I received my TLS two days ago. I now have it installed and working (after a bit of confusion).
I started with the Sienci TLS YouTube video
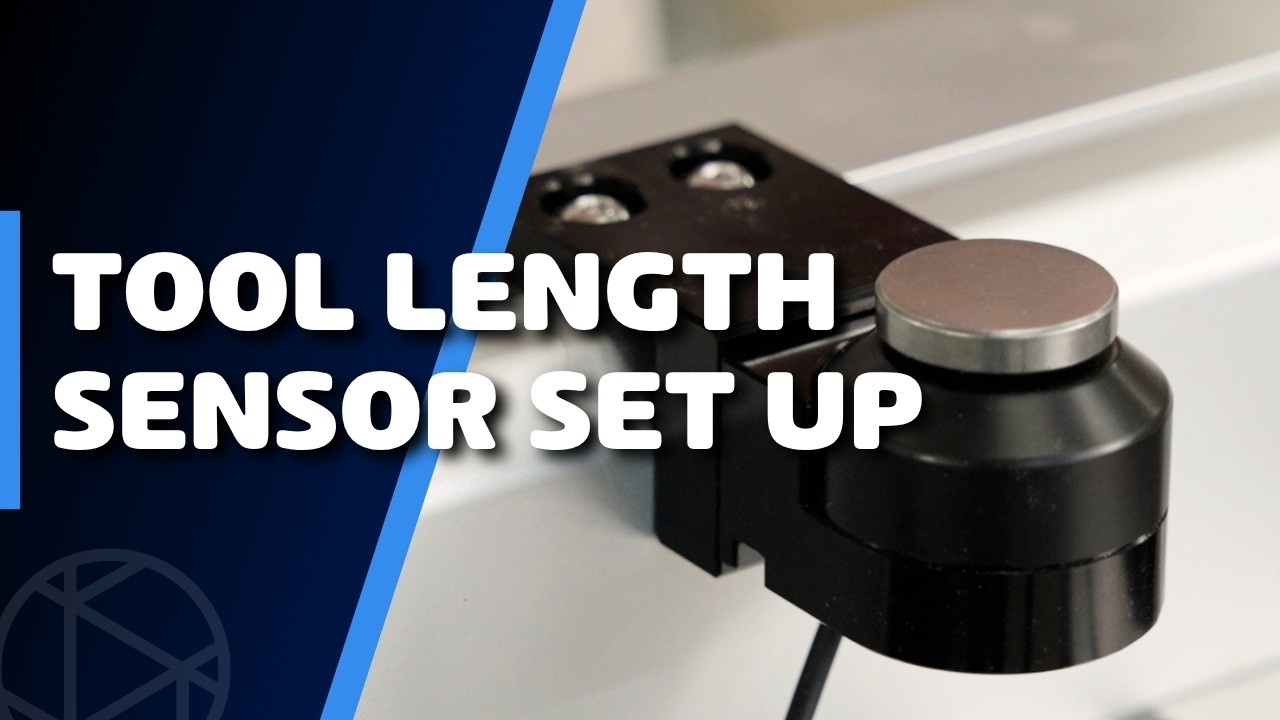
Then I found the support pages for Tool Length Sensor
After a bit of confusion I figured out how to make it work.
Below is my cheat sheet on how “I” did it. Hope this helps. Roland Portman
============================================================
Sienci TLS Setup
NOTE: Must have gSender 1.6.2+ and homing sensors.
gSender:
Run HOME (this sets the machine XYY zero. This not the same as workspace XYZ zero)
Configuration Setting:
Select Tool Changing
gSender strategy: Fixed Tool Sensor
Fixed sensor Location: Set to the XY zero of your newly installed TLS.
(I positioned my TLS in the far back left corner where I HOME. 0,0,0)
First tool behaviour: Prompt for first tool
Set tool change location: Enabled
Manual tool change location: (200mm, -600mm, 0mm)
(I have mine set to about 10” back from the front edge and 10” to the right of the left edge of the spoilboard)
More Settings… (no changes)
Apply Settings
Vcarve Pro:
Machine Configuration:
Associated Post-Processors: Sienci Labs ATC (grblHal)(mm)
Design and Calculate as usual. (Note: Edit the Tool (aka bit) in each Toolpath and set it to a unique number).
When you Save Toolpath: you must choose "Visible toolpaths to one file”
Verify the Post Processor is Sienci Labs ATC
Save Toolpaths
As a double check, you can edit the toolpath.gcode file. Look for the M6 commands
Each tool should have a unique tool number. For example
M6 T1
…
M6 T2
…
M6 T3
Now back to gSender…
Now that the settings are done, this is where you will begin for each project.
First press HOME.
Move the spindle to a convenient location and install your first tool (eg T1)
Move the spindle to XY zero of the project and Zero XY and Z.
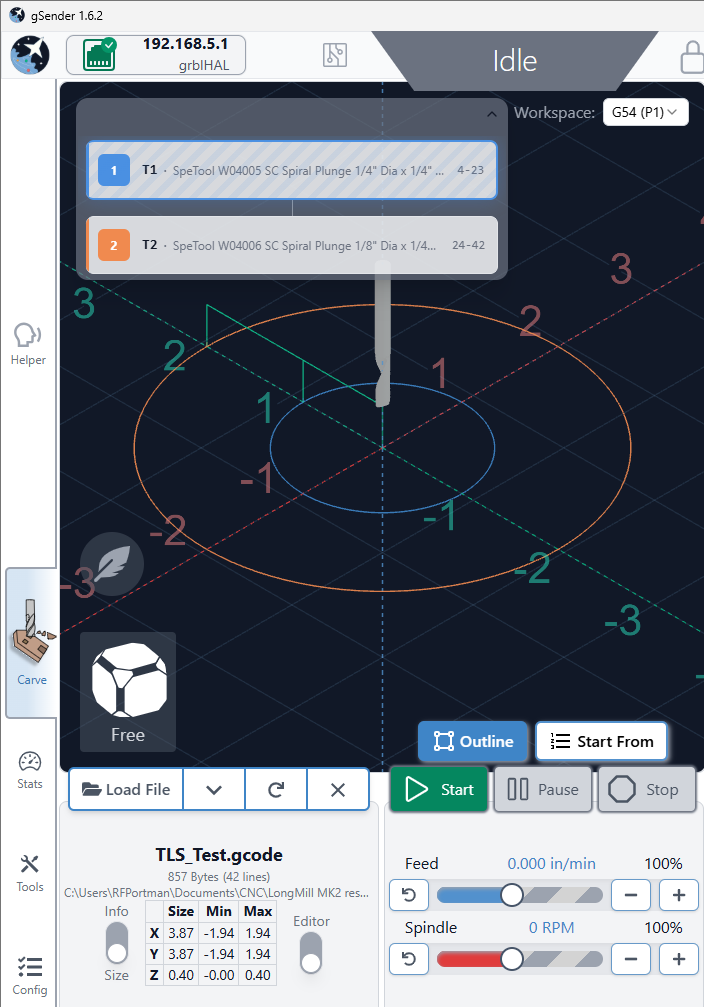
Load File: toolpath.gcode. Pop-ups will appear showing you the tools used in this job.
Press Start
I select (Only Probe Tool Length).
Press Run. The spindle will raise to the highest Z position (machine Z zero) and move over the TLS, then very slowly lower the bit to the touchplate.
Press Next. Press Run (resume). Spindle will move to the XY Zero of the workpiece and begin the cut for T1. When done it will raise the spindle to the highest Z position.
Popup: Change Tool. Press Run. Spindle will move to the Tool Change Location you set.
CHANGE YOUR TOOL (eg T2)
Press Next. Press Run (Probe Changed Tool). The spindle will move over the TLS, then very slowly lower the bit to the touchplate.
Press Next. Press Run (resume cutting). Spindle will move to the XY Zero of the workpiece and begin the cut for T2. When done it will raise the spindle to the highest Z position.
Steps 9 thru 12 will repeat for each subsequent tool in your toolpath file.
I hope you find this helpful. Comments and corrections greatly appreciated.
Thanks go to sylthecru for getting me on track.
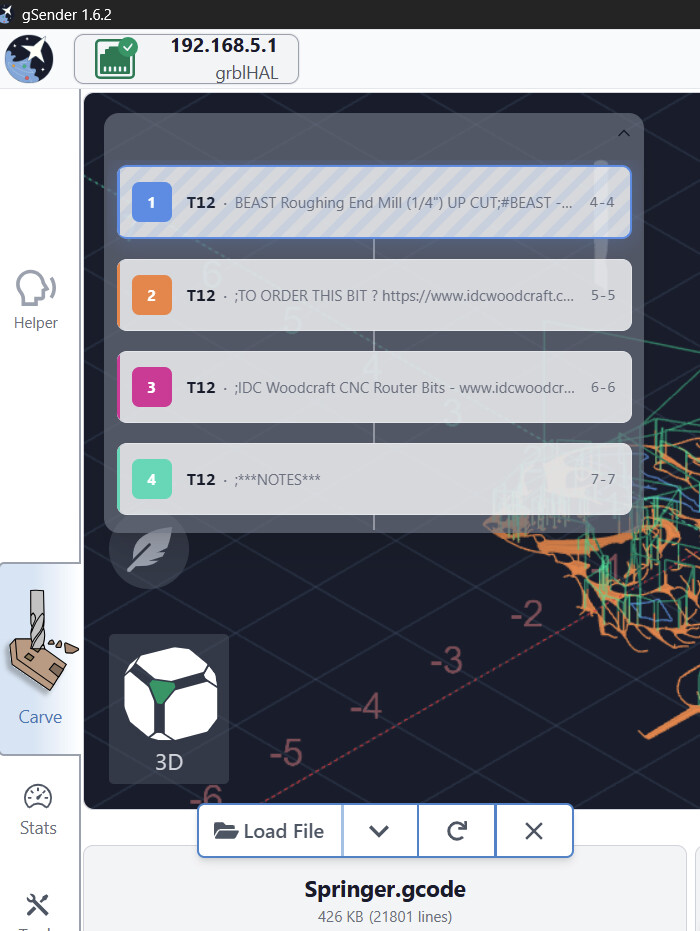
Thanks for the thorough response, Roland! I have completed these steps and after manually editing lines out of the .gcode file everything worked. Here is what I see in gSender and I can scroll down and see even more T12’s :
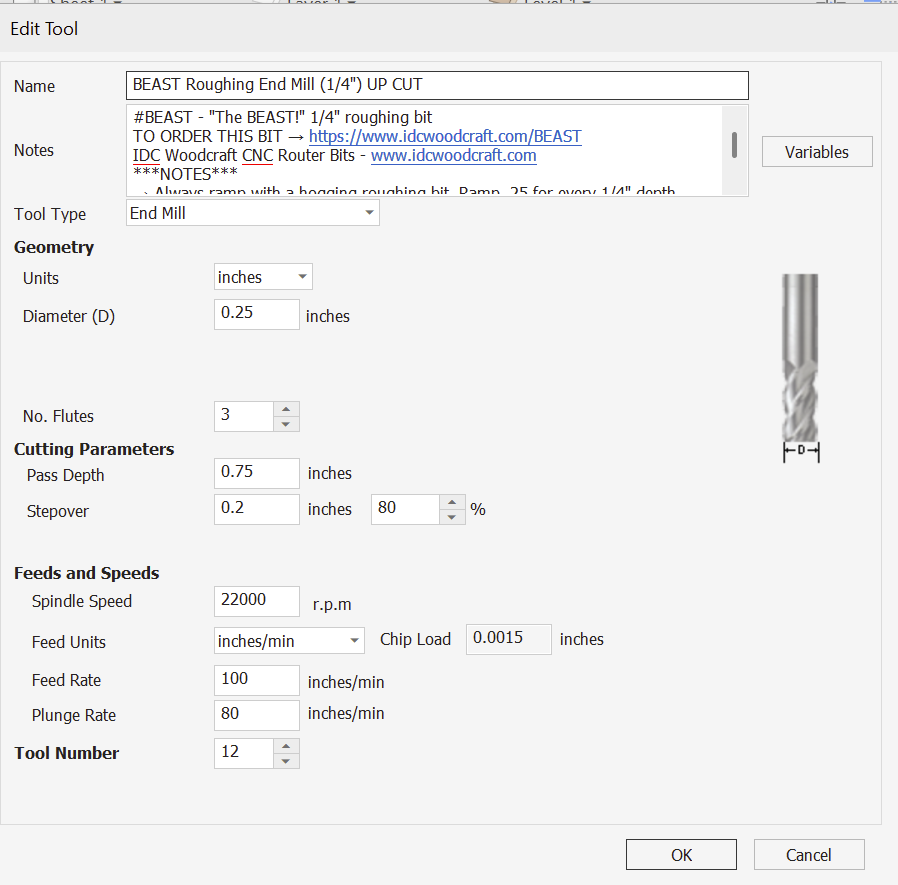
Duplicates of the same tool with the differences being what is in the Notes field of the tool in the Vectric tool database. Here is a screenshot of the tool database card, notice the Notes field.
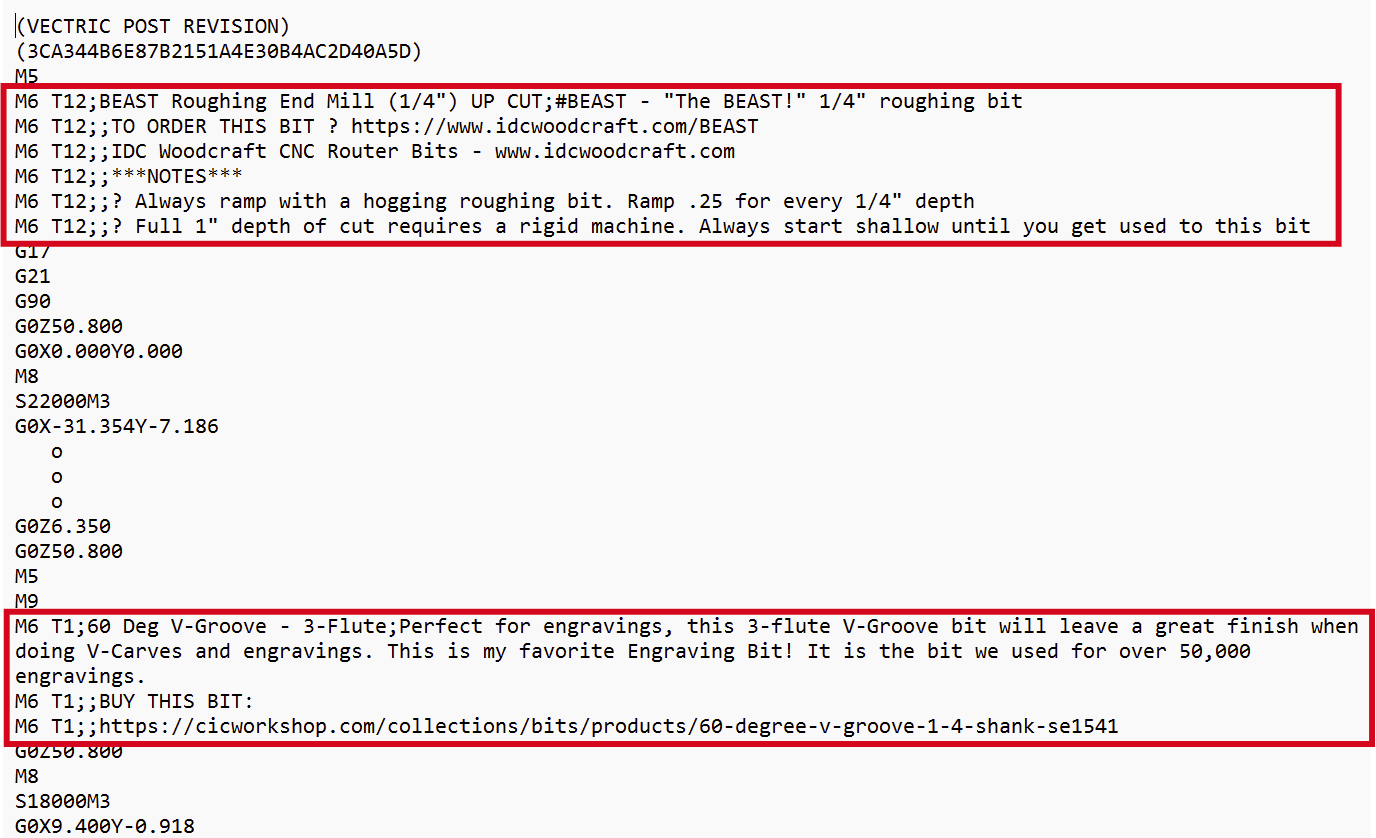
Now here is a screenshot of snippets of the .gcode file generated by Vcarve.
The Sienci Labs ATC file seems to generate a separate tool for each line of the of the Notes field in the tool database. I can edit the .gcode file to take out the duplicate tools but shouldn’t have to do that.
Thanks,
Dave
Hey, this is a postprocessor bug. It’s been fixed on our internal version - we’re waiting on Vectric to update their side so the issue doesn’t happen
In the meantime, you can download and install the following version and I’m told it fixes the multiple toolchange commands by removing TOOL_NOTE output and just leaving TOOL_NAME - Vectric is looking into making it not insert multiple M6 in the meantime.
As I understand it, you must manually edit the tool number and make it unique in Vectric before you Calculate. Then when the generated toolpaths are combined into a single.gcode file the tool numbers are unique.
Arghh, I just re-read you comments, and noticed the multiple tool statements. Perhaps IDC should limit the Tool Note to 30 characters. 
Thanks, this file works correctly!
Dave
I am pretty new to the TLS and just installed my TLS and have just been deleting the text in the IDC tool data. Can you give me a hint on how you install this fix?
You should be able to install it using the “Install Post Processor” button inside Vectric Post Processor Manager.