How are people cutting away the small sections between letters ? Like between the “t” and “o”?
I start with 1/4”, down to 1/8”, then 1/16” on specific areas.
@jcampsall No offense, but are you using Fusion360? I simply want to make sure that you are in the right area.
Yes I’m using fusion 360
Depends how you are generating the letters. Are they extruded upwards, then you cut the profile?
I would see about running an adaptive clearing pass on the surface at the depth of the letters, with no axial stock to leave, and a small radial stock to leave, then finish by running the contour path on the outside of the letters.
Post a few more details and a screenshot of what fusion generates for a toolpath and we can hone in on a solution.
I pocket the material from around the words with a 1/4” UC end mill leaving 1 mm radially.
With 1/8” DC end mill. I contour the letters,
With 1/16” DC end mill I either contour or pocket the remaining hard to reach areas like “e” , “p”
Try out adaptive clearing before running the rest of the operations - either 2D or 3D, instead of a pocketing operation. If you leave 1mm radially like before, and no axial stock to leave, I think it will do what you need.
With 2D you might have to click in every hole to get it to do its thing, with 3D it may identify every part for you. Make sure you check the generated toolpath to see what you get. With careful use of adaptive clearing, I basically never use the pocketing operation anymore.
Your remaining contour operation should still do what you need.
The adaptive cut still doesn’t make a toolpath for 1/4” end mill between t and o.
And increasing number of 1/8” step over doesn’t pick it up
Hmm… can you share your file somehow and I can try opening it for a closer look?
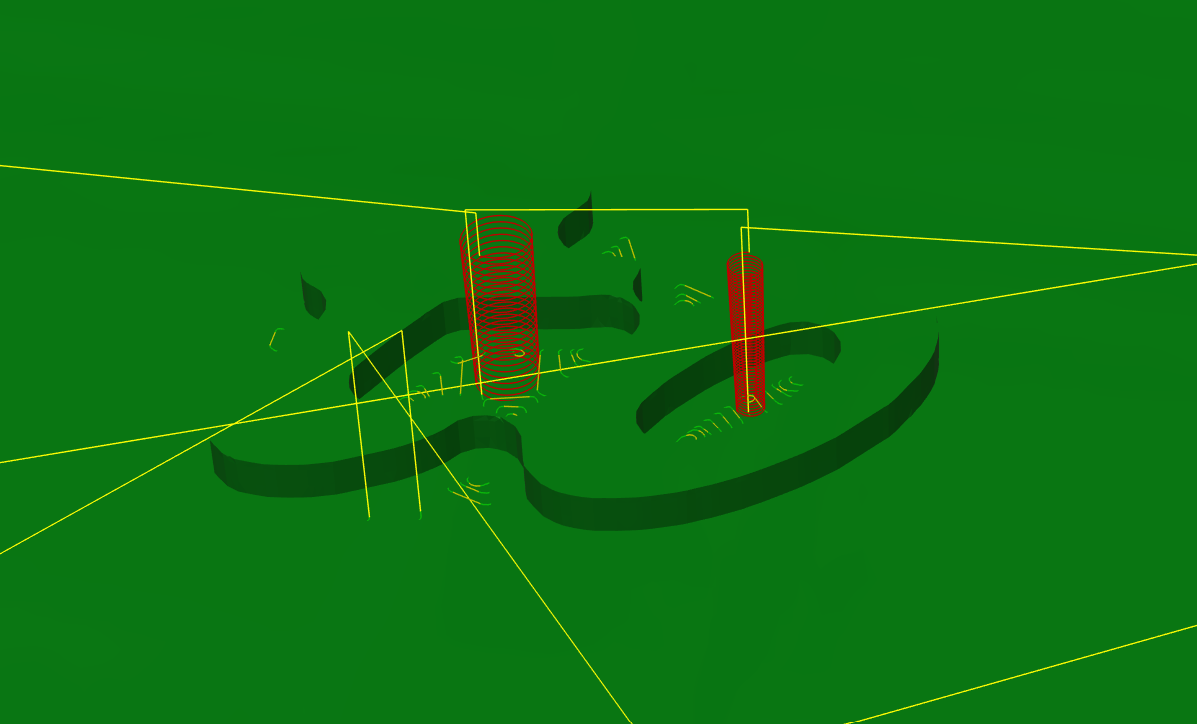
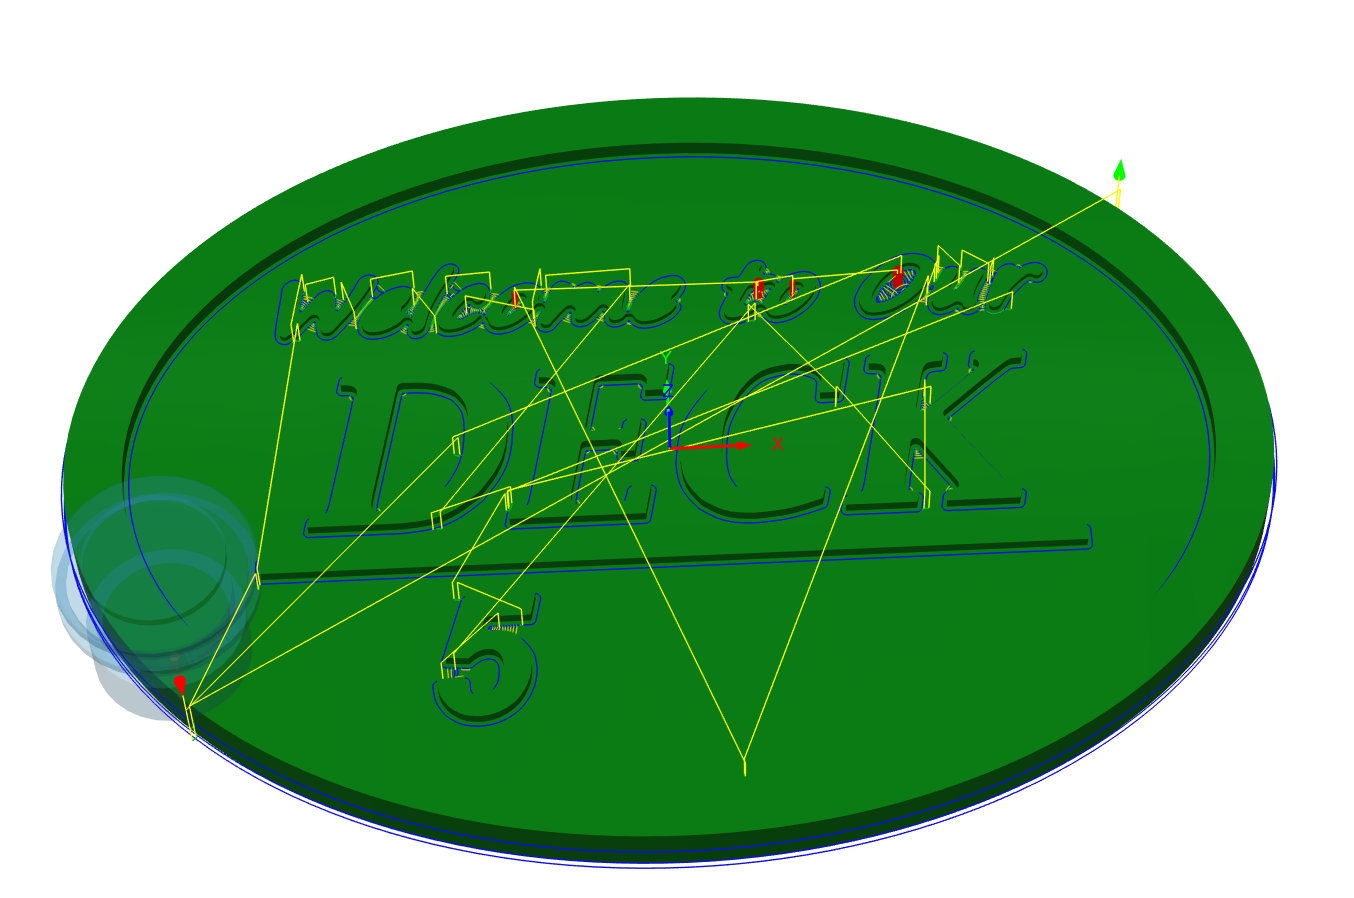
Hi @jcampsall - just did a really quick and dirty first two operations to see how things shake out. Here’s what I did:
You can see that after those two passes, the areas between the t and the o that were giving you problems before have been cleared.
You should be able to tune things as needed with your contours after that.
The adaptive clearing toolpaths are a very powerful way of getting 90% of the way there before attacking fine details, I find. This is how those two paths leave the model:
Let me know if that makes sense or needs clarification. Quick note - I don’t know how you intend to apply the “it’s” and “o’clock somewhere” lettering - the clearing passes levelled those surfaces.
Hope that helps,
ed
But I’m trying to avoid running the 1/8” pocket/clearing ?
Reduce the axial stock to leave on the 1/4 clearing pass until it gets into every shape if you can manage it then.
The 1/8 clearing pass as I have it set up only takes 12 minutes though - it only does a clearing pass on the parts that didn’t get cleared by the 1/4 inch bit.
Interesting ![]() (plus more characters to make 20)
(plus more characters to make 20)
I saw an interesting video on line where the person was cutting intricate shapes. His method was to use the smallest bit first to get the definition then use a larger bit, or bits, to clear the waste. I have used this and it certainly stops any tear out on tricky timbers.