As I patiently await my 30x30 (originally expected this weekish but probably another 2-3 weeks) I am contemplating a couple of small production projects I have in mind. I’m stepping up from a Bob’s CNC E3, which really lacked rigidity. This dictated a machining strategy of shallow passes, slow feeds, and modest but adequate stepovers… a .25 endmill in hardwood could run at .01 depth at 25 ipm with a 40% step to rough. Those are really maximums.
One major issue, and we’ve probability all seen it, is the shallow cut would leave telltale lines across endgrain. If I were to try to do a cleanup pass at full depth on anything deeper than maybe .3875, the lack of rigidity resulted in incredible chatter at the bit and a horrible finish, even if trying to just take like .005 with the side of the mill.
So, the question I pose is, have you had any success with you longmill doing deep pass, small step milling? What kind of feeds were you able to sustain? I’m hoping to accomplish .75 - 1 inch and maybe .01 or so step with spiral endmills.
I feel like the Longmill is easily able to do this but it seems wise to get a little feedback before I settle on a CAM strategy that depends on it.
Jim, I have not tried what you are describing. However yesterday I was playing around with a carving and decided to do a profile circular pass at 0.87 inch with a 1/4 shank spiral 1/16 ball end mill running at 56 ipm . The cut was a 8 inch diameter. Apart from a slight increase in noise I did not notice any bit chatter and there was no dicernable difference in the finished surface than if I had done my normal 4 pass cut. Now I was cutting basswood which is significantly easier than hardwoods like walnut, oak, maple. I have tried deep plunge cuts in hardwoods using hand held router with straight bits and found the forces on the bit made the cuts very difficult to control. I think the longmill has the rigidity to do what you are describing but feel you would see ecessive wear on the rod blocks and wheels but the biggest issue would be at the router. The router bearings would not take the increased bit forces for an extended time and would likely fail prematurely. Also you may experience bit breakage thuogh this would br dependent on bit quality. I think you would have a better chance of long term success if you use a spindle verses a router. But at the end of the day all you can do is experiment. Good luck.
Hmm. Perhaps I’m leaving out enough info to make it confusing. In my head, this would be more like a final perimeter profile pass or to bring something to final dimension or clean up the inside of a pocket. I’m not thinking a plunge and cut with full bit diameter, simply a “shave”… 0.01 step to clean up a profile but at full depth of maybe an inch.
If I understand correctly you are talking about cuts like ‘Do Separate Last Pass’ in VCarve’s profile toolpath. I have a MK1 which is less rigid than the MK2 and I have started to use that feature without a problem. I usually put 0.1mm but that may be too small, I don’t know as I’m still kind of new to CNC, in my second year. Your 0.01" is 0.254mm but I think you will be OK.
I’ve been using the MK2 machine profile in VCarve for base feeds and speeds which seems to be conservative even on my MK1. I started with the large machine profile because when I got my MK1 there wasn’t a LongMill profile in VCarve but switched to the MK2 profile on a reinstall of Windows and VCarve.
If my memory serves me right, you said you have like 15 years of CNC under your belt so I look forward to seeing your impressions of the LongMill when you get yours.
@_Michael not quite 15 years, more like about 8. I’m pretty excited to get my Longmill as well. Good to hear the LM will handle deep cleanups well. This is actually sort of up your alley… I’m thinking about a limited run of heirloom quality cribbage boards.
@Mickus appreciate the input! I’ll definitely be giving it a shot. I like to get input on if something is conceptually feasible sometimes before I build a CAM strategy around it. It’s really the difference between precutting to close width and length with a table saw vs being able to use oversized widths and rely on profiling to get my final dimension. Part of getting my wife on board for dropping $$$ on a new CNC is me planning on recovering some of the expense be making something awesome to sell. If I’m going to do it, I have to be efficient.
You should definitely do that because I want to see them! I try to get better with each project I do and I hope to reach ‘heirloom quality’ some day. Most of all I just want people to enjoy the things I make to give away or sell.
@_Michael I don’t know, man. That board you made has all of the earmarks of an heirloom quality product. Unless the pictures were deceiving, the finish is smooth and even, the lines are clean, the woods were beautiful. Very nice work and it looks like it will stand the test of time!
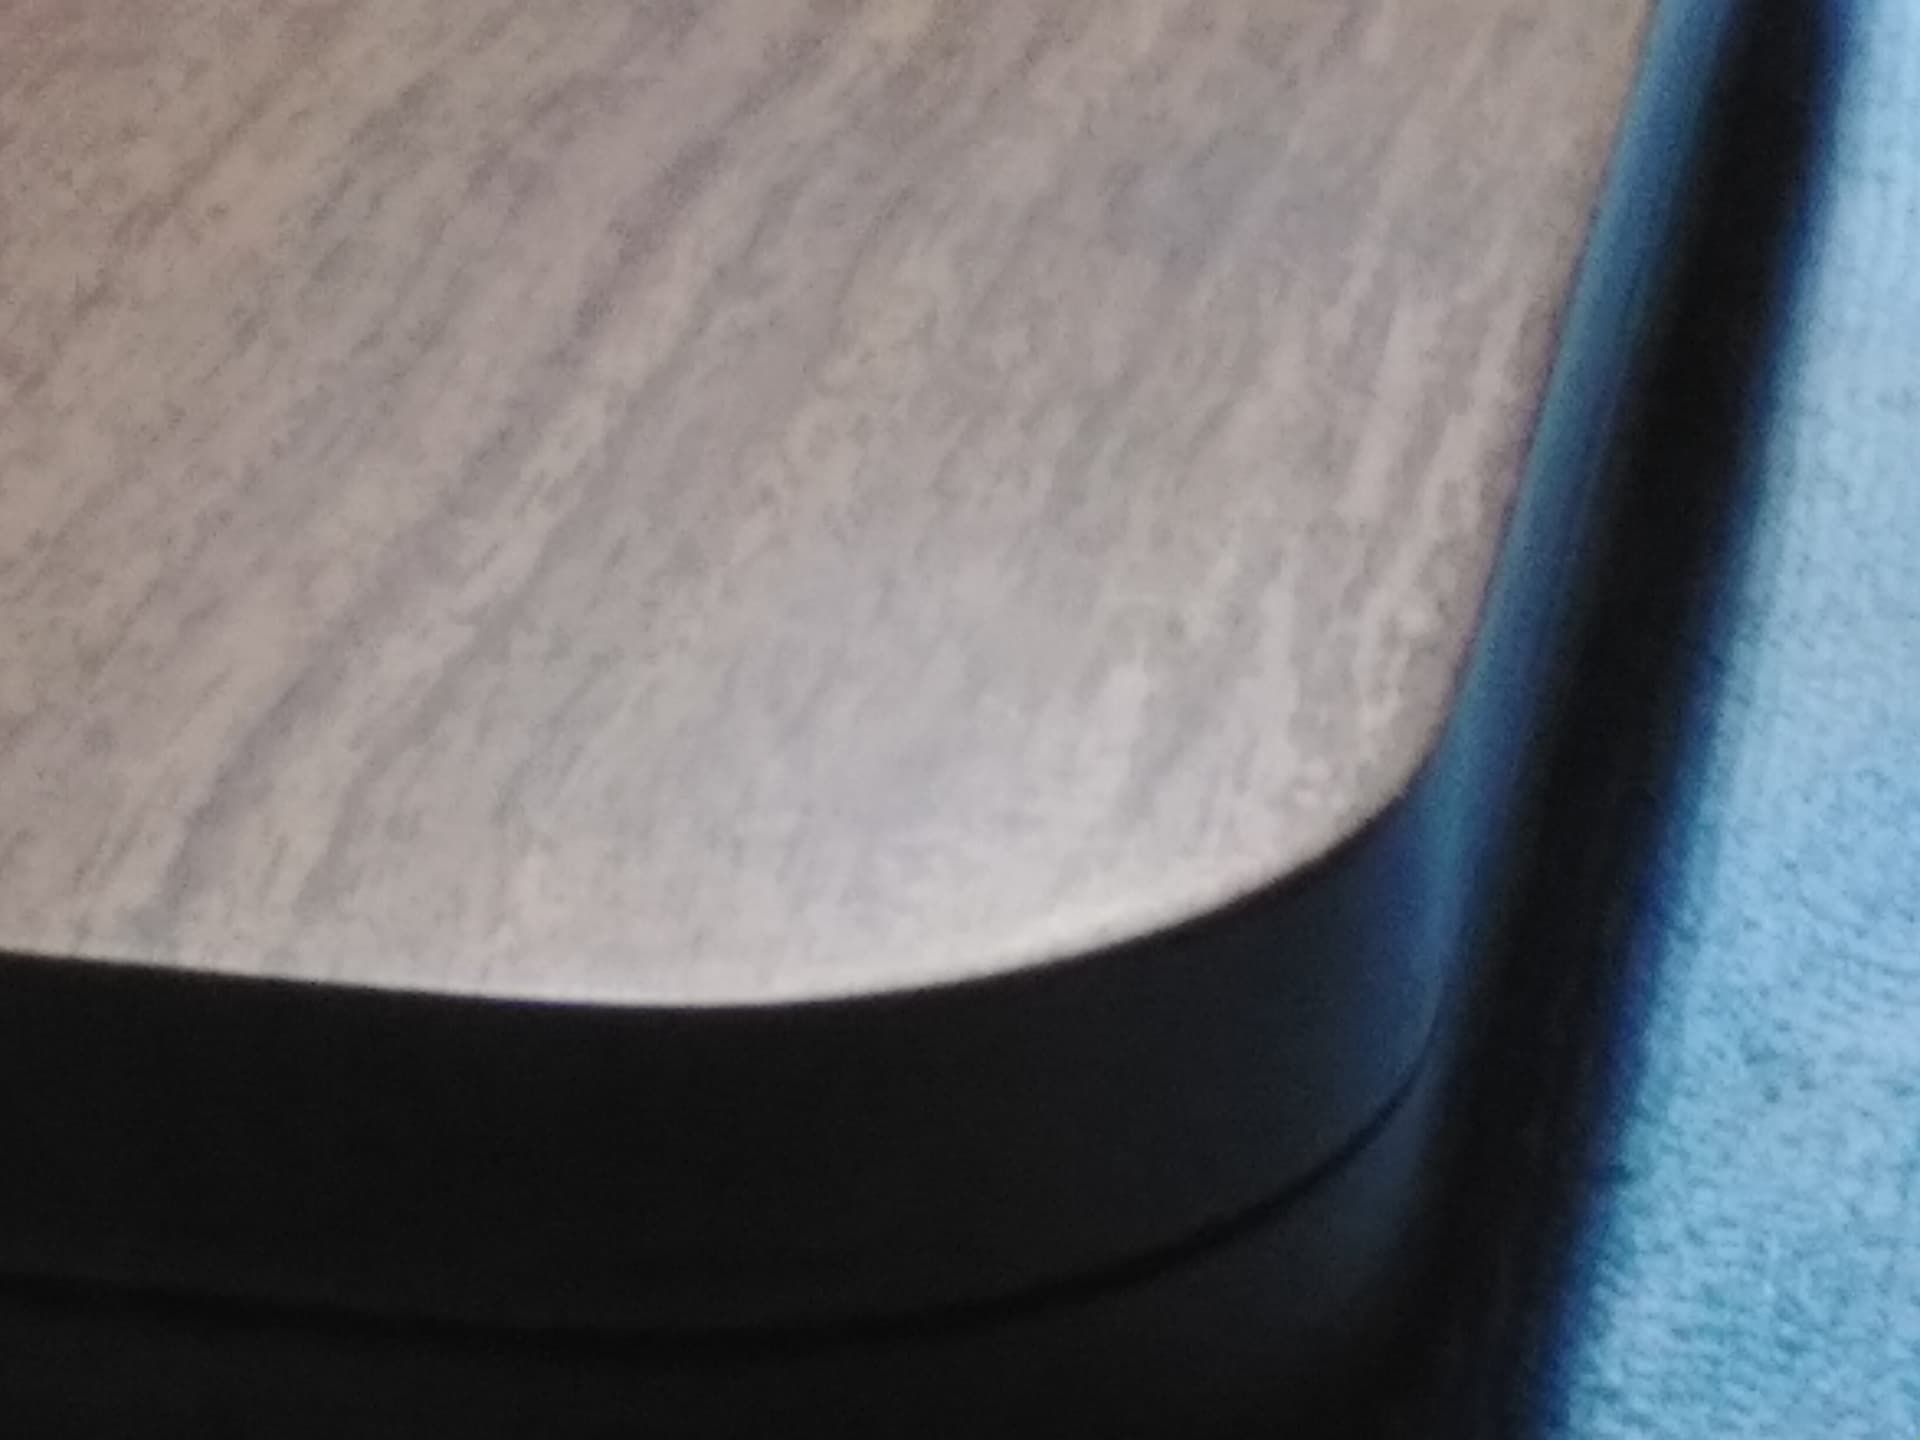
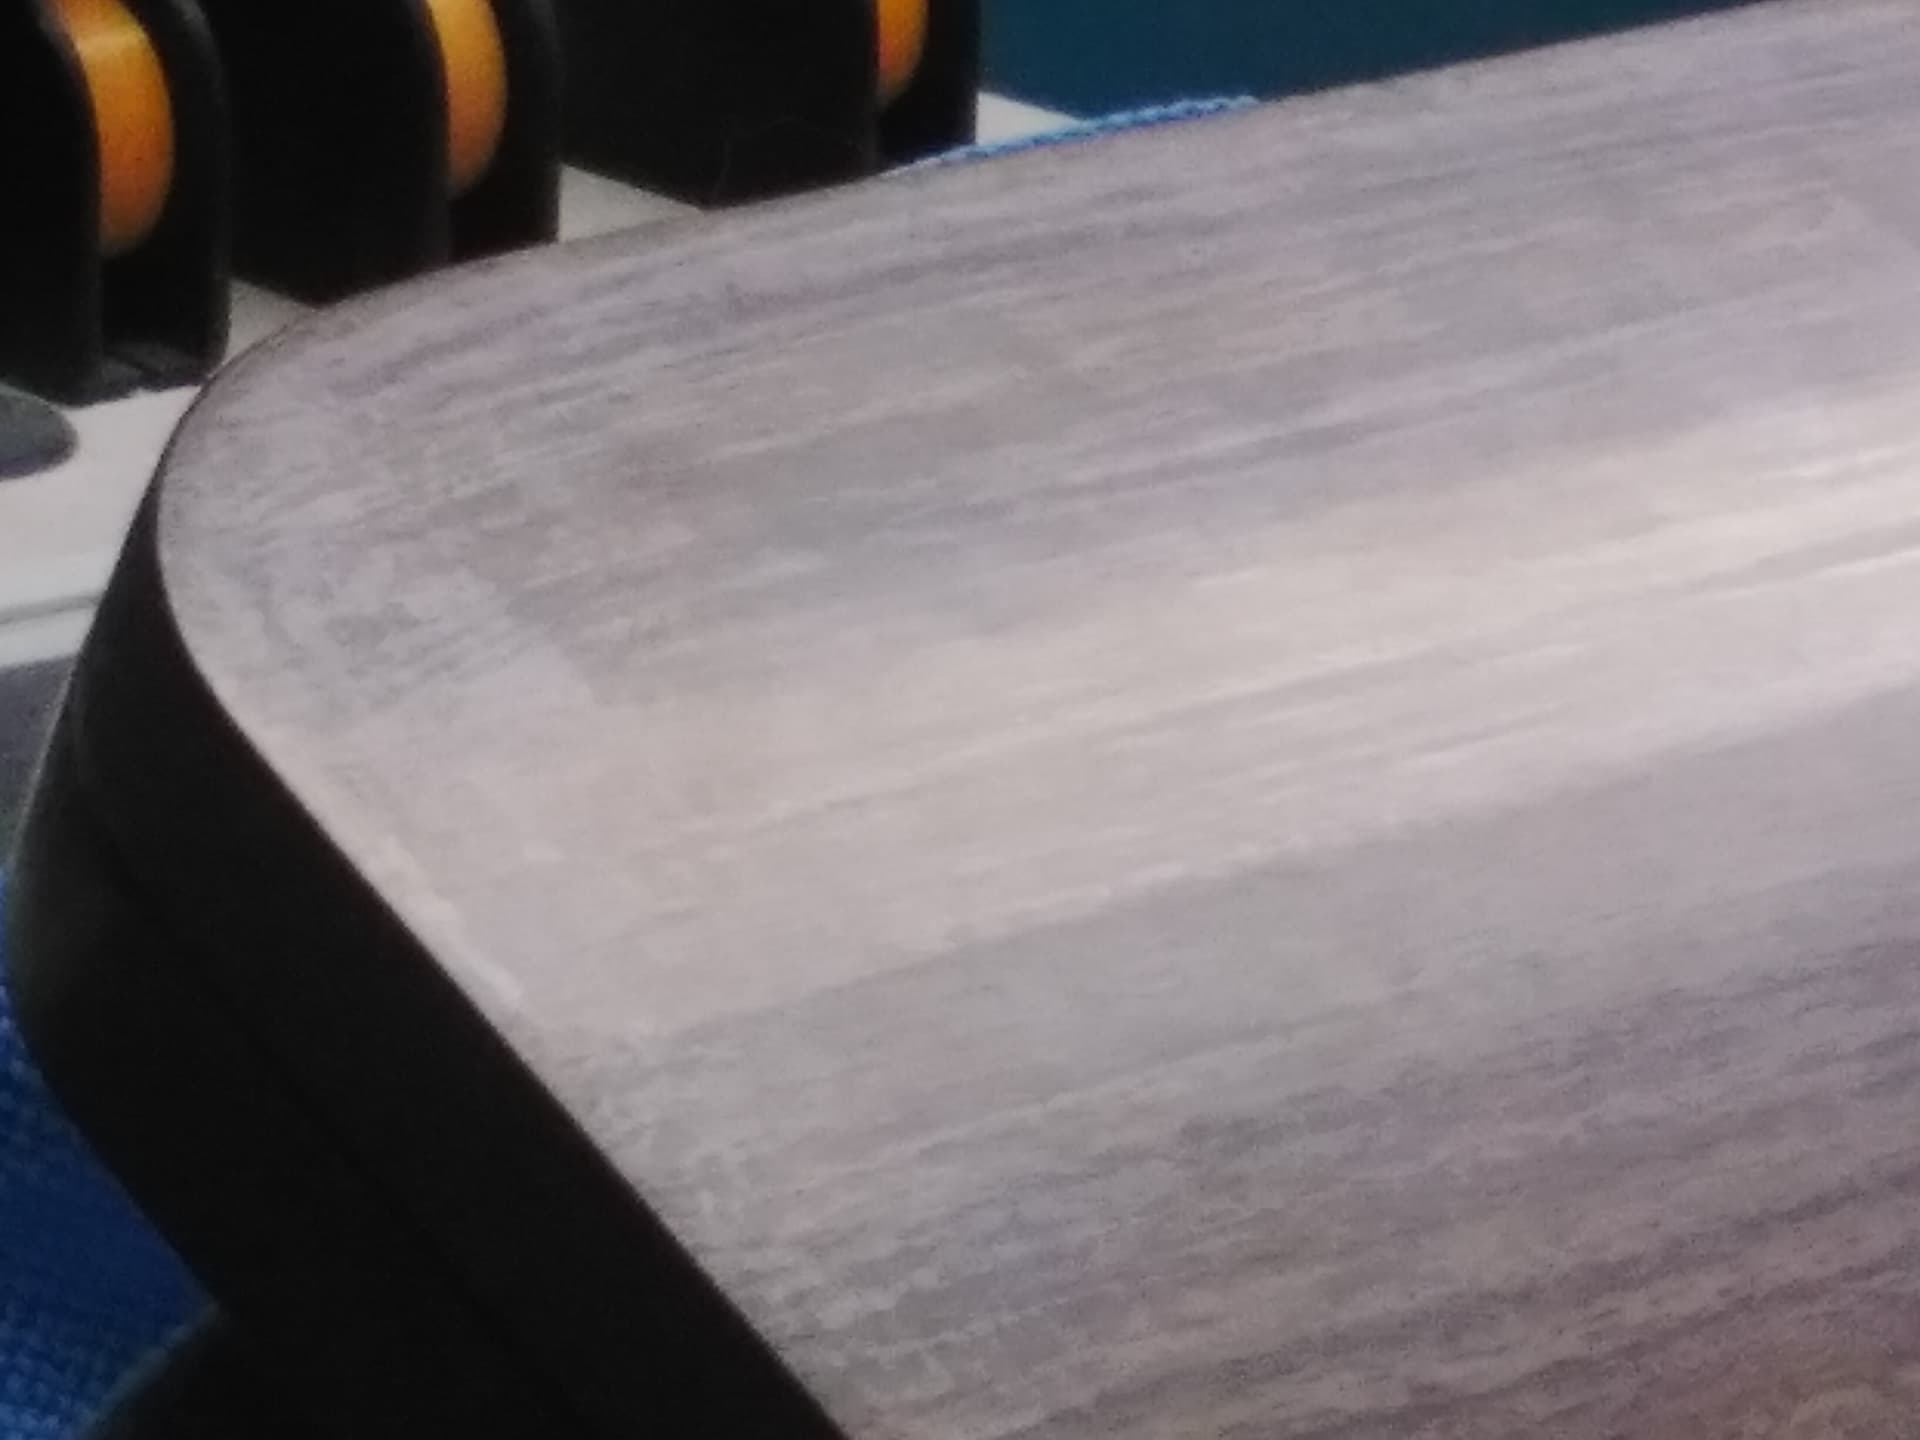
It’s hard to capture in a photo but there is some streaking visible in the finish at certain angles. I don’t think I was trying to be deceptive in the photo’s but then again I am trying to sell it.
Man is it hard to capture but I think you can see it in this photo a bit on the right side just above the corner. It hasn’t sold yet and I’m not opposed to working on the finish some more if you have any pointers. It feels as smooth as a babies butt but I can still see it’s not perfect.
I haven’t got much experience with trying to do a finish like this. I followed some instructions from YouTube. I am using a mix of 75% poly and 25% mineral spirits and wiping it on with a clean cloth. Then I sand lightly between coats and finish with sanding up to 3000 grit. I’ve also tried car wax and buffing but I can’t get rid of those streaks so far.
I am really satisfied with the laser work lining up and the inlay. I just think the finish is 90% there. I would appreciate any advice you have. I really do want my customers to be very satisfied with any purchase they make.
Ah, I see it. So, here’s my process… I use this for guitar finishing and it’s sublime. I haven’t done a cribbage board yet so I’m not completely sure how it will impact the holes, though, I suspect that splitting the process might be the needed.
Sand through probably 600. Anything more isn’t needed. I spray 3 coats of grain sealer. I like Solarez because it UV cures in 5 minutes. Then level sand. Now, if i were finding the holes being filled up, i would probably change my CAM strategy to stop and drill my holes now i stead of before starting the finish… that’s the split process I referenced earlier.
Anyway, after level sanding, 3 coats of Solarez UV lacquer and level sand through 3000 and then I hit the buffing wheel with cutting compound and then finishing compound.
Should look like glass.
Solarez can be brushed on super thin and cures vicious fast so production time is sped up a lot.
I have thought about trying to do the finish before drilling the holes now that I am confident that I can remove an replace the material accurately. This is my second cribbage board and the line work on the first was off by maybe 0.5mm or so. That was before I drilled the holes for lining up in my spoil board.
Thank you for sharing your method with me. I really appreciate it. I didn’t know about UV cure for woodworking finishes but I have used UV cure glue before. Sometimes waiting for the finish to dry is the hardest part and it’s definitely the longest.
I’m a fan of making locating jigs so i can put things back accurately. I’m also really excited by the gSender functionality of being able to save alternate zero positions.
The biggest key to a super glassy finish is the grain filler coats and that first level sanding. A really cheap $16, 16" Amazon fret leveller is dead flat and will accept any self adhesive roll paper. Great for long, flat areas. Use a big pink pencil eraser for the sides. BARELY touch the corners because the sand through fast.
Watch a little bit of YouTube regarding guitar finishing. It’ll really give you the idea. Don’t wet sand… not beneficial if you use good paper.
Do you mean workspaces or is there something else that I am missing. If it’s workspaces G54-G59 that you are talking about I do use those. I have G59 zeroed to the center of my board and the coordinates written down. That way I can go to G59 and move to zero and then go to G54 and set XY zero. This is the center point of the post holes in my spoil board which I guess is a kind of jig… maybe.
Yes, workspaces… I’m not yet up to speed on gSender lingo but, I got my shipping email yesterday so I should be destroying good, quality wood in no time!
I plan on threaded inserts every 2" OC and typically build squaring jigs for repeated stock placement. I can screw them down at specific points and always get stock at the same XY for repeat production and, similarly, flip stock for 2 sided machining with good results.