My spoilboard has paper thin ridges on the y axis(front to back)….I can’t find a video that demos the fix…I used a 1” surfacing bit w a 70% step over…in that inch I have a lip at the back of the cut…the front appears to be cutting deeper than the back of the bit….do I need to disassemble the gantry to get to the screws to add a shim……I’m stuck….bought this a year ago and finally got it together over Christmas….does this make that much difference or should I carve and see if it hurts the projects???
@JAC Welcome to the group, Jack.
I figure that I haven’t been blasted yet this year, so I’ll start the conversation. ![]()
First off, you can search on “tramming” on this forum and see several threads on how members have trammed their Long Mills. Many here have done it. I have never taken the time. (Now you see why I mentioned getting blasted. ![]() ) I have taken the time to make a gadget to measure how far out my LM is. My gadget was taking its readings 12" out from the spindle. It was a long time ago and I forget the results. However, the amount that my LM was out was quite small at 12". (“Small” being relative, I know.) I took that amount and created a drawing in sketchup. It amounted to two straight lines. They started from common point. One went perfectly horizontal for 12". The other “ramped” up by the amount that my gadget showed.
) I have taken the time to make a gadget to measure how far out my LM is. My gadget was taking its readings 12" out from the spindle. It was a long time ago and I forget the results. However, the amount that my LM was out was quite small at 12". (“Small” being relative, I know.) I took that amount and created a drawing in sketchup. It amounted to two straight lines. They started from common point. One went perfectly horizontal for 12". The other “ramped” up by the amount that my gadget showed.
Then, I took two measurements of the space between the lines. One at 1/8" from the common point and one at 1/4" from the common point. These are the diameters of the most common end mills that I use. Each of those measurements was so small as to be microscopic. To me, they showed the “nod” measurement between the front of an end mill and the back of the end mill. As I say, on my machine, the difference was very, very small.
Here is what I concluded from my exercise. First, I didn’t believe it was worth my time to try to tram my LM to entirely remove that “problem”. Second, I am working in wood. Wood moves even as I am carving it. It is unavoidable. In my opinion (and that’s all that all of this is, after all) it is likely that the wood dimensions change more over the duration of the carve than the tramming error. Third, I have done some quite intricate, two-sided carves and have never looked at them and said, “they would look even better if I had trammed my LM”.
Now, I am sure that you will receive contradictory opinions - and that is a good thing. After reading them, you can form your own conclusion. All that I would say in conclusion is that, first you reduce your stopover to about 40%, and second that you do some projects and determine if you are happy with the results.
Have fun. Be sure to post your projects.
2 Likes
Thx G… read your thread discussion on the forum….just gonna try a project and see what happens… really appreciate your prompt reply…JAC
@JAC You’re welcome. I just happened to be online when you wrote. There are many, many people here willing and able to help. Don’t hesitate to ask questions. Have fun.
Here is a photo of a simple device that I made to check the tram on my LongMill.
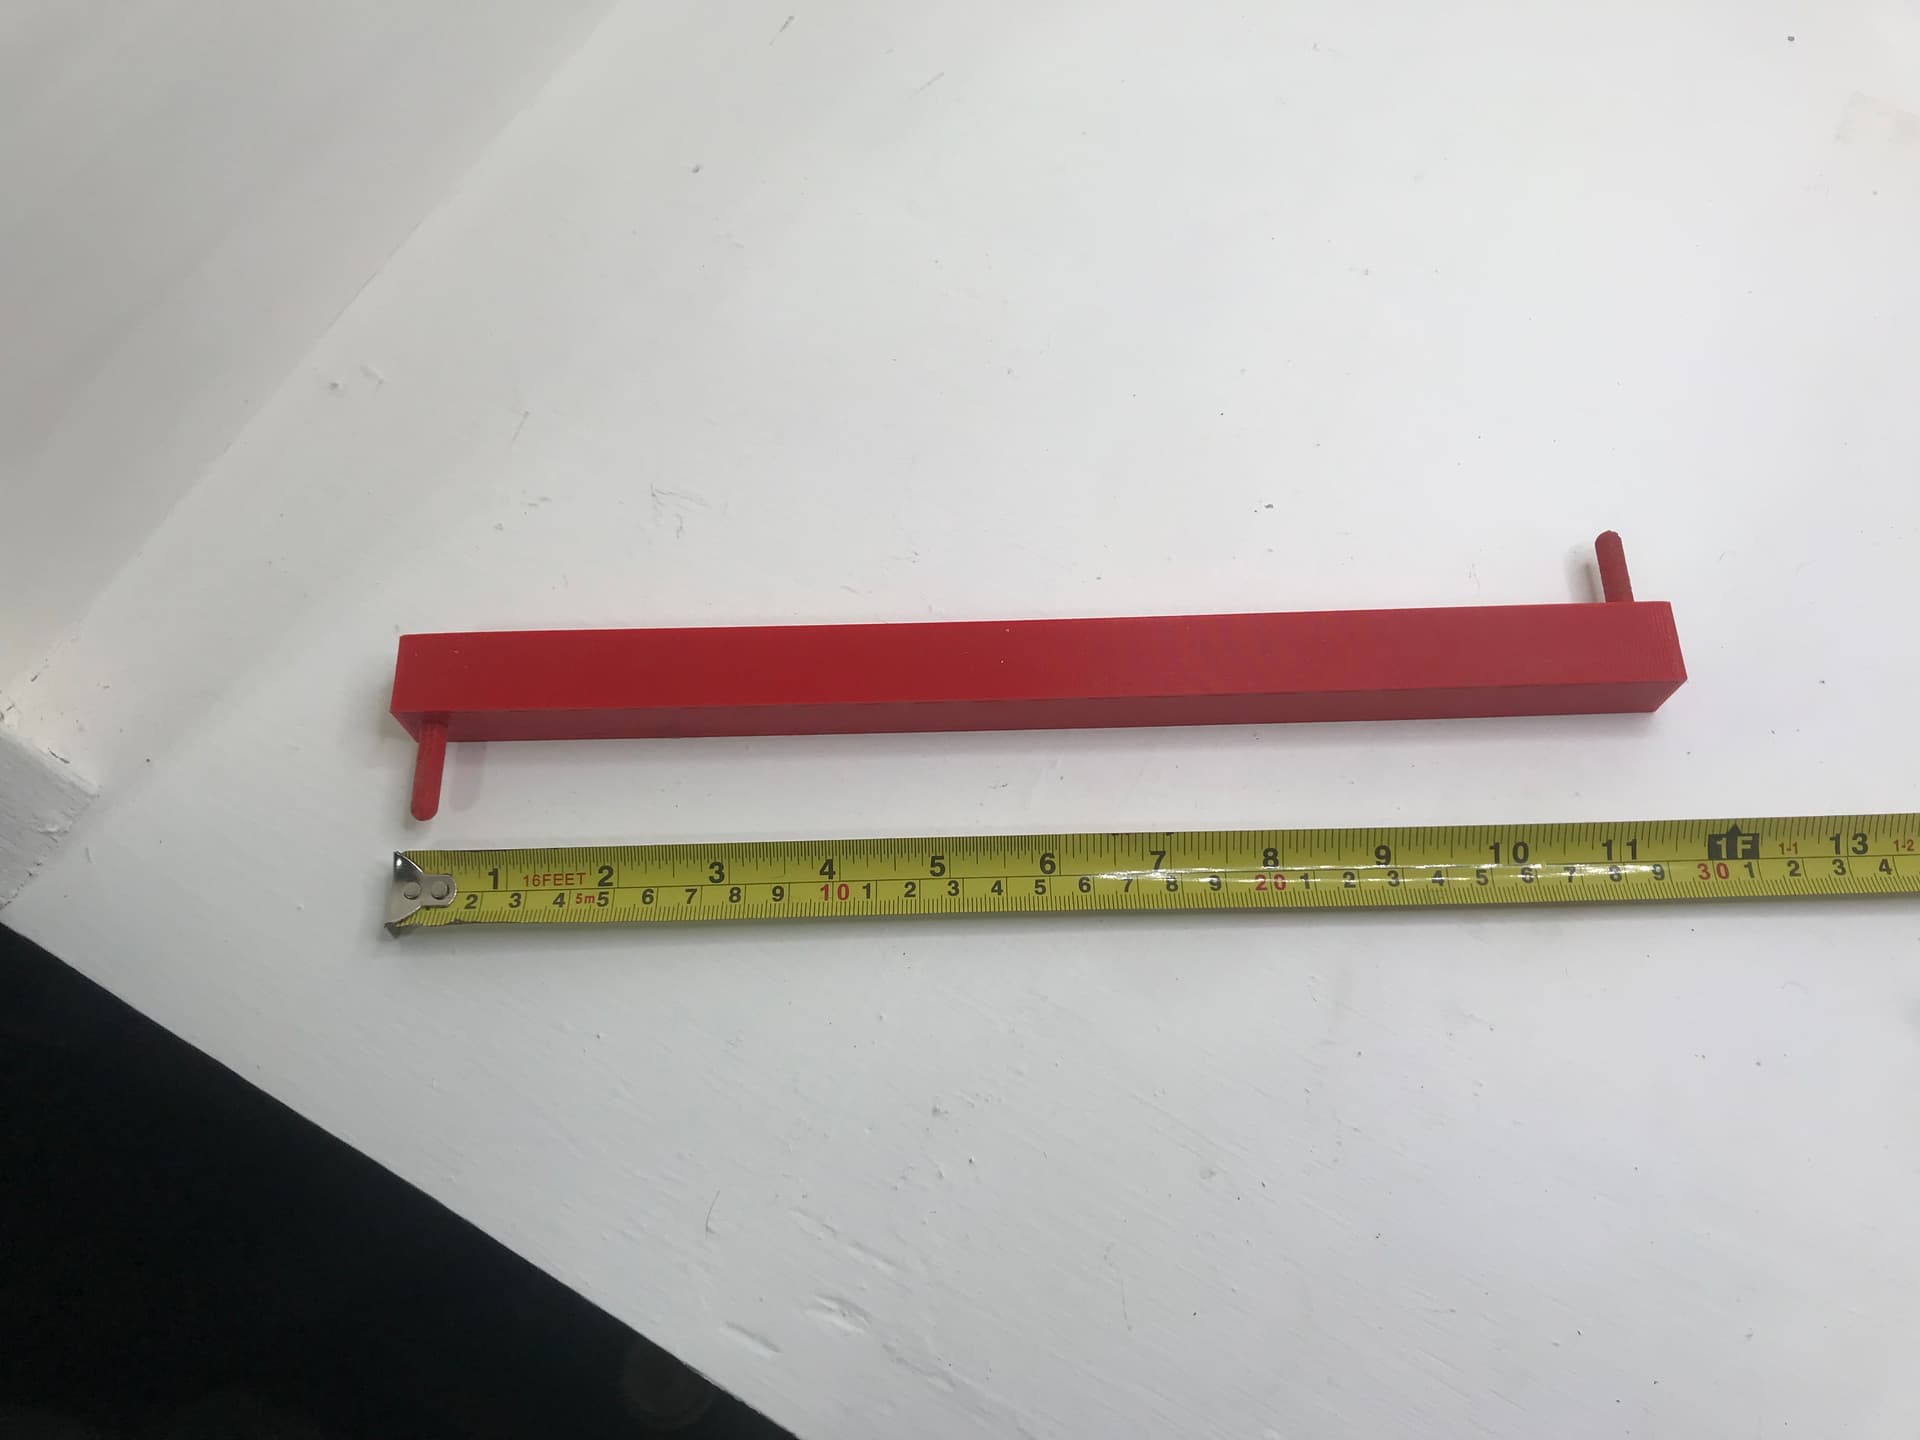
I 3D printed mine but you could use wood with 1/4" smooth rod or whatever. You put one of the rods into the collet and then you can check the distance from the other rod to the spoil board as you rotate the device around in a circle.
Anyway just wanted to show you the device, whatever it’s called ![]() in case you have not seen one and to welcome you to the group. Oh, and much like gwilki, I don’t remember how far off mine was but I judged it to be acceptable and didn’t shim anything.
in case you have not seen one and to welcome you to the group. Oh, and much like gwilki, I don’t remember how far off mine was but I judged it to be acceptable and didn’t shim anything.
2 Likes
@_Michael Yours is much prettier than mine was, Michael. ![]() I had a bolt in one end of a piece of poplar to mount in the router and a dial gauge that I had kicking around in the other end. Whatever works, right?
I had a bolt in one end of a piece of poplar to mount in the router and a dial gauge that I had kicking around in the other end. Whatever works, right?
1 Like
Before you shim, try loosening the 8 bolts on the ends of the X axis rail . You will find there is enough slop in the screw holes to move you spindle in the Y direction. That worked for me tramming it in.
1 Like
That looks good! I don’t have a way to make that so a stick and screws is gonna be my try:joy:![]()
Going to try a project first, then see if makes a big difference. Will look into your idea if I need to do so……Thx