Hi everyone, new member here. I’d like to carve a 3D version of a small object I only have photos of, a carved wooden bird that belonged to my family.
How do you go from a photo of a physical object to something you can generate 3D toolpaths from? Do you build a heightmap from the photo, model it from scratch, or is there a better route? I’m mainly stuck on the step between the photo and a usable model. Any advice on depth and bit choice for that kind of relief would also help.
I used EasyCreate for a photo to 3d relief and that worked well. You can adjust the relief depth as well within the web based app. It does cost some money to use it.
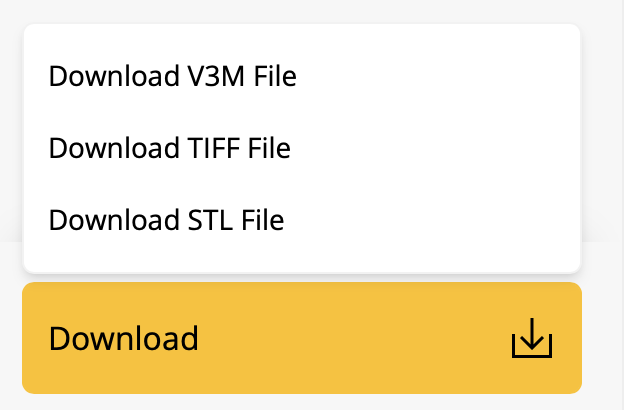
The reason that I asked what CAD/CAM application the OP was using is that Easycreate will only export a 3D model in Vectric’s proprietary format V3M. If the OP is not using a Vectric application, Easy Create will also export in a TIFF format, but that is not 3D. It is a bitmap.
I don’t use any Vectric software except for that Easy Create and used it with my Altmill. I’ve only used Fusion with my Altmill currently. I must have exported it as STL.
@gwilki Yeah, as @DavidB points out, STL is an option. But it might be new because I don’t recall STL being available last time I used it. It’s there today.
@DavidB@Chucky_ott Good to know. Their website as of this morning only shows V3M as the 3D model format. Here is what I read on their site
“Adjust depth, scale or detail settings of the relief to get the exact result you want and export your model as a standard TIFF file or V3M format to seamlessly import into your VCarve or Aspire.”
I’m glad that they have changed that as I can now use the results on my 3D printer.
One thing I would add is to treat the photo as a shape reference, not as a reliable source of scale or depth. If possible, include a known dimension or a ruler in the reference set, and use multiple views so the hidden side is not guessed from lighting alone. For a relief, set the maximum depth deliberately and keep a flat base; brightness in a photo can be surface shading rather than actual height.
After exporting the STL, I would do a pre-CAM check: compare the bounding box with the physical reference, confirm the intended units/scale (STL does not carry unit metadata), check that the base is closed and normals are consistent, and make sure the smallest raised detail is sensible for the ball-nose bit. A quick air-cut or simulation is still useful before cutting the keepsake.
I work on CADProps, so this is a project-related reference rather than an independent recommendation. It is not a photo-to-relief generator, but we keep a small public set of CC0 STEP/STL samples with known dimensions that can be useful for checking an export: CC0 STEP/STL sample files.