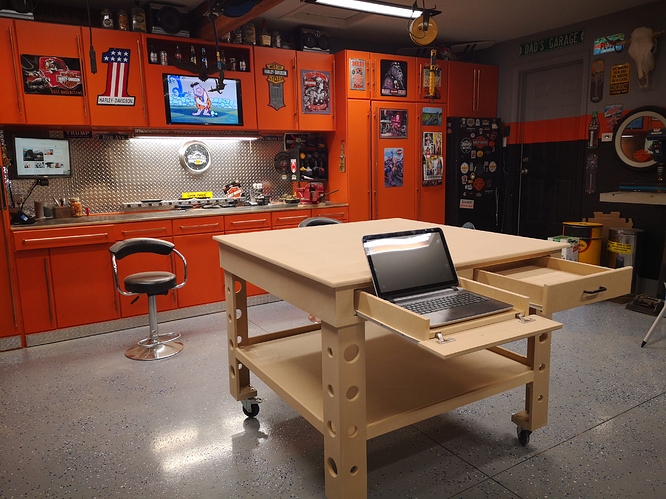
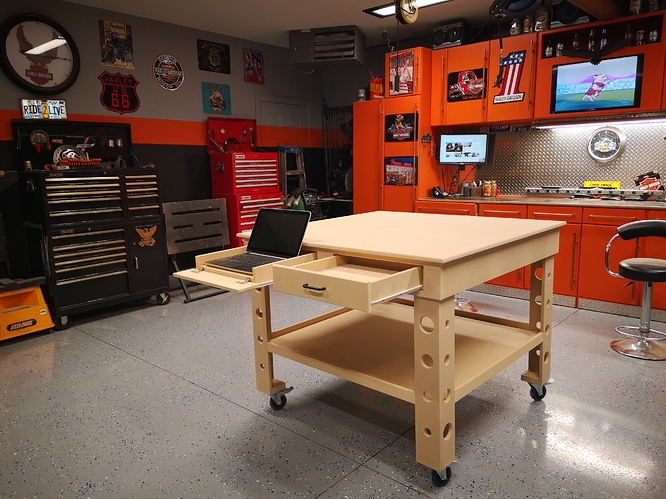
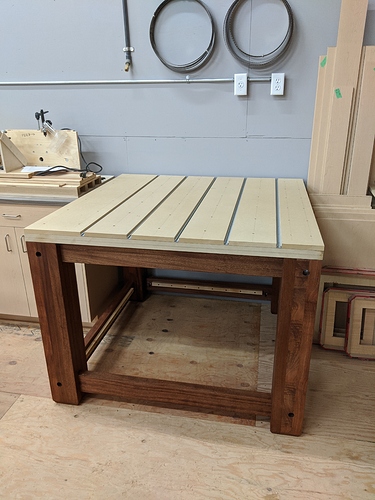
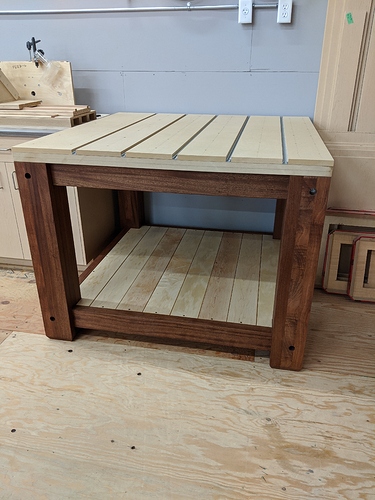
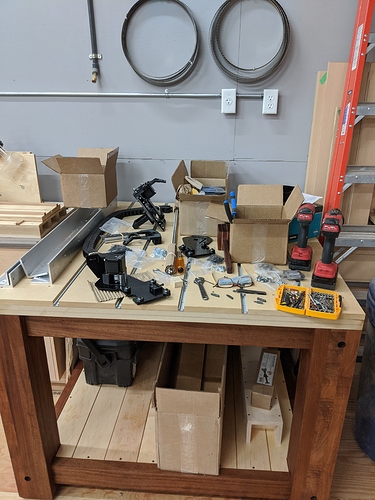
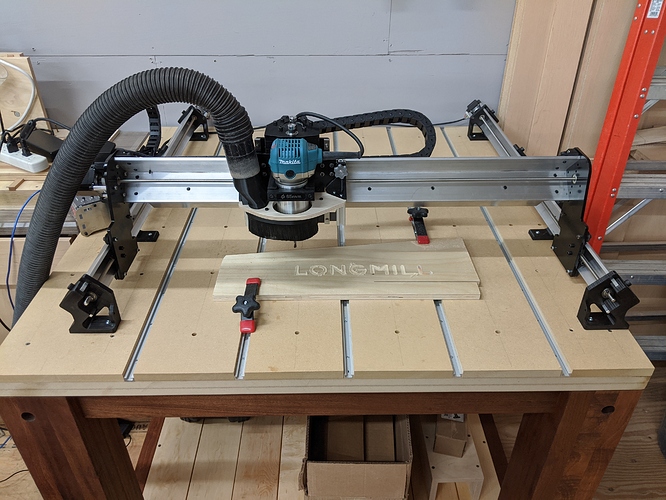
Here’s my table I will be building an enclosure as soon as the longmill arrives.
 finished today. There’s a shelf on the bottom and I’ve milled the boards for it, just haven’t installed them yet.
And the shelf boards are in. Awaiting a missing bag of parts from Sienci (thank you for the fast response!) before I can proceed on the machine assembly.
Woah @Iguana, looking clean  I hope your missing parts find you soon, I’d really like to see how the final setup looks with your LongMill sitting on top
Tracking says the parts should arrive today. Should have the finished product together very shortly…
Sysimpgrp:
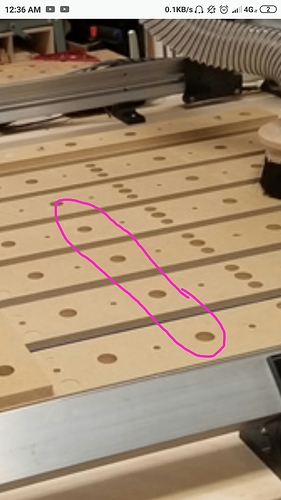
I see you have these big holes in your waste board, as you do in your work bench.
Is the MDF strong enough to support those kind of clamping tools? Maybe I should ask, how deep are the holes?
Thanks Hansi
the dog holes in the MFT workbench go all the way through. you can either use clamps that hook into the hole and clamp the workpiece down to the surface or you can use in-line clamps that insert into the hole and exert force on the side of the workpiece that rests against a fence or bench dogs.
On the CNC, I couldn’t decide among t-track, t-nuts or dog holes for work holding, so I just used all 3. The mdf is 3/4 inch thick. You can’t use the workbench clamps that clamp downward as the holes don’t go all the way through and the clamps are too tall to clear the x gantry. But I am able to use the holes for positioning my fences that I then hold down using the t-nuts. I have been experimenting with cam clamps that fit into the dog holes and also the festool in-line dog clamps. I have seen the kreg in-line clamps used on you tube but I haven’t tried them yet. There are also designs for cam clamps on you tube. I also have an in-line toggle clamp that fits into the t-track. I have found that while the in-line clamps hold the workpiece firmly against the fence they also lift it slightly and need to be used in conjunction with some hold down clamping.
this is one of the more interesting workholding systems that I have seen:
Thanks for the great explanation!
Wow that video was a real idea opener for me. I think your combination of side and down force, is still the winner.
Missing parts came in late today. Got in a bit of construction time before supper…
Hope to get it finished off tomorrow morning.
You are on your way. Have fun!
Hi Iguana
Can ask you were you got your t track from I am looking for a good deal on four foot lengths.nice job on the table by the way.
Lee Valley - https://www.leevalley.com/en-ca/shop/hardware/jig-and-fixture-parts/61986-veritas-t-slot-tracks-1-4-20-thread. Cheapest I could find in that length.
I appreciate it. yeah that’s about the cheapest going I searched all over Amazon and eBay there’s no better deal out there that I can find.
I really like this design using the microjig clamps. Did you first flatten the surface board and then cut the slots with the longmill? I’m about to order my longmill, and will start building my table this weekend…thanks much.
@Oldbroncoguy Scott: I’m not sure if your question was directed to me. I am using the microjig clamps, plus I made additional “wedges” and knobs out of hardwood.
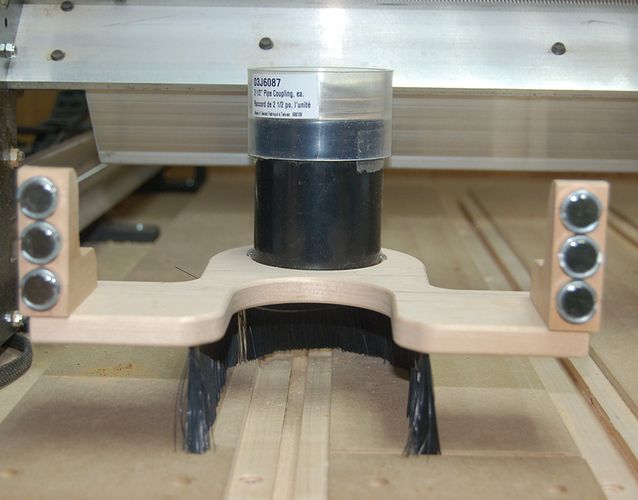
My spoil board is made up of “rails” of hard maple into which I routed the dovetails to accept the clamps. Between those rails are strips of 3/4" mdf. The rails are 5/8" thick, so I can re-surface my spoil board MDF strips several times before they are at the same height as the maple. Then I just need to remove the MDF strips and replace them. (They are screwed into the MDF table top.)_The maple rails stay in place. The concept is pretty much the same as it would be using T track. I like the idea of wood so that when/if I mess up on depth of cut, I’m cutting wood and not aluminum.
This pic was to show my most recent dust shoe design, but you can see the maple/MDF spoil board in the background.
I was actually replying to GTRBOY77 (sorry, don’t know names yet) but man, I love how you used those maple strips for your grooves!! now you’ve got me completely rethinking what I’m doing… except I like the flexibility cross hatching of the grooves gives you. But your way, you cut grooves once and forget about it… dang, all you guys are so talented and creative!!
@Oldbroncoguy Scott: The possibilities are endless. Many like the idea of countersinking T nuts or threaded inserts. They certainly give you the ultimate in flexibility. I just don’t have the patience to drill all those holes, even using the Mill to do them, and screwing or driving in all those fittings. I’m pleased with the dovetail rails. I’ve made wooden hold downs to use with them and so far, they work well. I’ve routed a groove or two in the hold downs, but since they’re wood, no harm done. I figure nothing that I do is forever, but this set up will suffice for a while.
Have fun.
