here we are again. Machine is MK 2.5 with sensors, cutting area is 28x31(x,y). I am trying to put a grid on the spoilboard with 2" gap. I zeroed the machine at the front left corner and tried to run the program and thes y axis goes all the way to the back stops instead of stopping at the top of the spoilboard to jog the the next cut path. I use Vcarve Pro, version 12.008. PP is grbl, inch. Any suggestions are appreciated. I just re did the grid program and tried to run it on gsender and the same problem exists plus on the return cut path the y gantry comes all the way to the stop and not stopping at the edge of the spoilboard. It acts like it doesn’t recgonize the size of the spoilboard and just goes from one stop to the other and not stopping at the spoilboard size.
@1mike1 Post the .crv file, please.
grid 2.crv (57 KB)
Also noted: when soft limits are enabled, the machine doesn’t move. When disabled the machine goes to the back stops, grinds for a couple seconds, then moves to the next cut path. When it reaches the front of the cut, it goes beyond the spoilboard enough to engage the limit switch
@1mike1 I believe the file is fine. Your material size is 29 x 31 not 28 x 31, but that would not cause the issue you are having.
I don’t have limit switches on my LM. I have to believe, though, that if the machine does not move at all with soft limits enabled, something is wrong with the setting.
I can understand why, when the machine reaches the front, it keeps on going. It’s because by grinding at the back, it has lost its position in Y. What I don’t understand is why the front limit switch allows the machine to go beyond the spoilboard. I would have thought that one purpose of the limit switch is to stop the machine from doing that.
I’m sorry that I can’t be of more help.
I thought the gcode would make the machine stop and move to the next cut location instead of what it is doing. I reset all the settings to default so I’m lost as how to set the y so it won’t do what its doing. Just a thought, I’m not sure the gcode is one continuous vector, maybe if it was that would make a difference on the return trip? Thanks for your input, I’ll keep after it.
@1mike1 The gcode looks fine. I ran it in ncviewer and it ran OK. The horizontal and the vertical lines are both open vectors. They are each continuous. I don’t believe the file itself is the issue. It appears, though, that you are trying to cut outside the area allowed by the switches. Again, though, I don’t have switches so I am simply speculating.
If it were me, I would reduce the size of the grid in Y by an inch and run it in air to see what happens. Quick and dirty test with nothing to lose.
Thanks again, I’ll give it a try and see what happens. As you said, nothing to lose.
Went down to 30, same result. Went down to 20 and got a 24 inch y travel. Went up to 25 inchs and got a 28.25 travel area for y. Tried 29, 28, and 27 with the y going all the way to the stops. At least I narrowed it down a little ![]()
Hey Mike,
I too have no limit switches, but maybe shut them off to see if those are the problem or that the problem is something else. I have a hard time seeing them being the problem.
Jogging manualy seems fine, no?
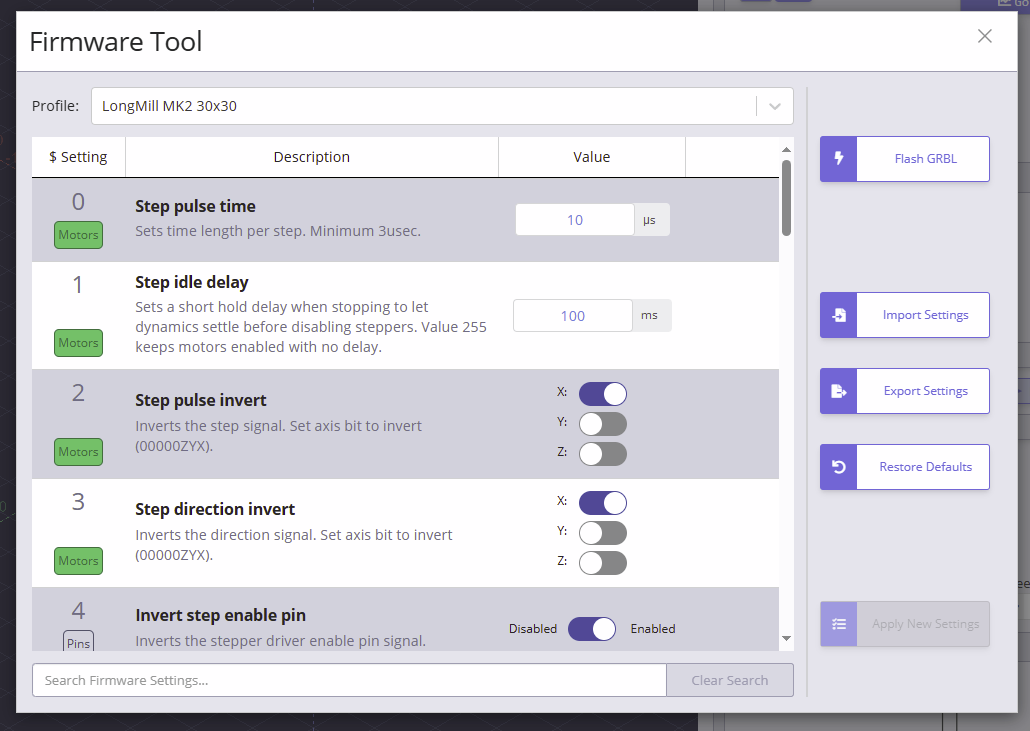
Have you tried flashing your GRBL in G-sender? And while you are in that screen, check your machine profile?
Don’t forget to Apply new settings.
If all fails ,It sounds about time to get help from the higher aboves at sienci. This time should be about wonder and amazement, not about frustration and wanting to throw stuff out of a window of a penthouse 60 floors up.
@1mike1 Well, you are getting somewhere, Mike. I would try jogging a set distance.
Use the console to jog the machine in Y, say 12" and measure how far it really jogs. Do the same in X.
Or use gSender’s Movement Tuning in the Calibration Tool(s). This will allow you to fine tune adjust the steps/mm in the firmware. (steps/mm is from memory, it think that is what setting is adjusted in firmware)
James.
I did the restore defaults after I screwed things up using the calibration tool. I haven’t tried the flash grbl yet, but wonder if its the same as restore defaults? Thanks eddie for the input.
I messed with that earlier and really messed things up so I went and restored defaults to start over. I haven’t tried to flash grbl yet, but that’s on the list. Thanks for the input.
I’m not sure why, but todayI reset defaults, I was going to flash grbl but not sure what a HEX file is so I didn’t do that, but I reset the job size in vcarve and did a trial run for both grid lines and surprised that everything worked so I cut the grid with no issues. So many thanks to you and the others who jumped in to help. I was very close to giving up and going back to using the bobscnc. Thanks to all again.
@1mike1 I’m glad that it all worked out, Mike. Have fun.
My wife has projects planned for me to try so I’ll stay after it. I’m having issues with the auto touch plate but i’ll mess with that later. Thanks again.
Yay wifeprojects!
Oh well it doesn’t matter what you are going to do, as long as it is on the mill.
Mine wanted a large chicken pen, so I locked up the miter, threw away the key and left myself with the mill and a whole lot of problems to solve. Tons of fails, learned a lot.
I had my issues with the touch plate aswell. Turned out the AMP at the magnet side was clamped on the isolator and not on the conductor of the wire. I corrected that and it worked for a while before it became working maybe again. I think I have a bad wire somewhere, but have moved on to zeroing centre projects so don’t have a use for the plate atm. For Z I use a light behind the bit and stepping down untill no light leaks underneath the bit. Works magic.
Will get around to create my own wires someday. The originals are a bit meh.