Greetings!
First of all, I am having a blast with my MK2!!! Made a few projects to donate or give away as advertising. For the most part, they turned out professional and well.
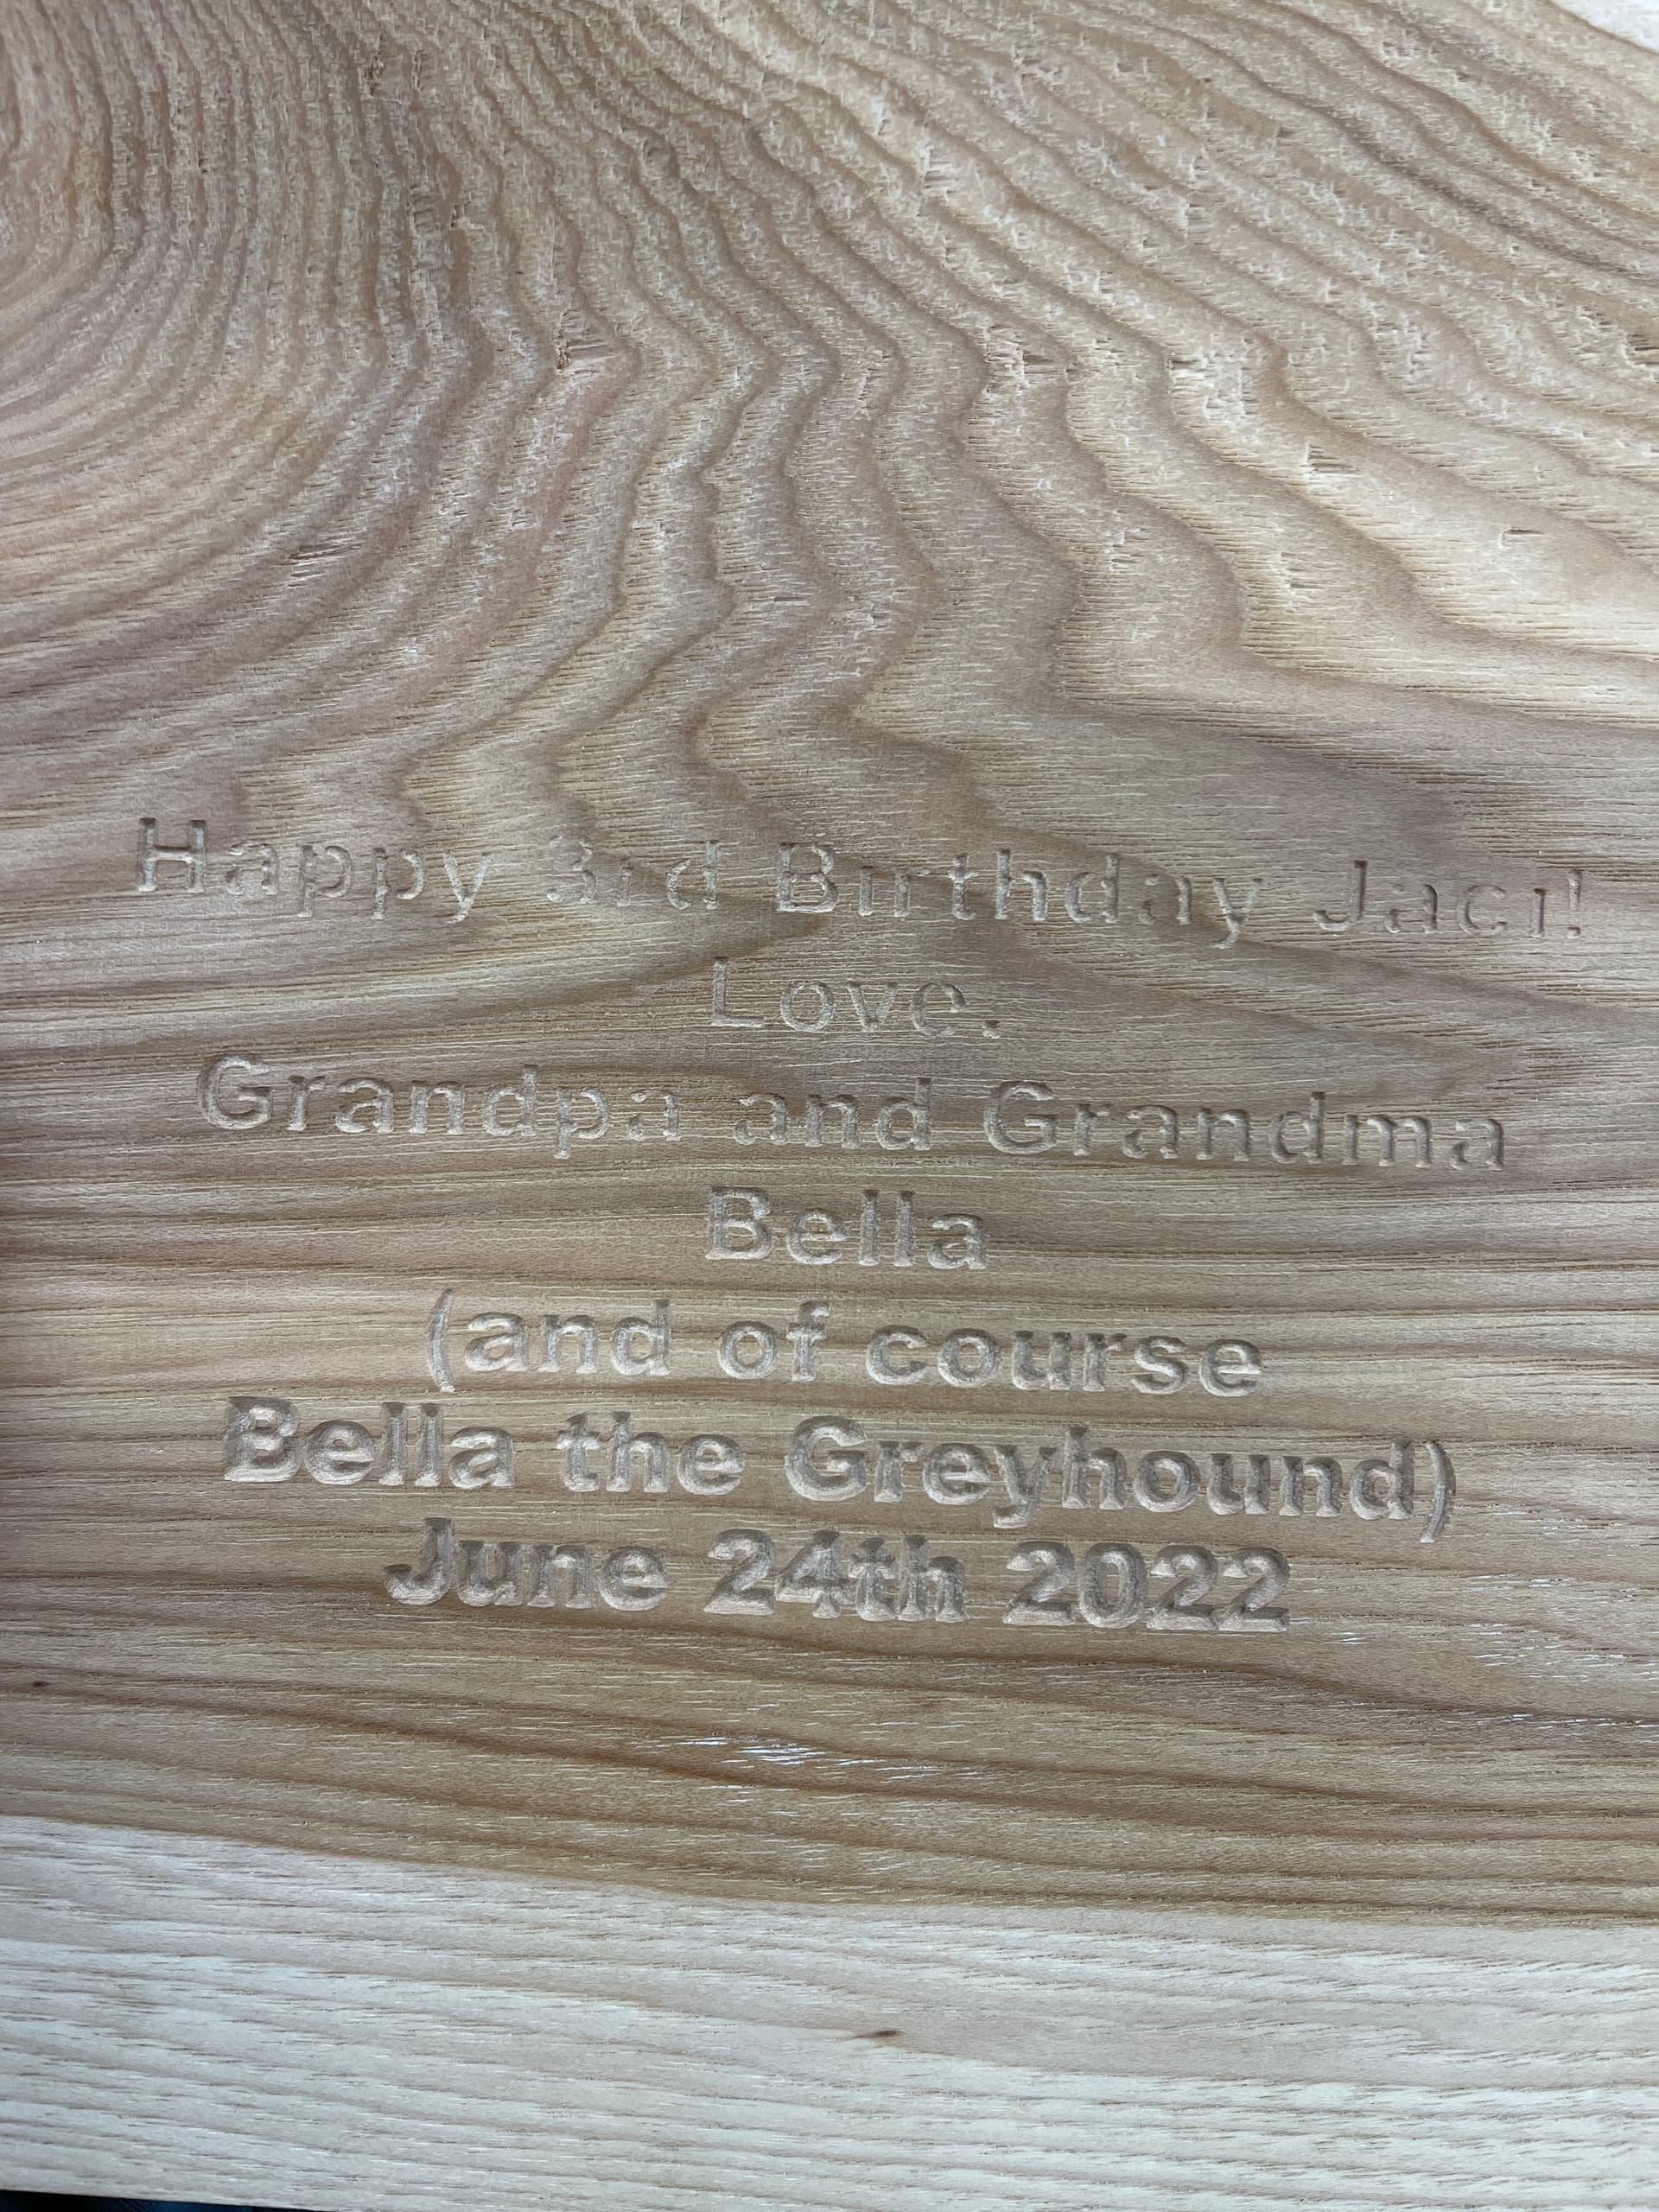
My question is on depth. I am having some difficulty with how deep the v-carve is going. MOST the time, it is accurate and decent. Although for some reason when I am doing a message on the back of the piece, the depth isn’t consistent. A friend of mine said “that’s why I zero off my machine bed, not on the project itself”. He has two much more expensive units and does commercial work with his.
I got the The AutoZero Touch Plate with my machine. How would I go about using it to zero off the bed vs the top of the piece? I use Vectric VCarve Pro for software, and I know under job set up to use the radio button for Z Zero to the machine bed.
As always, thanks in advance for any assistance or wisdom that can be provided, I greatly appreciate it!
Respectfully,
Jake
I don’t have the auto zero touch plate just the regular one. That said the procedure should be about the same. I have only used bed zero a couple of times, I think with FreeCAD, anyway I just zero X and Y on the bottom left corner and then set Z the same way you would do a Z only probe only do it on the bed instead of the stock.
@Jake With respect to your friend, I disagree with his opinion. I suggest that, if you are doing a carve that is dependant on being an accurate depth from the surface of the material - pocketing, v-carving, etc - zero of the surface of the material. If you are doing a profile cut (the Vectric term for a cut that cuts your project from the material - you may want to zero off the spoilboard to keep cutting into the spoilboard to a minimum.
I do a bit of a hybrid for my profile tool paths. Here is a link to Peter’s video that sets out how I do things:
In terms of using the new touch plate to zero off the spoil board, the instructions here say to flip the plate over and, in your case, place it on the top of the spoil board:
WRT to why your v-carves are not a consistent depth, I would suggest that it has more to do with how you create your toolpaths than where you zero. As you likely know, VCarve will modulate the depth of a v-carve in order to touch both edges of the item being carved - the wider the letter, for example, the deeper VCarve will cut. You can avoid this by setting a max depth.
@Jake you are doing a 2 sided job so if the board is flat, probe the top of material surface again after you flip the board to reset Z and it should work. Have done that many times. And as @gwilki said, ALWAYS set a flat depth for a Vcarve with Vectric software! I always start with a flat depth of 0.2"
Learned that one the hard way…
I only use the machine bed probe to get really close surfacing thickness. Vectric stores that info so always double check if you change the Z Zero Position in Job Setup!
@RickW@gwilki@_Michael THANK YOU gentlemen for your helpful advice! It is much appreciated for sure. So to take this one step further, how would I zero the machine to live edge slabs? I went to my local saw mill this morning and ended up with some live edge slabs to carve.
My main issue is that my work doesn’t always carve to the needed depth. The board appears to be flat, but the upper letters are not as deep as the lower letters.
Thanks again guys!
Jake
@Jake Looking at the pics, Jake, I would suggest that the slabs are rough sawn, and therefore, not flat. That would be typical of lumber bought from saw mills. I buy rough sawn lumber all the time, but I have a jointer and planer to mill then flat and square. If you do not, I suggest that, before carving your project, you do a surfacing tool path to flatten the material.
Yep, surface both sides, looks like the wood has a cup / dish in the center. RS wood warps as it is being cut.
Whiteside 6210 CNC Surfacing Router Bit, 1/4" Shank is what I use for shorter material that will fit on the spoil board. Surface the top, PROBE Z after bit change, do the carve, flip board, probe Z, surface the bottom, probe Z and carve. More tool changes and Z probes but it always works. I do usually sand the bottom with a flatmaster 30" sander on shorter material before surfacing but surfacing both sides works great and is flat with the Longmill. It just takes more time.
@RickW@gwilki Thank you! I have both a planer and a jointer, old school (1940-1950) but seen to do a decent job of surfacing materials. I have been successful with a number of projects using rough sawn wood. Might be, that once I surface the materials, I use a random orbital sander to complete the smoothing. I can’t afford a good drum sander yet. I am going to attempt to surface with the CNC machine and see how that works. I have a good surfacing bit. As always, I am very appreciative of your time!!
@Jake The Mill will do a good job of flattening. I prefer to use the jointer and planer as it is much quicker. But, when the piece is too big for my planer, the CNC is Plan B.
Since you have those machines, Jake, you will likely realize what I am about to say. When you attach the material to the spoil board for the first side, you may well need wedges or shims to get the piece stable.Otherwise, you may end up taking off a lot more wood than necessary to get a flat surface. Once you have the first side done, you can do away with them.
@gwilki Thanks Grant! I appreciate the words of wisdom. I am a late bloomer with woodworking. Both my dad and grandfather were master carpenters. When my dad wanted to teach me woodworking, I was too busy chasing girls and drinking. Sometimes, I would cut to the chase and chase drinking girls!
I spent a lifetime in public safety instead of woodworking. Now that I’m semi retired, I am slowly learning my way around my workshop, learning how to use tools and making my fair share of mistakes too! One of my Chiefs I worked for said “Jake, if you don’t make mistakes, you ain’t doing anything”. That is one of my mottos now. Dad and grandfather are looking down smiling at my mistakes. Makes me grin thinking about it.
I made this for a fallen deputy here in Iowa last week. I attended his funeral, even though I have never met him. I am sure his family will cherish it for years to come.
@Jake Very well done, Jake! You should also post this in the show off category with a brief description of how you did it - bits used, feeds and speeds, etc. It could get lost in this post.
@Marion Thanks James! Surfaced the spoiler board a month or so ago, twice actually. Going to have a look at the way I hold down the workpiece. It could be the culprit. Or possibly my sanding technique. Once the piece is planed, I use the random orbital sander to smooth it out. That too, could be it.
@Jake I just glue down the part to be machined and surface the part to be machined. Takes the spoil board out of the equation (and the planer, those compress the cup, surfacing does not) that way for more accuracy. I never did surface the spoil board, only the stuff attached. Call me lazy but it works. I did surface a few jigs…