Are there some fonts that just don’t work?
I’ve just set up my longmill mk2 and am very new to the CNC world.
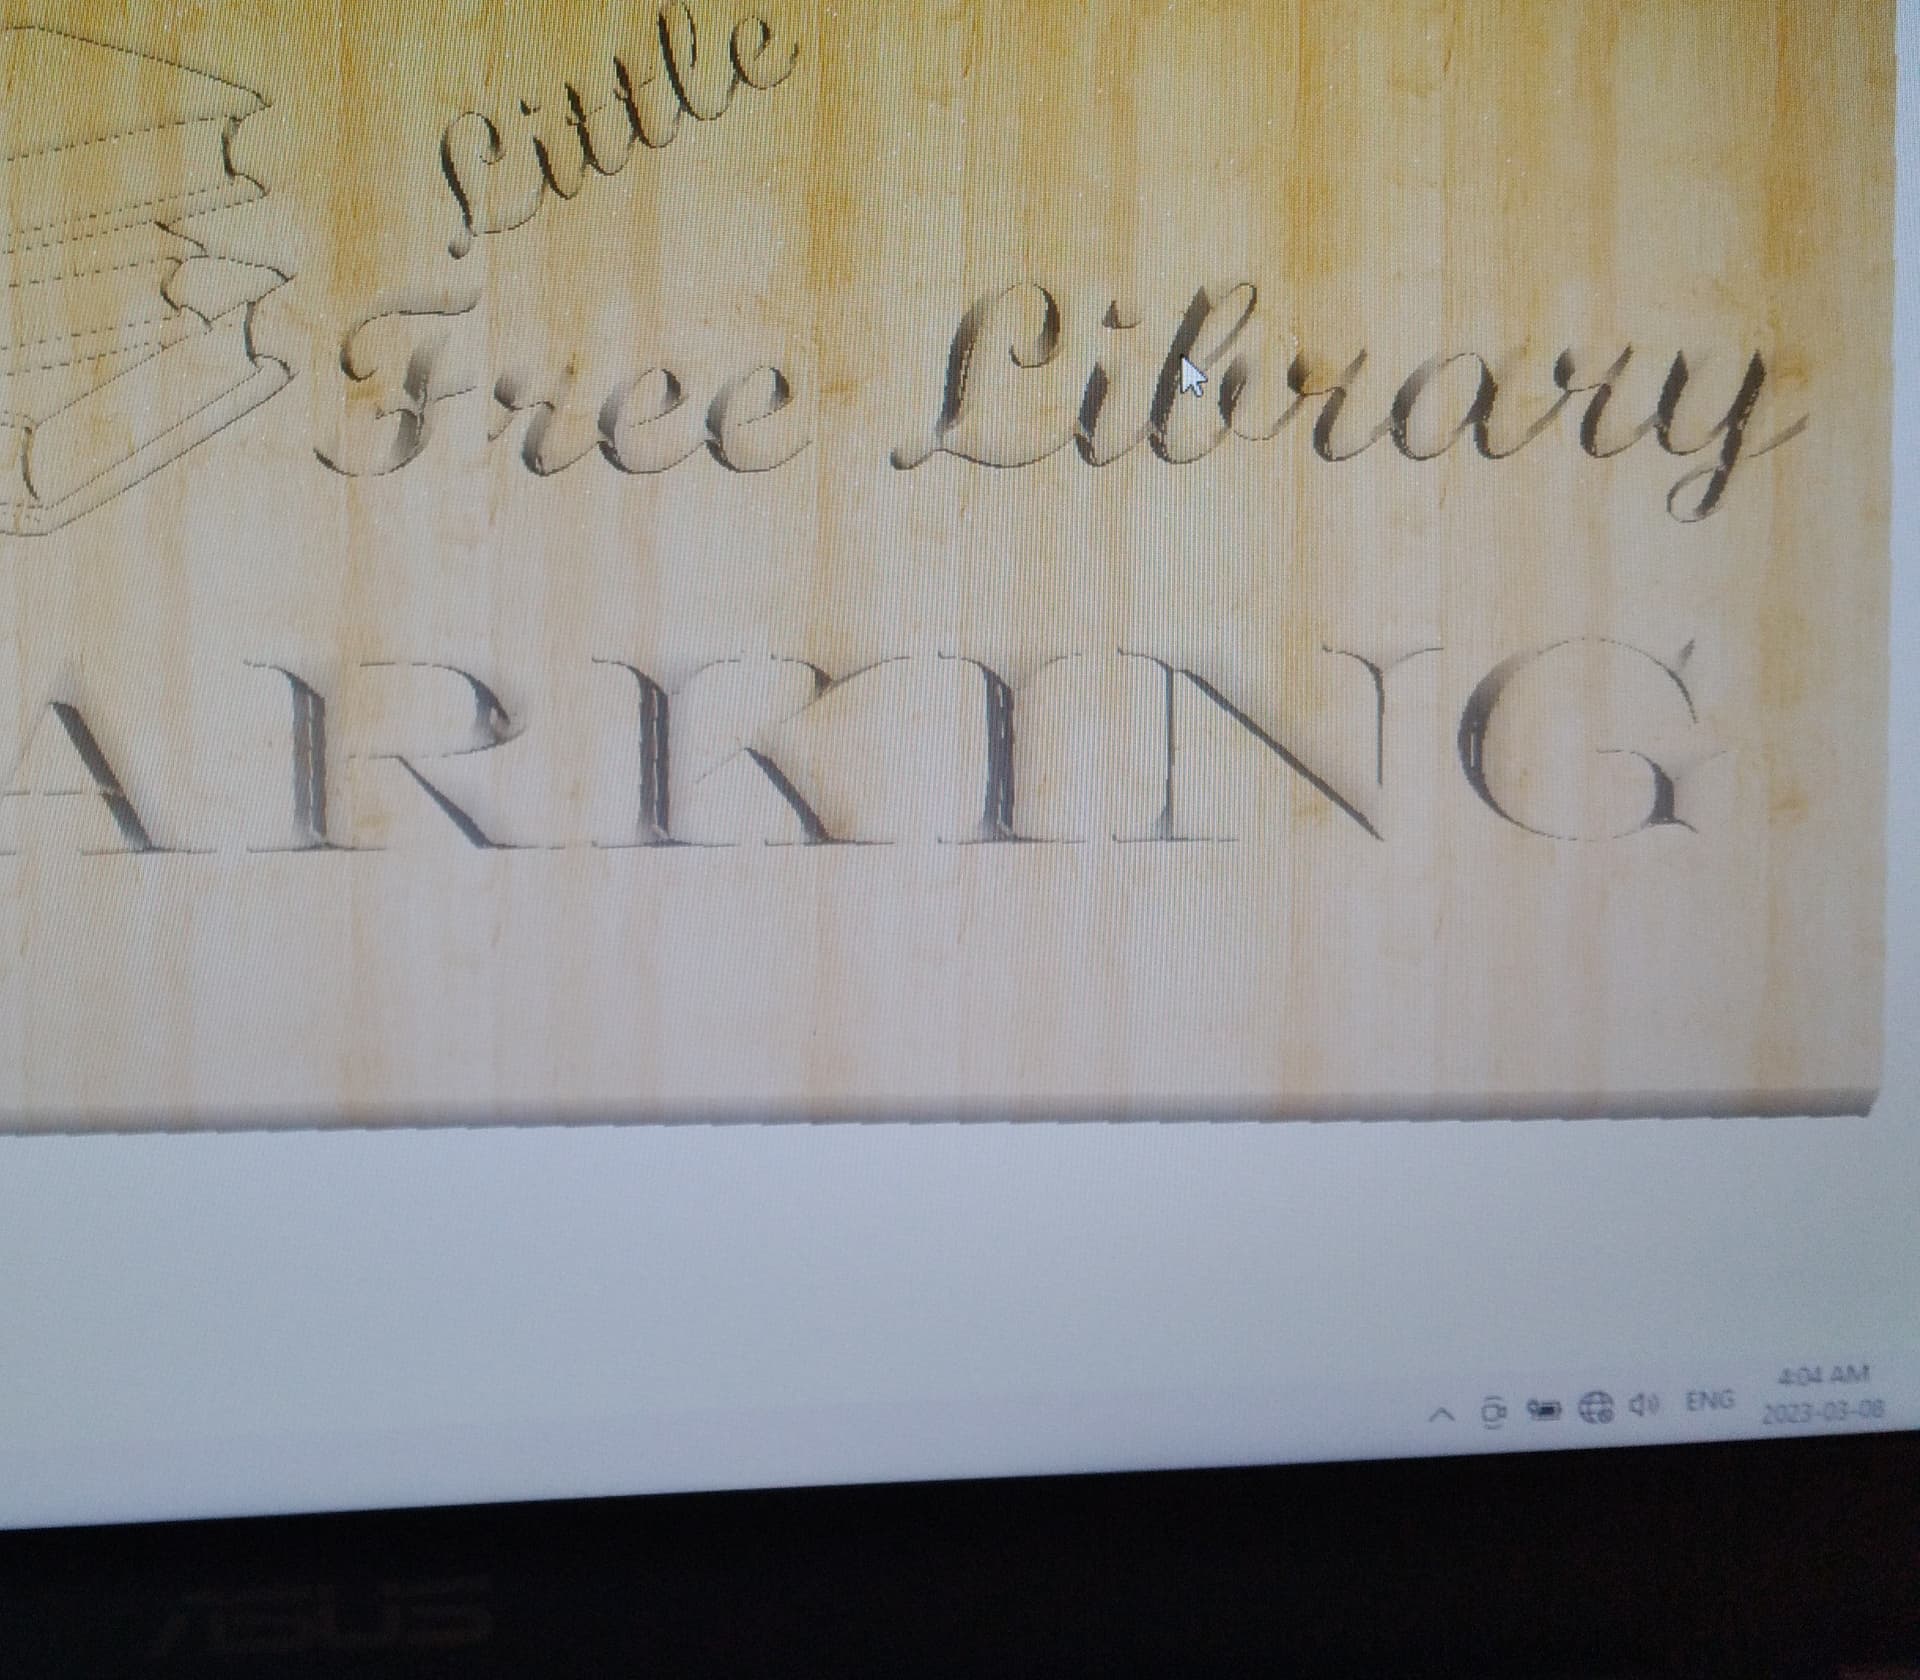
I put together a simple sign and can’t get some of the lines to show up.
Using CC v6, gSender and a 1/4" 60deg bit
Setting Z zero with touch plate to top of stock and confirmed it the same in CC6
After the first cut, I adjusted the depth of the cut from .125 to .250 and ran it again. The cuts were deeper as expected but it still refuses to cut some of the lines. Everything looks OK in simulation mode.
Is there a setting I’m missing or are there just some fonts that don’t translate well?
In my case there are 2 different fonts and an image of books that only partially gets carved.
@Minidb. It is my understanding, I use vcarve, the v bit will only carve to a depth where the sides of the v bit make contact with the vectors. It appears you are trying to carve a design where the vectors are too narrow for th 60 v bit. Try a 30.
@Minidb yes, some fonts carve better, i use yellowtail a lot, but what i have found it sometime needs a cheat, (espially warped wood) turn the upper Z Axis 2 to 3 clicks and enjoy, never do bold, you will end up with tool path issues to clean up.
Thanks Andy, that’s a good chart. To make sure I understand the context and using a 90deg bit as an example, is it the depth set to .125 then the width will be .0625 or .25
There also seems to be a flatness issue, either in your stock or your spoil board. The lines toward the left are more consistent and pronounced than on the right.
@Minidb I think that maybe you have it backwards, the depth doesn’t set the width of a v carve, it’s the width that sets the depth. The bit will only go as deep as it needs to to fit between the lines. There is a flat depth with a v carve in Vectric software but that does not make the bit go that deep, what it does is stop the bit from going any deeper than the flat depth.
Here is a link to a post I made with a drawing of how v carve depth works.
@saskia I use a zero plate, once at zero you can manually turn The Z Axis by clicks on the the Z Axis pully one or two clicks on the cog belt, easy way to drive the bit deeper.
@Mickus absolutely, i have been carving some old cedar fence boards, even well clamped down it’s very irrigular, a cheat turning the top drive pully (front spindle) counter clockwise after zero works, that’s why i call it a cheat.
@Minidb Just keep in mind, Doug, that if you follow the advice to move the Z axis by hand, the machine will no longer “know” where it is in Z. All your cuts until you reset Z0 will be off relative to what your CAM software shows. Any previews will be inaccurate.
Many here post about their bits “plunging” into the material. This will happen if you change the height of Z by manually changing the height of Z. It seems to me that it’s never a good idea to solve one problem by creating another.
Solid advice Grant. I did move my Z zero by .05 but did it through gSender and only for the font that wasn’t comming through.
The problem I was having really seemed to be a combination of the font and bit choice.
@Bill I have a stack of wr cedar fence boards that I use for inlays. They are never flat. I run a few passes on the bottom cup side through the Vdrum sander and then run a surfacing pass with a 1" 3 wing… If you don’t use them right away, they will warp some more. Funny wood but very fancy. @gwilki as Grant said, don’t do that. Either the board is not flat or your file is jacked.
Surface your board and just your board. You can use a .250 end mill or a 1" 3 wing. And try it again. Always set a flat depth for v-carves…