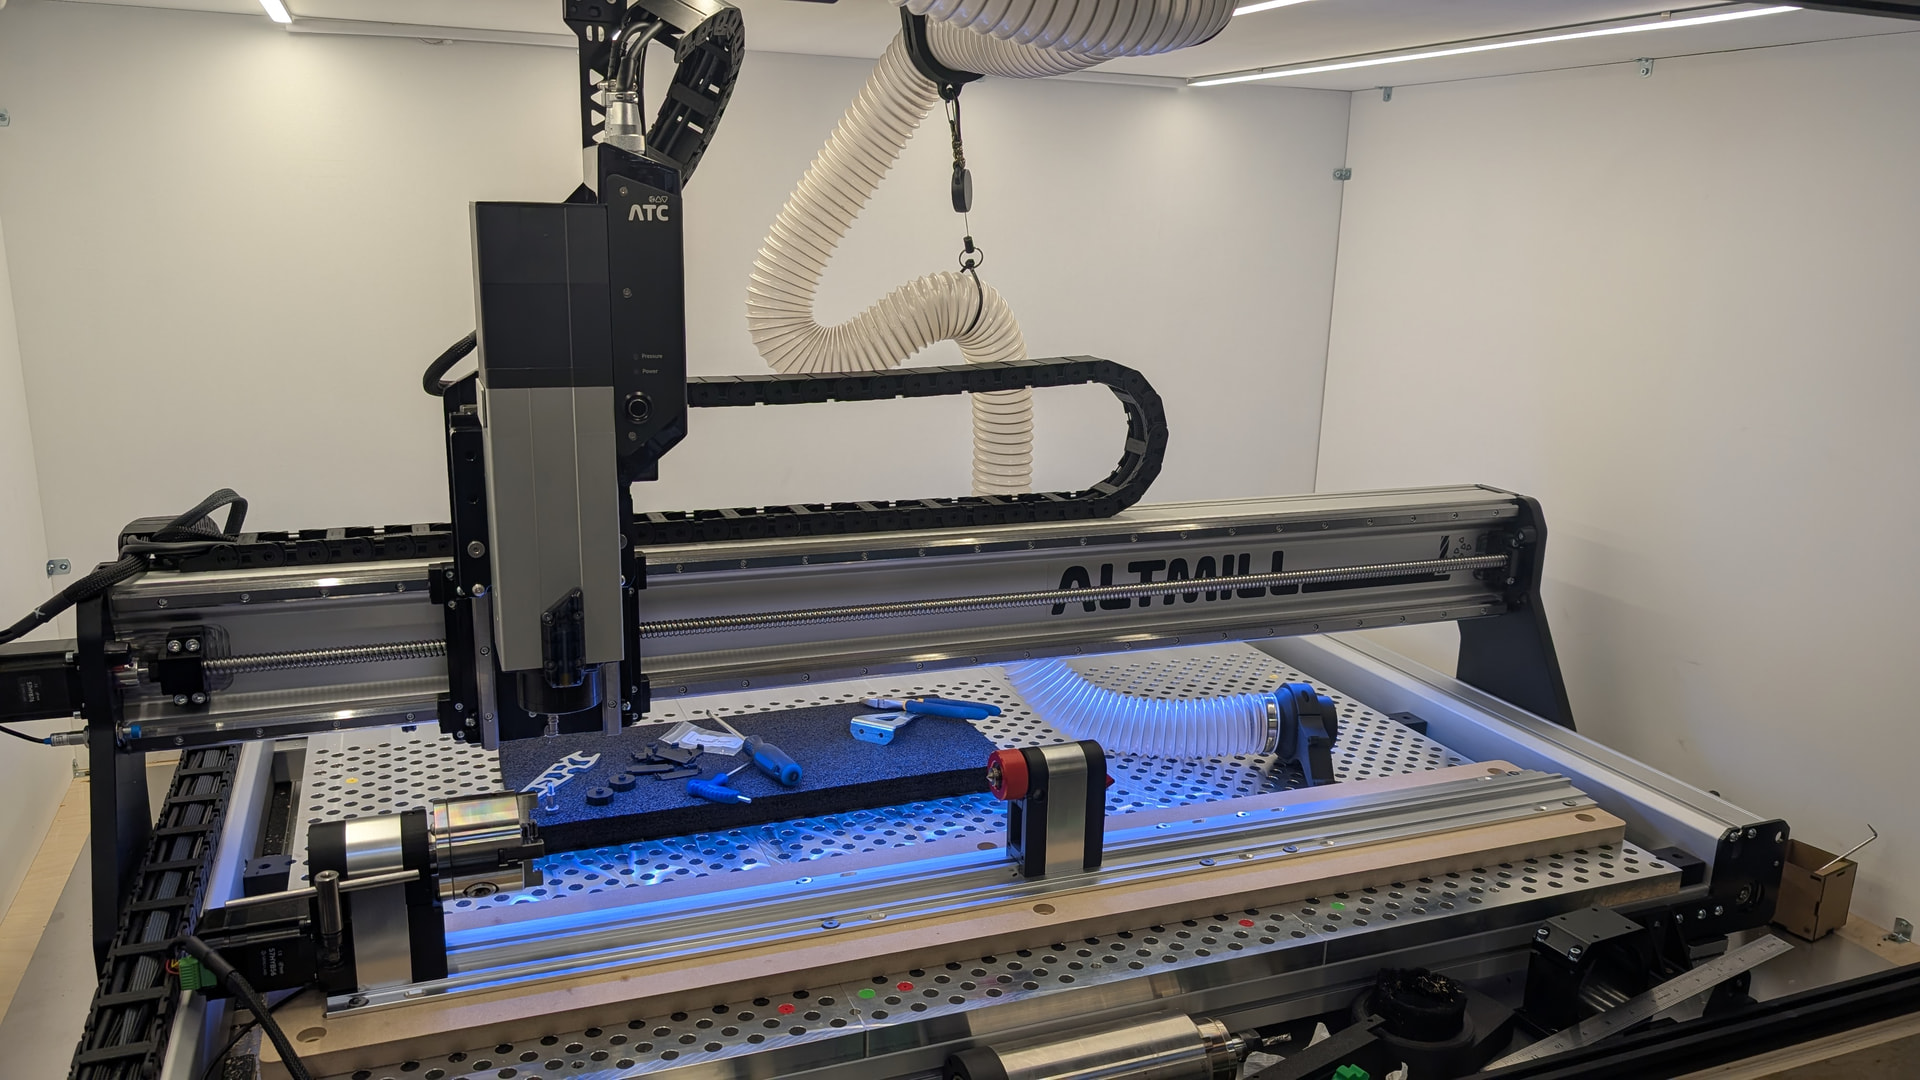
Been hiding with an Altmil 2x4 build!

Spending some time to get things properly setup in Fusion. I know this is absolutely unnecessary. But it’s good to have the ability to precheck jobs especially when you have hundreds of dollars in aluminum, tools, and vices.

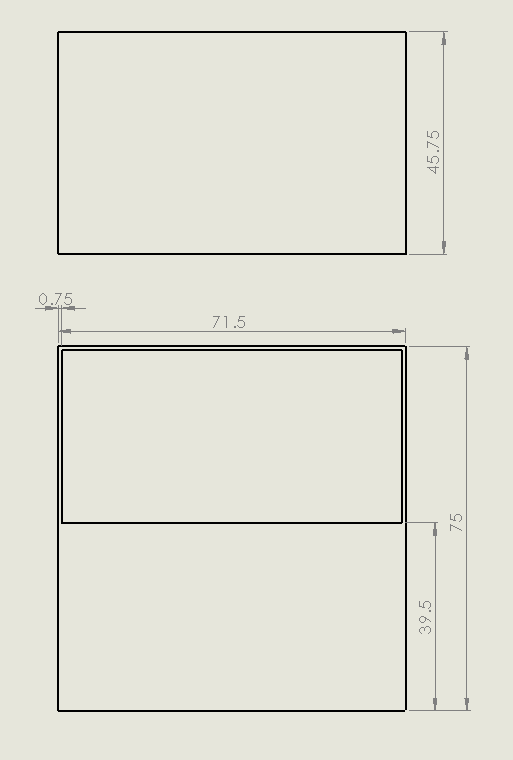
Sienci Labs team released the MK2 onshape files back around Nov 2025. I took the STEP files and brought it into Fusion360 to create the machine setup for the 2x4 Altmill + the STEP files for the fixture plate I created. This model is highly reduced to keep Fusion simulation running efficient. All motors, mounting screws and ball screws were removed and merged into a single body where possible. When I get this thing to a place where I am happy with I’ll be posting it here for anyone with a Altmill 2x4.

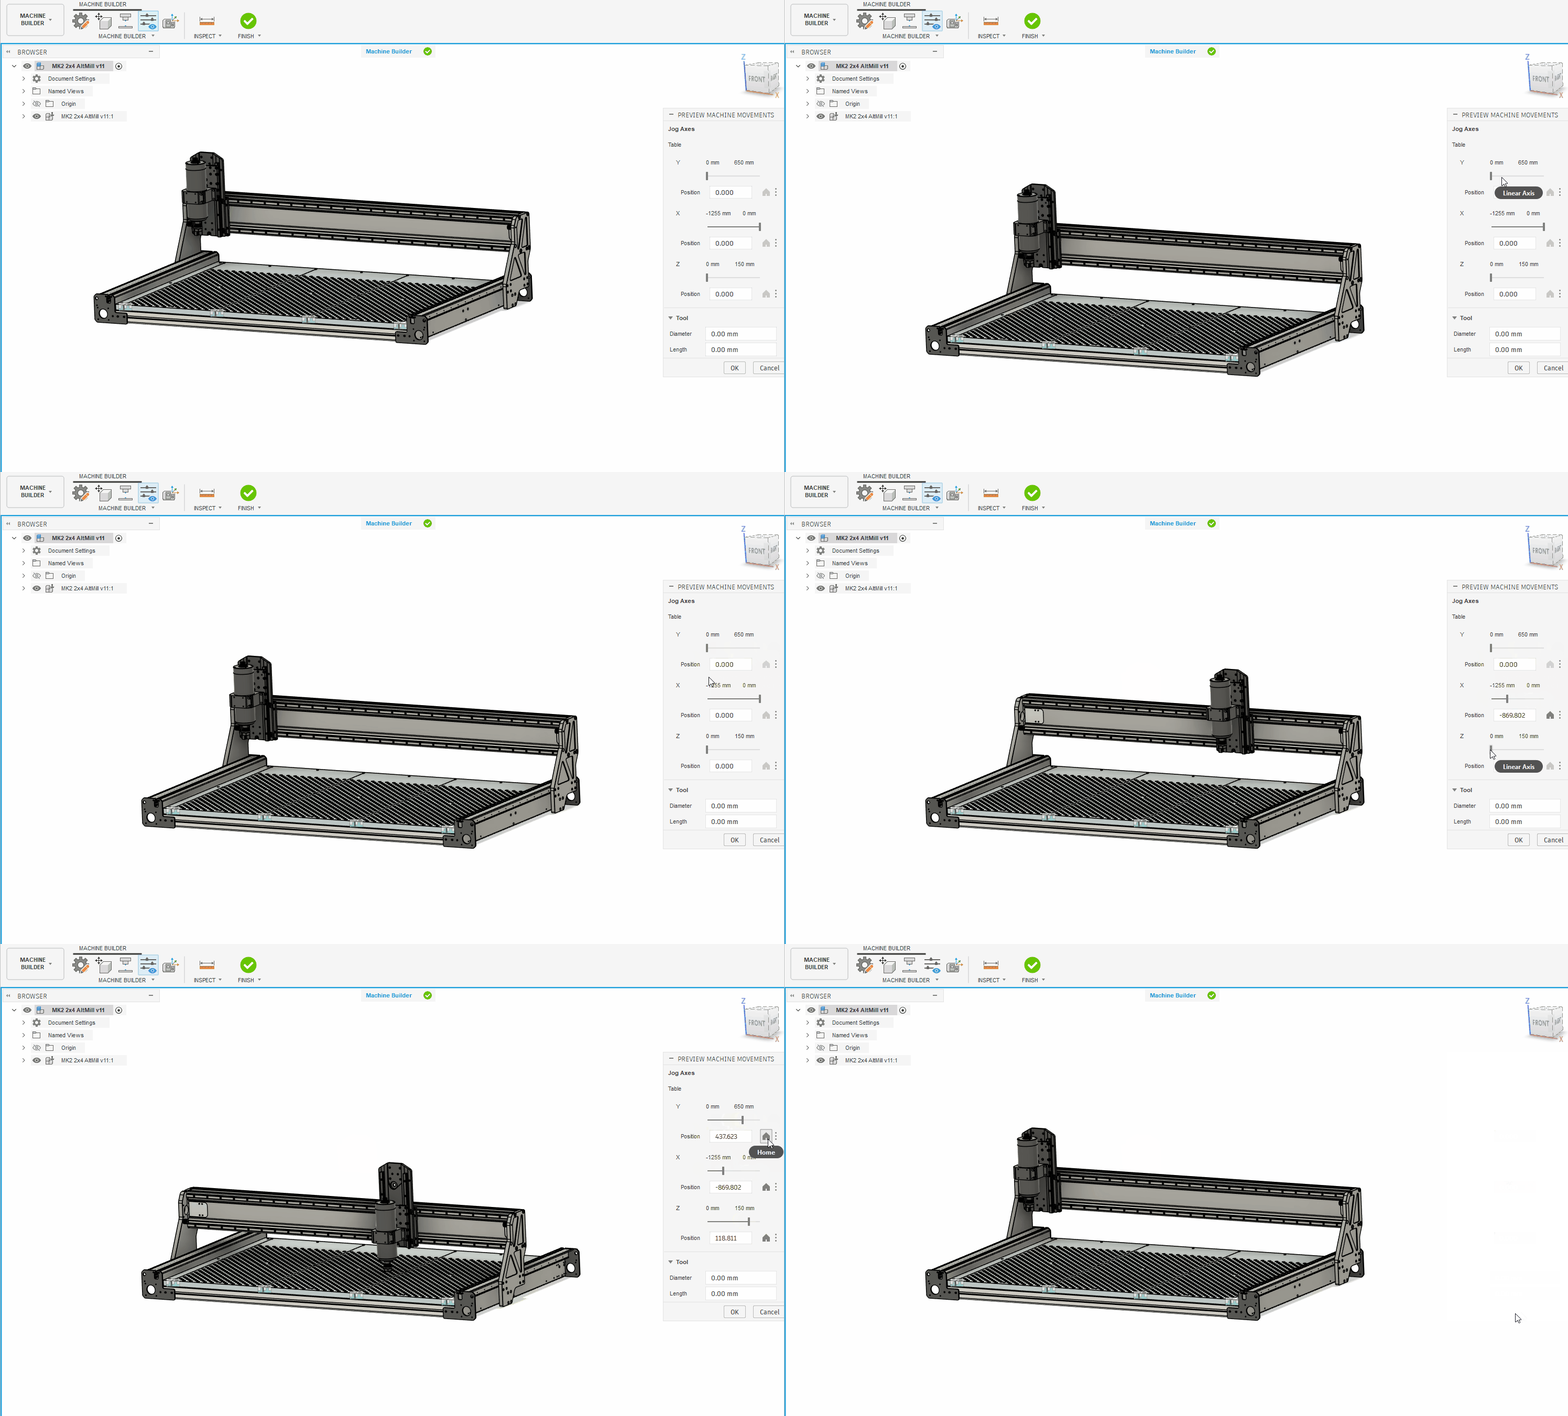
. Altmil 2x4 machine setting

3 Likes

This is awesome. Would this scale to 4x4 model?

This wouldn’t scale to the 2x4 unfortunately. But I could probably build one for the 4x4 relatively quick.

that would be awesome.

Would love it to use for my 2x4 as well and change it a bit.

I too would love to get ahold of this for an Altmill 4x4 if you ever get to it. I intend to play in Fusion but don’t know if I could do it on my own. Thanks

Hey I just recently bought a 2x4 and Im looking to try to find a way to design an enclosure for it too. I love your design. Do you mind sharing with me your rough dimensions so I can reference your build?

@Imisky This is wonderful work. If you are sharing, I too would love to have the file you created for the 4x2. Also where are you sourcing your metal? Great design work and excellent project!

1 Like

Hey guys,

Here is the Fusion 360 f3d file for the Altmill 2x4 MK2. The forum wont let me upload the .f3d so I can only share it through google drive.

(updated link in post below)

@Karver_One I get my metal from metal supermarket. (I’m in BC Canada)

@ReveriumDesigns I can grab these for you, bare with me for a bit. A side note, If you ever see yourself with the sienci ATC. I would wait until I get the unit to confirm sizing. I don’t anticipate any issues but it’s hard to know without having the physical thing.

A fabulous file! Looks wonderful on my Fusion 360. Also thank you for the metal source tip. Great stuff!

@Karver_One Glad you like the model. I would suggest modeling the Spoilboard you have and insert it into the design. It’ll help you pair things up accordingly.

I’ve finished up the 4x4 f3d file as well for anyone that might find it useful. Both files are in the folder below. Some things to consider:

  • I dont have the full X Y and Z travels set for the 4x4, please adjust this accordingly.
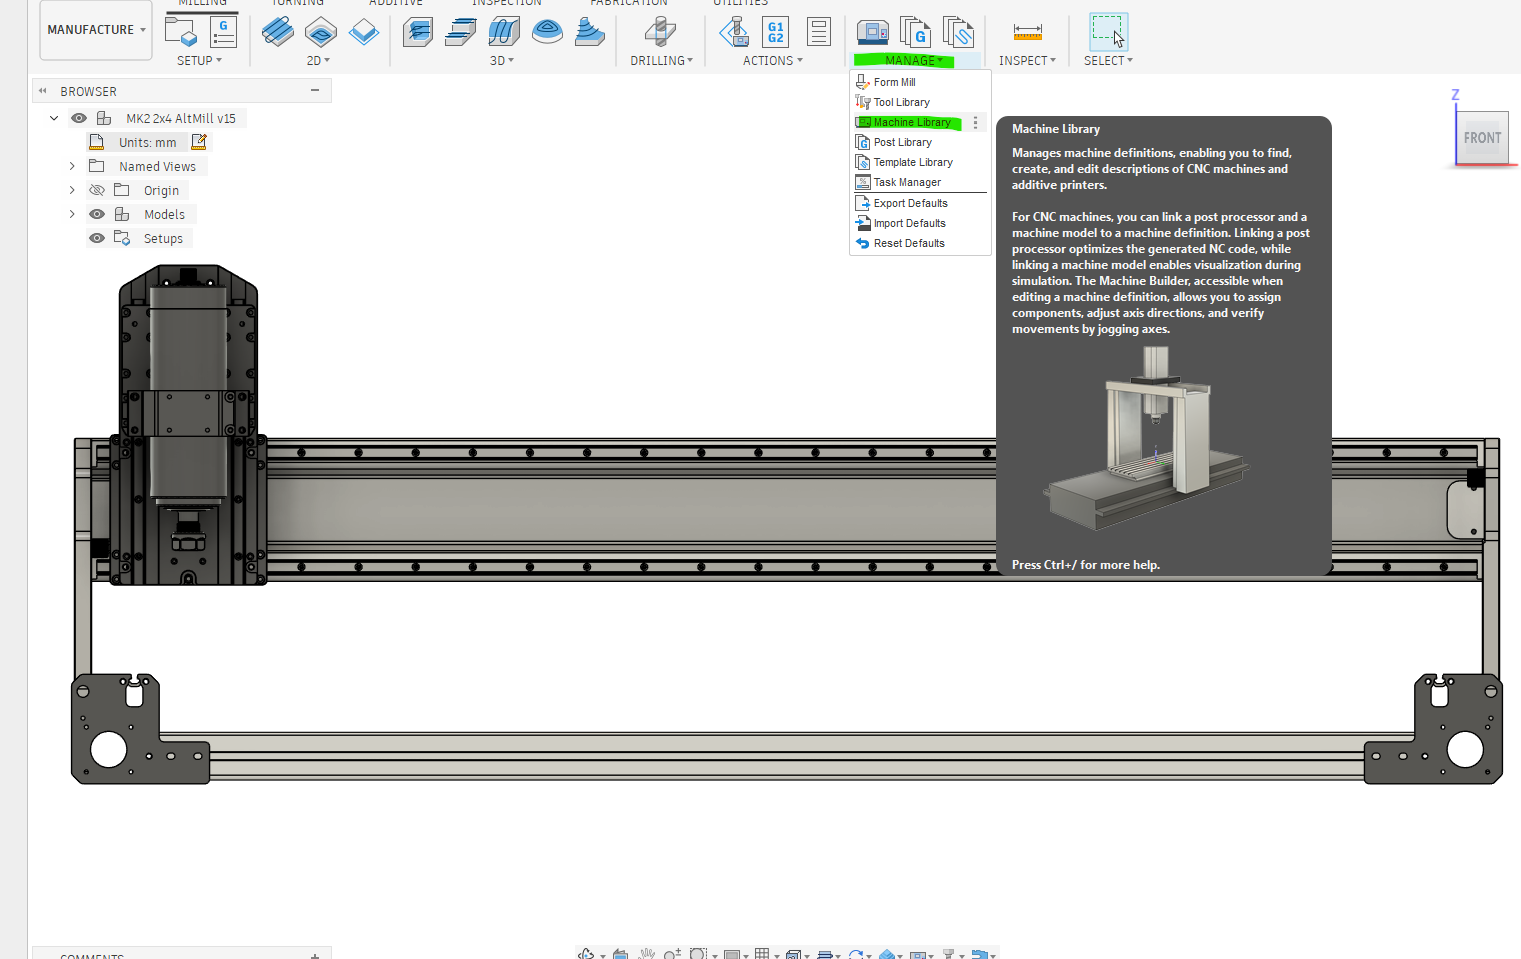
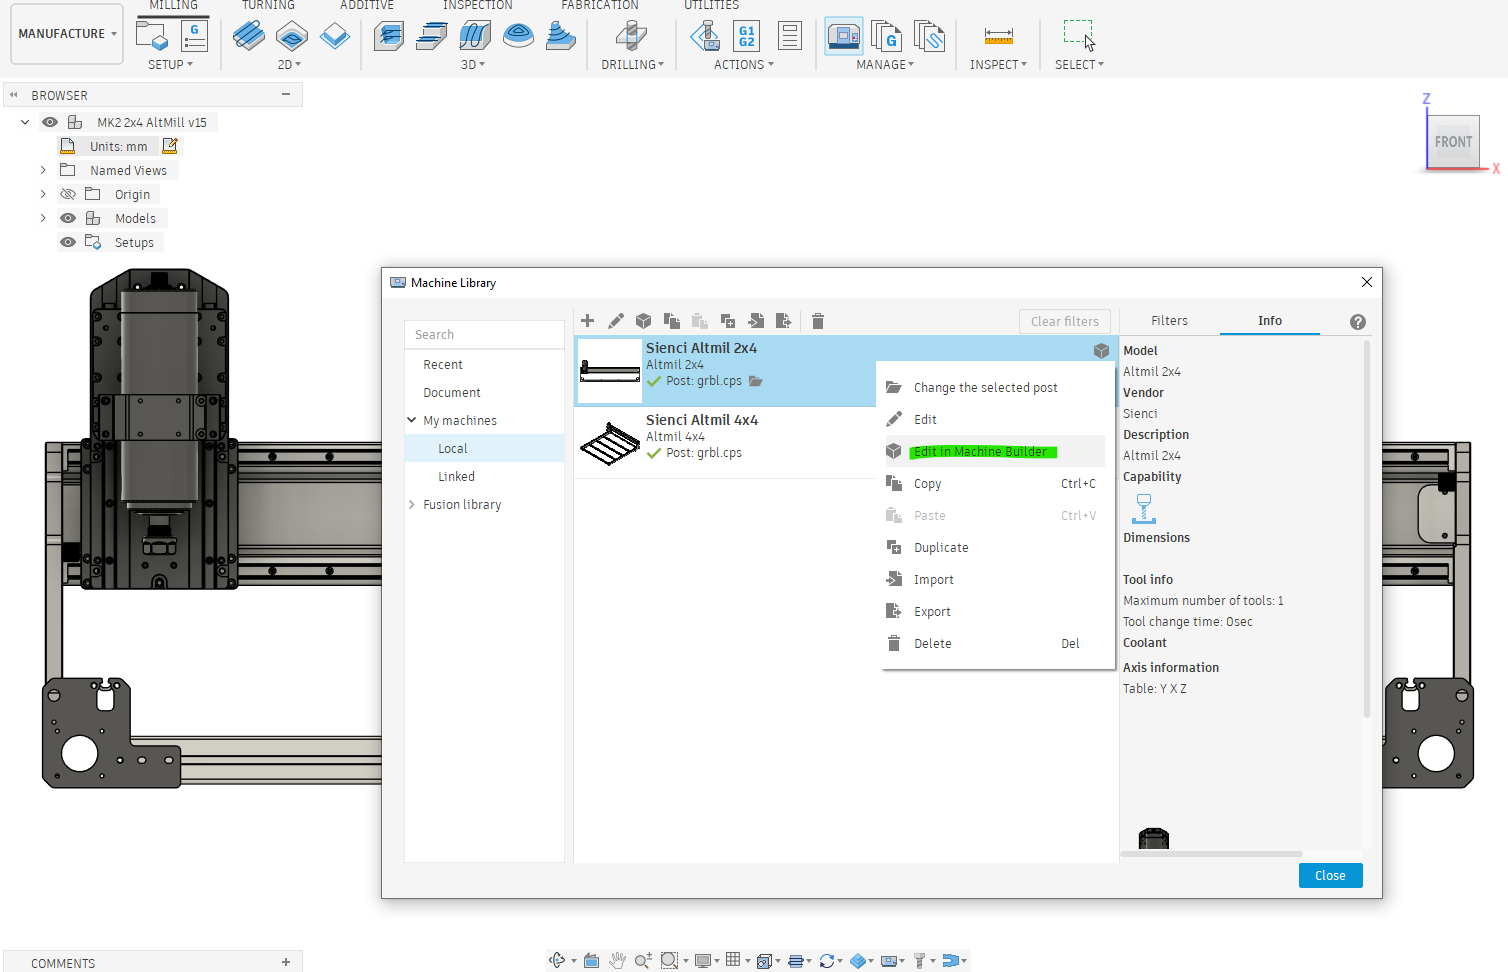
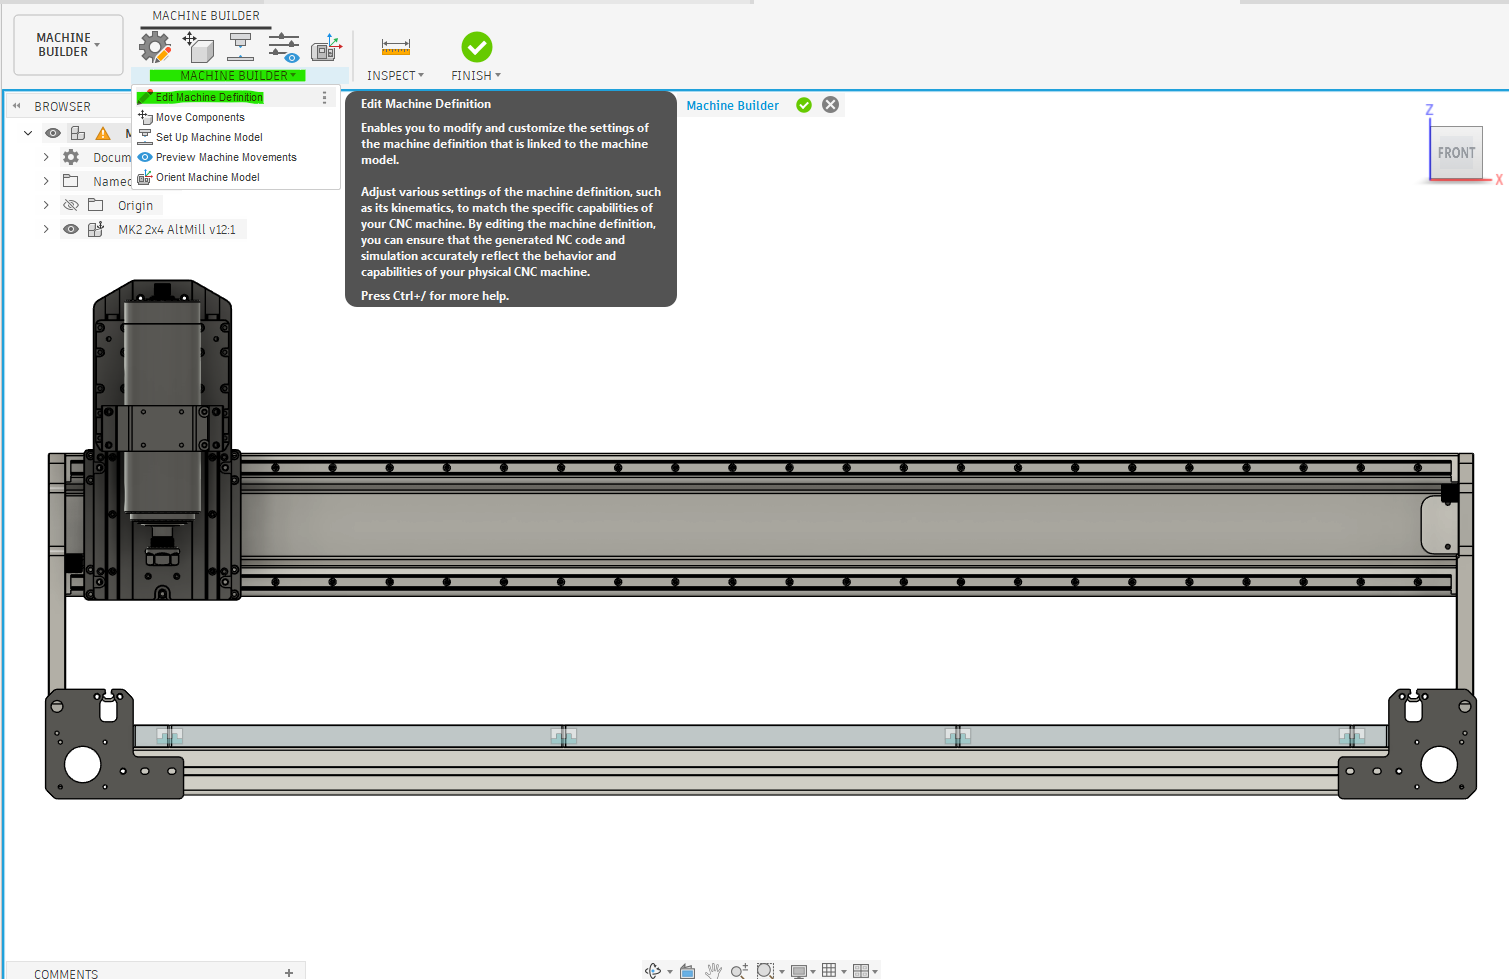
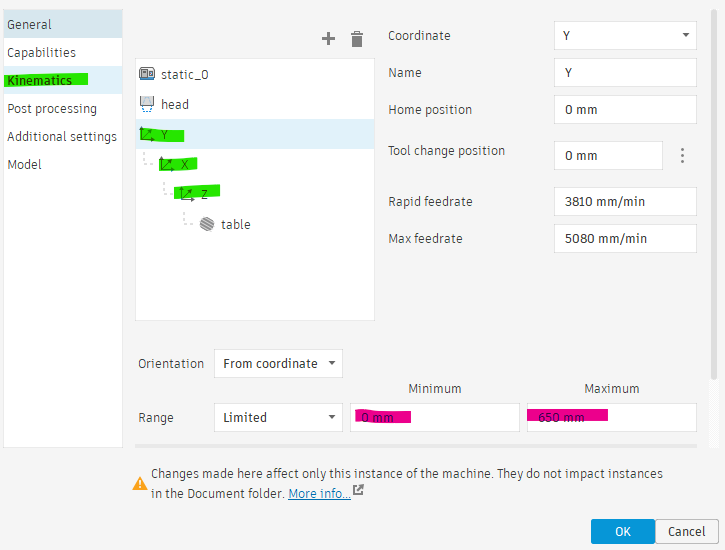
    (Manfacturing workspace → Manage → machine Library → Models → machine builder →Edit machine definition → kinematics.)
  • I have set arbitrary values for feedrates on X, Y, and Z as I don’t have gsender currently to pull those values.

Have fun with the file everyone!

https://drive.google.com/drive/folders/15s1_o0kySMvR6LW0F00xfVN_THMTlSfg?usp=sharing

3 Likes

I dont think I would be considering an ATC for quite a long time, if at ever. Looking at the pictures though, I think I can afford adding a little more to the depth to account for it though.

Honestly, just the overall would give me an idea where to start in terms of fitment at my garage. Thank you!

@ReveriumDesigns here are the dimensions for the cabinet in inches. Wood used was 3/4in plywood.

This gives you about 6” of space left and right of the machine.

and from Z axis plate to front of machine is ~6.75in. I don’t think this is enough to use the included ATC dustboot that would come with the unit. but should be enough for a custom solution.

Thanks for the download I’m gonna use it with the 4x4…

1 Like

I can finally start planning for the enclosure now.

Based on your pictures, do you also have a layer of drywall on the inside? How well do you think the enclosure does for you in the sound department?

Did you also use the steel table legs that came with the CNC?

the cabinet portion (bottom) is where the sound deadening was added which was a combination of rockwool and sonopan. Currently, the sonopan is left exposed on the inside of the cabinet but I think I will be adding a finishing layer of thinner plywood.

I can take a measurement of the decibel levels tomorrow for anyone interested. cabinet everything open vs everything closed. Audibly speaking, it makes working in the space immediately next to it managable. We have some other equipment such as laser cutters and engravers that isn’t shown in the pictures within 2 feet of the CNC.

No, this enclosure doesn’t use the legs. I do have plans use them for a separate work station. The whole enclosure sits on casters that lock.

Sorry this took way longer to do then I’d have liked …with the shop running it was hard to not catch other noise, laser/compressor/exhausts and etc. But here at the numbers while standing directly in front of the machine (1ft)

Cabinet open: with just the vacuum on 74 dB
Cabinet closed: with only the vacuum on 61 dB

Cabinet open: while machine running V carve/ profile cut (6mm bit) 74-78dB
Cabinet closed: while machine running V carve/ profile cut (6mm bit) 68-73dB

at 6ft distance while machine/vacuum is running and everything closed. the noise never got about 61dB

Would you mind sharing screenshots of how you have this setup in the Machine Definitions? Kinematics etc? I’m struggling here lol. Thanks so much for the model. I was trying to do exactly this.

Hey Skivvie,

Sorry about the late reply on your question. Ya absolutely. If you’ve figured out helpfully this is useful for someone else.

Step 1: Machine Library.

Step 2: Go to Edit in Machine Builder (right click on the machine in Machine Library)

Step 3: Once in Machine Library (go to Edit machine definition)

Step 4: Once in Machine Definition to go Kinematics and adjust the Y X Z (green) minimum and maximum values (pink values).

Hope this helps!

The ATC got here last week!

After a bit of a weekend rush getting parts inventory sorted, today officially starts the ATC installation.

gSender and firmware are updated. One important note: make sure to send $RST=$ after the reset. Without it, my Altmill would not unlock no matter what I tried. It kept giving me Error 10: motor fault / reset E-stop.

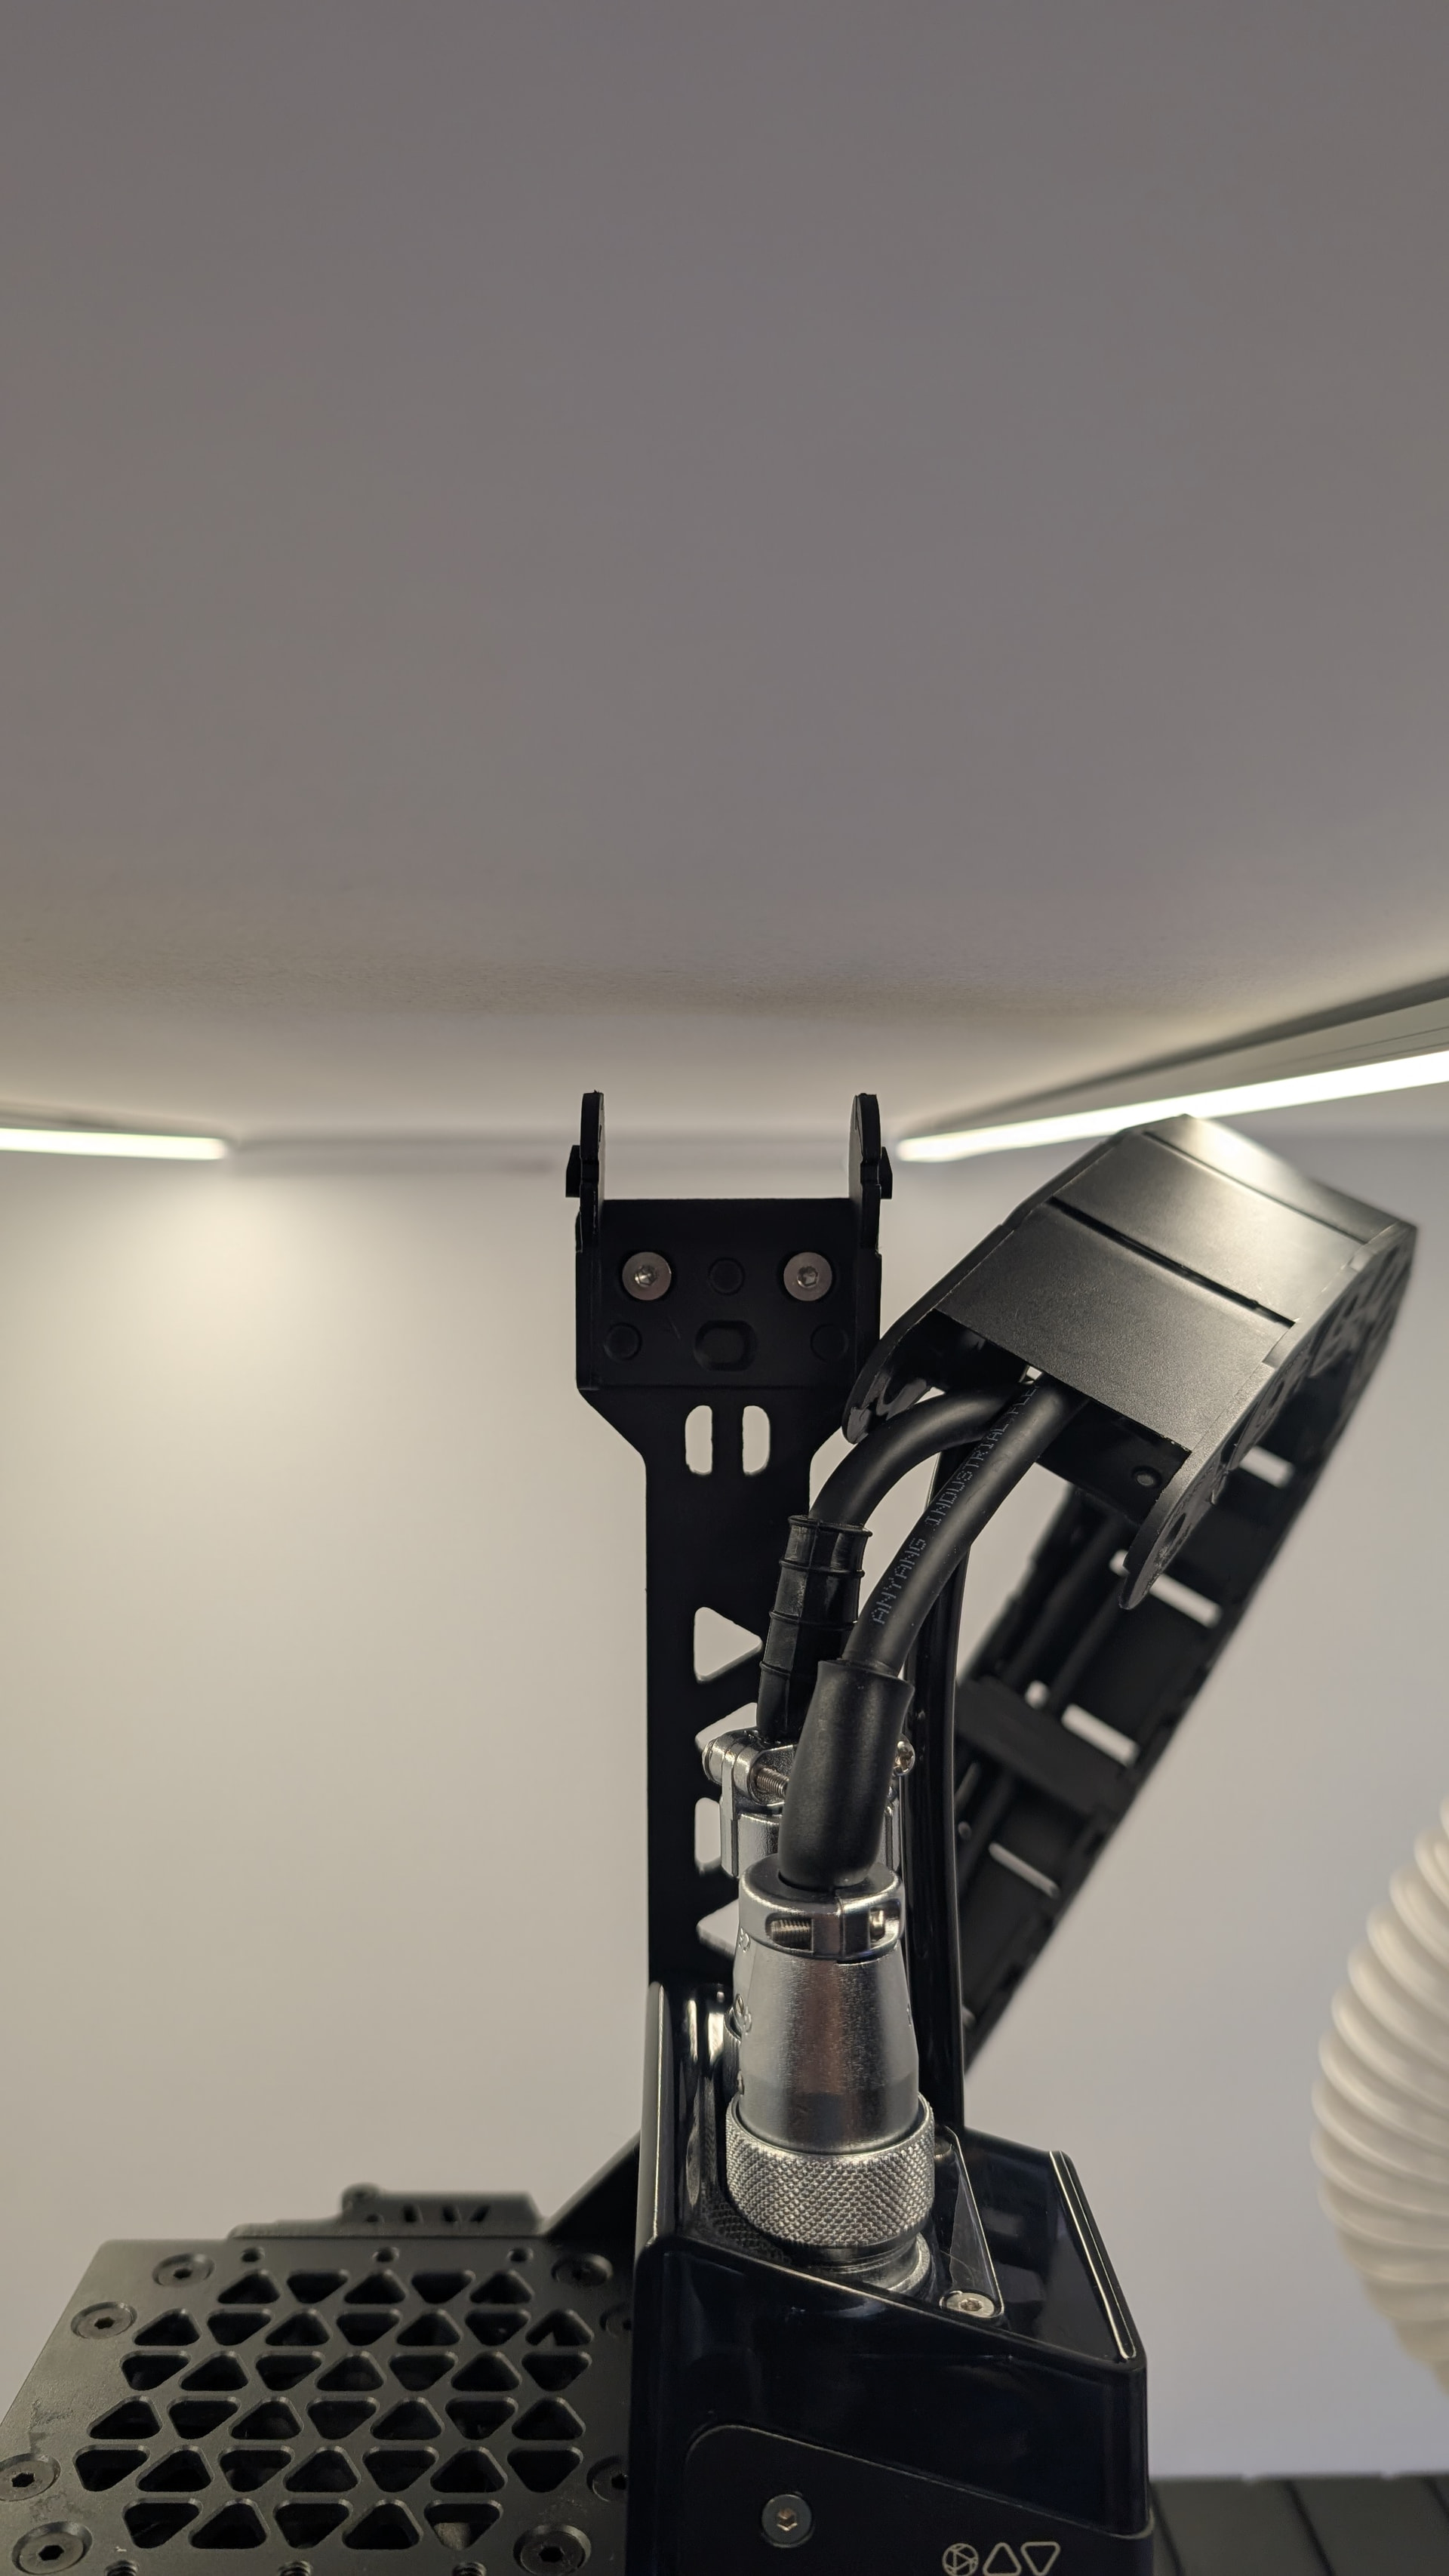
First things first: the enclosure was 3 inches too short.

For anyone building an enclosure, make sure the height from the base of the Altmill to the inside edge of your enclosure is at least 38", ideally closer to 41". This will depend on your vacuum setup.

I also had to check the Vortex setup we use. I’ll most likely need to make a few adjustments for extra clearance, including grooving the fixture MDF plate so the whole assembly sits into the 3/4" MDF by about 1/4" to 1/2", and shifting the whole assembly to the right. That means losing a bit of X-axis travel so the motors can clear the Y-axis rails.

The reason is that the aluminum plate is just shy of 1" thick to start.

I also suspect the 6-piece ATC tool holder will require additional space under the Altmill, based on the videos and installation tutorial I’ve seen. I’ll most likely need to raise the machine again from its current 1/2" blocks, though I’m not sure what that final setup will be yet.

I might end up going a custom route for the tool rack, but most likely will mill a giant pocket in the far right fixture plate to accommodate the Sienci ATC tool rack.

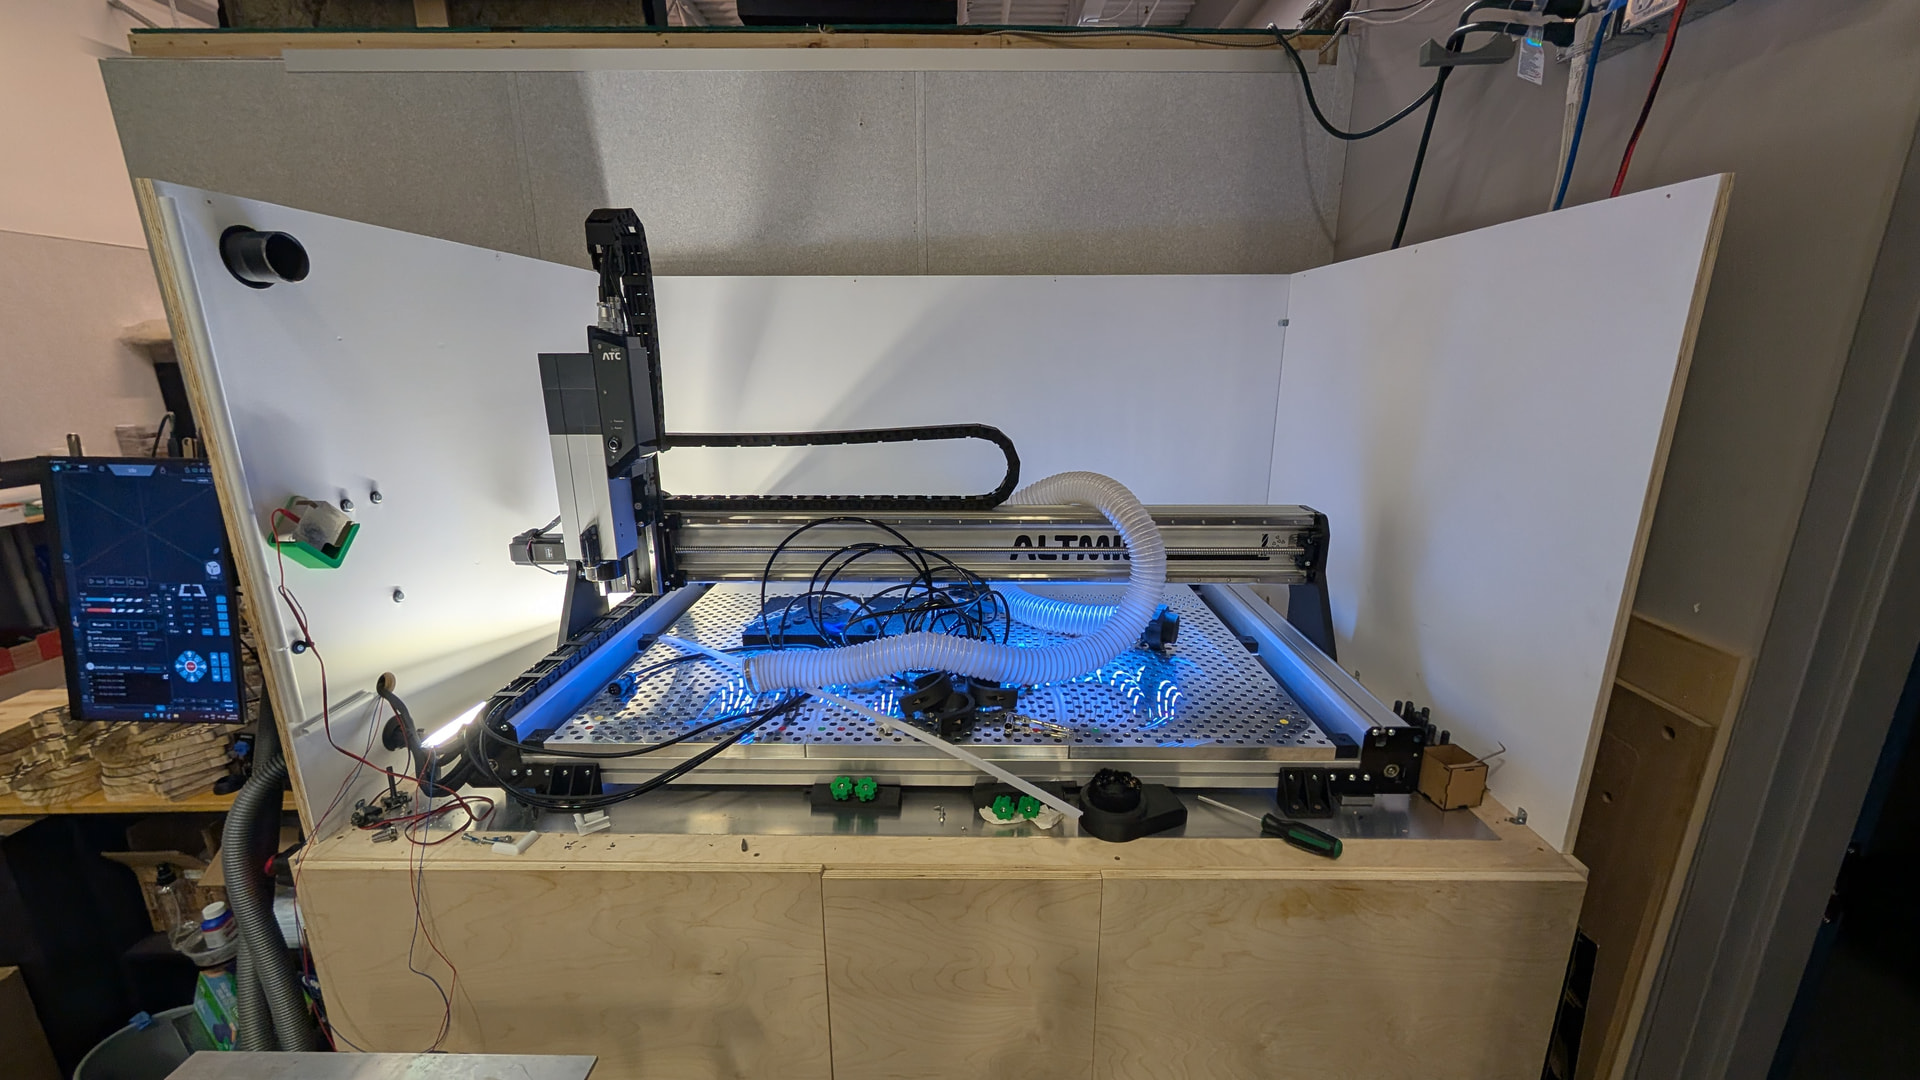
Tomorrow starts the rebuild of the upper enclosure. I’ll most likely add about 10" to the original enclosure height, putting it around ~45" total because of how my ducting is routed, plus the potential need to raise the machine again.

As it sits now: the carnage.
1 Like