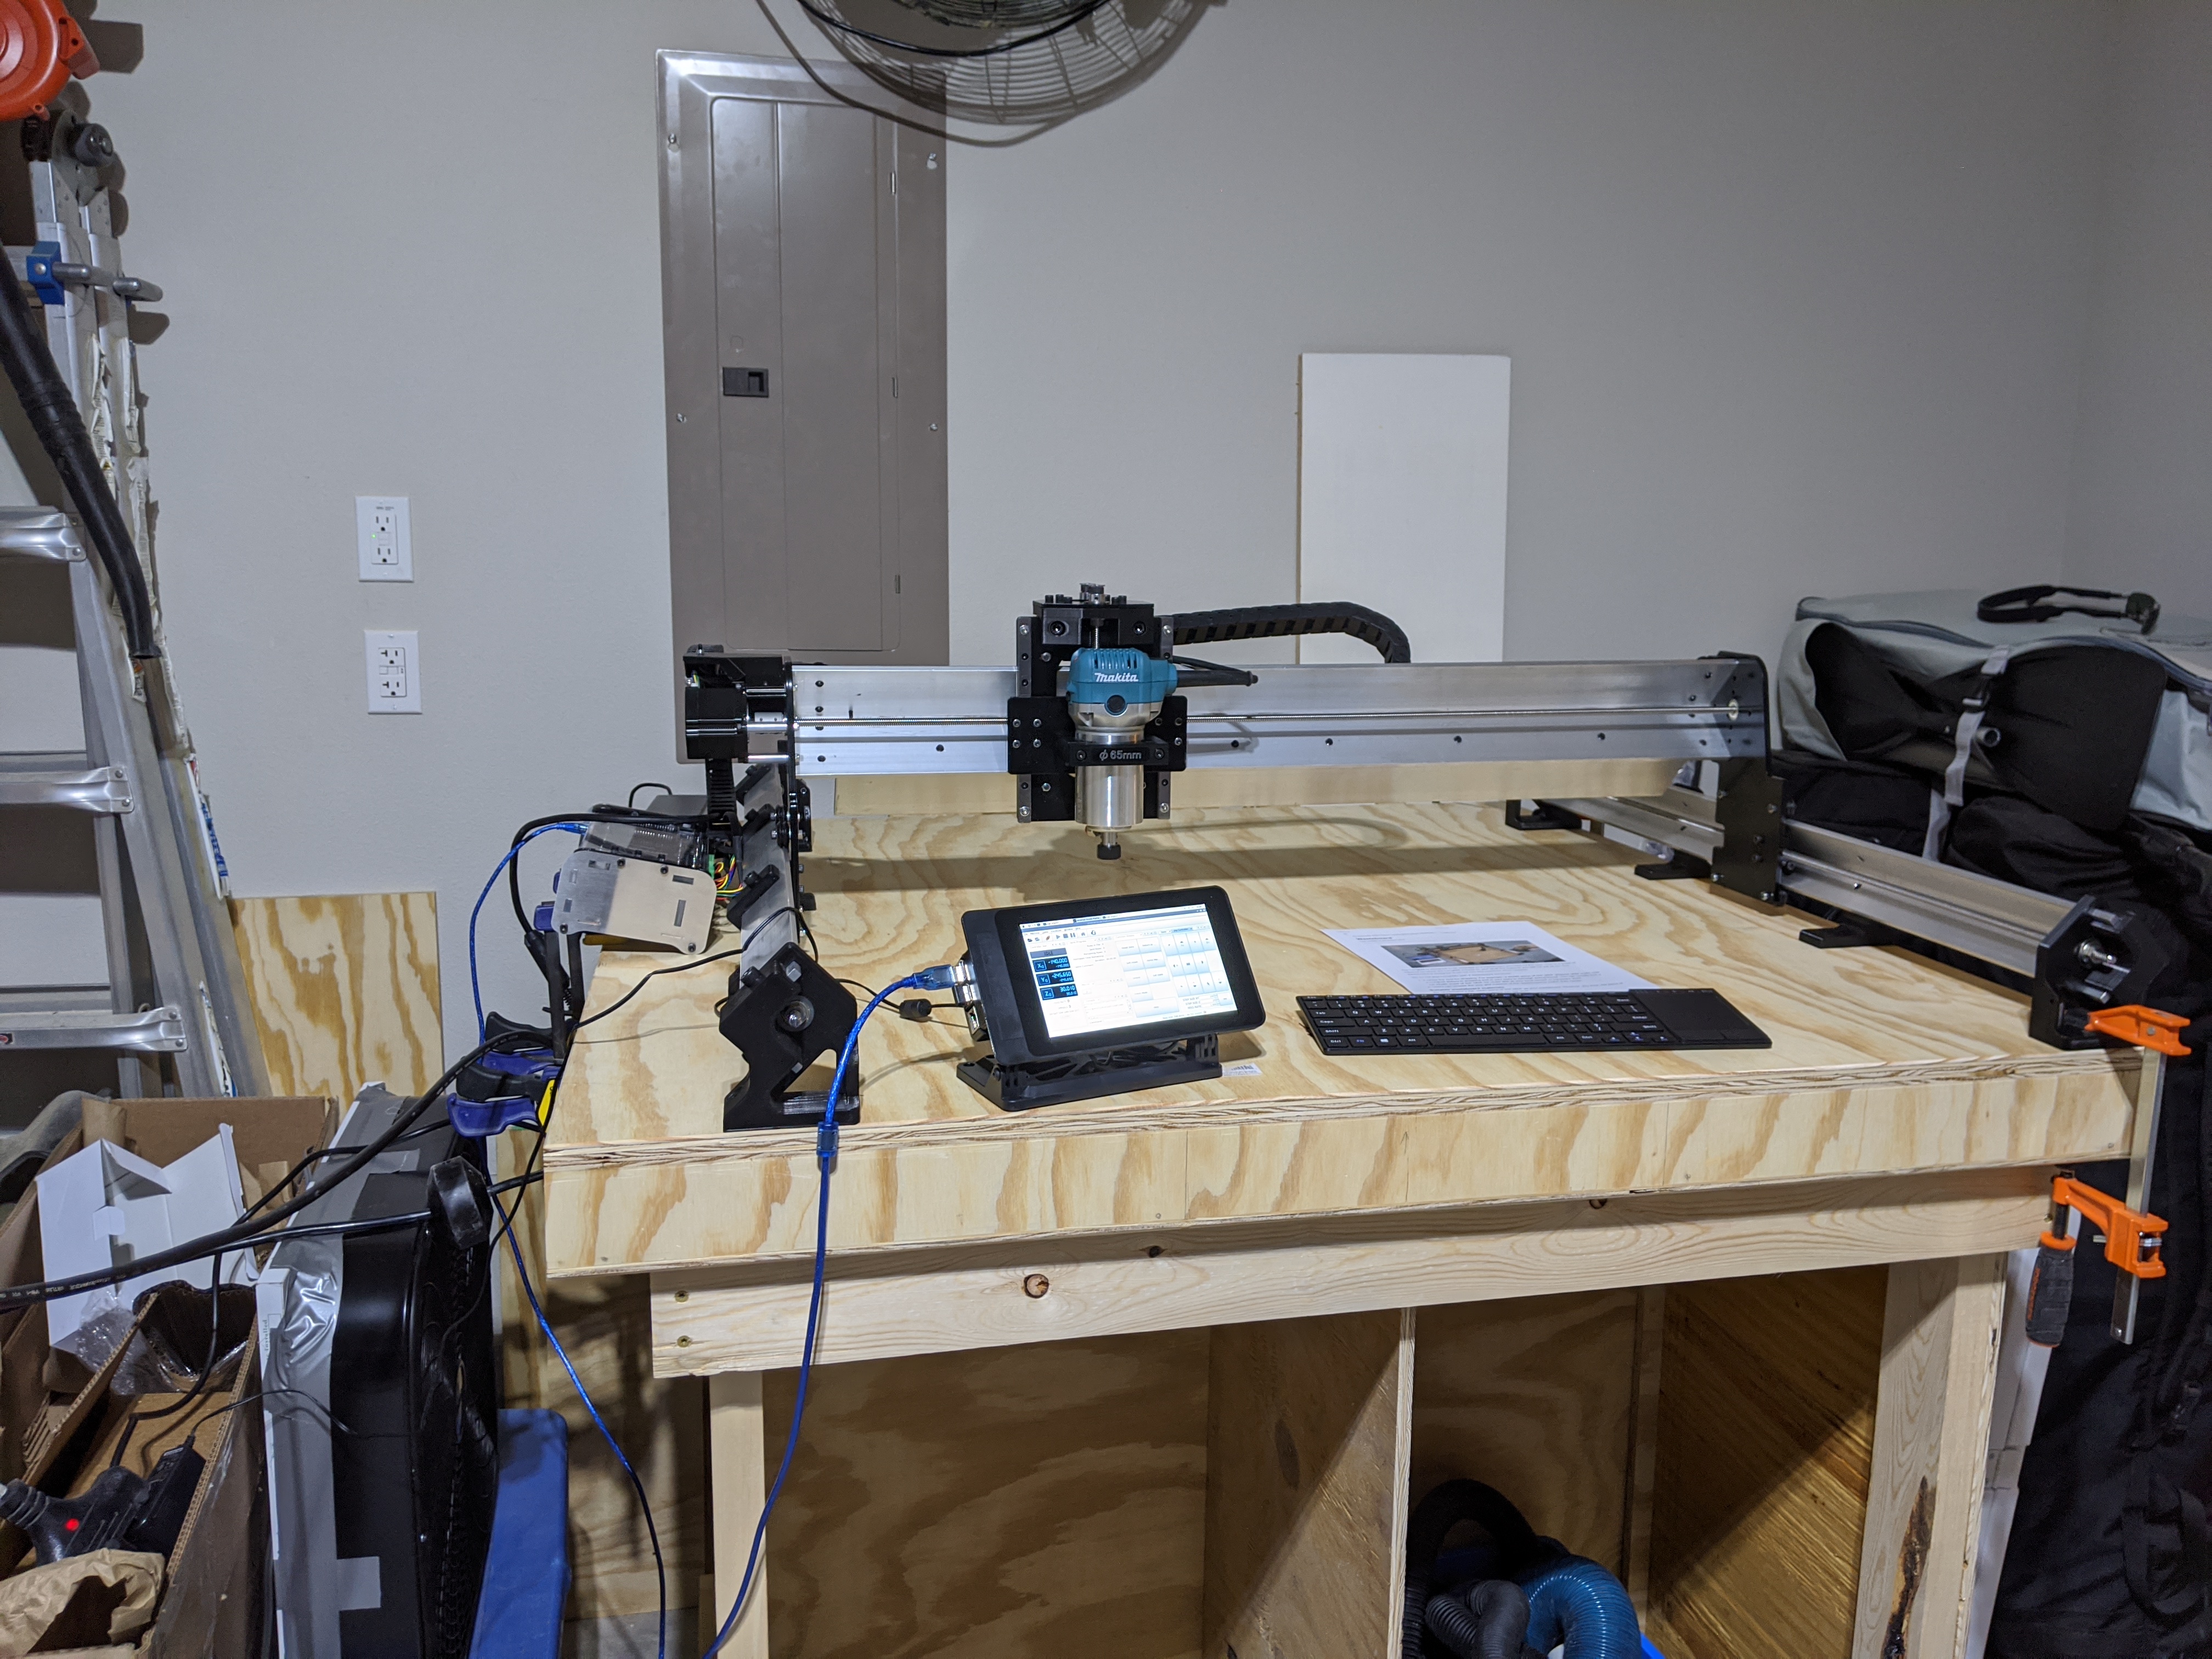
How are you guys mounting the electronics box? I built my table at the recommended 4’x4’ and there’s not enough room for it. Also not enough cable to put it anywhere else. And I don’t see any convenient ways to mount the thing (screw holes, etc).
Everything’s working great so far, though. Now I just need to make the waste board and make everything pretty.
I might give some feedback after I put some time on the machine, but one item I’d definitely recommend fixing ASAP is to include a longer cable for the Z motor, and correct the documentation about the size/location/mounting options of the electrical box. Its not a huge deal, but it is the only thing in the process so far that I felt was just unnecessary aggravation.
I believe the Sienci folks are aware of the z axis cable shortness.
They said they would be fixing it down the line. Many have just
added wire and extended it.
Does the bracket exist in OnShape or in a format I can edit? I’ll probably need a different hole pattern…
I know the wire’s not a big deal, and I guess I’ll be adding some length to it tonight. Like I said though, after an overall well thought-out and impressive assembly procedure, it just stands out as a miss.
Ya It was a typo that got missed in the order process. We took the person out back and beat him within an inch of his life for it. LOL. It was supposed to be 2 meters and it was ordered at 1.5 meters. Hence the mess up. He learned his lesson and is recovering in hospital as I type this LOL.
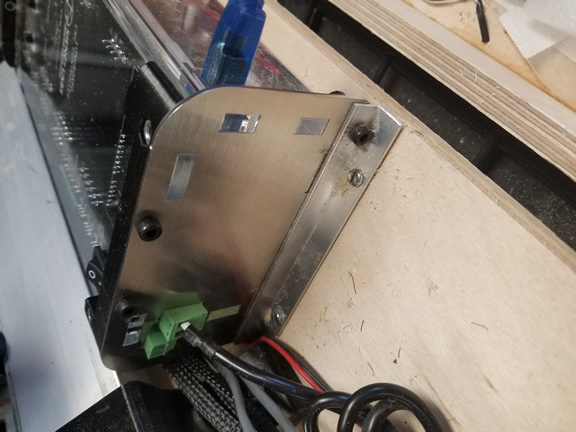
Oh yeah that would be John Coggeshall, not sure his username (edit: @coogle). @David any feedback you have on the machine would be great the wire length was supposed to be 2.5m but was mistyped as just 2 so the new batch of wires are going to be the correct length now. By the way for the mounting, some other users have said that the slots on the underside of the box can well fit a t-nut, and also if you re-print the bottom brackets on the box and attach them on the outside, it’s another way of attaching it (see picture)
As @schlumph mentioned in this other thread: Z axis cable is too short
It would actually be easiest to take some of the excess off of one of the other longer cables. Otherwise, I mentioned in that thread what type of wire it is and where you could find it
Progress was made today. I’ll probably print those brackets eventually, for now I have a temp fix in place. I lengthened the z motor lead, and now I’m thinking about lengthening the right y lead, but that’s just because I routed it through the table top.
The machine is finally ready to cut, so it’s on to the next thing. Tomorrow.
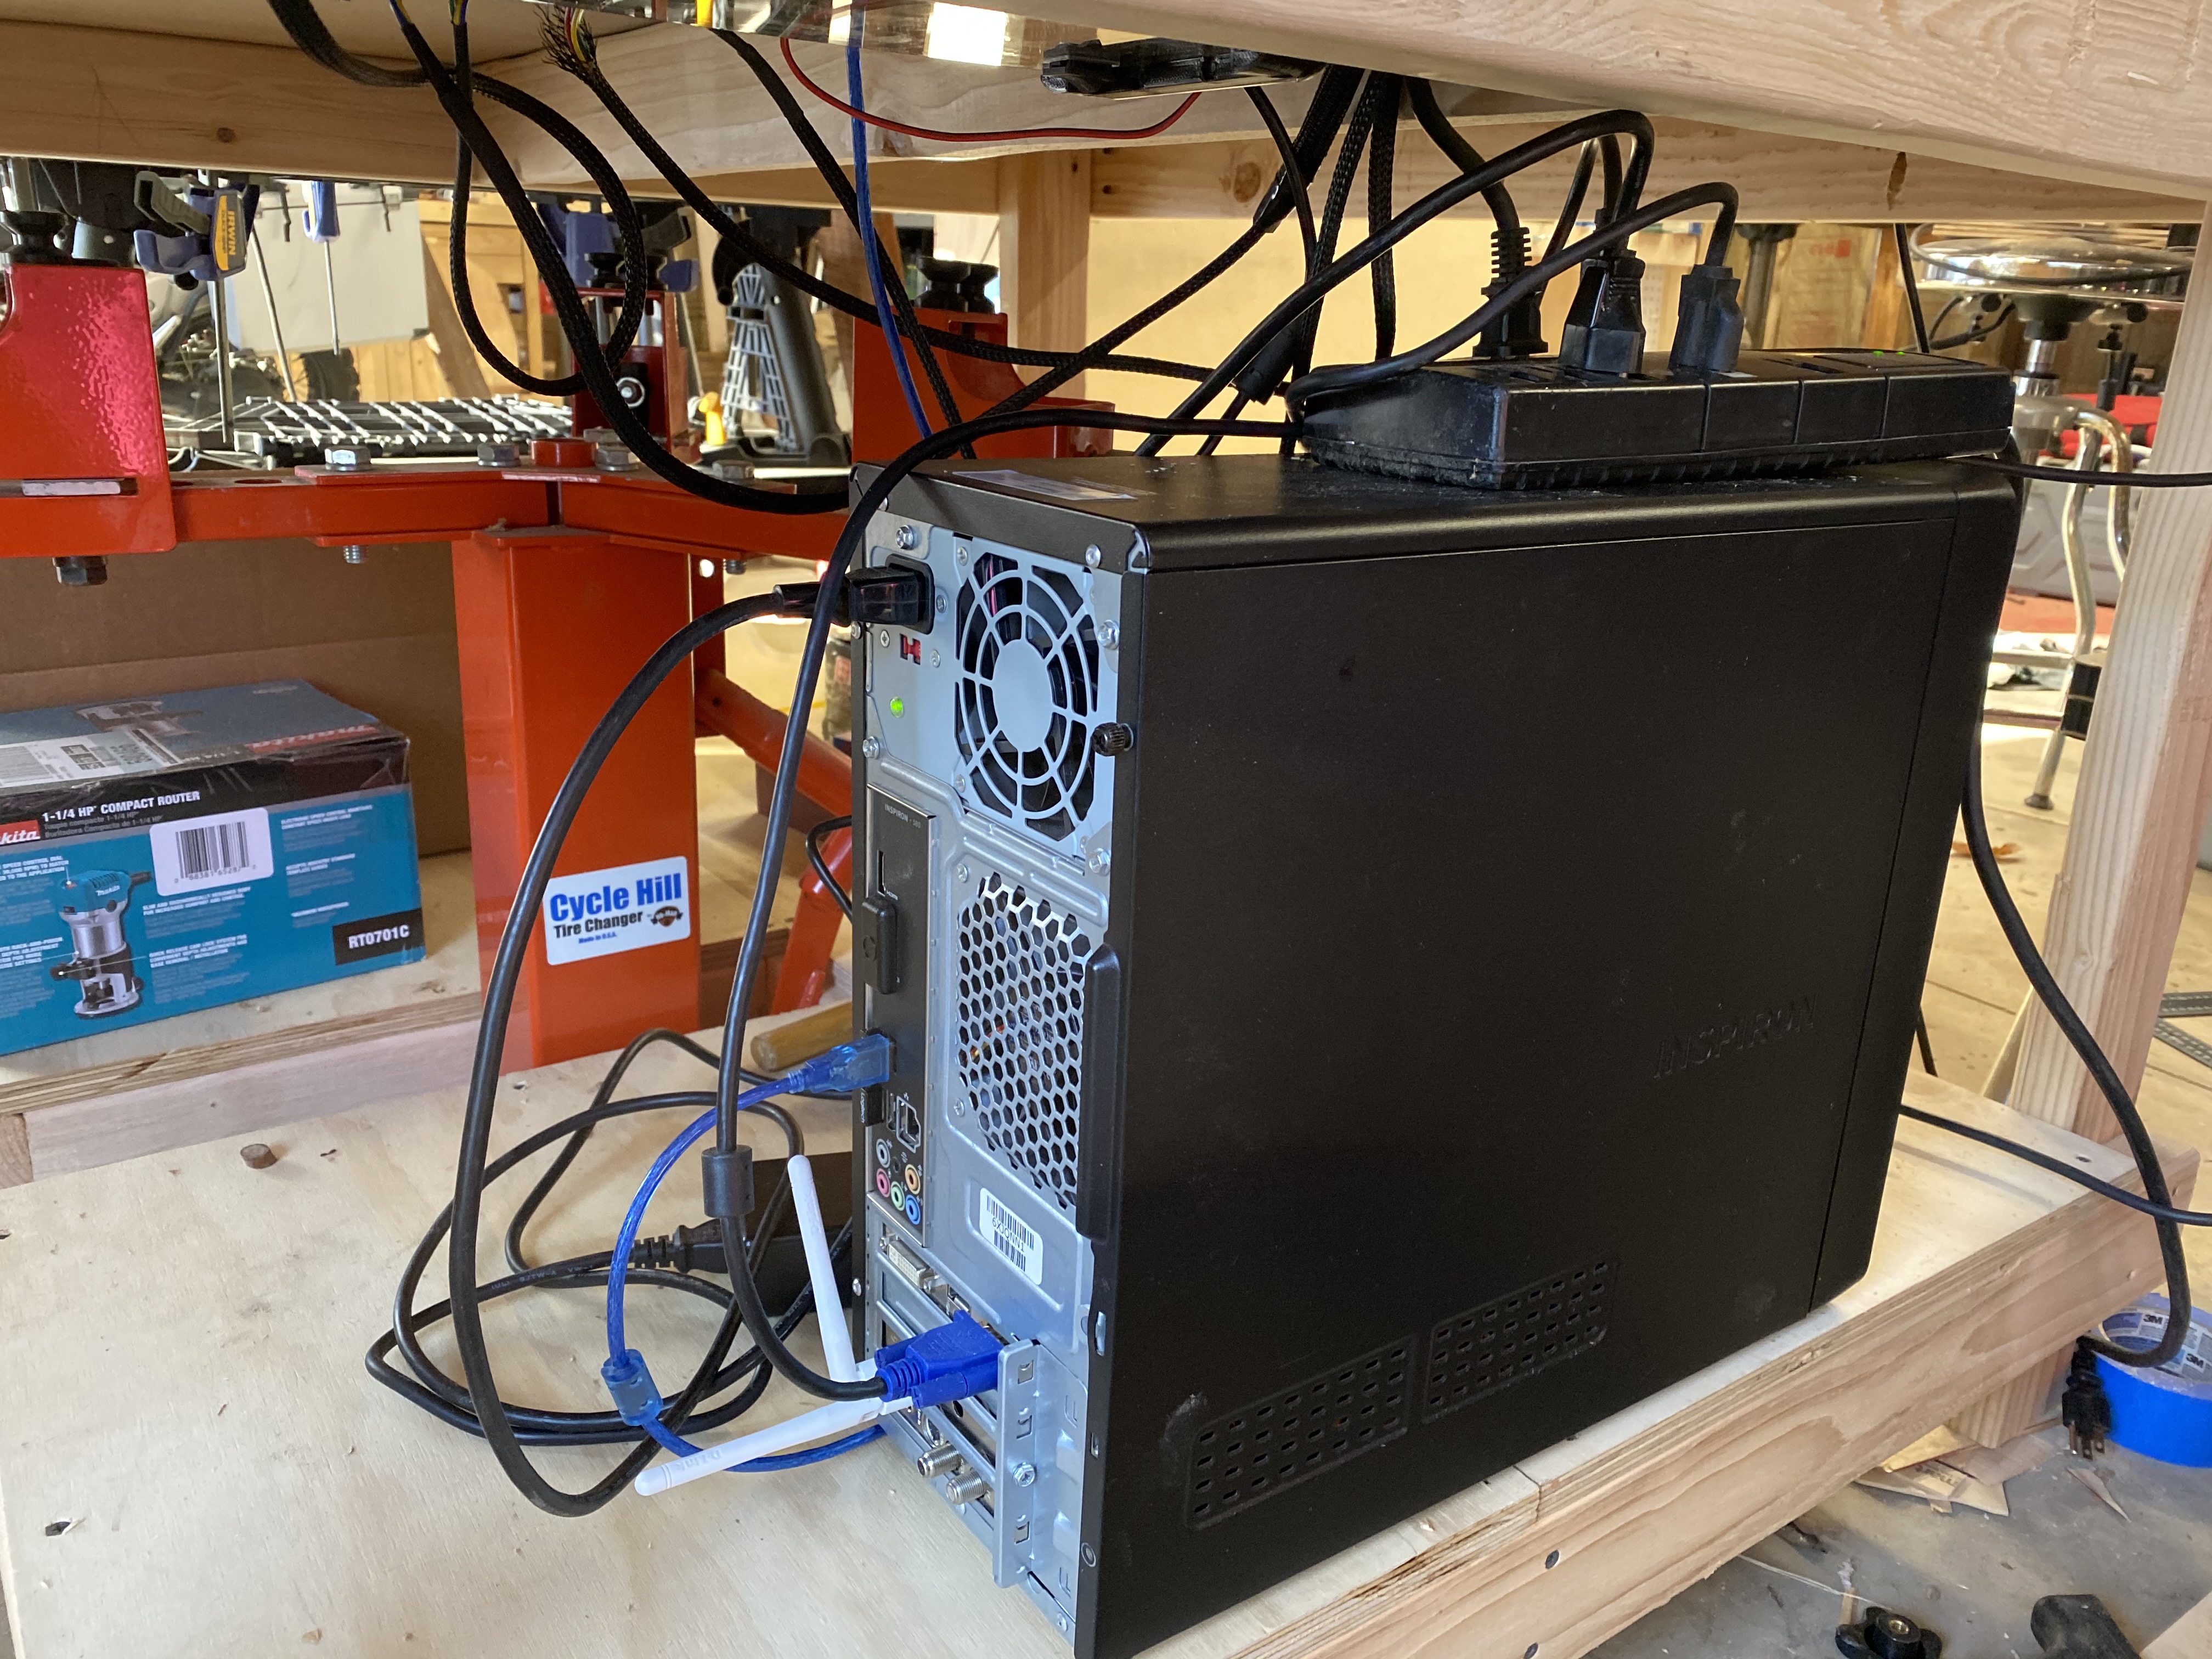
I just did this today - lengthened my wires by choking some excess off one fo the y motor leads. I printed out those 3d printed feet with screw mounts for my control box and mounted it underneath my table. I dropped the leads through a hole I drilled so the cabling comes right off the drag chain and goes right into a hole in the table. Just need to tie up my cabling
Did you see in Chris’ 5 part series where he says you can take up to 15 links off the last drag chain to give yourself more cable? I did it and it sure made a difference with setup.