Following my recent proof of concept post, I thought I would reverse the cherry and the maple wood and have the darker cherry wood as the inlay.
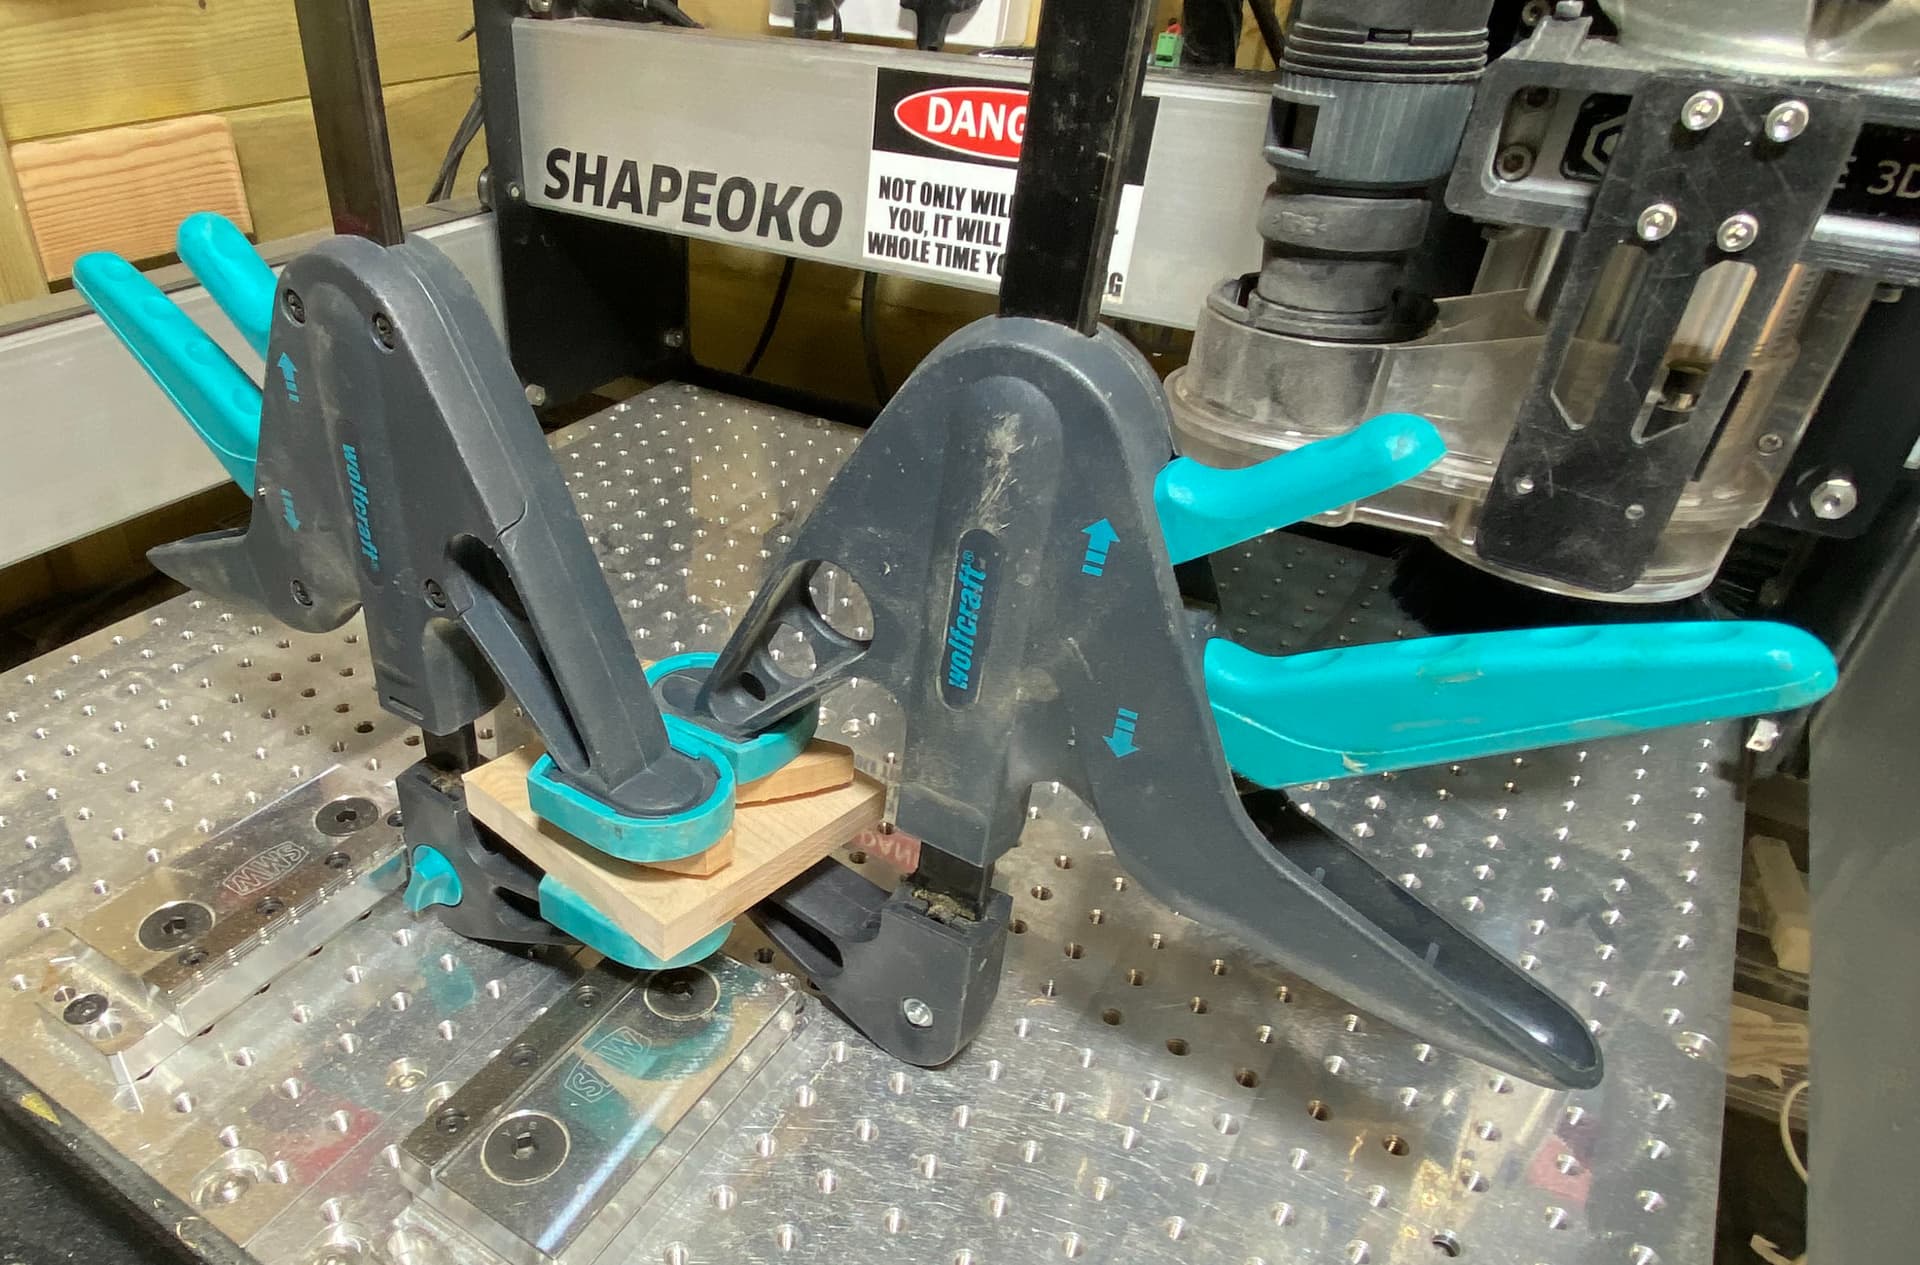
I was aiming for an appearance that did not highlight the glue line. To that end I glued this inlay at the very tip only and that has given me a much cleaner finish than my proof of concept image. I like the very short open time of Titebond III but it always dries to a grey rather than clear or white appearance.
The 5mm female image was the receptacle for a male inlay that was 4.5mm in depth. I used a 0.2mm start point for the male inlay and I considered whether a 0.1mm start point will give me a little more insert material depth. The feed speed was 500mm per minute with a plunge speed of 100mm per minute.
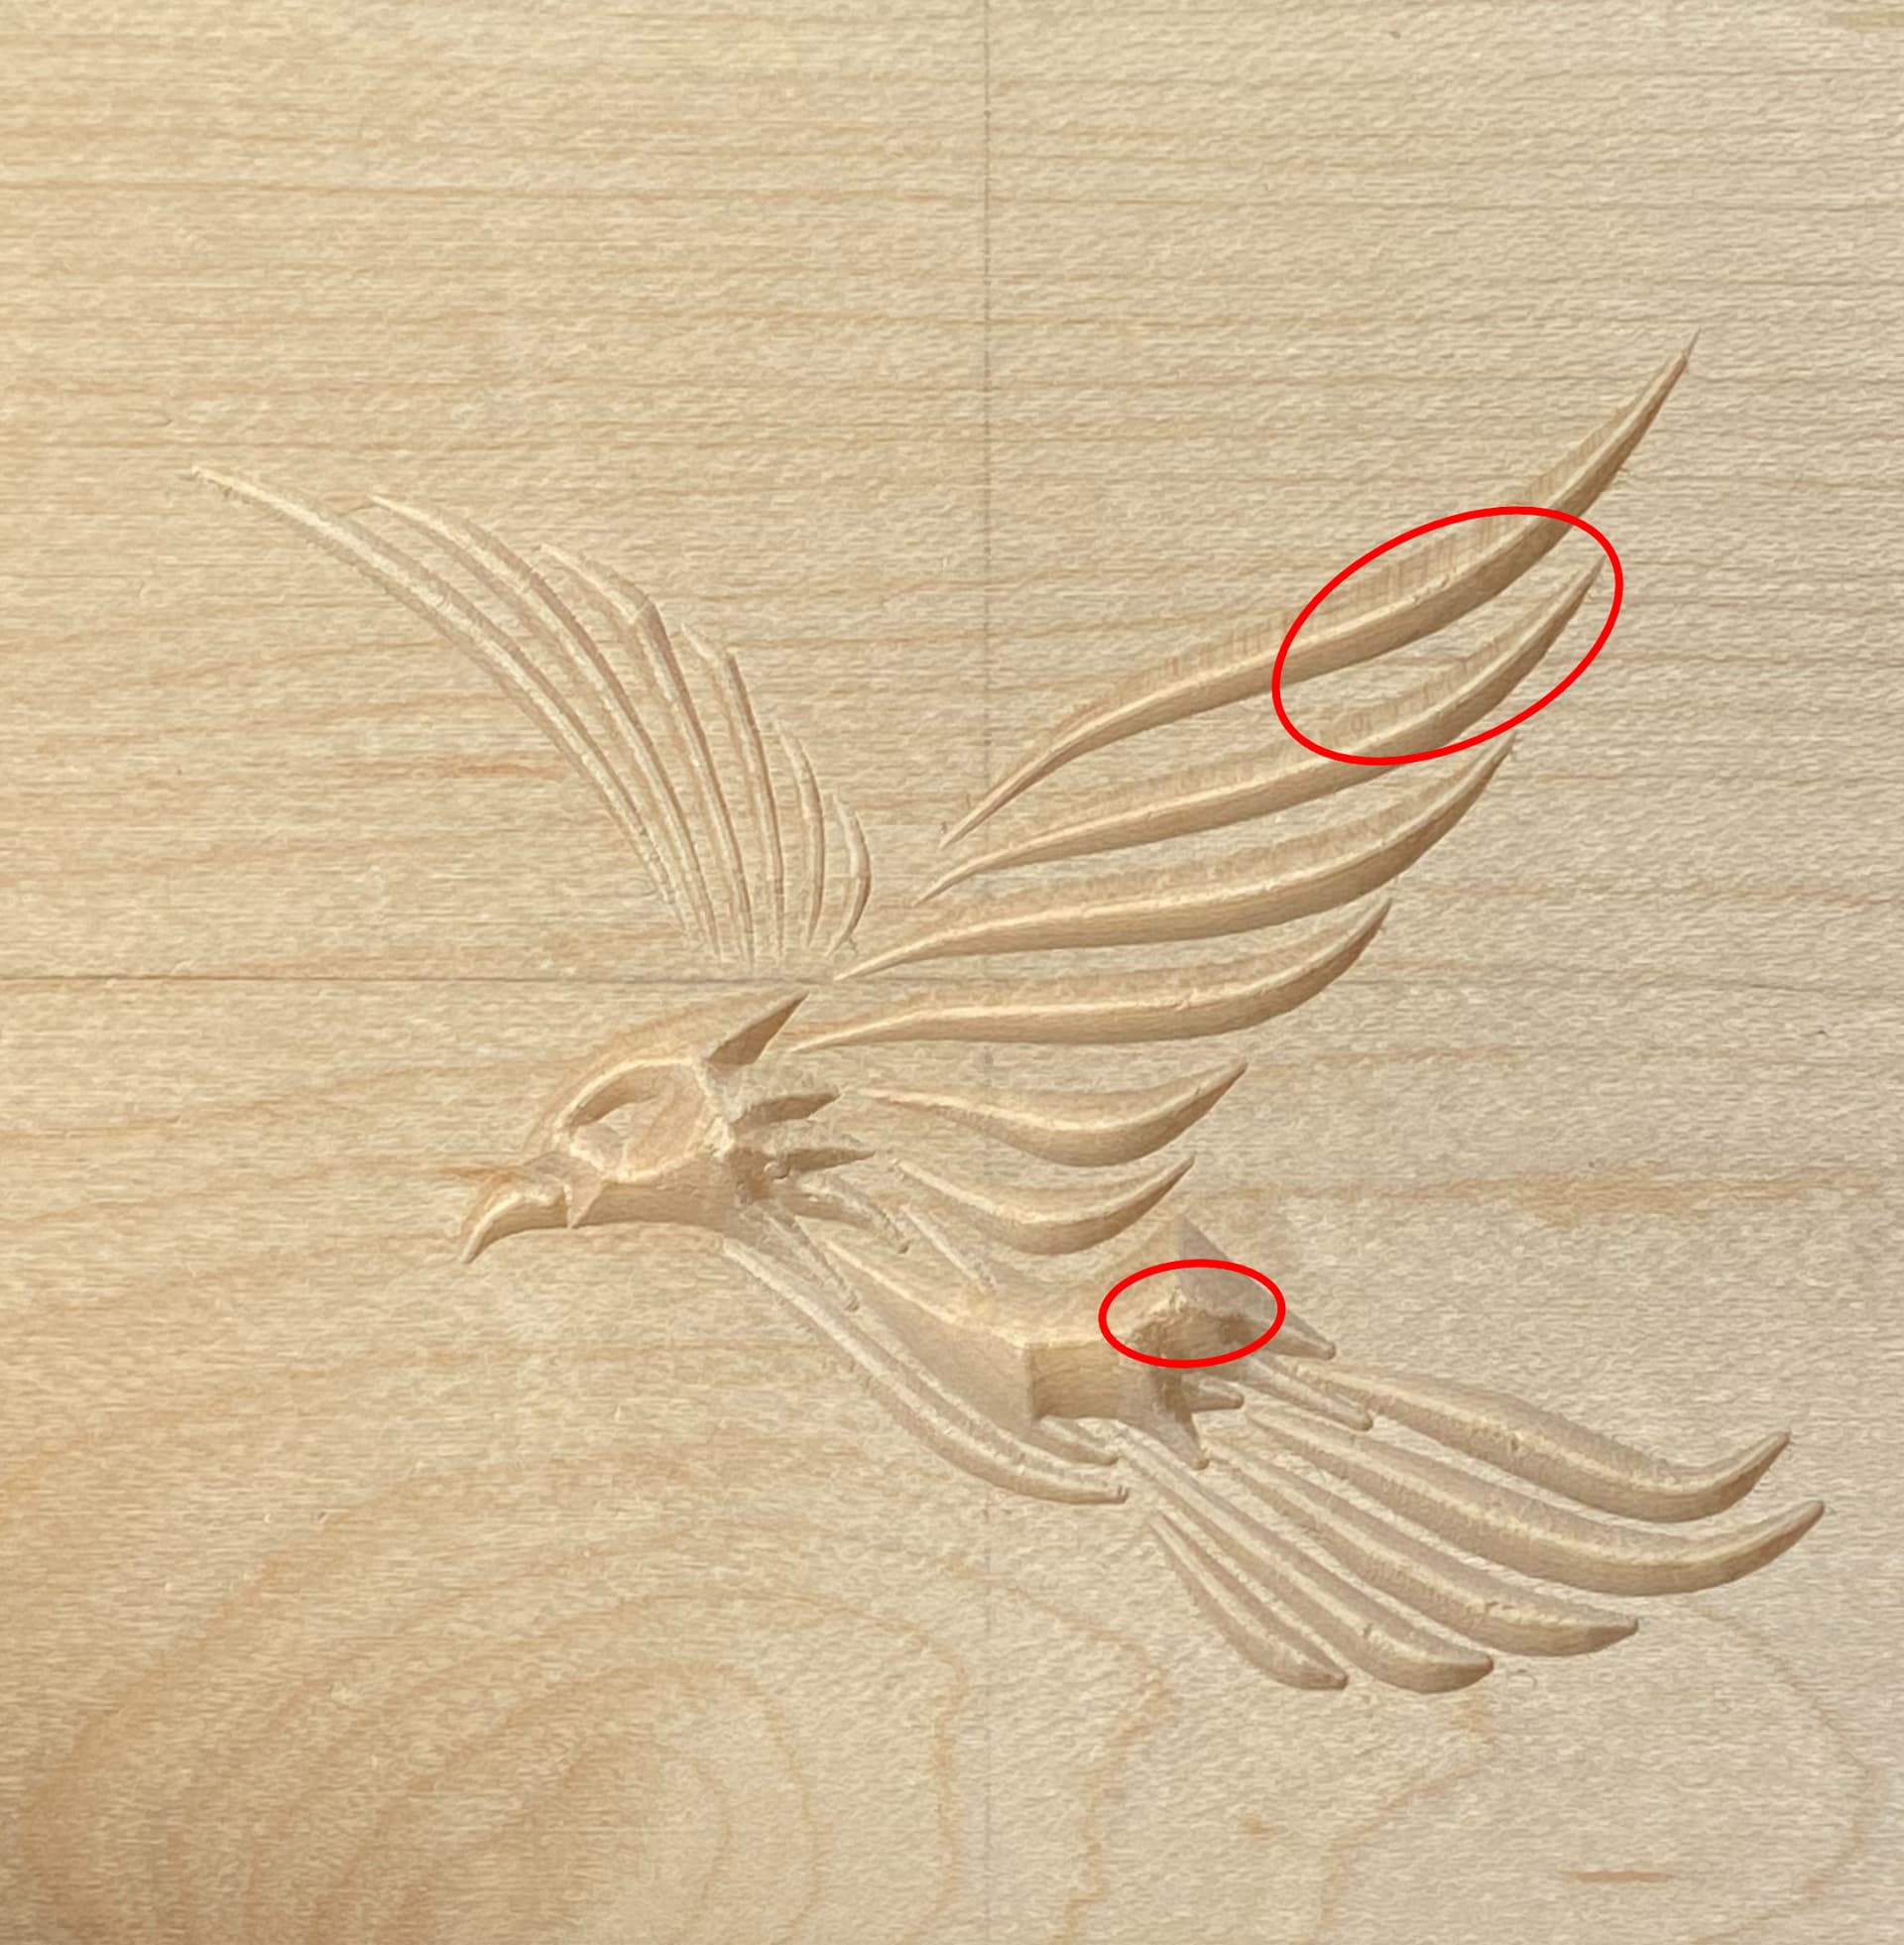
Stepdown was 1mm but I see some small areas of chatter and tearout on the female carve. (red highlight) I think maple is able to withstand the stepdown but it may be that 15,000 RPM is too fast. My next ones will be using a .5mm stepdown and a 10,000RPM router speed. It will make the job take longer but accuracy of the cuts is far more important, in my opinion, given that the cut edge of the female carve is also the finished edge which must butt up against the male insert.
pix:
Female carve demonstrating tearout inside the red highlighted areas
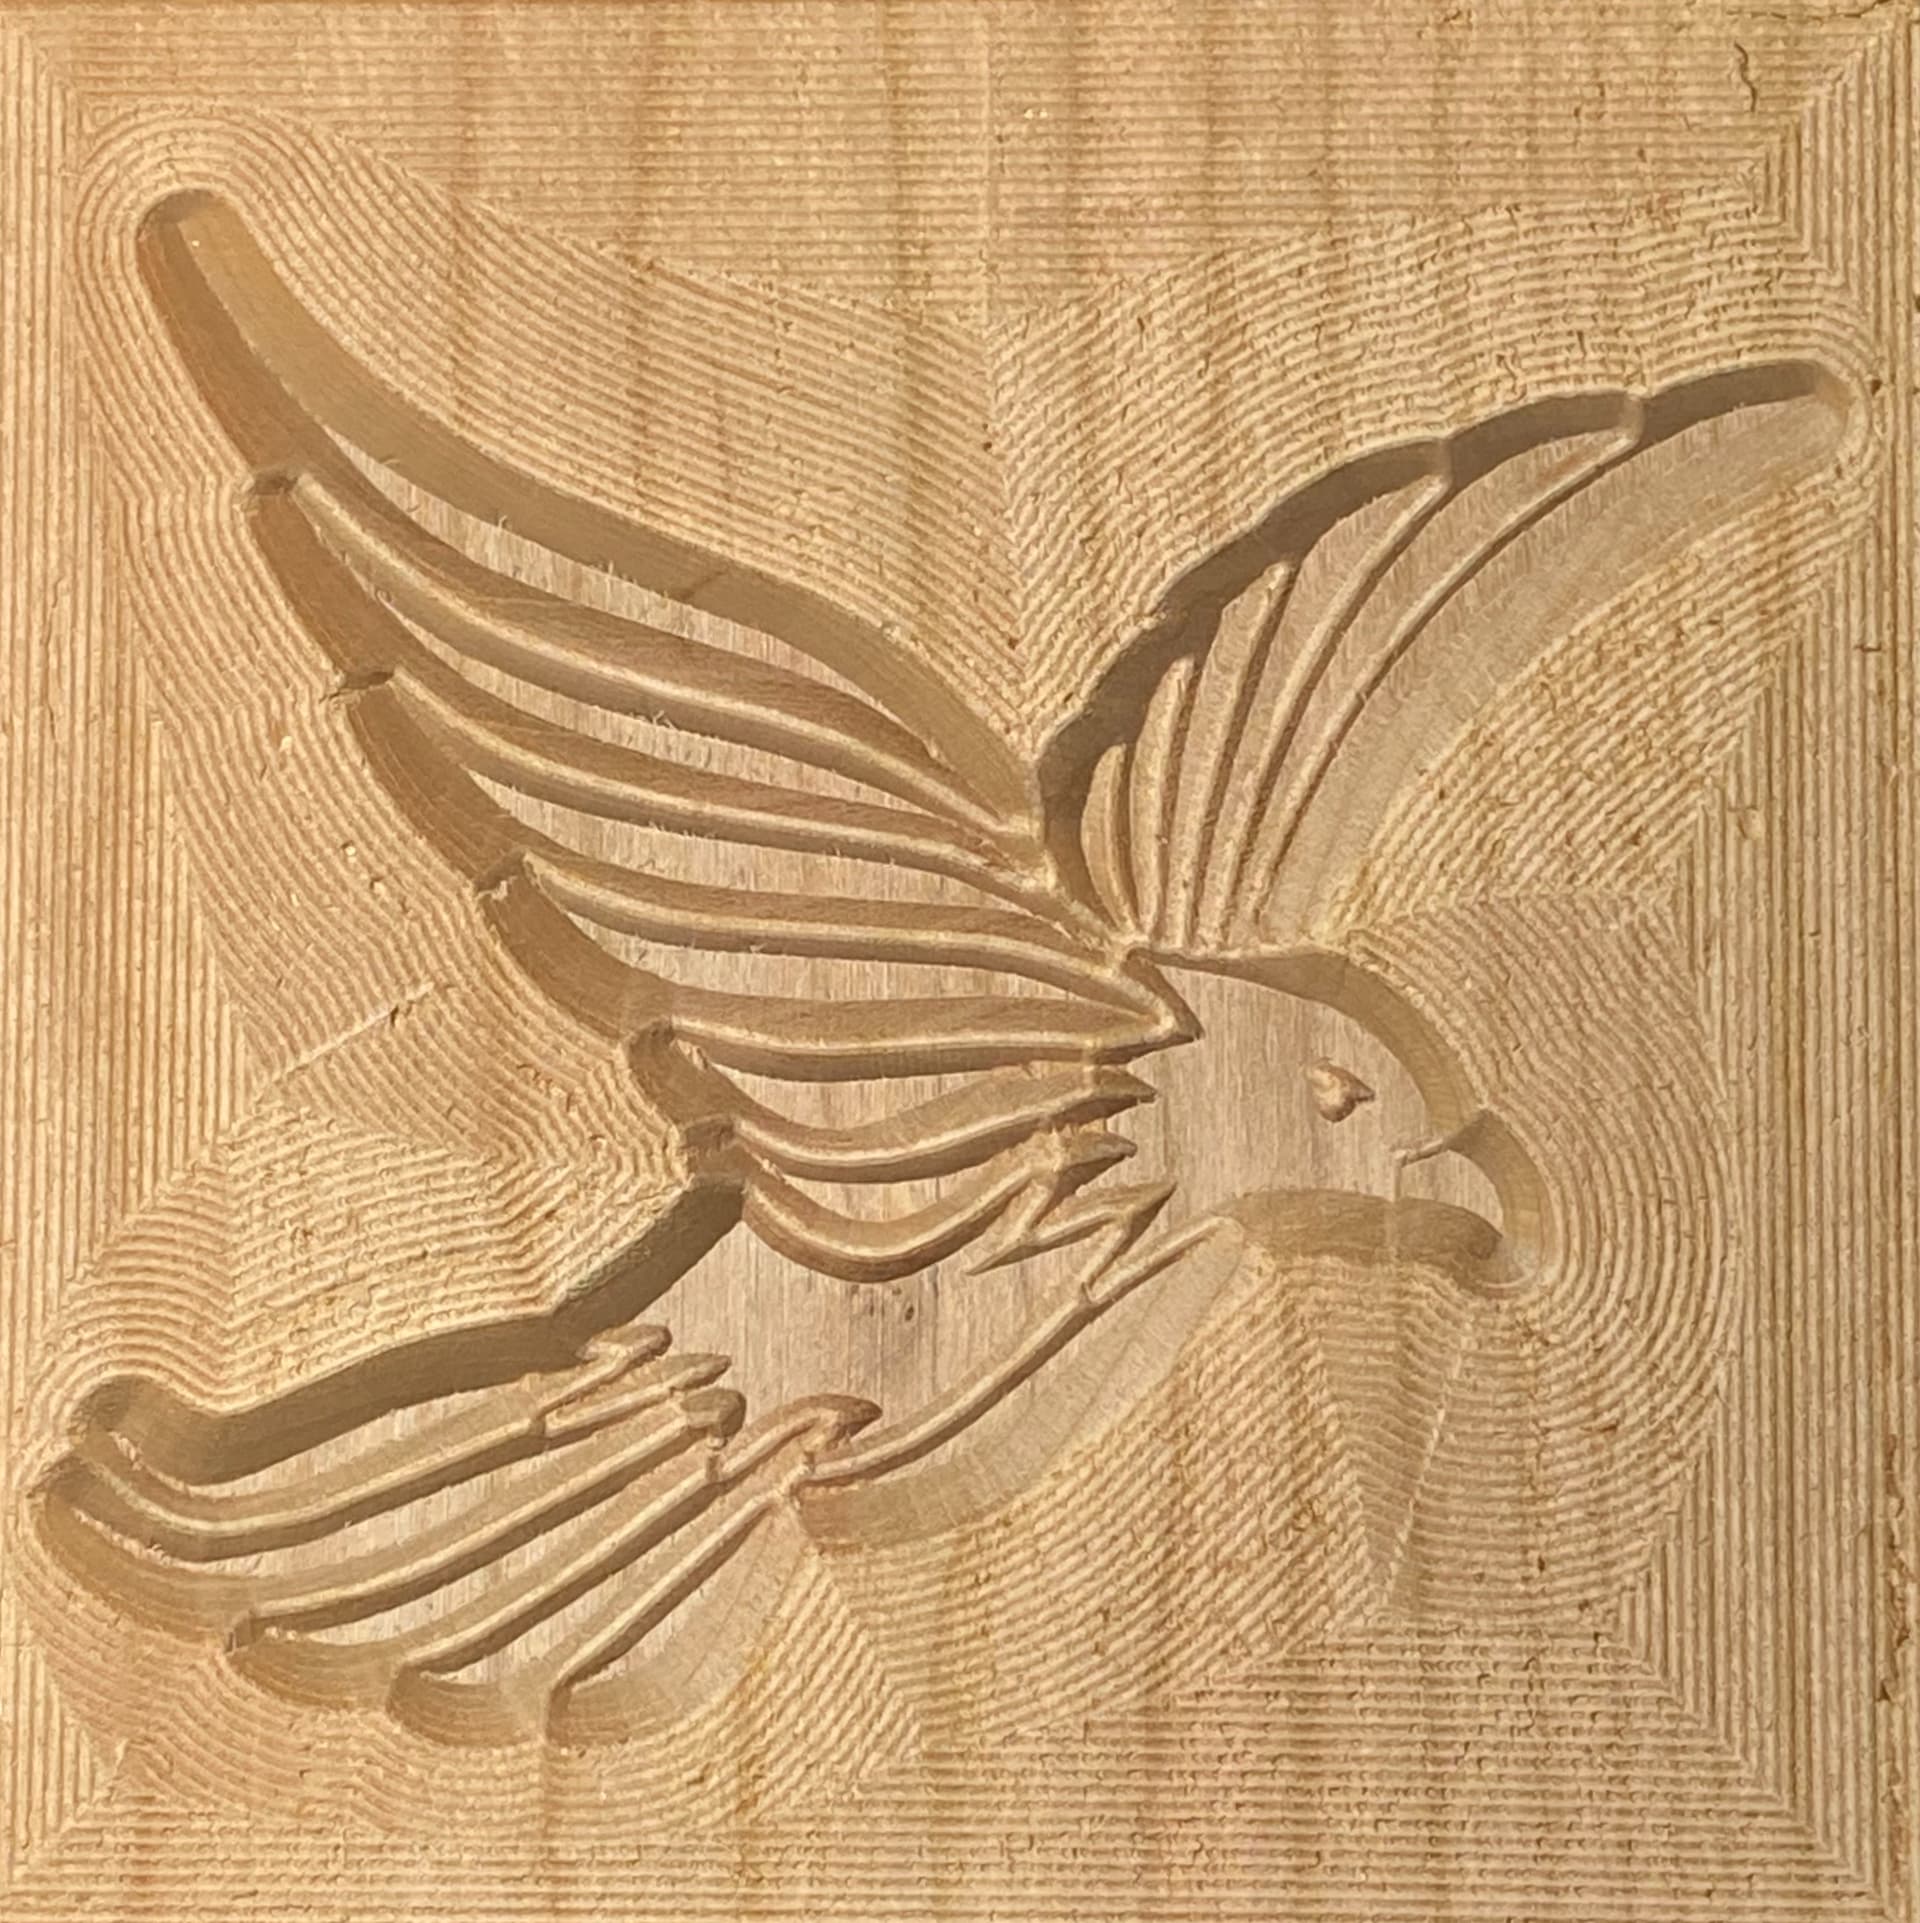
Male carve demonstrating a small amount of chatter under the bird’s breast. Indicates to me that slowing down the RPM to 10,000 could be beneficial for obtaining a carve that has more mechanical sympathy for the cutter and the machine.
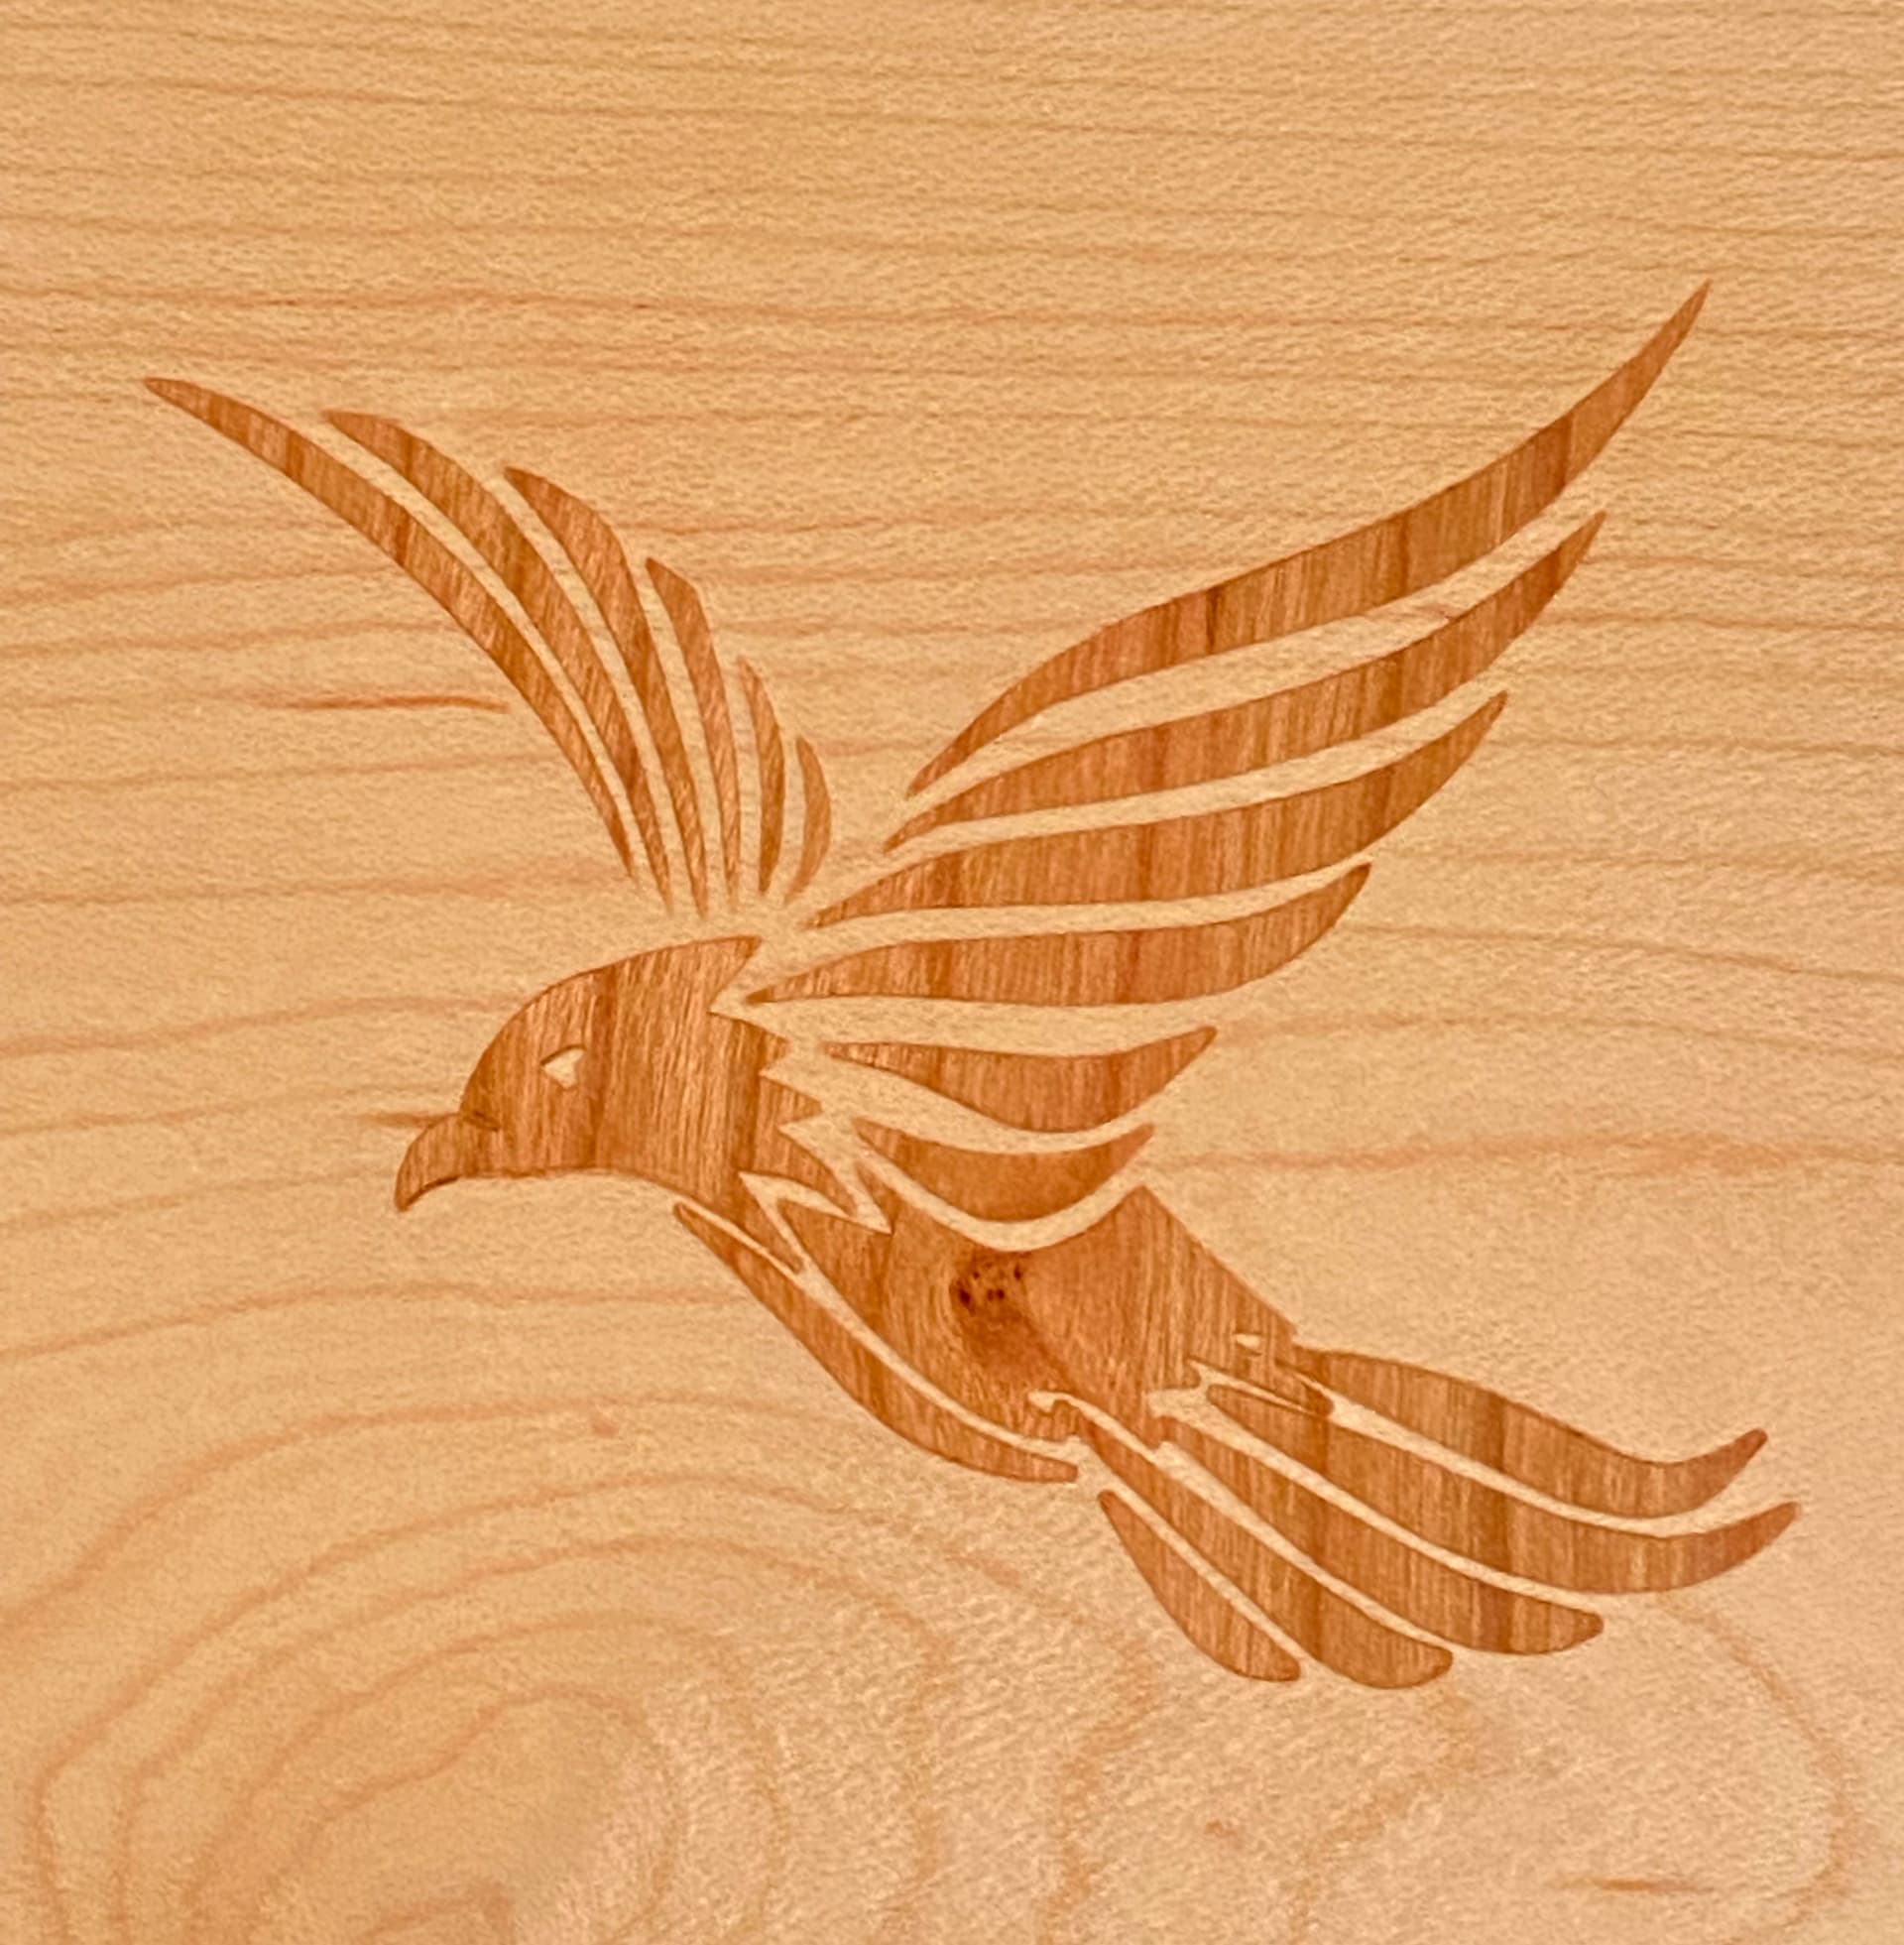
Completed image captured under daylight. The top curved edge of the largest component of the right hand wing looks slightly mishapen. This is the same area highlighted in red as chatter so that has caused the shape of the component part to be badly carved.

Image captured under LED light calibrated to be approximately incandescant light at a colour temperature of 2,700 Kelvin. That upper right wing segment (on enlarging the image) does not look like it fits well enough to my eyes.
Two heavy duty bar clamps to hold the inlay firm while glue sets
Any and all comments most welcome