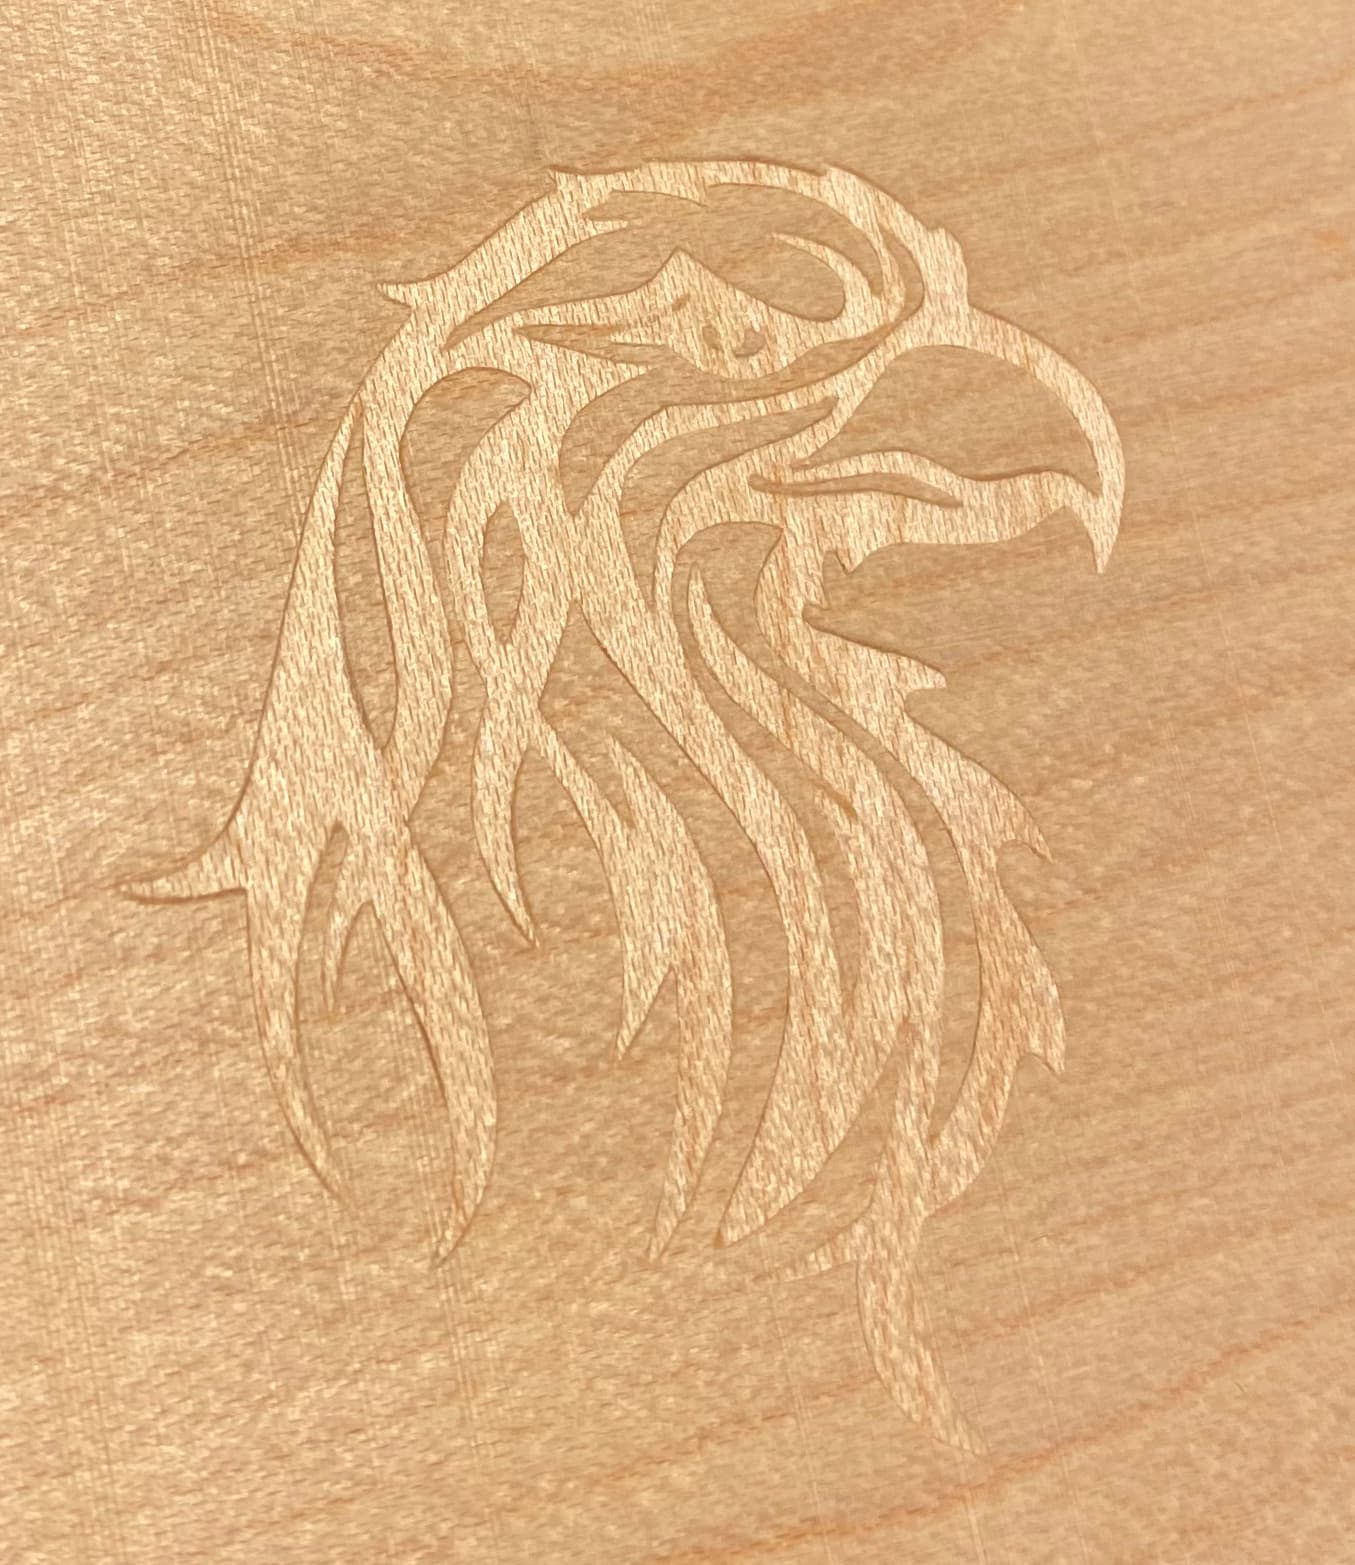
Setup in Carveco Maker… single finishing toolpath with 60 degree Amana v bit. No roughing pass. Artwork is 60mm square. Cut 4mm deep in American maple. Will do the same thing slightly larger with Maple and Cherry. I am happy that it looks okay while being unfinished.
Feed: 500mm per minute. Plunge 100mm per minute. Stepdown 0.5mm. RPM 15,000
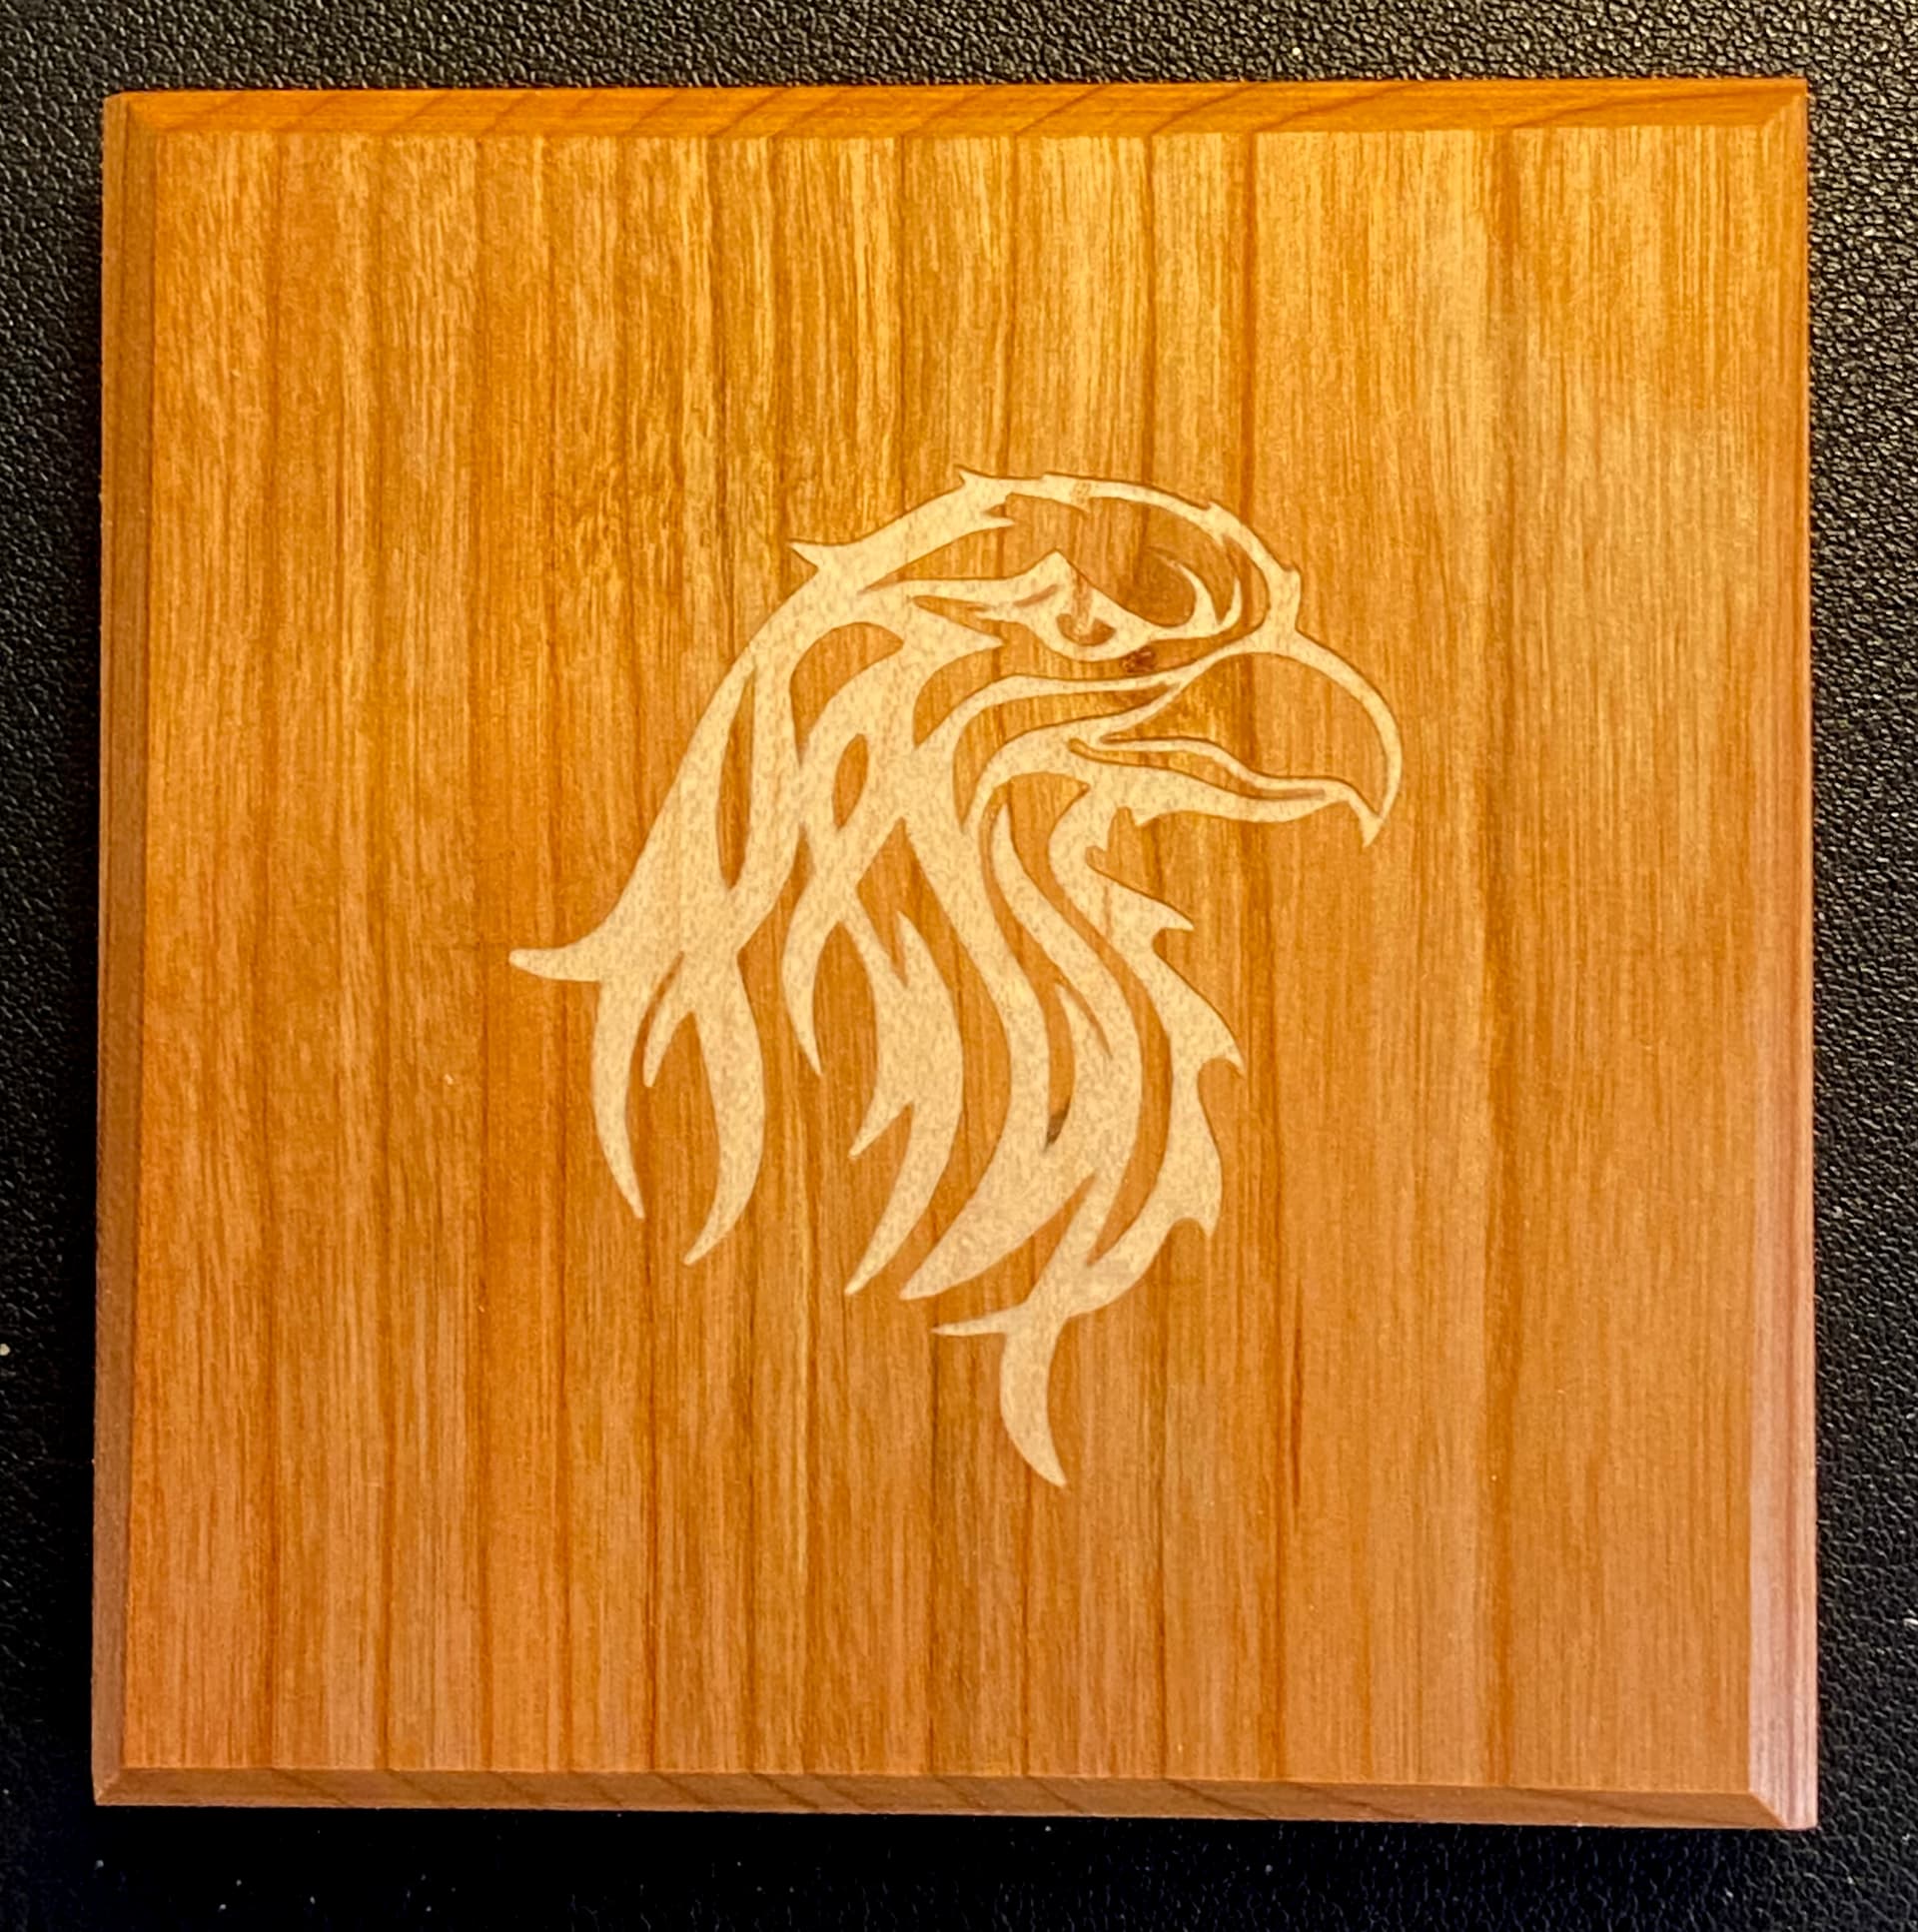
I have struggled a bit with inlay technique. This result pleases me, finally! Cherry wood with a maple inlay of an eagle head in so-called tribal art style. All done in gSender which performed faultlessly so my thanks to Sienci software development team because it really works well.
Technical:
Female side is American Cherry wood engraved to a depth of 5mm with a V bit toolpath in Carveco Maker. Cutter was an Amana VBit 6.35mm diameter cutter on a 6.35mm shank.
@jepho Did you offset the male cut to leave a clearance after mating, and/or a glue gap beneath it? I’ve done a number of carves with the offset technique and it worked for me/my setup/my brain.
Hi Andy. I hope you are well. Thanks for asking. I did leave an offset of .2mm to start the male carve. My total differential was 0.3mm underneath the piece for glue (probably a bit much) because I made the carve 4.5mm instead of the 5mm of the female carve. The image occupied about 60mm square on a piece of wood that was 87mm square. I was interested in how much detail I could hold at small sizes of image.
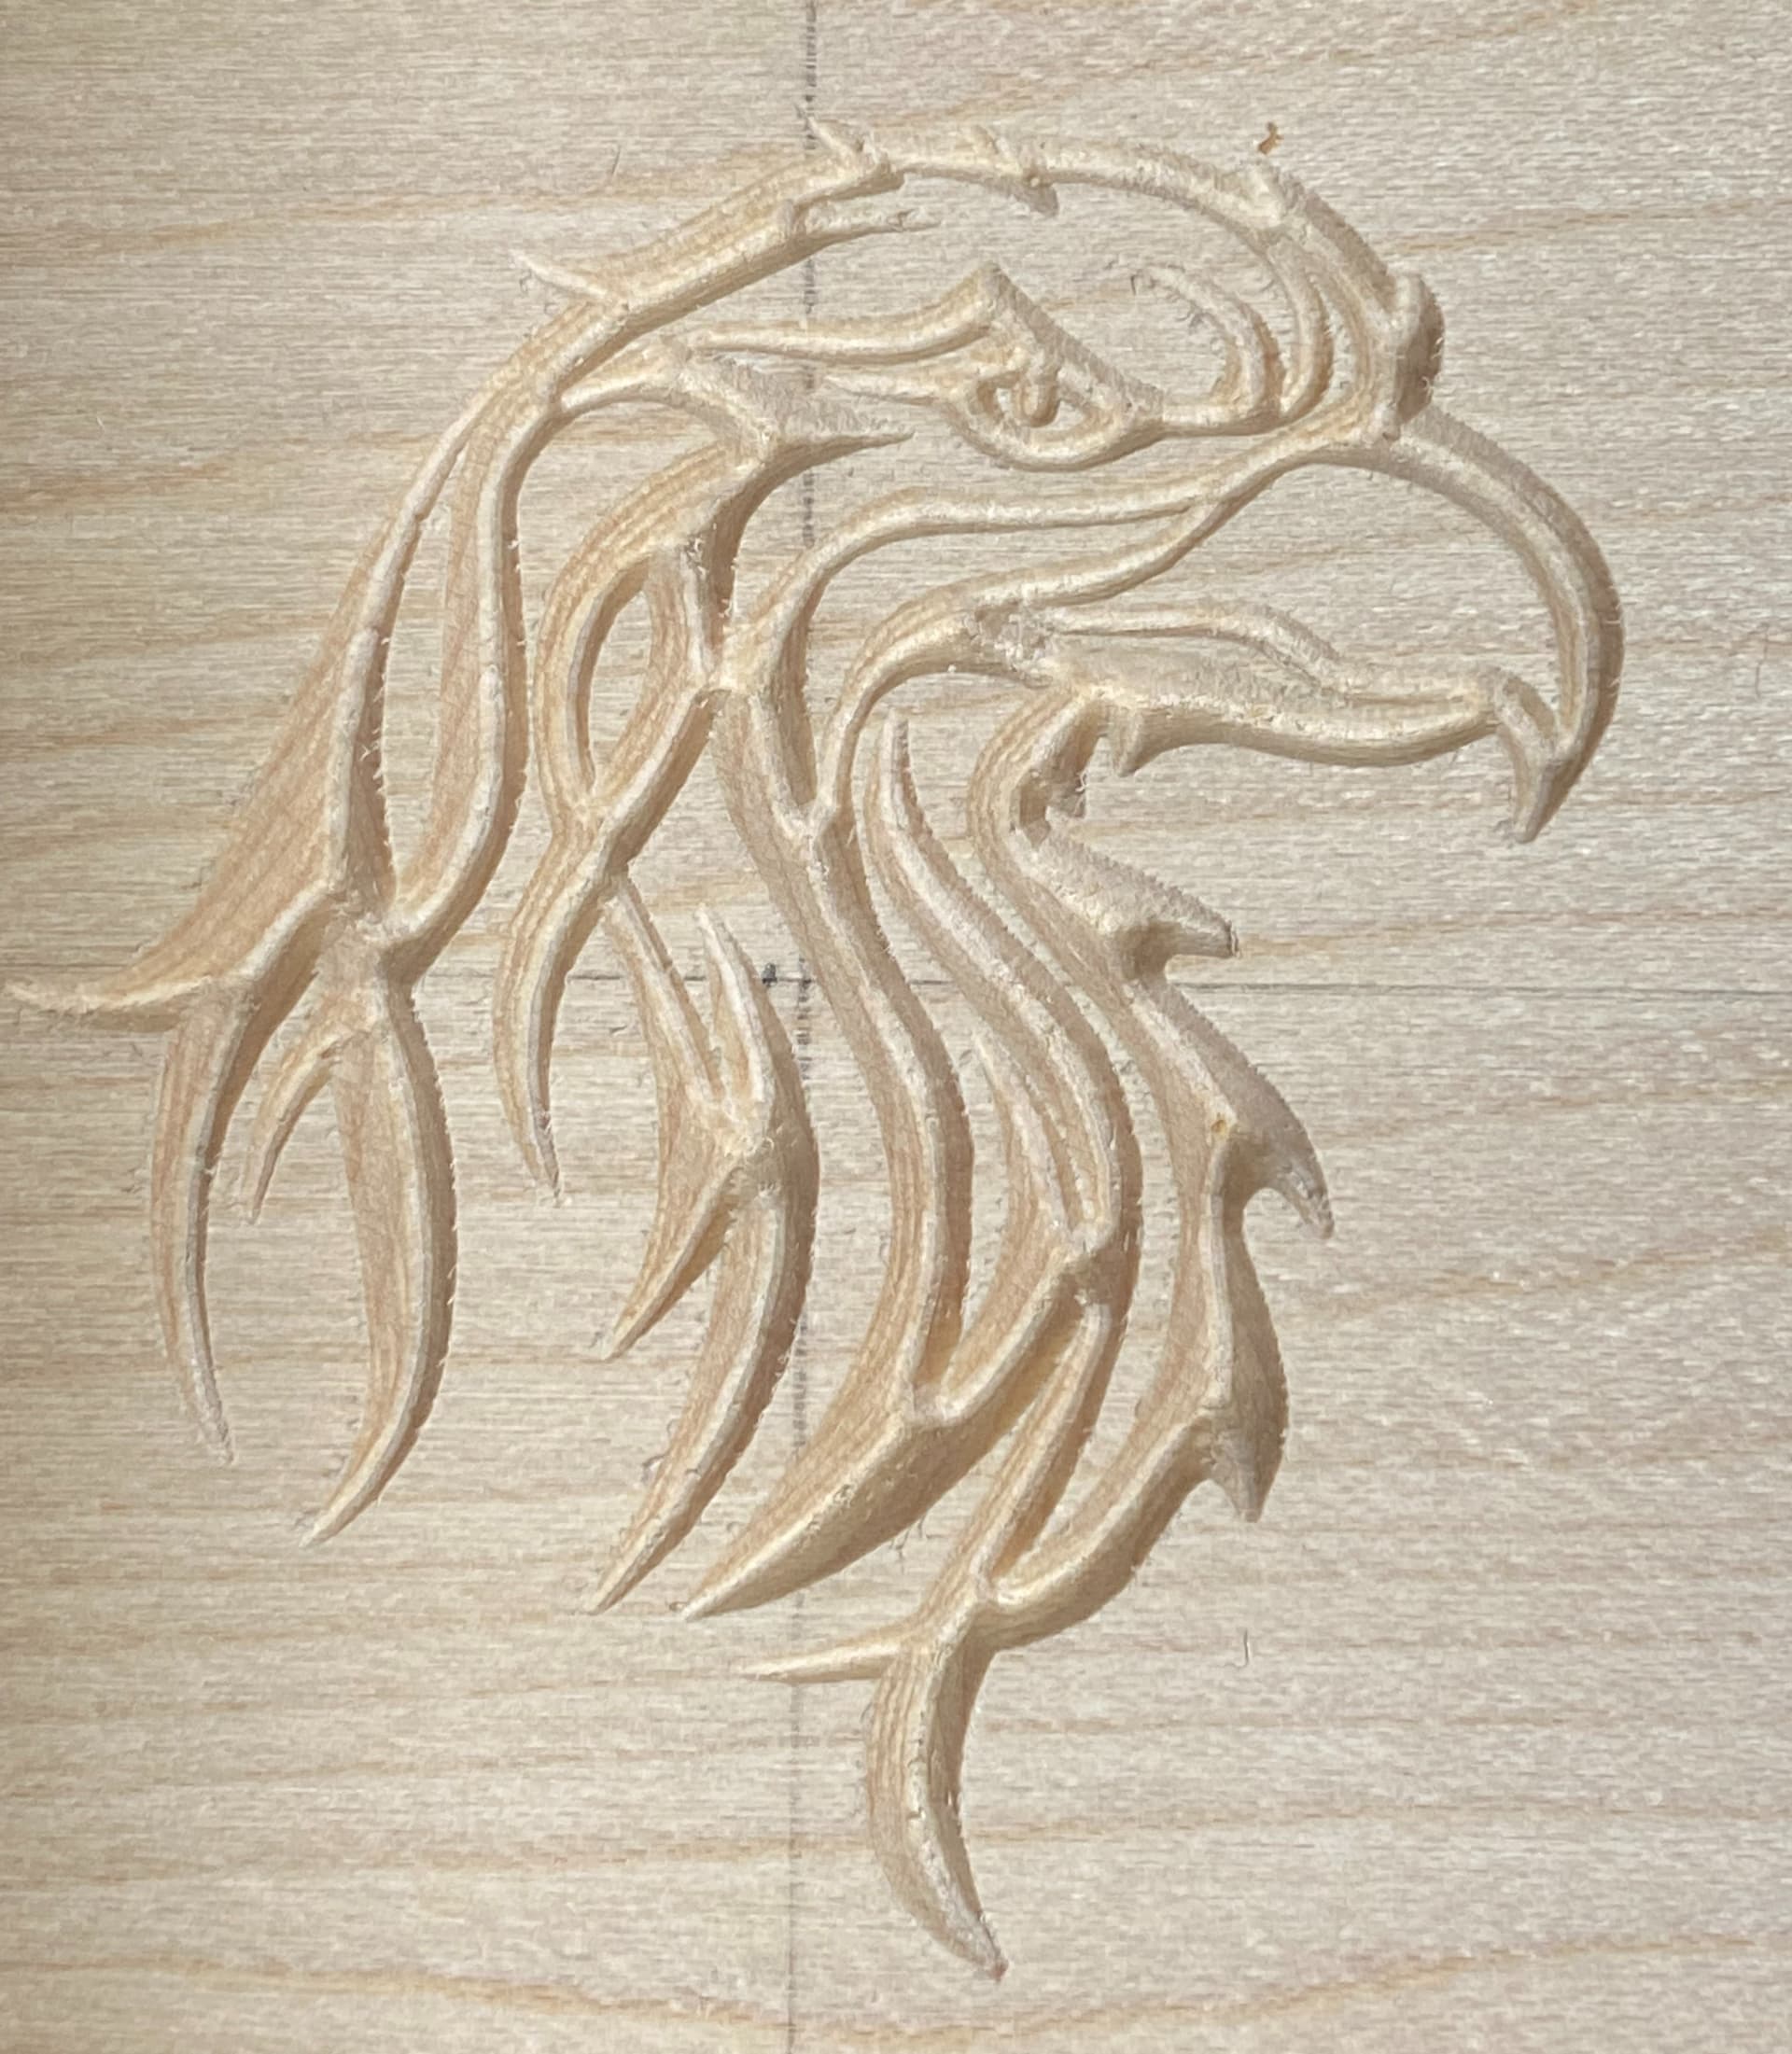
This was the male piece after trimming prior to glue and clamping. I love how clean maple looks after it has been milled.
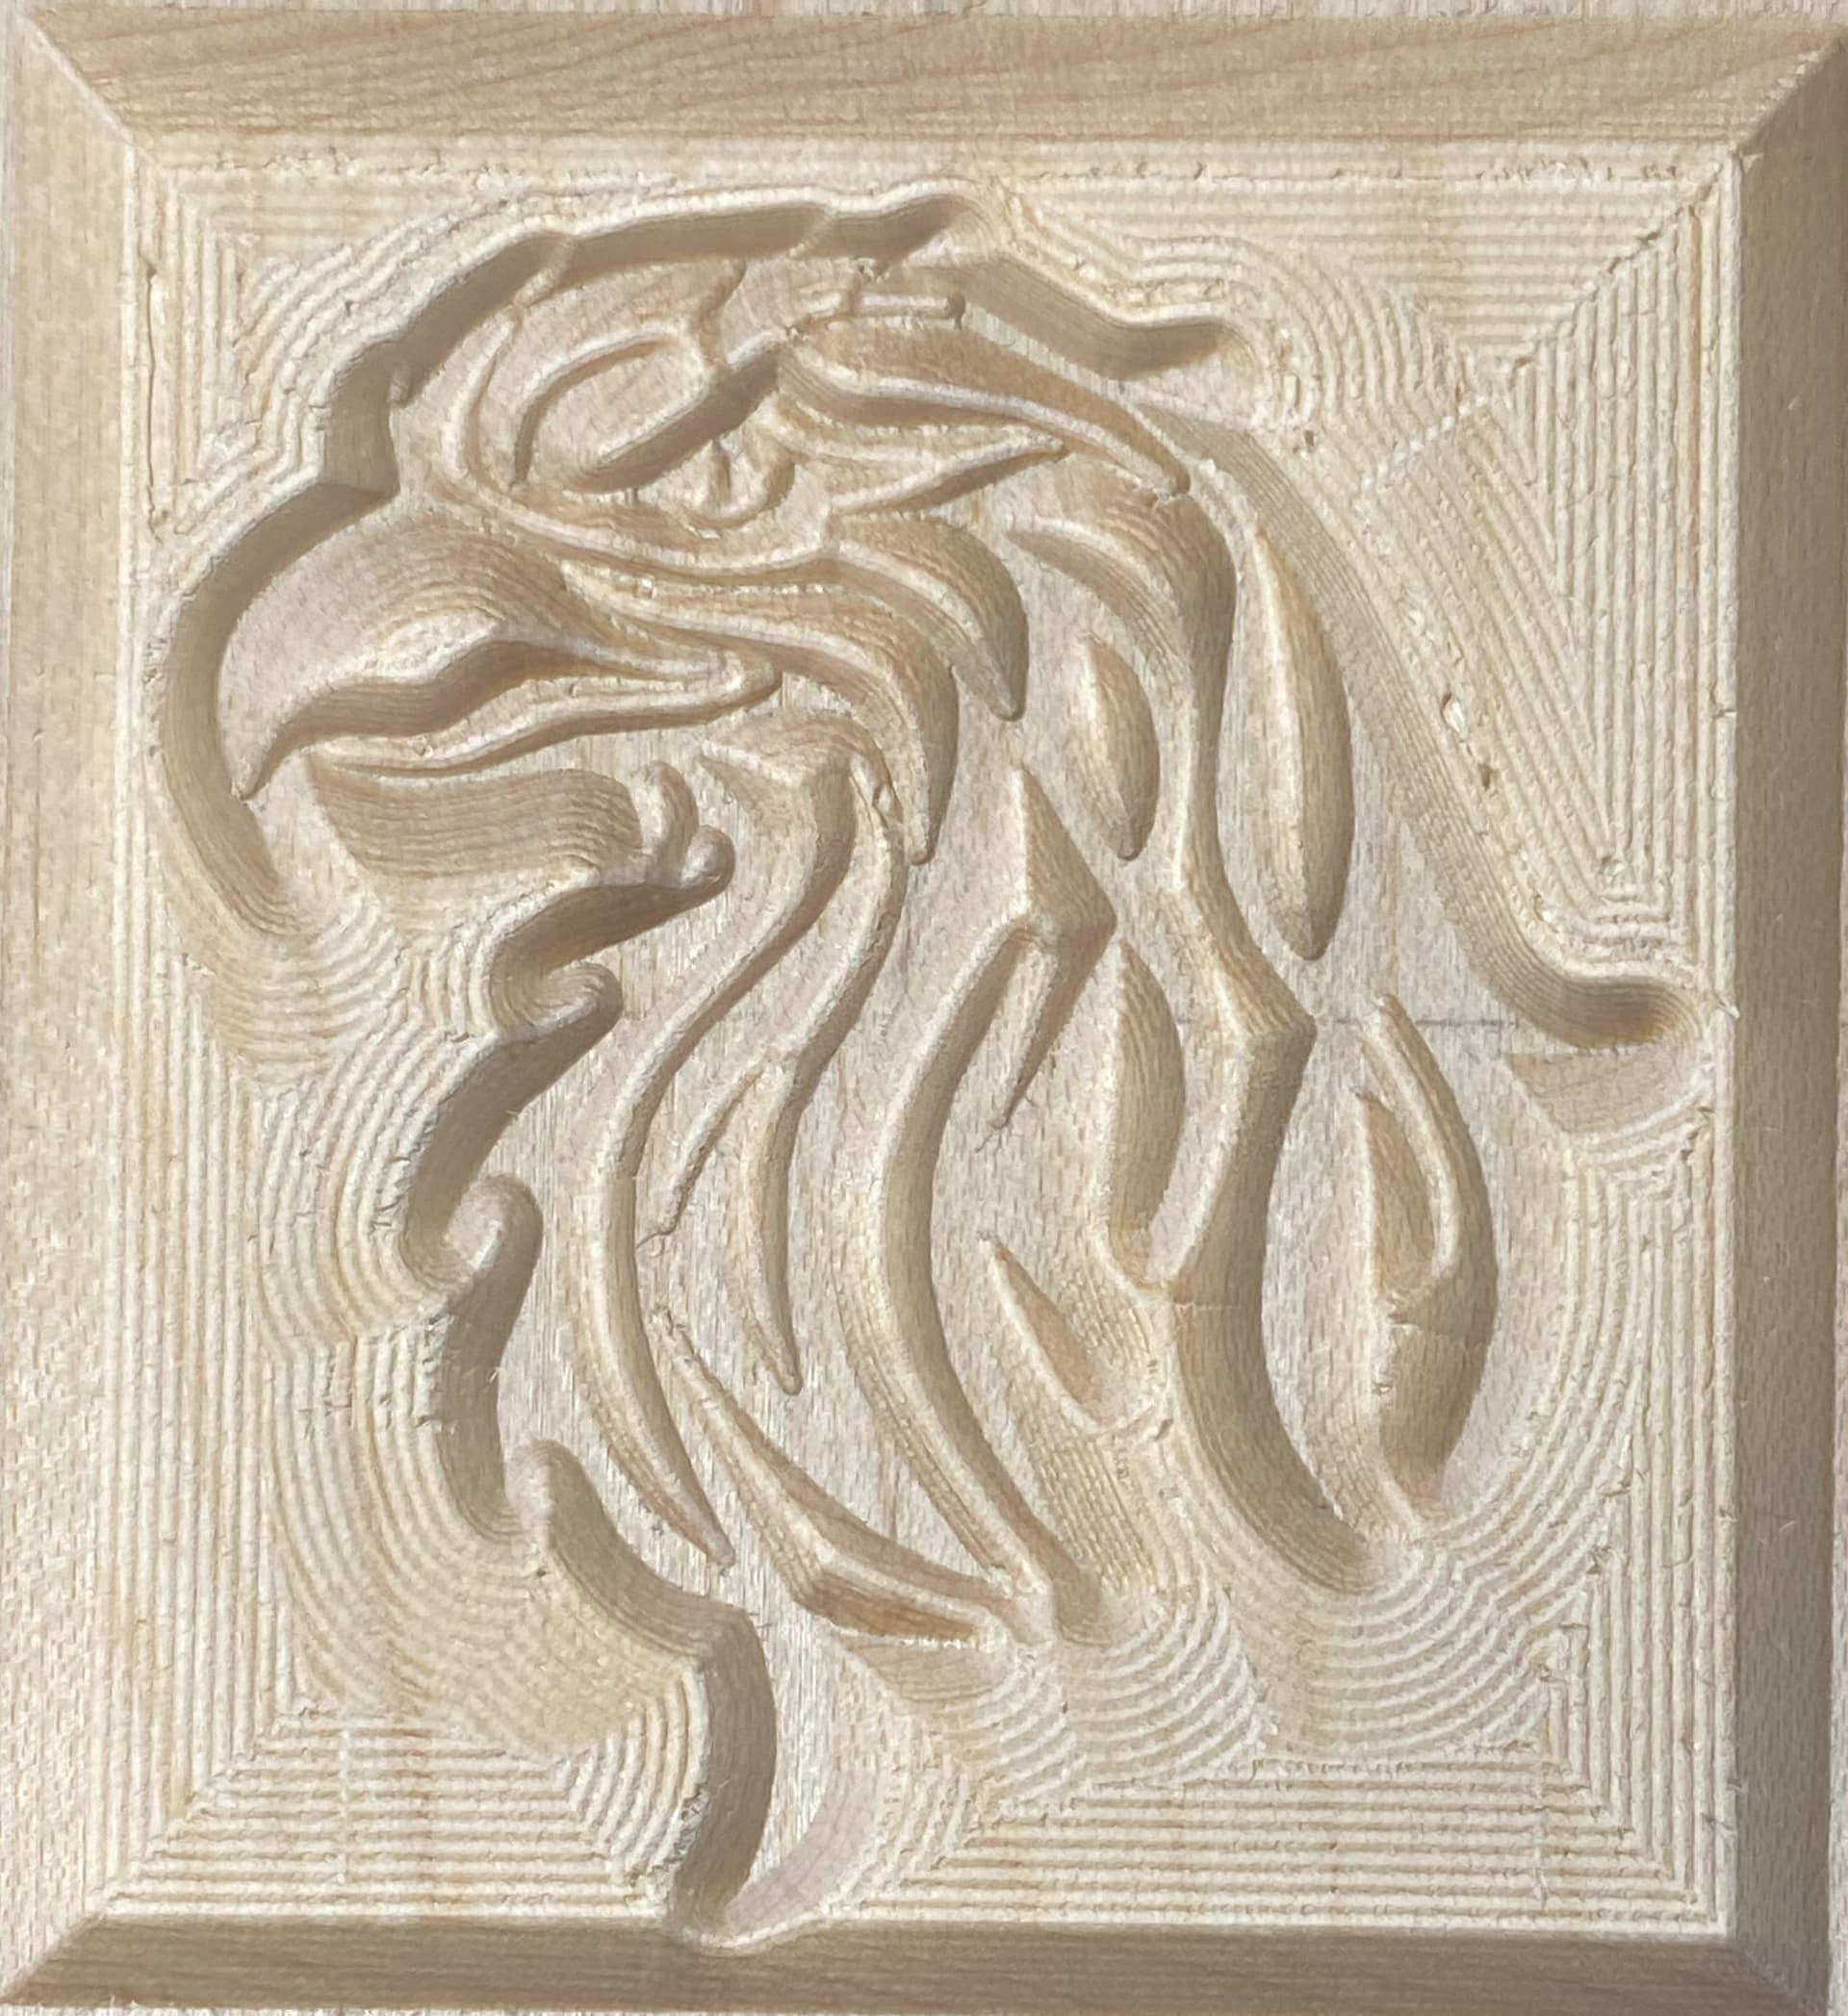
This was the male piece just prior to separating it with the bandsaw. A bit wasteful of material but I wanted to ensure that I could separate the waste material easily. The gap for the bandsaw blade was almost 2mm in depth.
Thank for your comment @RickW. The image was only around 60mm square in area. After cutting the edges of the image so that the inlay piece would lay flat, I was left with an odd shaped area that it would be tough to hold accurately for a further carve. On the other hand it is a good idea and it may be possible to carve an outer area that is dead square so the piece could be used again.