
Hi Robert,
I see you are online so I jump in after seeing half of your video reacting on the howto not cut too deep into your spoilboard when the thicknes of your stock deviates.
You should see my spoilboard. It’s ripped. Cutouts tend to do that, untill you discover that you can zero off of your machine bed. When you do that, the machine will no longer go past zero and if that zero is a -level- plane, it won’t touch it.
You can do this in your design software. In vectric you can check to zero of top of material or off the machine bed right at your material size.
Now, you don’t always want to zero off the bed. If you have a pocket for instance that needs to be exact, zeroing of the bed will bring the problem into the pocket. So you need to be carefull with using different z-zero points in your project.
I use it only for cutouts, after I created every other toolpath for the project. I go into material settings, change the z-zero point and deny vertric to recalculate all other toolpaths. This way you don’t mess up the rest of your toolpaths.
To make sure I don’t mess up my zerpoint, I add where to zero into my toolpath name. (Top/bottom)
Make sure you oversize your material thickness somewhat. True, you might endup cutting air for a few rounds, but I found that more of a perk than something to avoid. You have the opertunity to see if the machine is going to cut where you want it.
Hope this makes sence. I can add some screenshots later if you like. I’m not in the shop atm.
1 Like
Hi Robert,
Me again.
If I just had watched 3 seconds longer, I would have known that this is a purchased program and it is what it is. I was just out of bed and that is not my brightest hour. I fired up the shop now and I might have a solution for you, I use muself.
A secondary spoilboard.
It’s prety straight forward. Lift your project off the machinebed. Either with a slab of mdf or with a few strips of pine. (my to goto method.) I do surface my secondary spoils, but I don’t think you need to in your case. You might want to secure whatever you are going to use to your machine bed.
You just zero your project stock as you need to do (Garret has prolly covered that in his tutorial for this project.)
Now, If your stock isn’t as thick as the program needs it to be, no worries, you only cut into your secondary waste board that is way easier to replace.
Hope this can get you back on track.
1 Like
That is the way to go… So much thanks to you I have been overlooking the easiest method…and you have done that I believe…Being a bought file due to me not having vectric or developing software I’m sort of force to deal with this but I’m learning another method of ideas till I can purchase and learn vectric… Thanks again !
1 Like
Definitely interested in your set up there I will look around a little in case you have more on it if not would you please share a little more on your method…Respectfully,
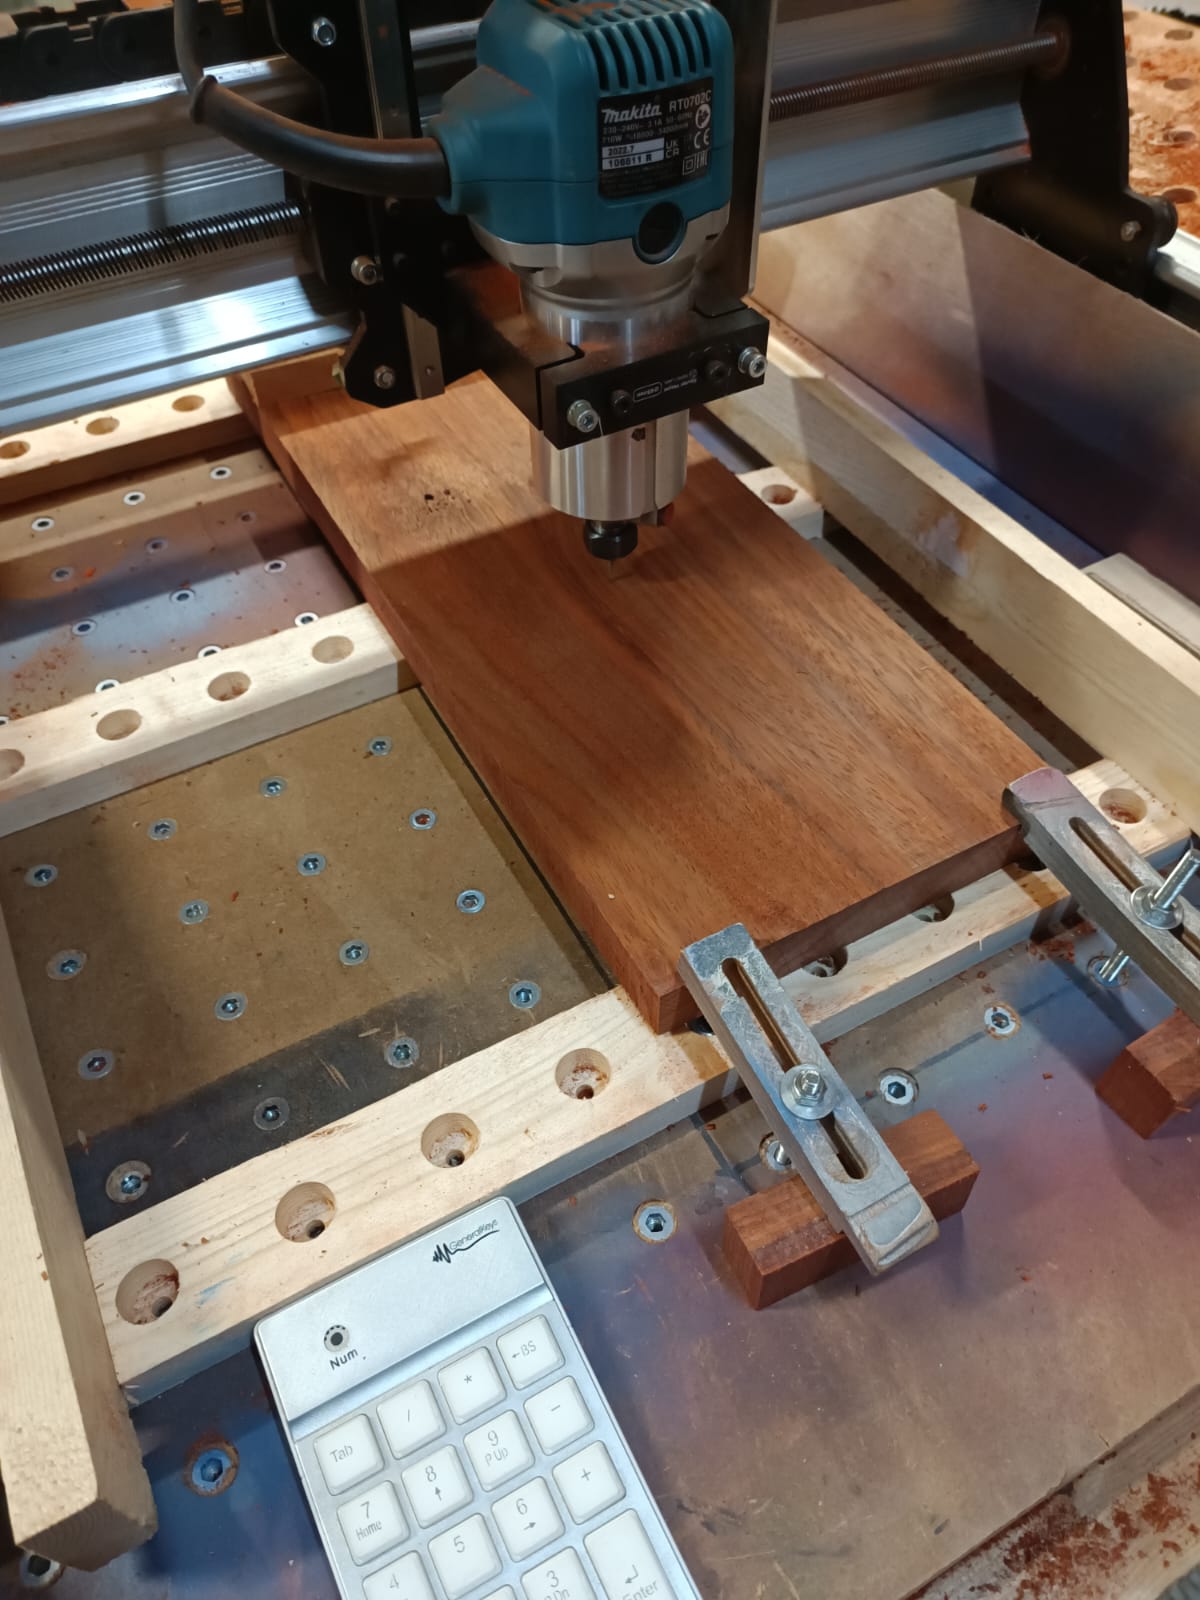
What you see is what I have come up with to do extra long boards like this one.
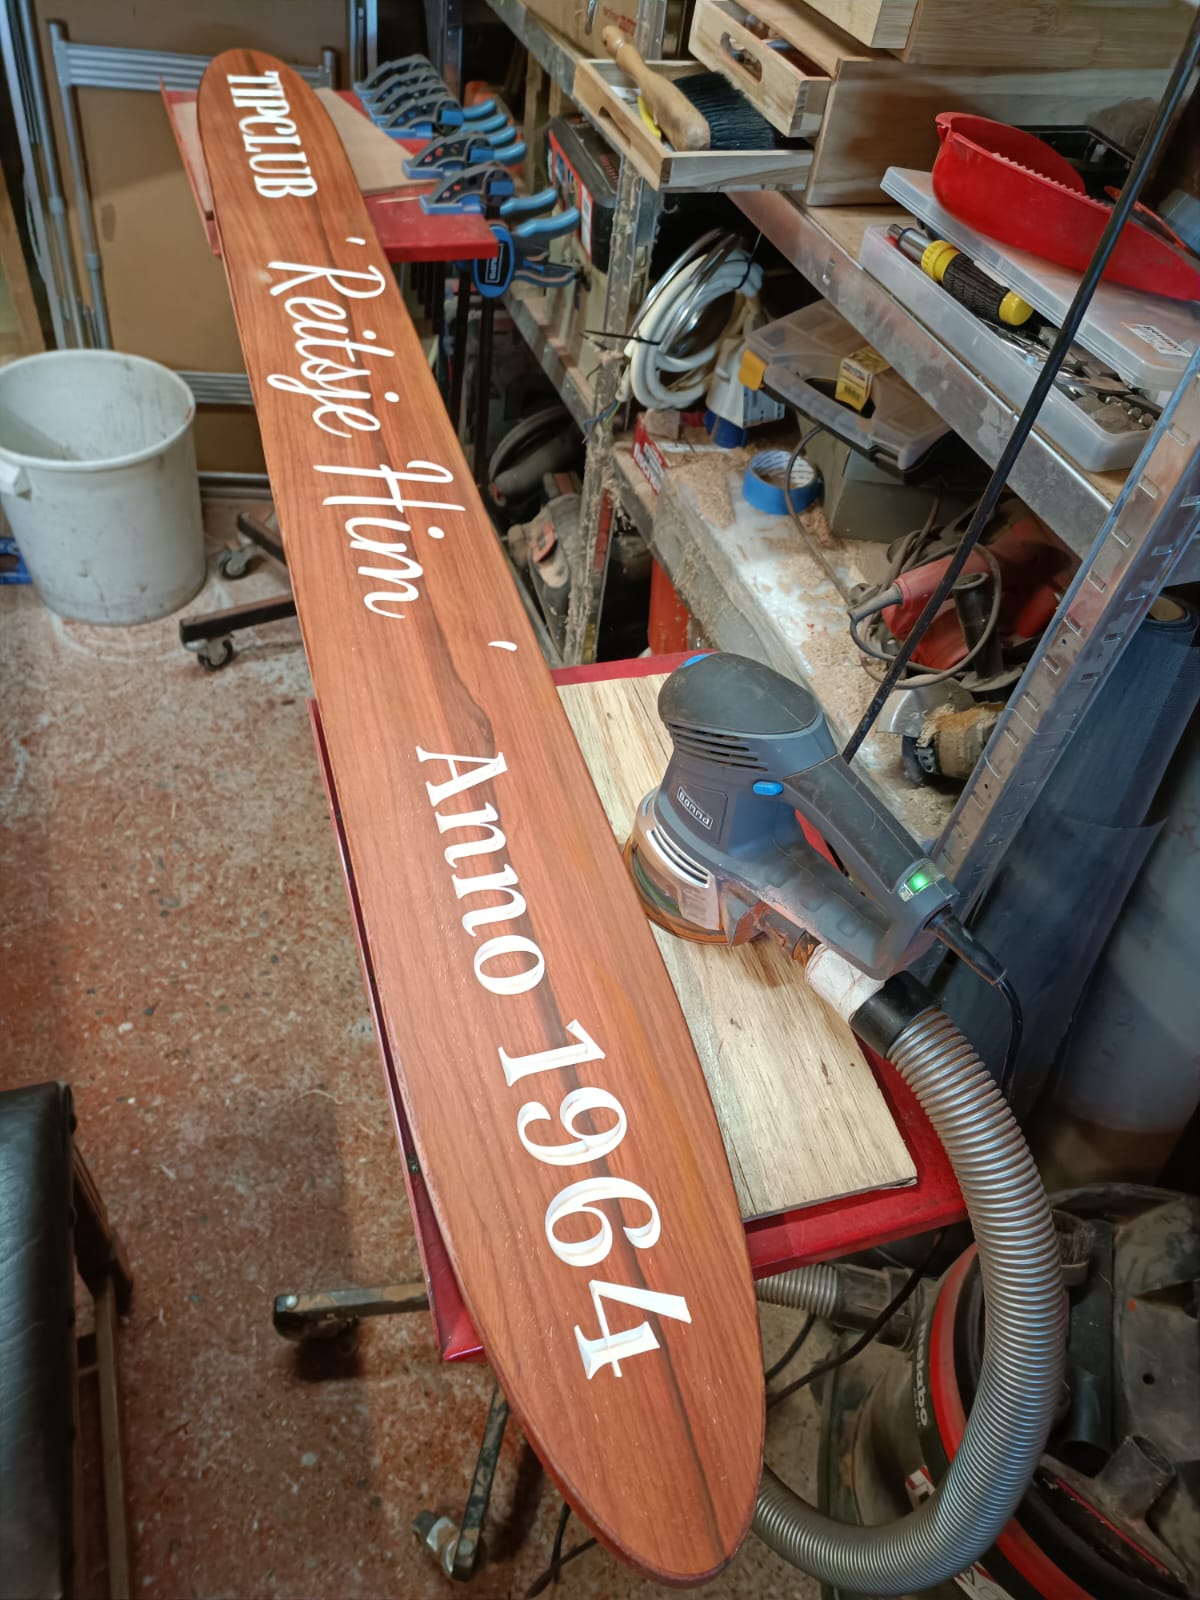
A client asked me if I could make a 78inch sign on my longmill and after some fooling around I came up with this tiling jig that suits my situation. Unlike most setups, my machine bed is not my spoil board. It’s filled with (millions of) inserts for clamping, and the machine is bolted right onto the same slab. Instead I use jigs that fit a project or project kind. The jigs get surfaced and after that it doesn’t matter anymore the bed isn’t all that smooth.
I actually did a topic on the tiling jig a while ago because I was rather proud I figured it out to work on my wonky setup.
The nice things about jigs is that you can custumize a small area of your bed and just surface that space (Or in case of pine strips, just the strips.) I always include fence pockets to accomodate a pine strip to work as a quickly removable fence.
It’s not fancy but it keeps my inserts (and my bits) a whole lot more not broken.
That’s certainly true if your not careful! I zero off my spoil board more often than not and if the board needs to be planed anyway I’ll do that on my mill and plan it so that the board is a known, easy to work with, thickness. For example lets say I have some 3/4" which is ~19mm. So depending on how much planing I need I’ll take a 0.5 or 1mm off each side and end up with 17 or 18mm. So after I’m done planing the second side the board is ready to pocket.
What works for me may not be the best for everyone but it’s an option. It does require the spoil board to be nicely surfaced though. If not my pieces will end up a little thinner on end or side so that’s definitely something to keep in mind when referencing the spoil board.
1 Like
Ooooh that’s a rather smart way to work with bedzeroing, never thought about that, but I think thats because I clamp on exces stock and only plane the final shape of the project plus 11mm offset. Zero on top, bottom pocket or jig where jig zero only when cutting through.
I need to mindmill your idea for a while to see if I could work like that. Might be a usefull method to have in the brainmuscle.
Thanks for the inspiration. I love the versatility of our hobby!
1 Like