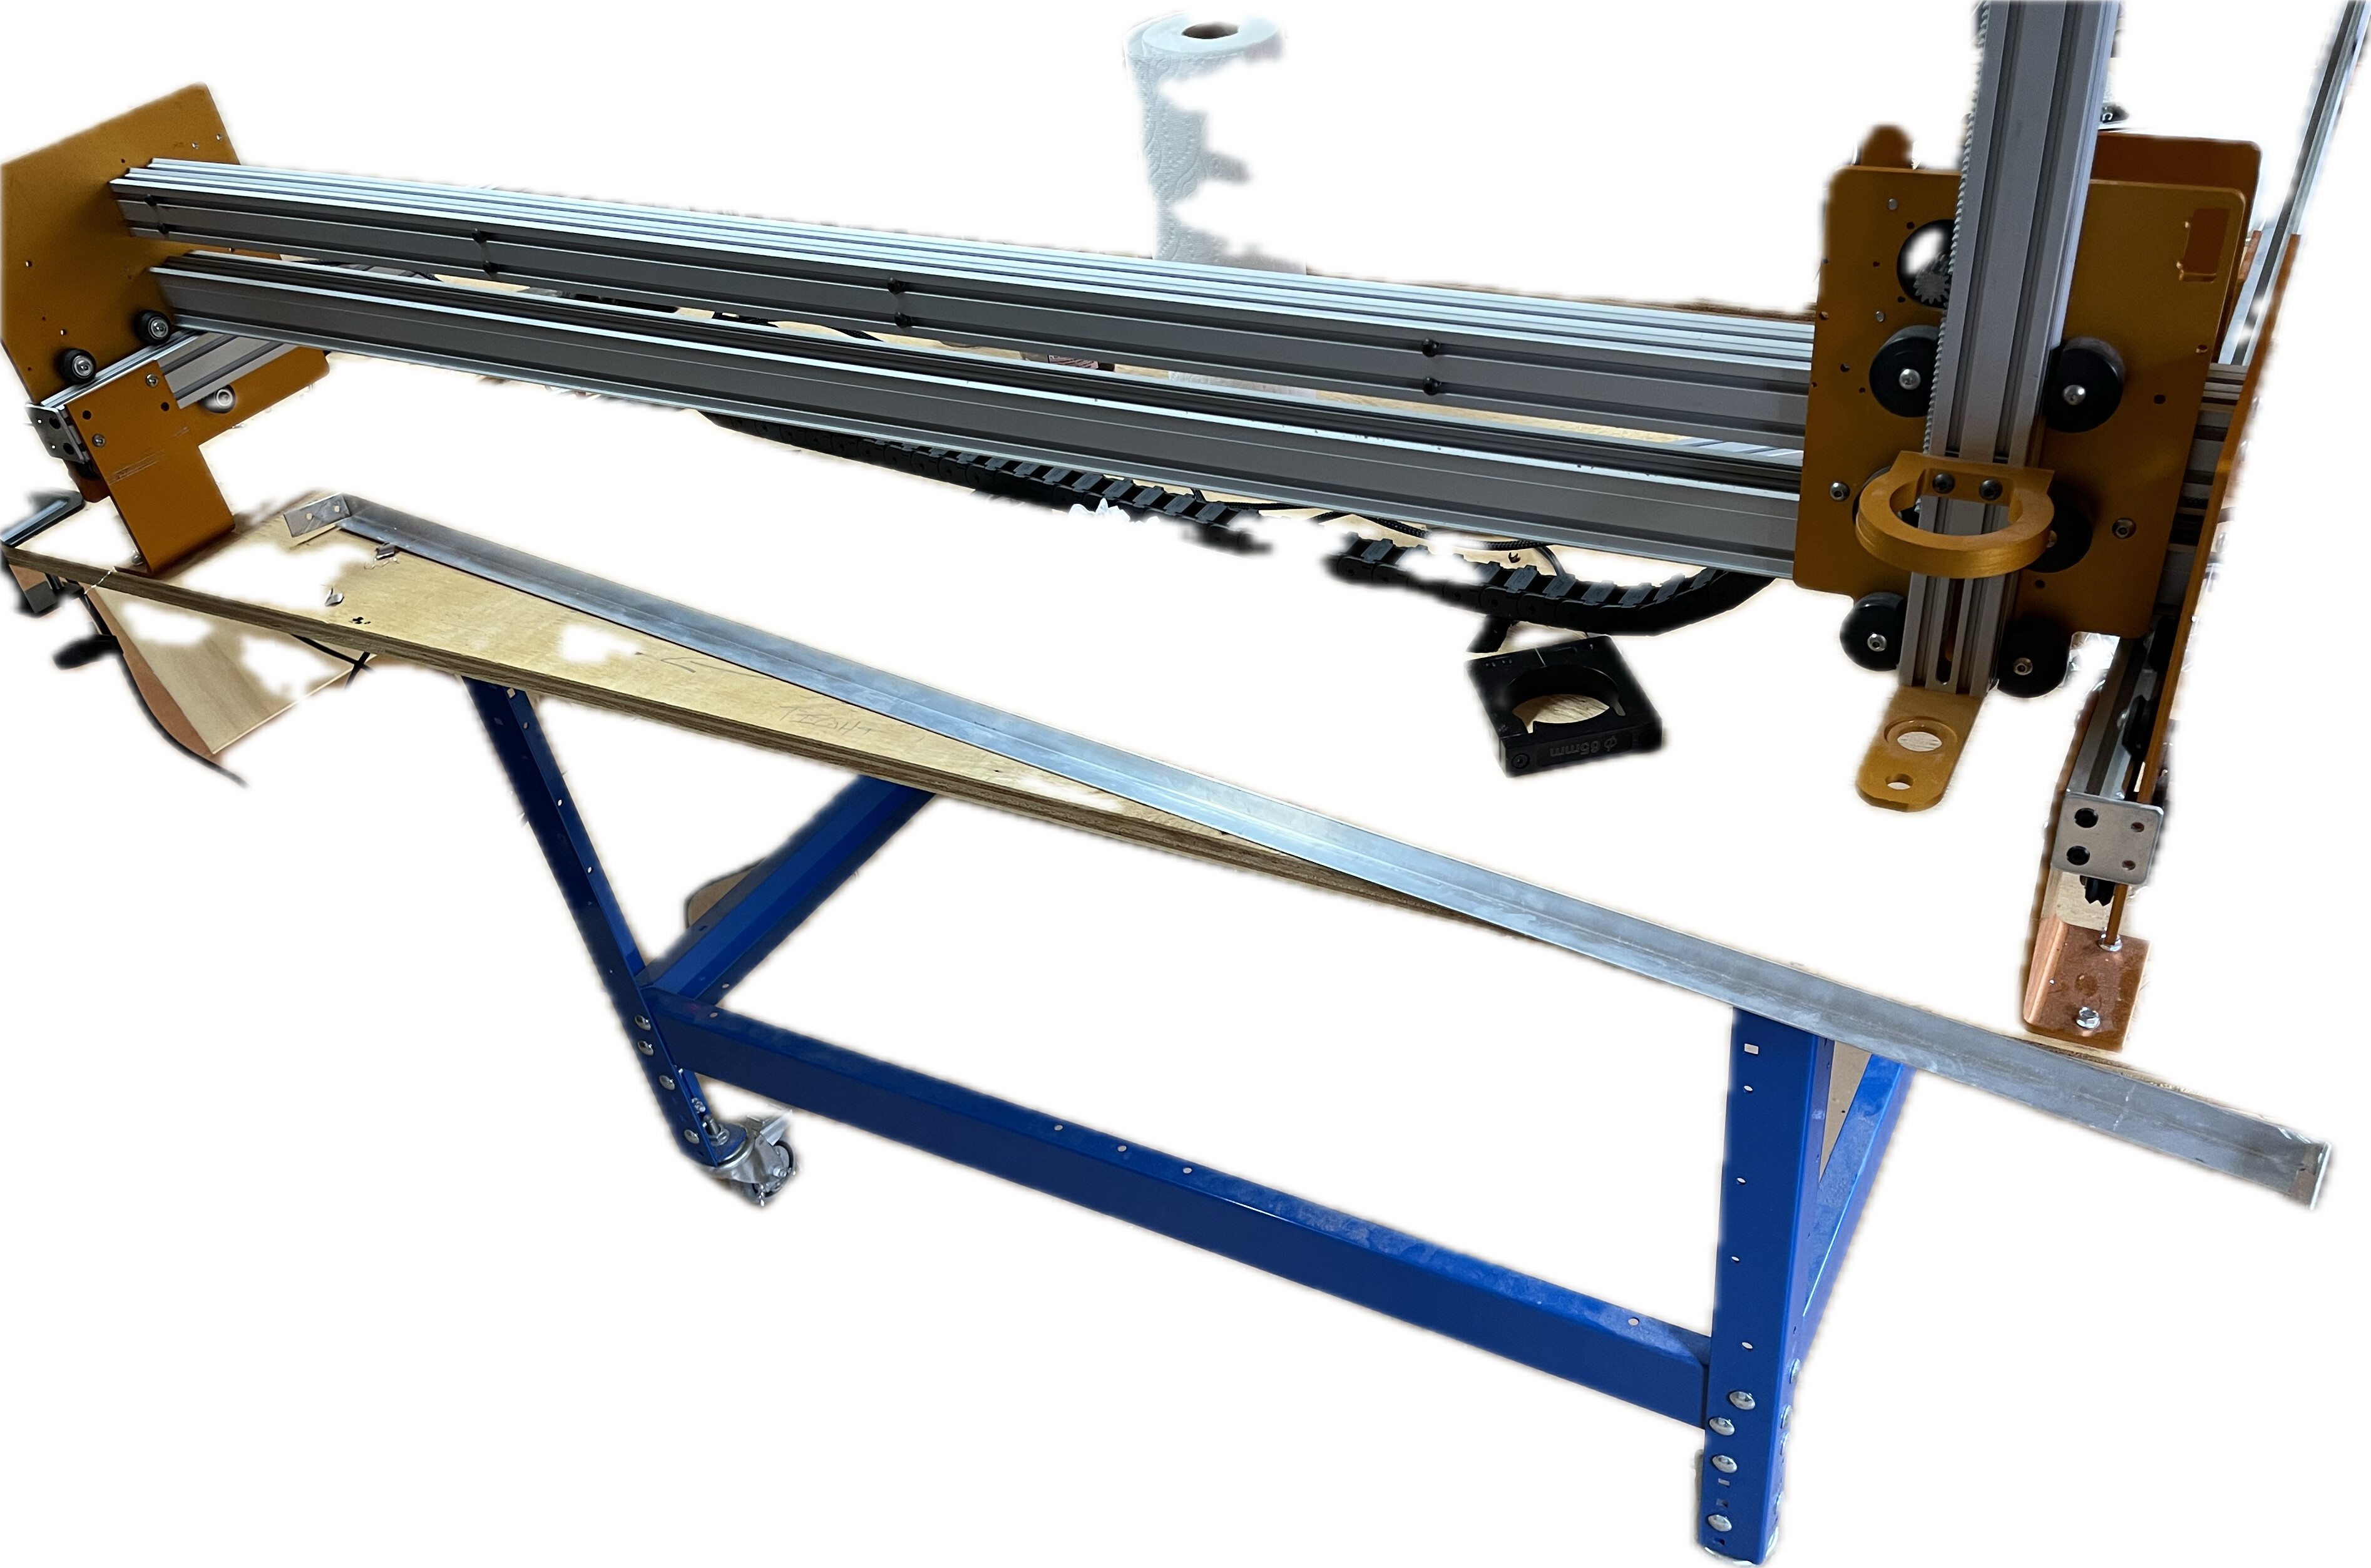
Many many many moons ago…like 2012/13; I purchased what was at that time the least expensive introductory cnc router with the largest working envelope I could find. The CNC Mogul.
As a complete novice it seemed like the ideal solution. A near complete kit with all mechanicals and carriages, stepper motors, motion control board and power supply. At the right price. It seemed like an innovative design with a dual drive y axis and movement via rack and pinion. I paid a little extra to double up the extrusions used for the x axis and figured I was good to go.
I had an older pc running windows xp with a serial connection and a pirated copy of Mach3. Man was the learning curve ever steep! I’m pretty sure I was never able to tune the motors correctly. I had the machine jogging around based on software set limits and managed to crash/kill about 500 sharpies before throwing my hands up and taking a break from it for more research and to give more time to my young family. And that was that.
Well it has sat collecting dust long enough. I have been following the growth of Sienci Labs and liked that they were a Canadian startup. The development of gsender, the SLB and now the panel computer has me convinced that with that combo and some of the transducer limit switches I might have found an almost plug and play solution to getting the old pile up and running.
What do think am I out to lunch?
The computer, SLB and transducers are on the way so I guess we are going to find out.
I don’t think your out to lunch! The machine looks like it could have been an ancestor to the LongMill with it’s open frame design.
I think the calibration tools in gSender will be beneficial in getting the machine tuned up. In the worst case scenario you have some good parts towards building a new CNC machine and if you do get it resurrected you’ll have a machine that’s one of a kind which I think is very cool.
Thanks for the kind words of encouragement. I am definitely going to give it my best shot.
The gControl panel computer arrived in timely fashion the day before yesterday. What a fantastic bit of kit that is! Blows my old Shuttle running Windows XP out of the water. Just waiting now for the SLB to arrive.
In the meantime I’m moving the table and Mogul out of the basement and into my father’s wood shop. I’ll take some pictures of it in its new home once set up.
I am hoping the calibration tool will help with working out the steps/rev. Tramming the frame and then tuning the steppers were two huge stumbling blocks if I remember correctly.
Out of curiosity of forum best practice. Should I continue to document my journey here, or start a new thread?
At first I pulled up my nose a bit. Why invest all this money into resurecting that old pile, but I don’t have to dig deep to know why. It’s an unfinished match, a fight that left you brused, bleeding and sore but not defeated. Ab so lu te ly Nót defeated. (And after you win or final defeat, the investment can be poored into a newer machine.)
And ooh I like to see this match! you stepping up, getting into position, rolling your muscless and place your first upcuts, a few downcuts and rambling out some deadly combos.
Thanks for the encouragement! I’m ready for this fight.
The Mogul and then its reincarnation as the Gryphon was complained about for issues with quality control and customer service, not that I experienced either.
The use of plastic rack material was questioned by a lot of people but I can’t say I noticed any excessive wear in my many hours of jogging, calibration, attempts at motor tuning and sharpie maker torture. If anything it made it quiet and (I wish I knew the exact material) if it is hdpe it sort of self lubricates.
And you’re totally on point. When I feel that it’s not up to snuff regarding precision and repeatability. I can upgrade.
I think Phil (if I have his name right) did a great job at producing a machine at a price point the cnc curious could stomach. The quote I had from CNCRouters at the time was several thousand more for a similar working envelope.
Only time will tell. Hopefully I can get it making chips.
Good luck @hSolo! Should be doable. Thanks for introducing me to this piece of CNC router history - I thought I’d seen almost everything but I’ve somehow never some across this machine before
Hope you will get to see me making chips soon. Kelly Zhu has been a huge help. With all the seinci goodness coming my way it shouldn’t be too much of an effort.
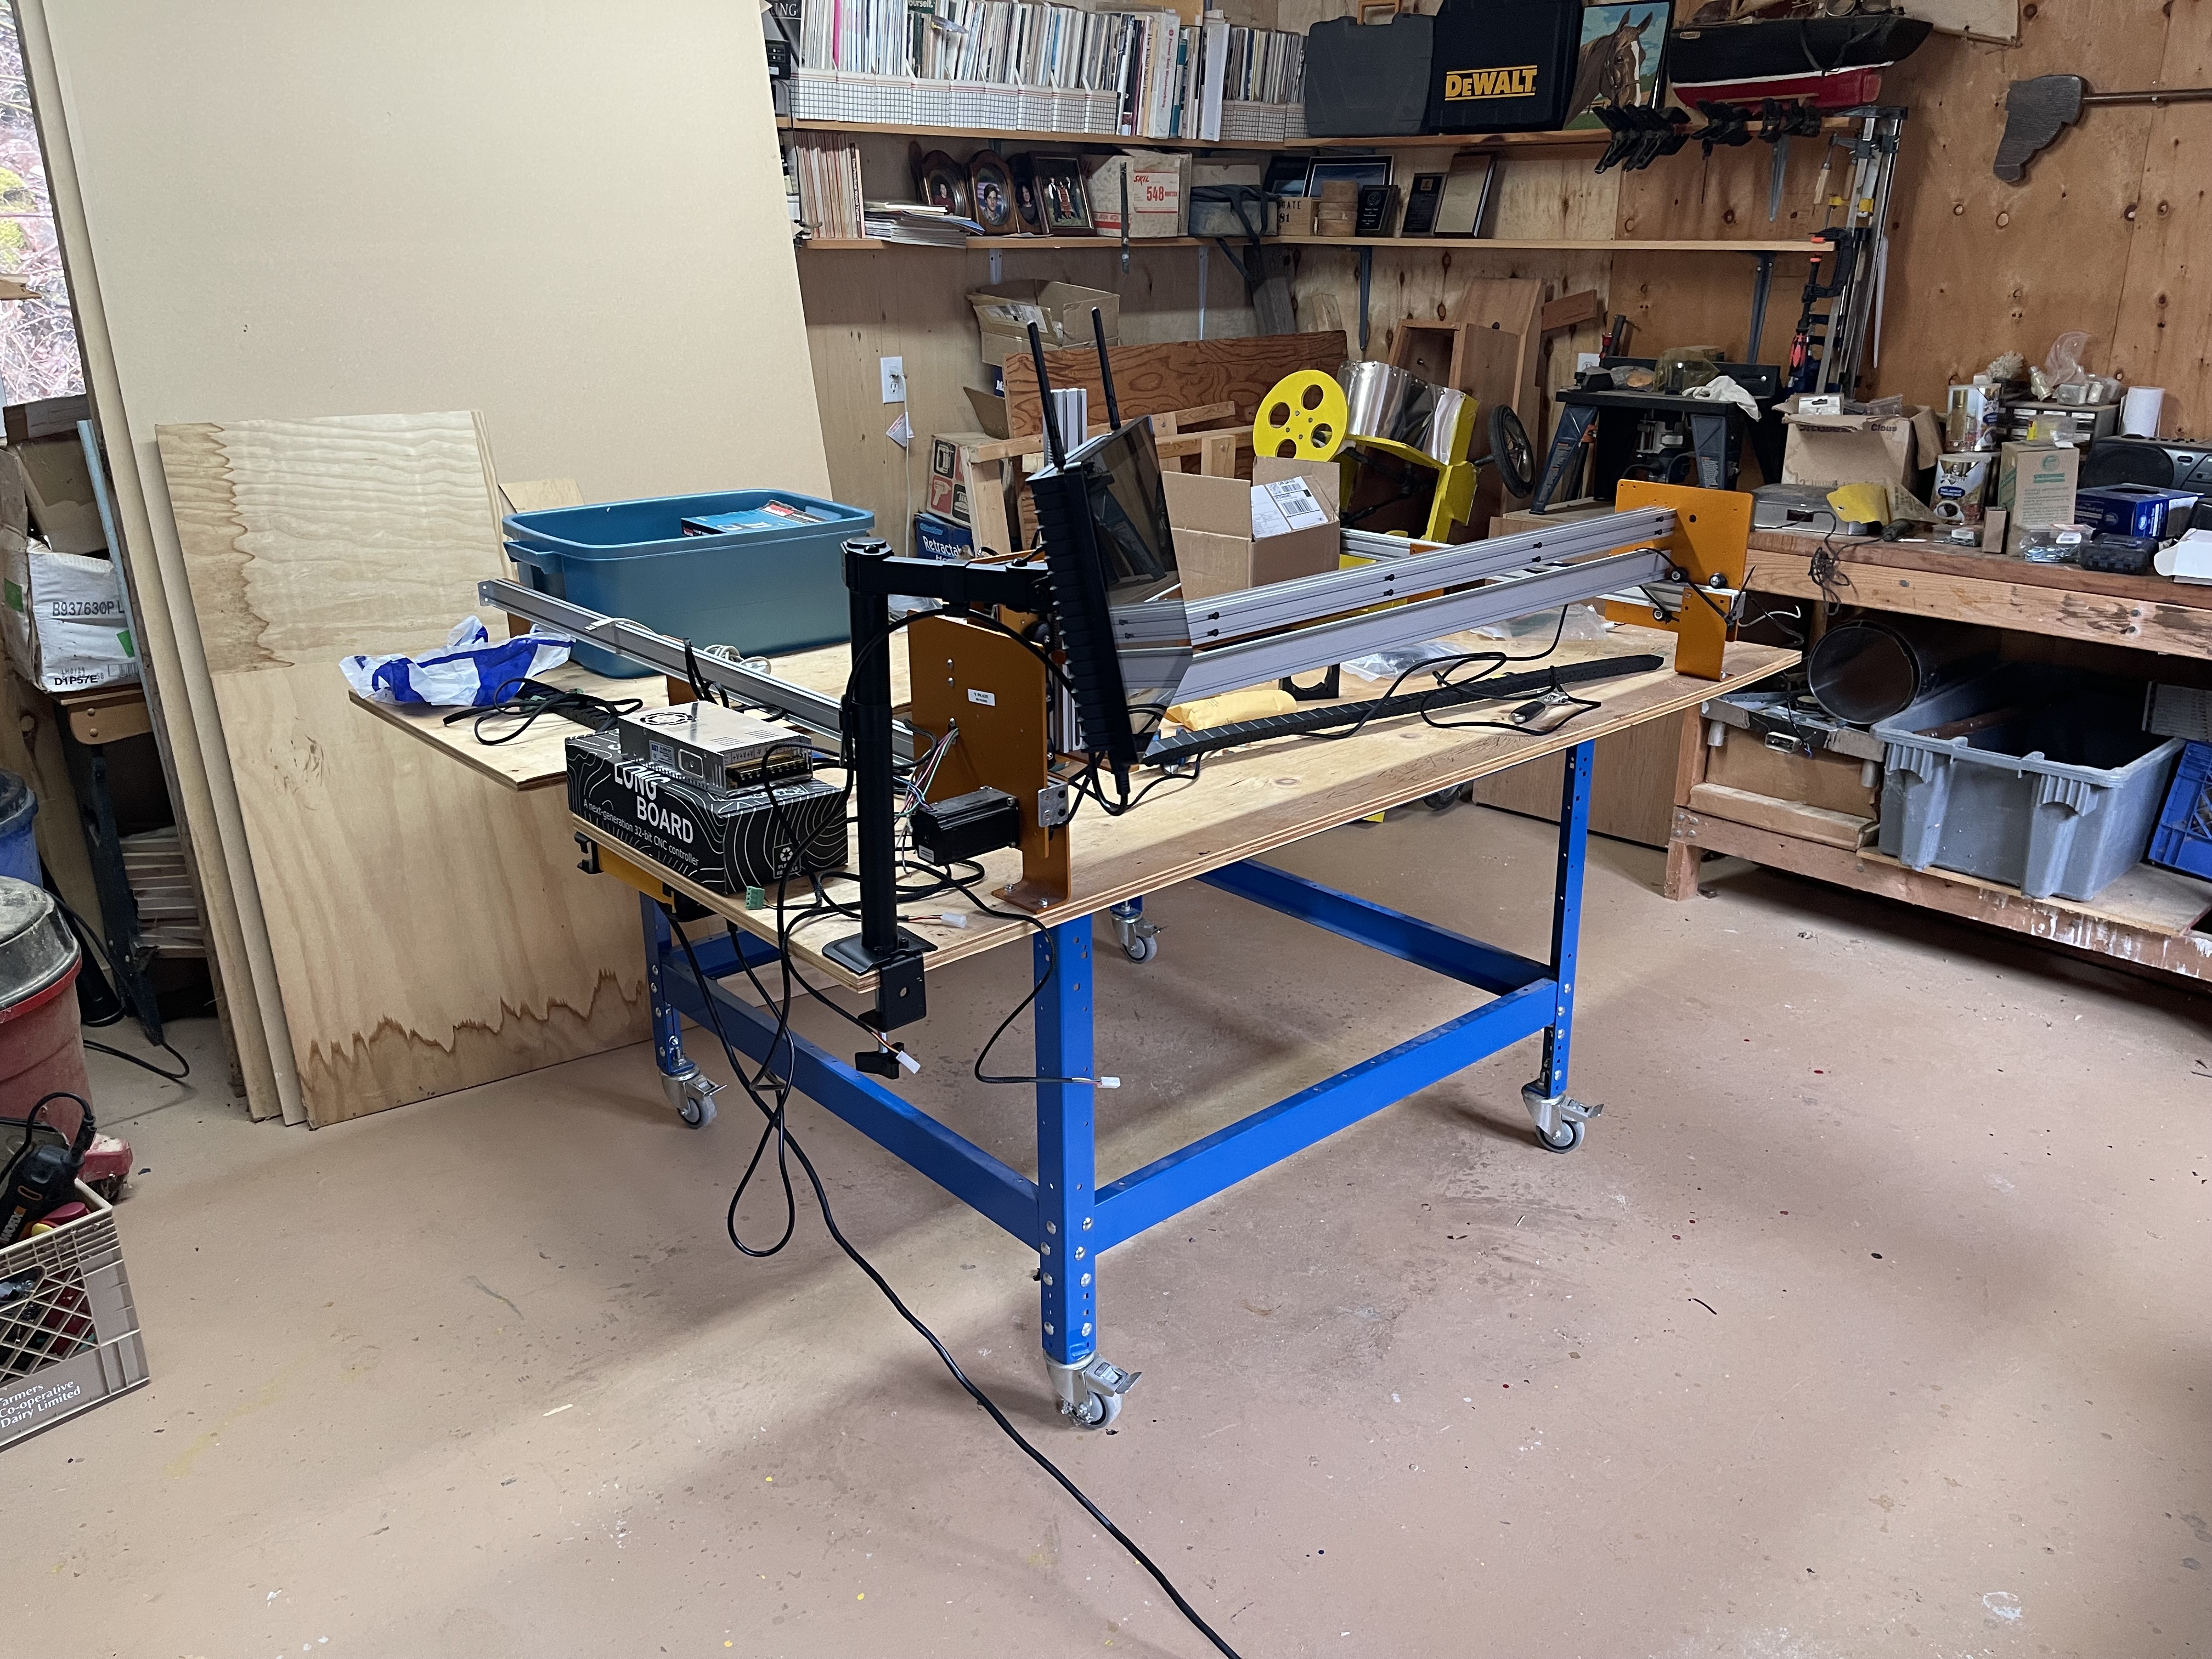
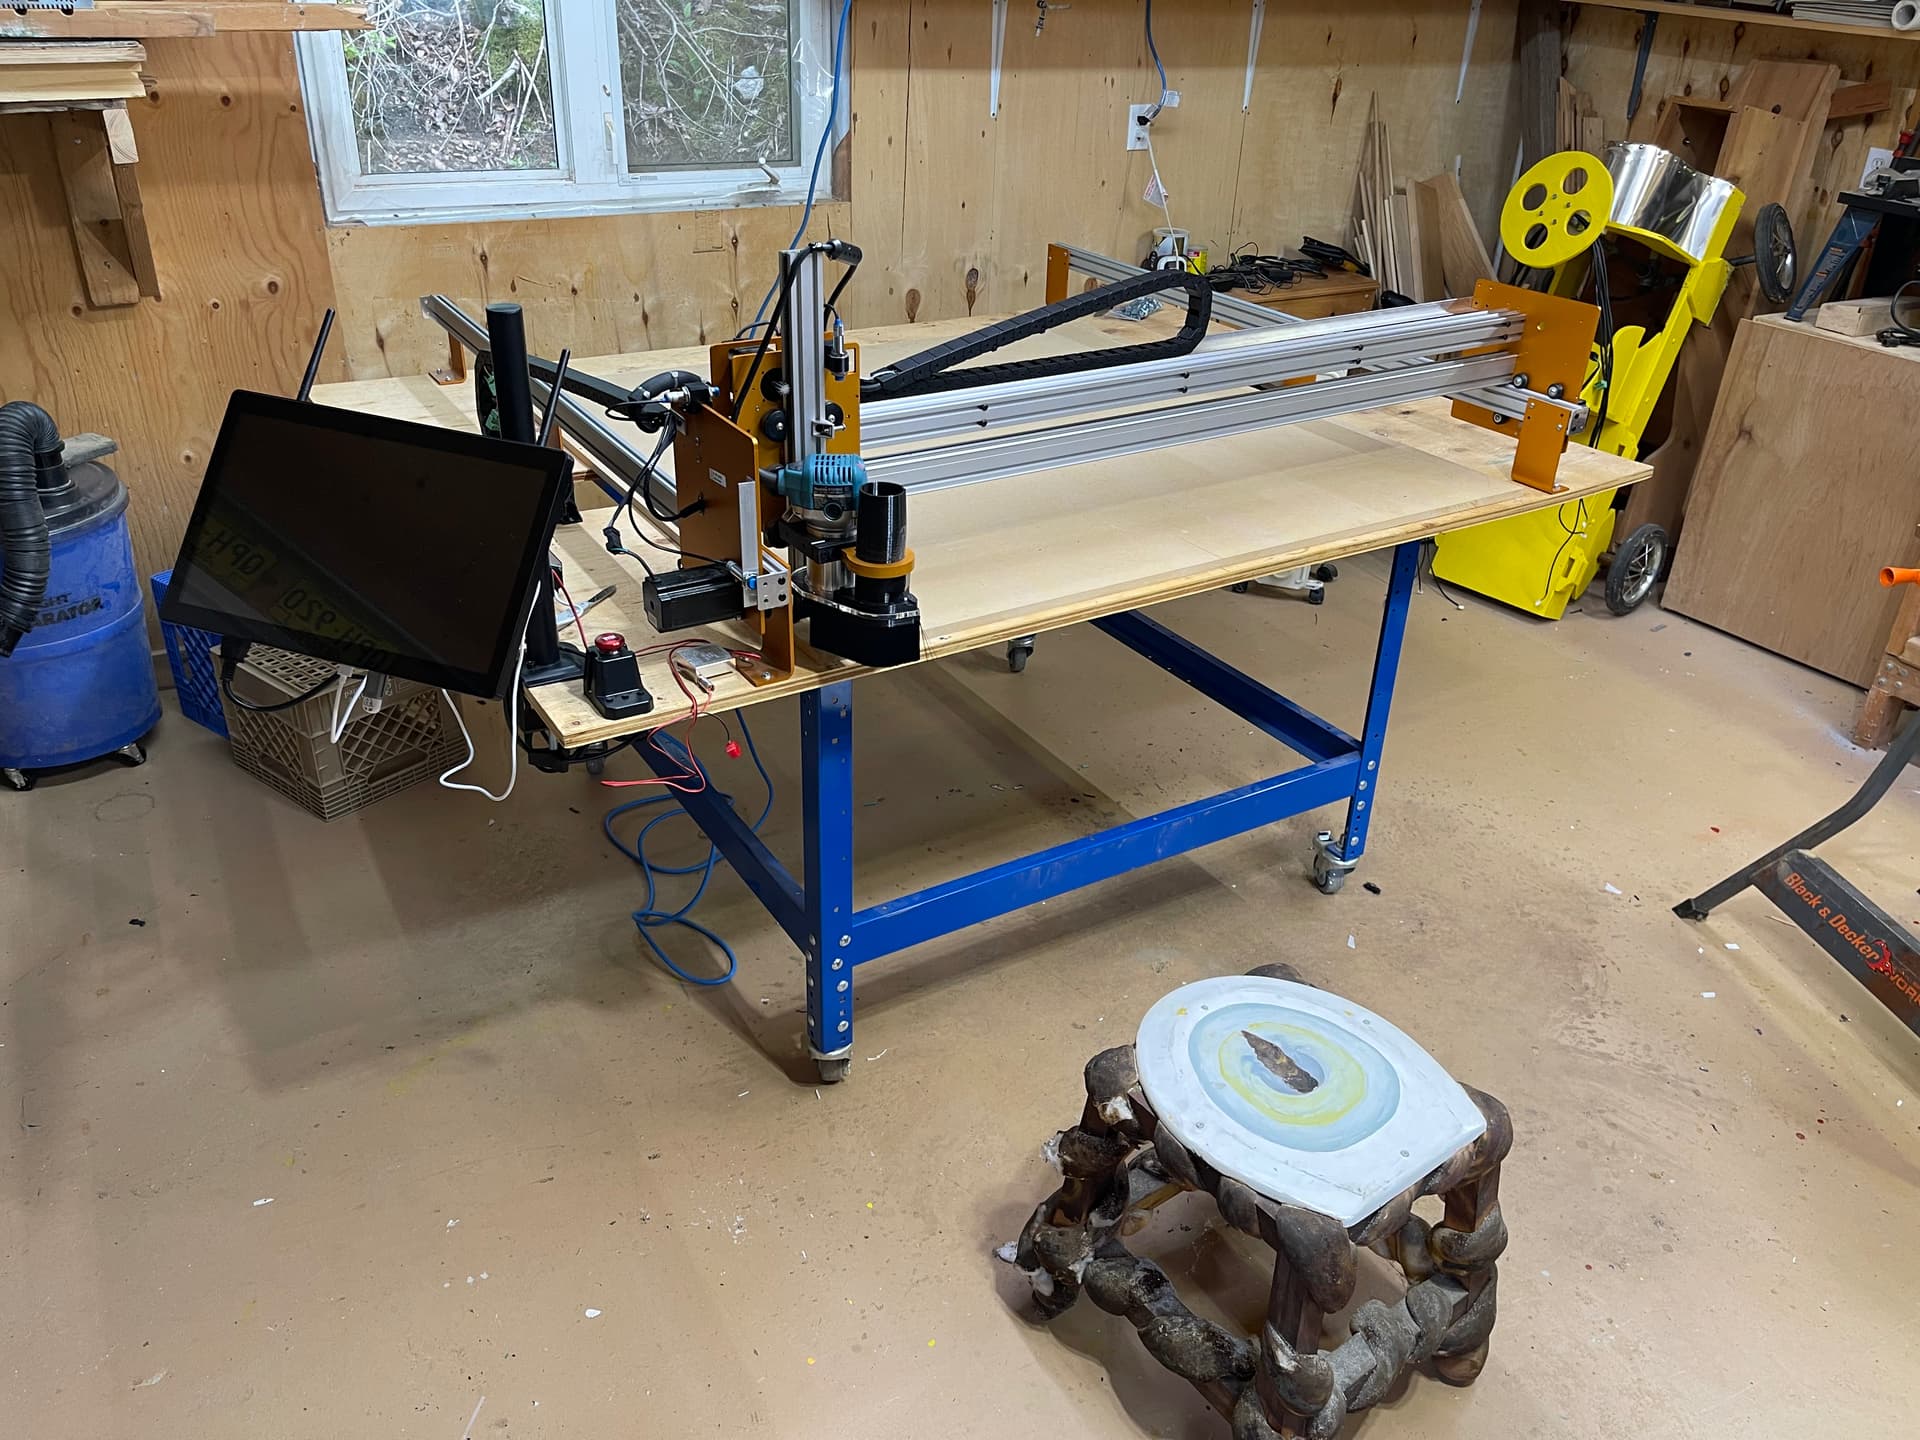
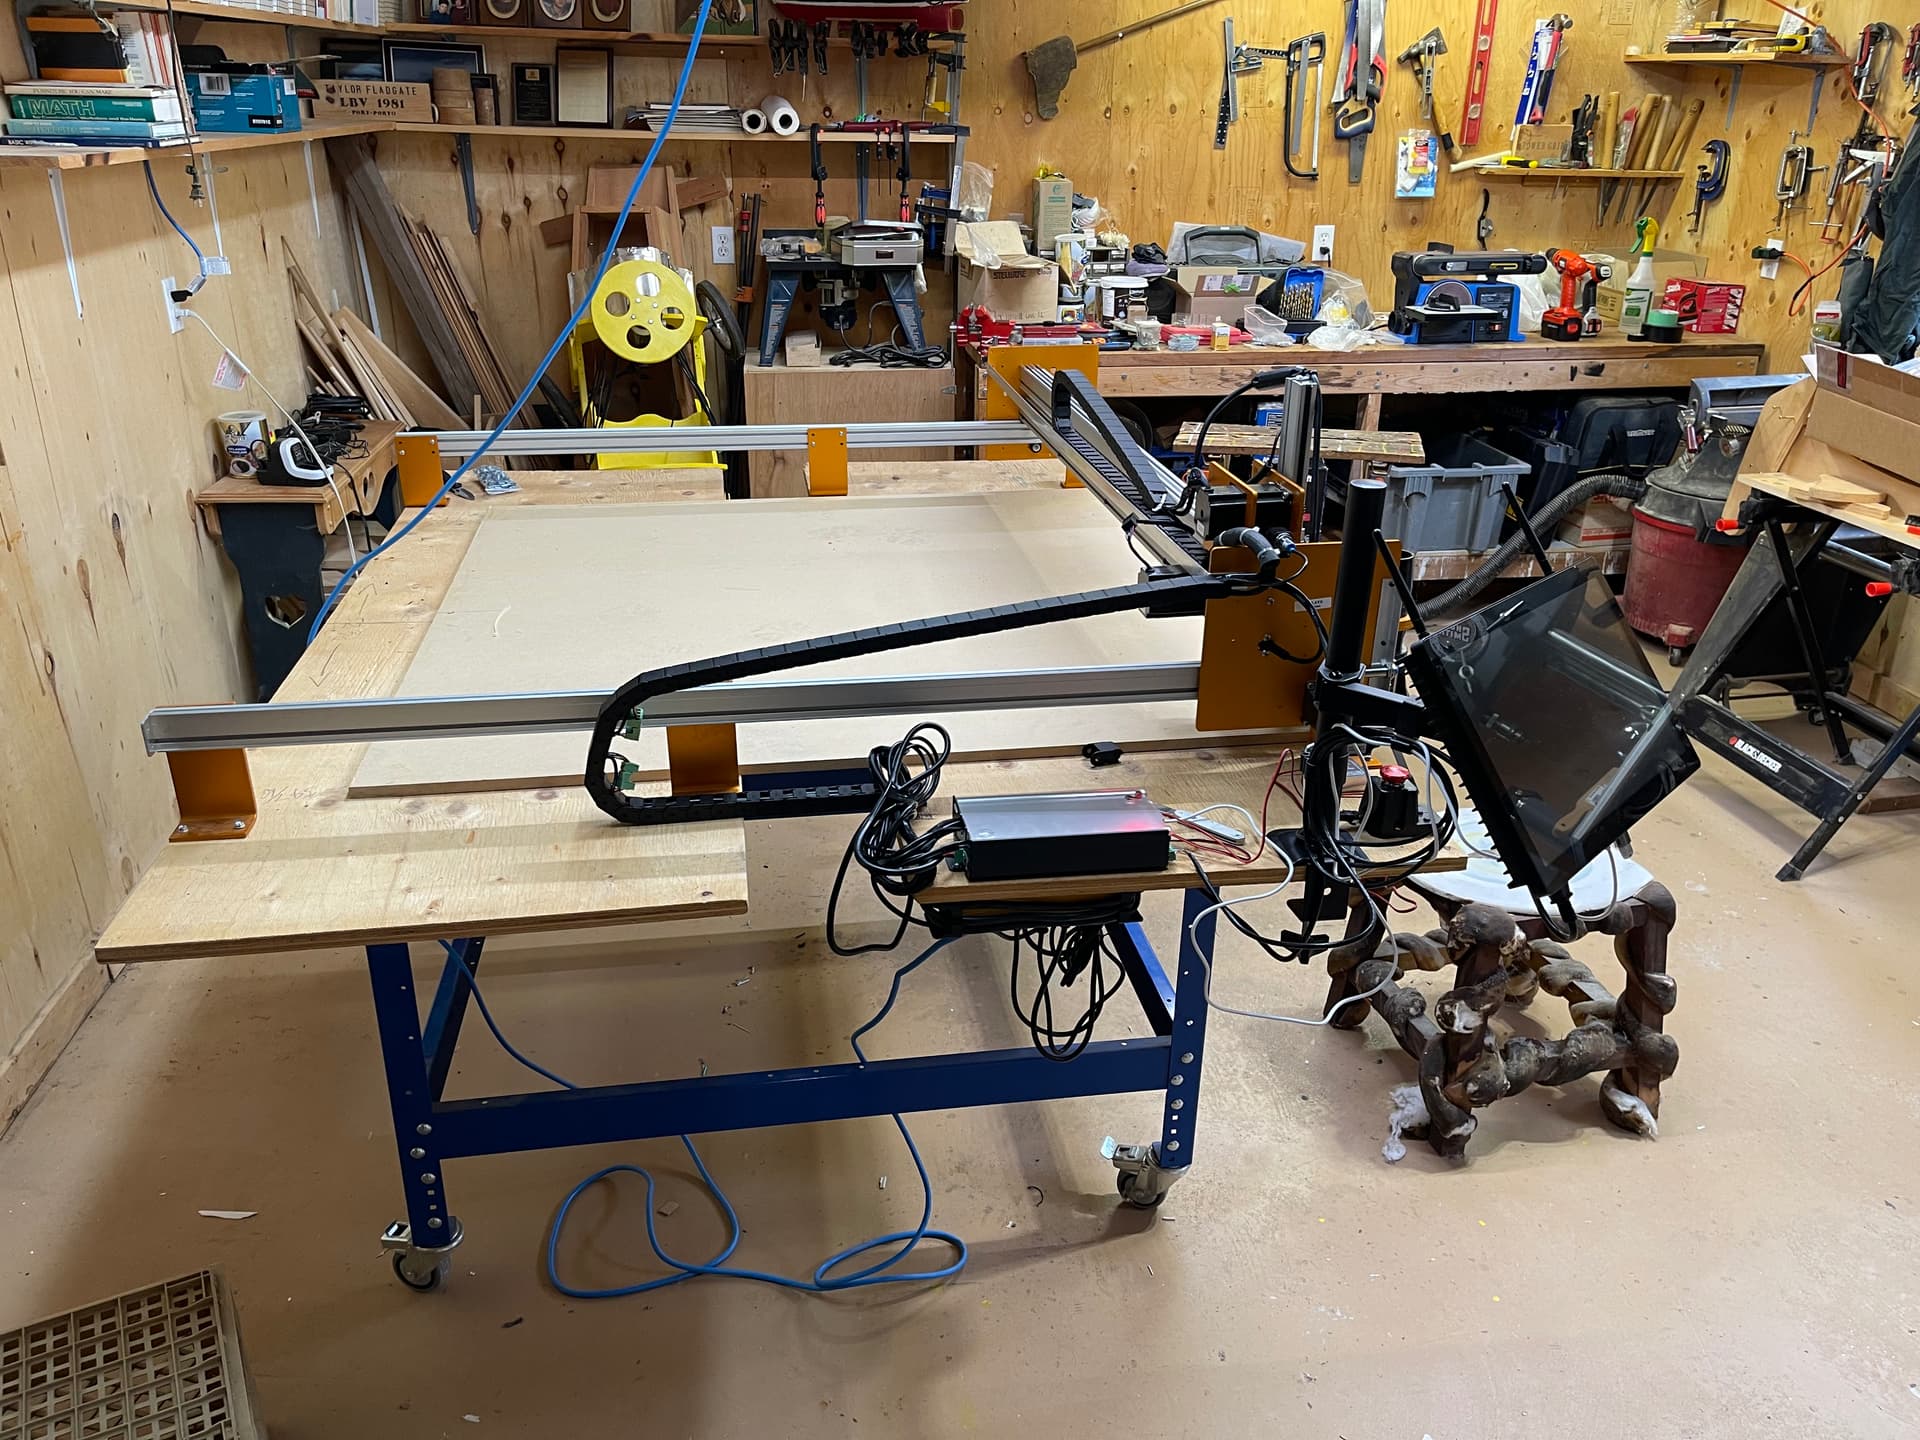
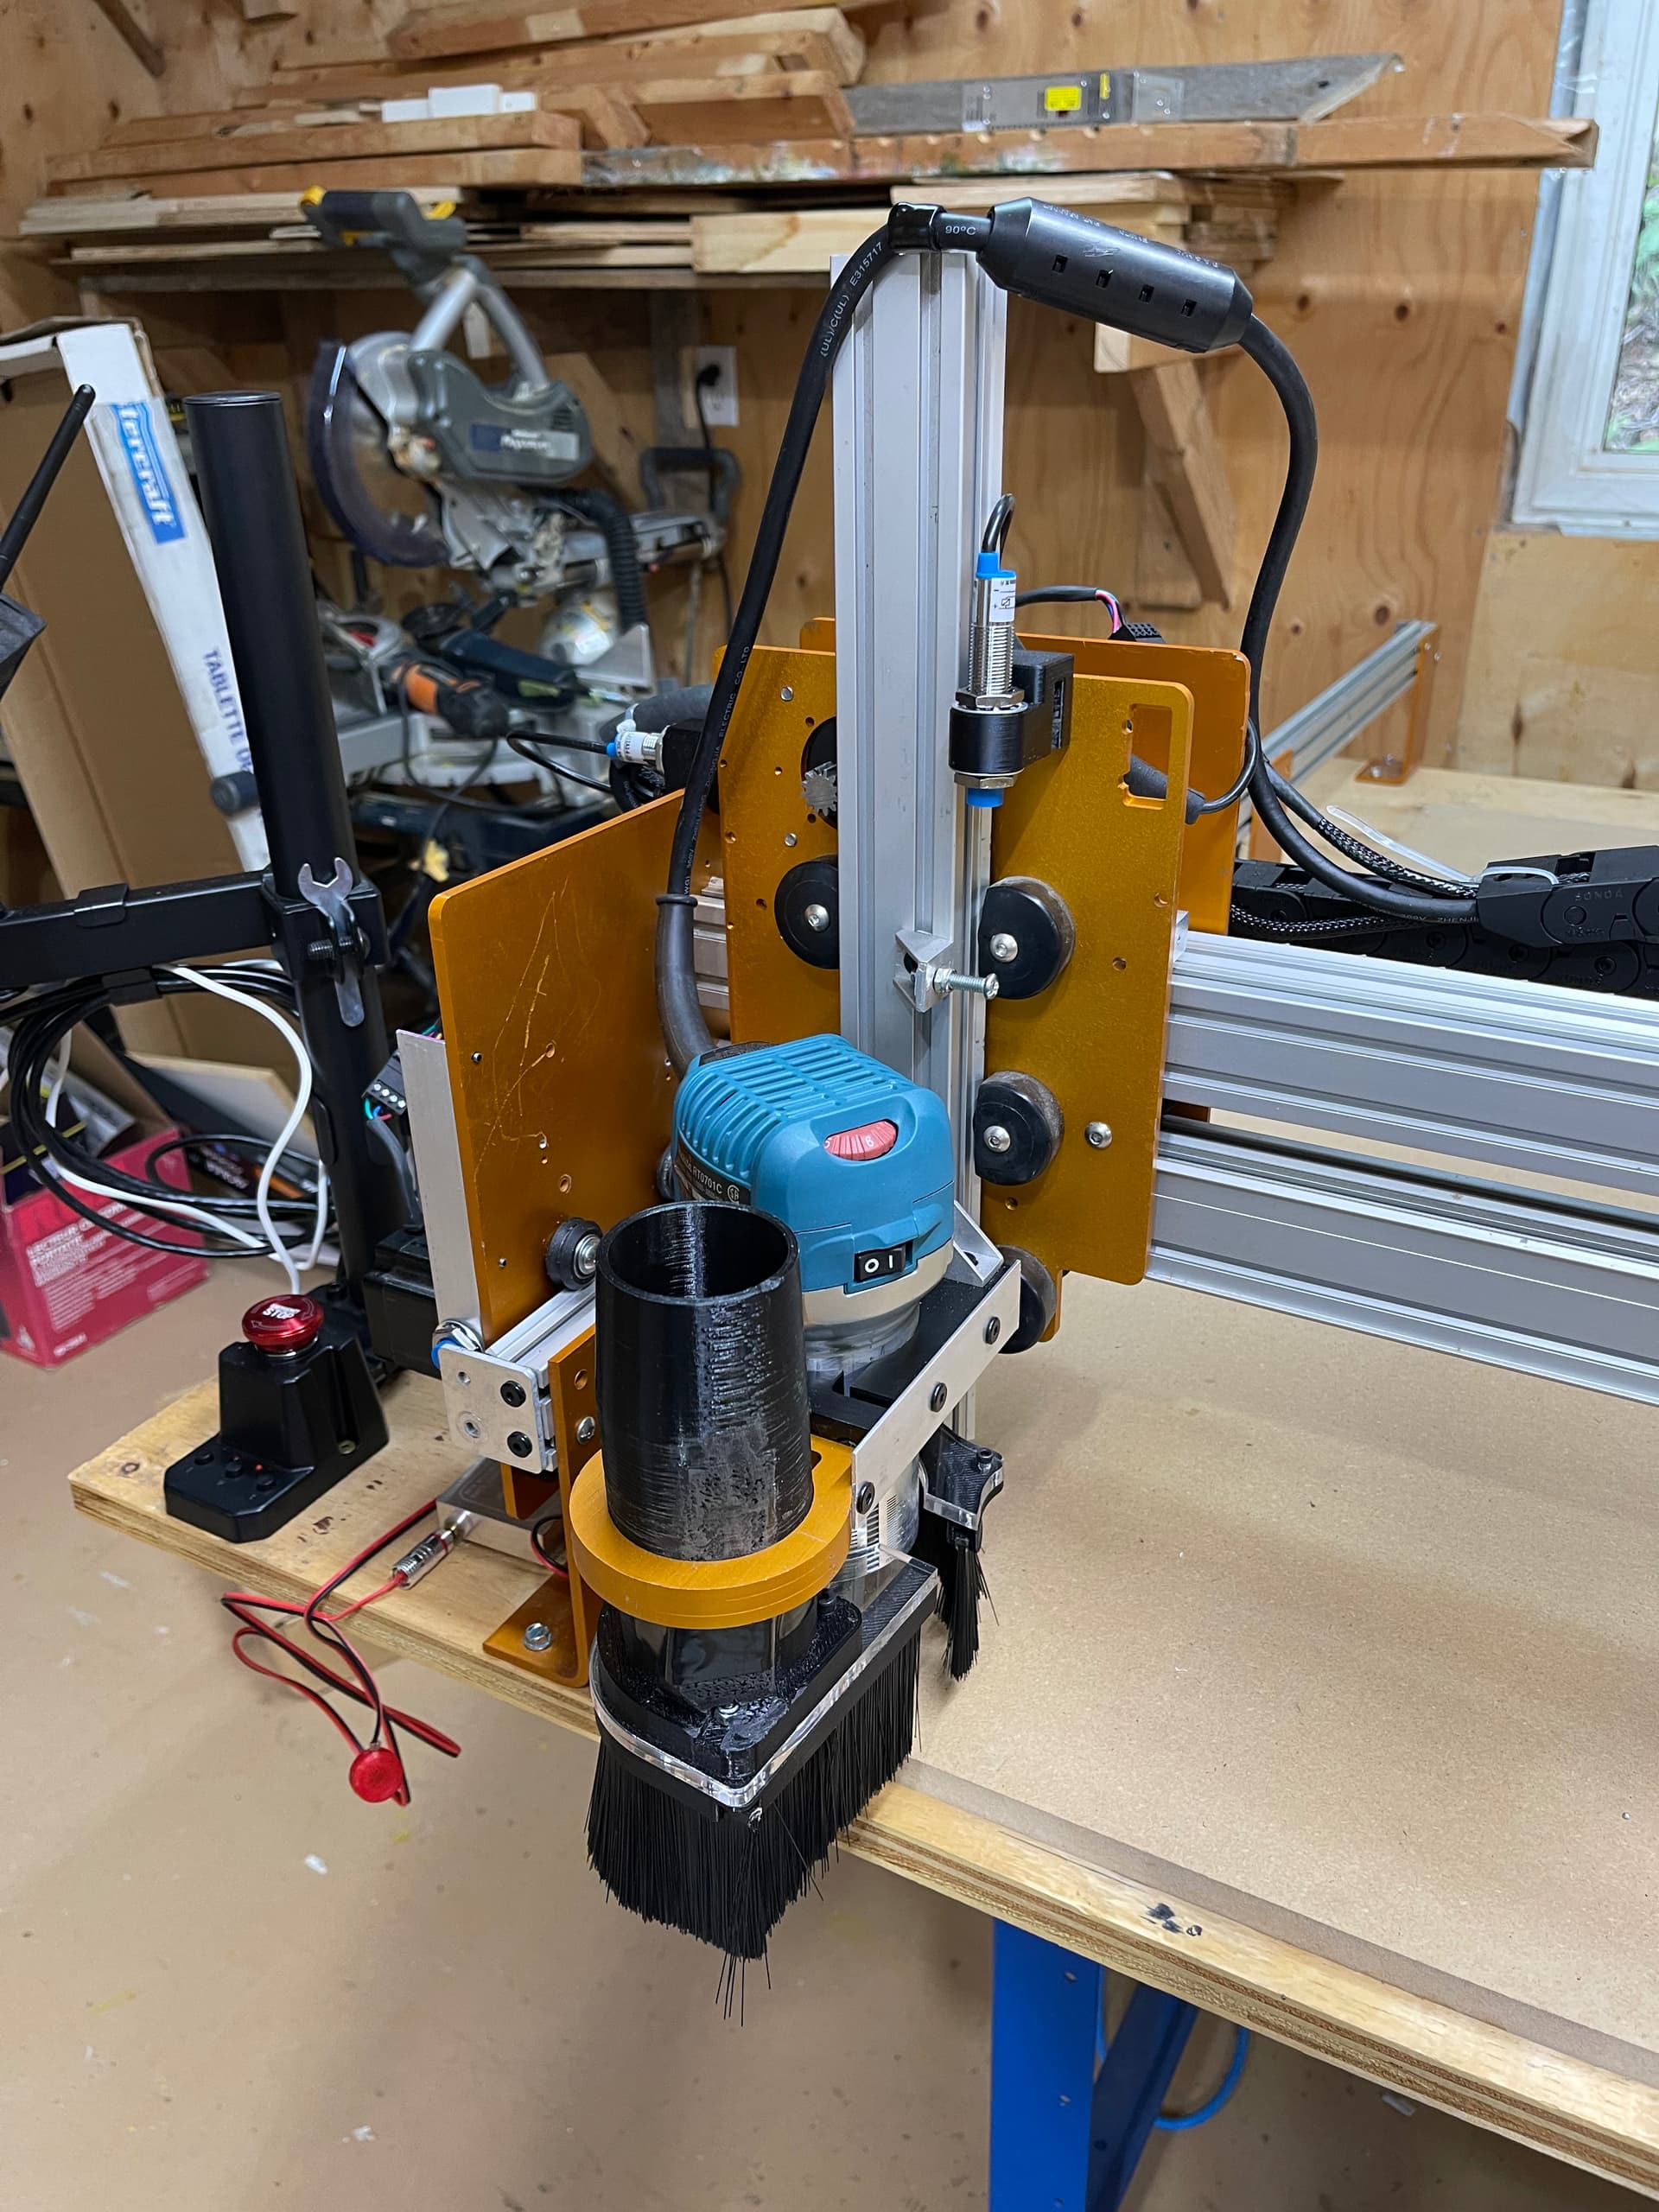
Some progress has been made. The old man’s work shop has been tidied, the CNC Mogul on a temporary table has been moved to its new home, and the old power supply and control board have been removed. The gControl panel arm has been mounted and the computer is connected to the local wifi and is up and running.
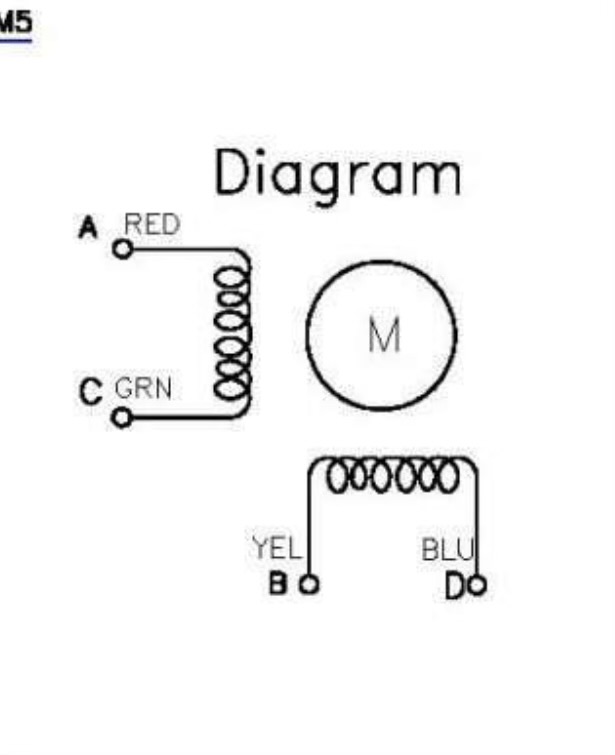
Mogul stepper wiring: The KL23H2100-35-4A stepper motor is a 4-wire bipolar motor. The standard wiring for this motor is: A+ (Black), A- (Green), B+ (Red), B- (Blue).
Just to clarify a few things; first, in normal stepper nomenclature, for long mill mk2 wiring the red wire is A+, the green wire is A- (labeled C on the diagram) and the yellow wire is B+, the blue wire is B- (labeled D on the diagram).
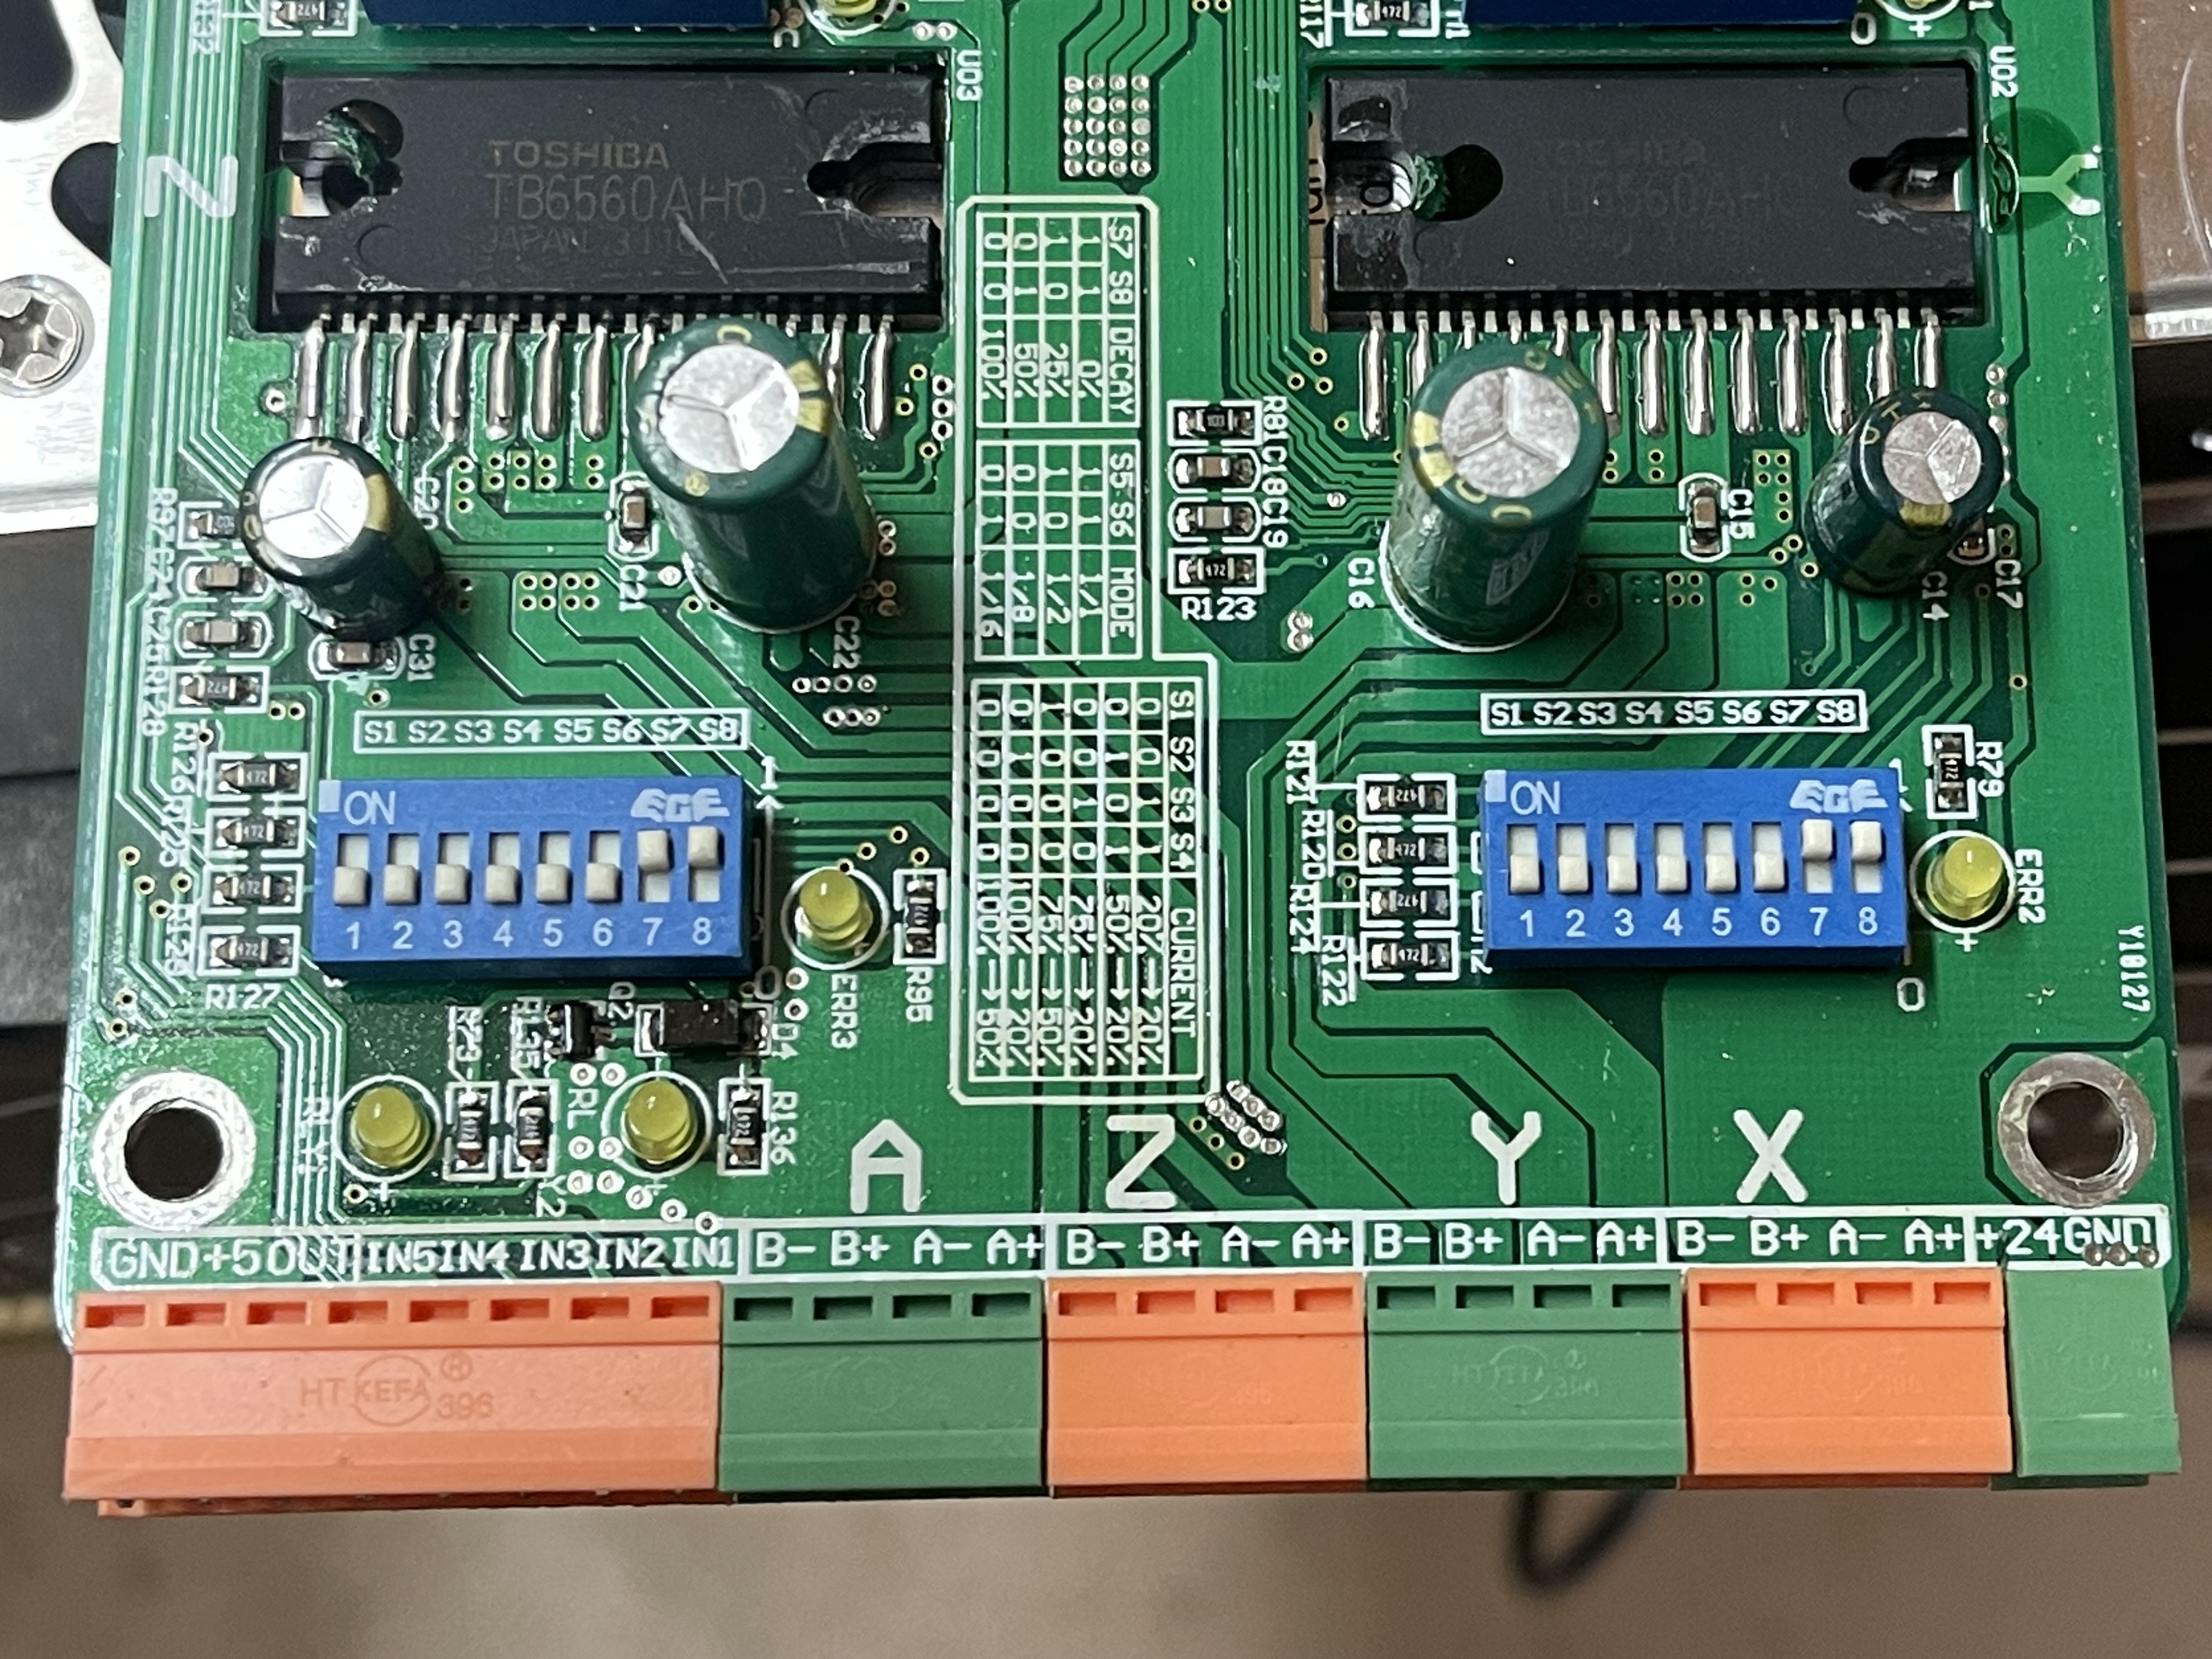
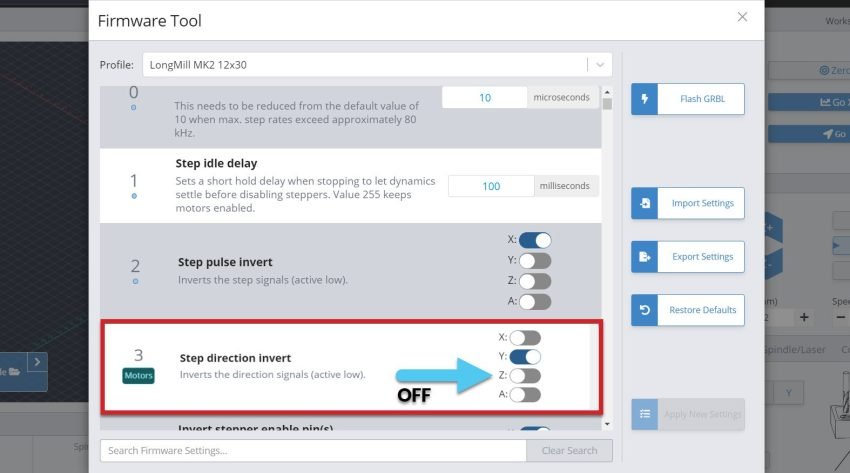
Second as the ol’ Mogul is rack and pinion driven, the ganged Y axis steppers are opposed. One needs to turn CW while the other needs to turn CCW in order to move the gantry in the same direction. If I’ve understood the SLB tech manual correctly the required reversal can be achieved in the firmware by setting:
$3=6 (X: OFF, Y: ON, Z: ON ,A: OFF) Inverts the direction signals (active low).
$8=1 Inverts the direction signals for the second motor used for ganged axes. NOTE: This inversion will be applied in addition to the inversion from setting $3.
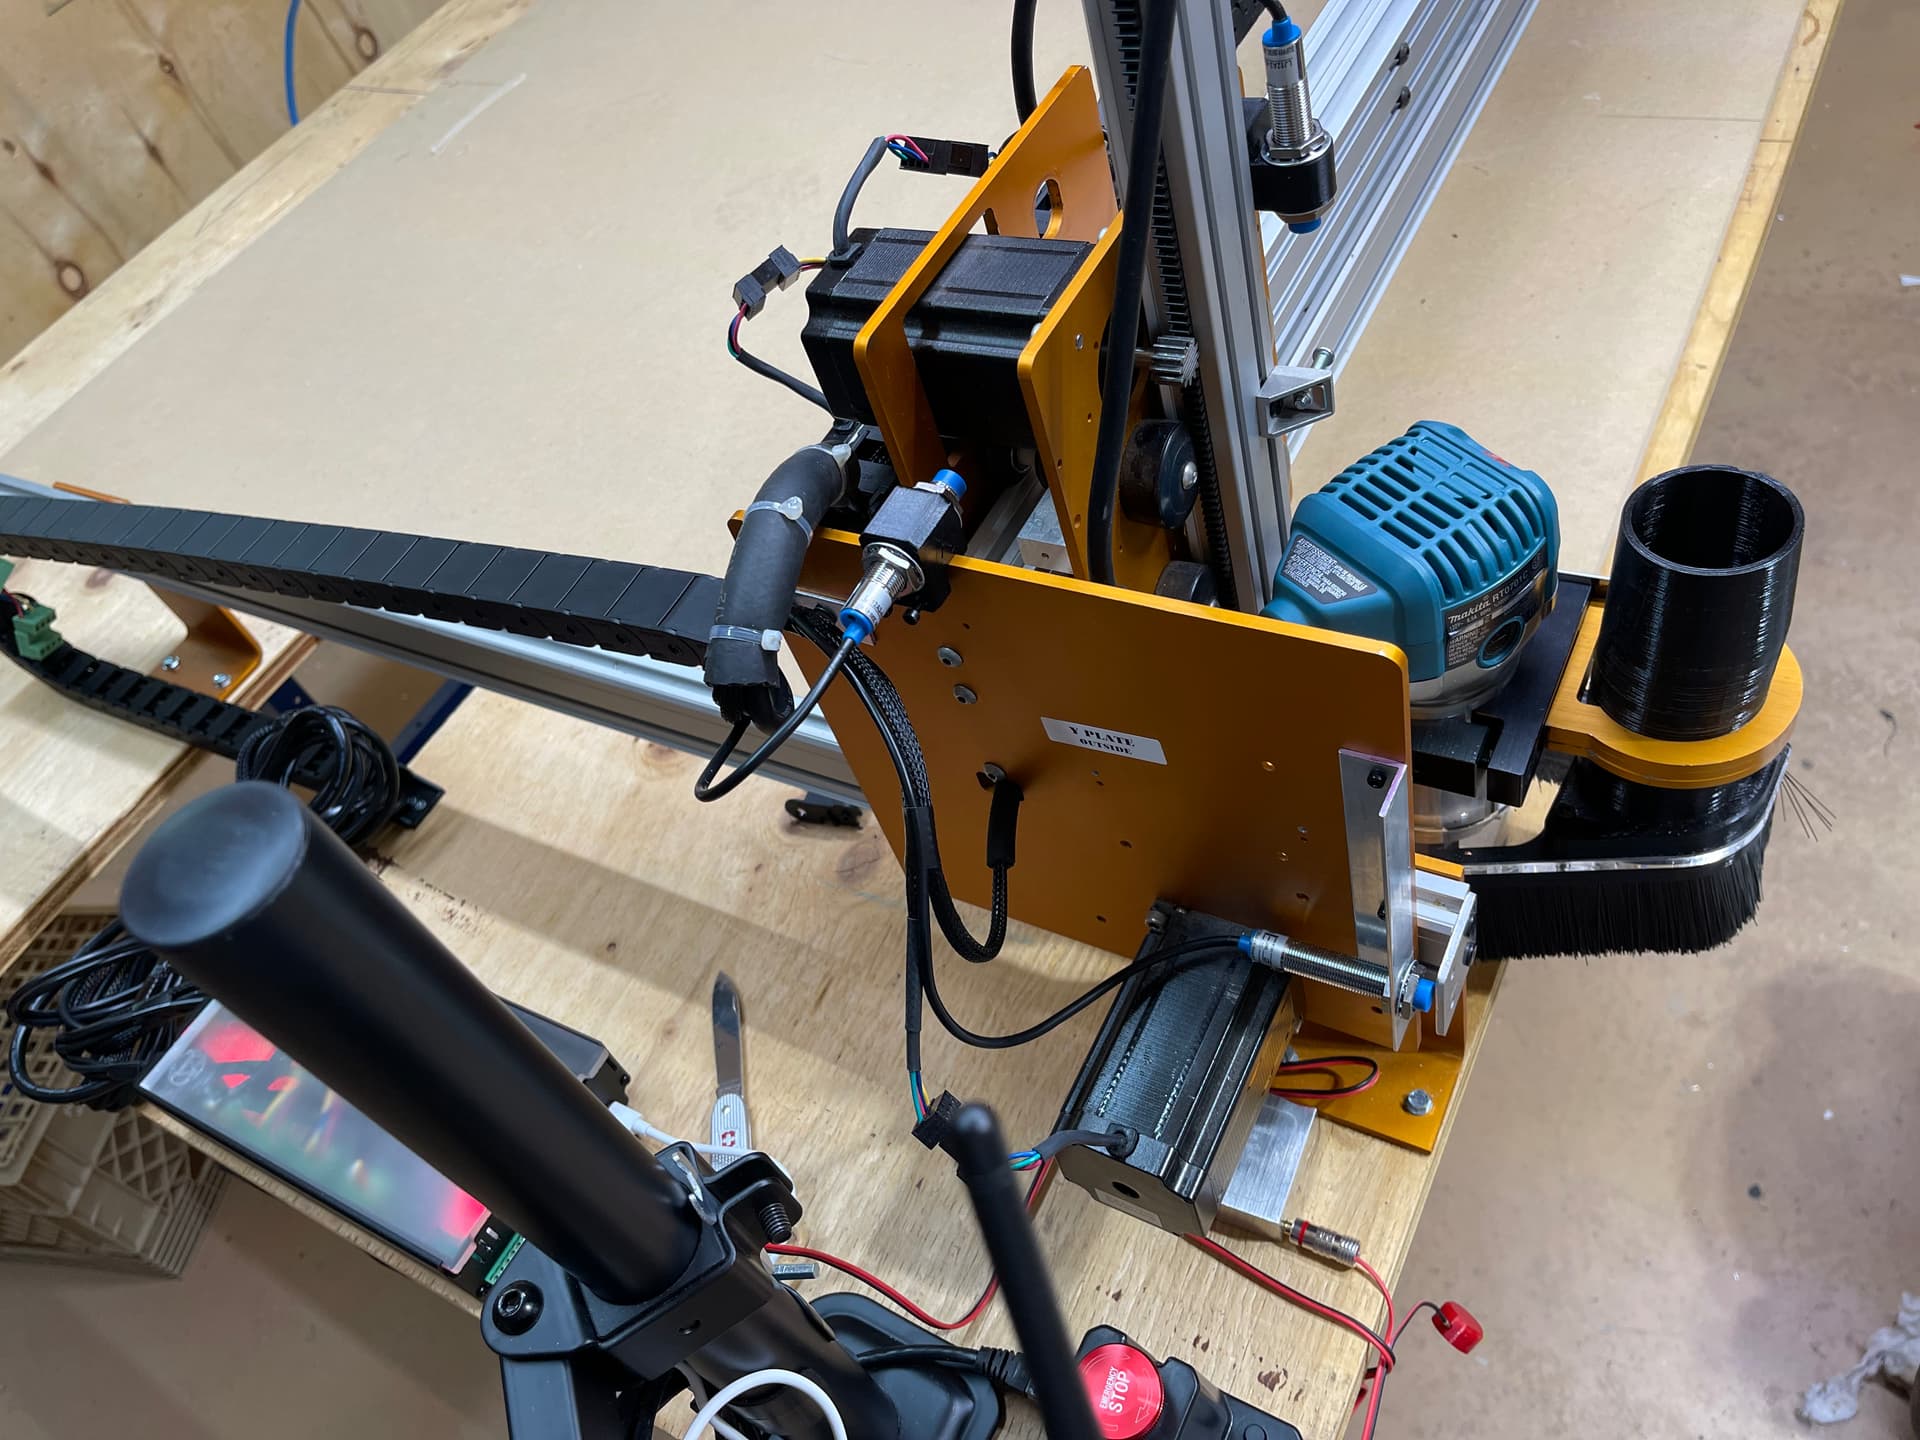
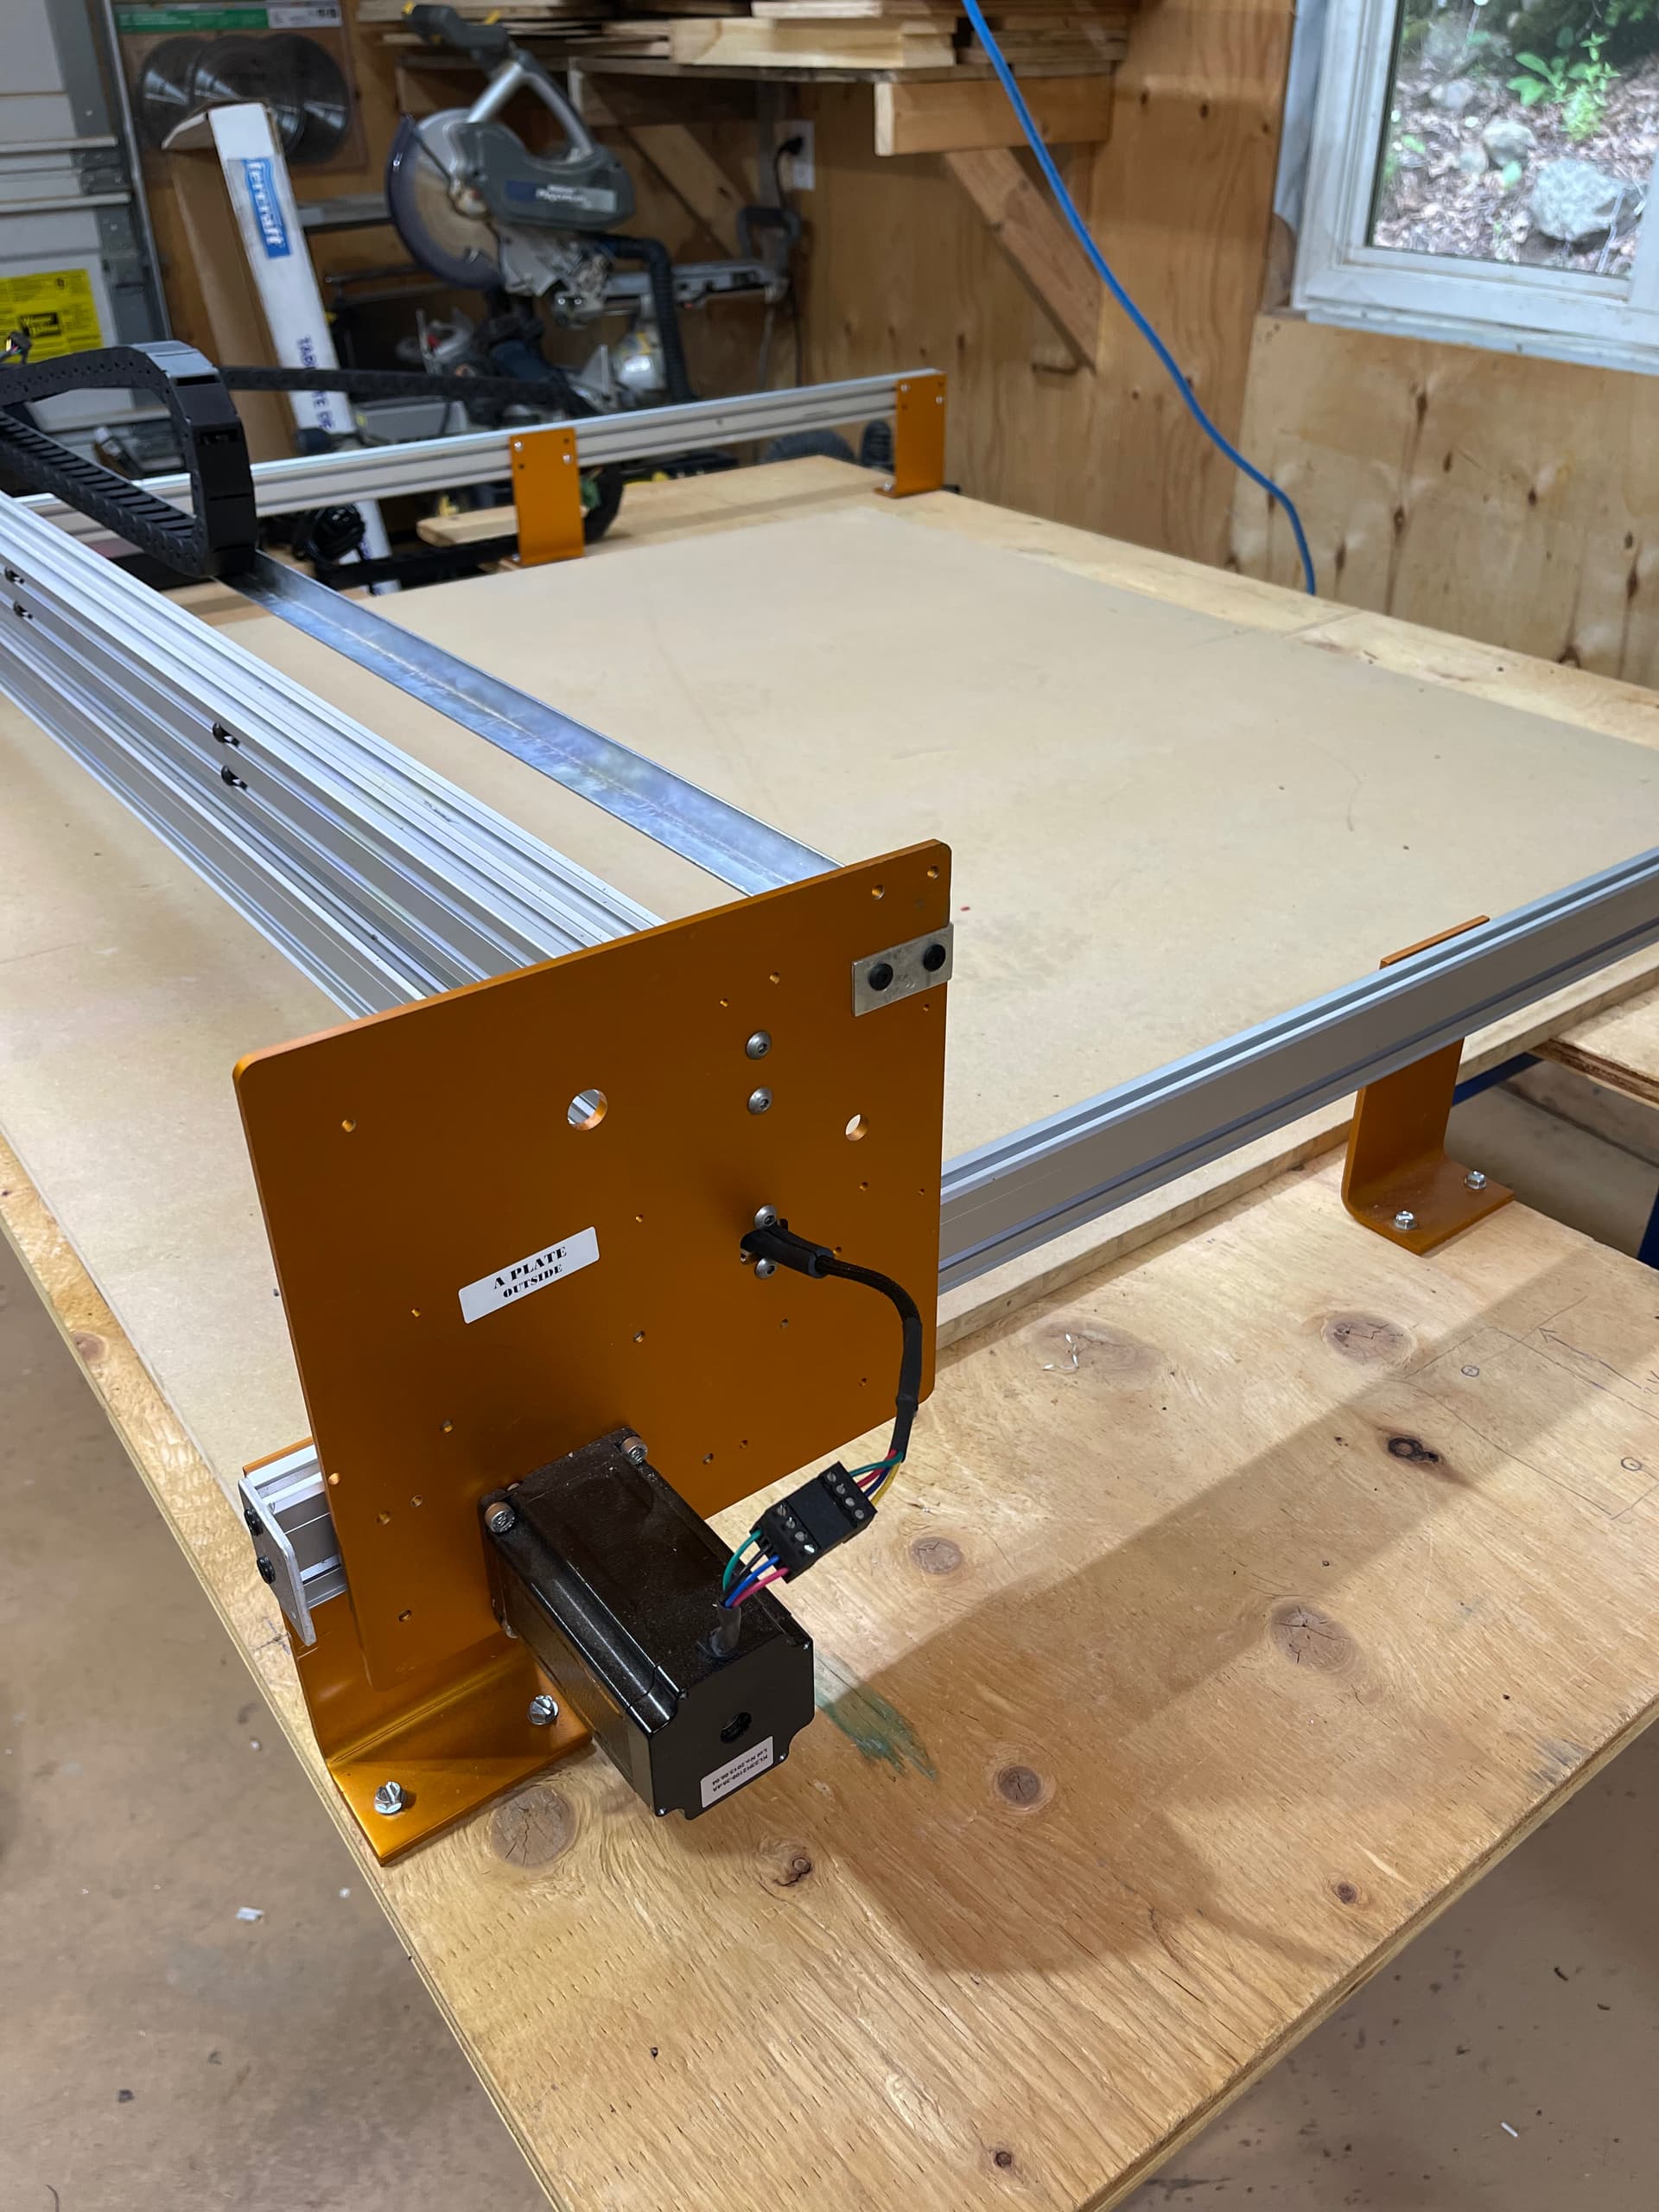
Small amount of progress to report. First modification to the Mogul is complete. I got rid of the conduit wire management. I made a “carrier” for the X drag chain from some C. Tire aluminum angle and drilled and tapped some holes in the Y carriage plates to mount it.
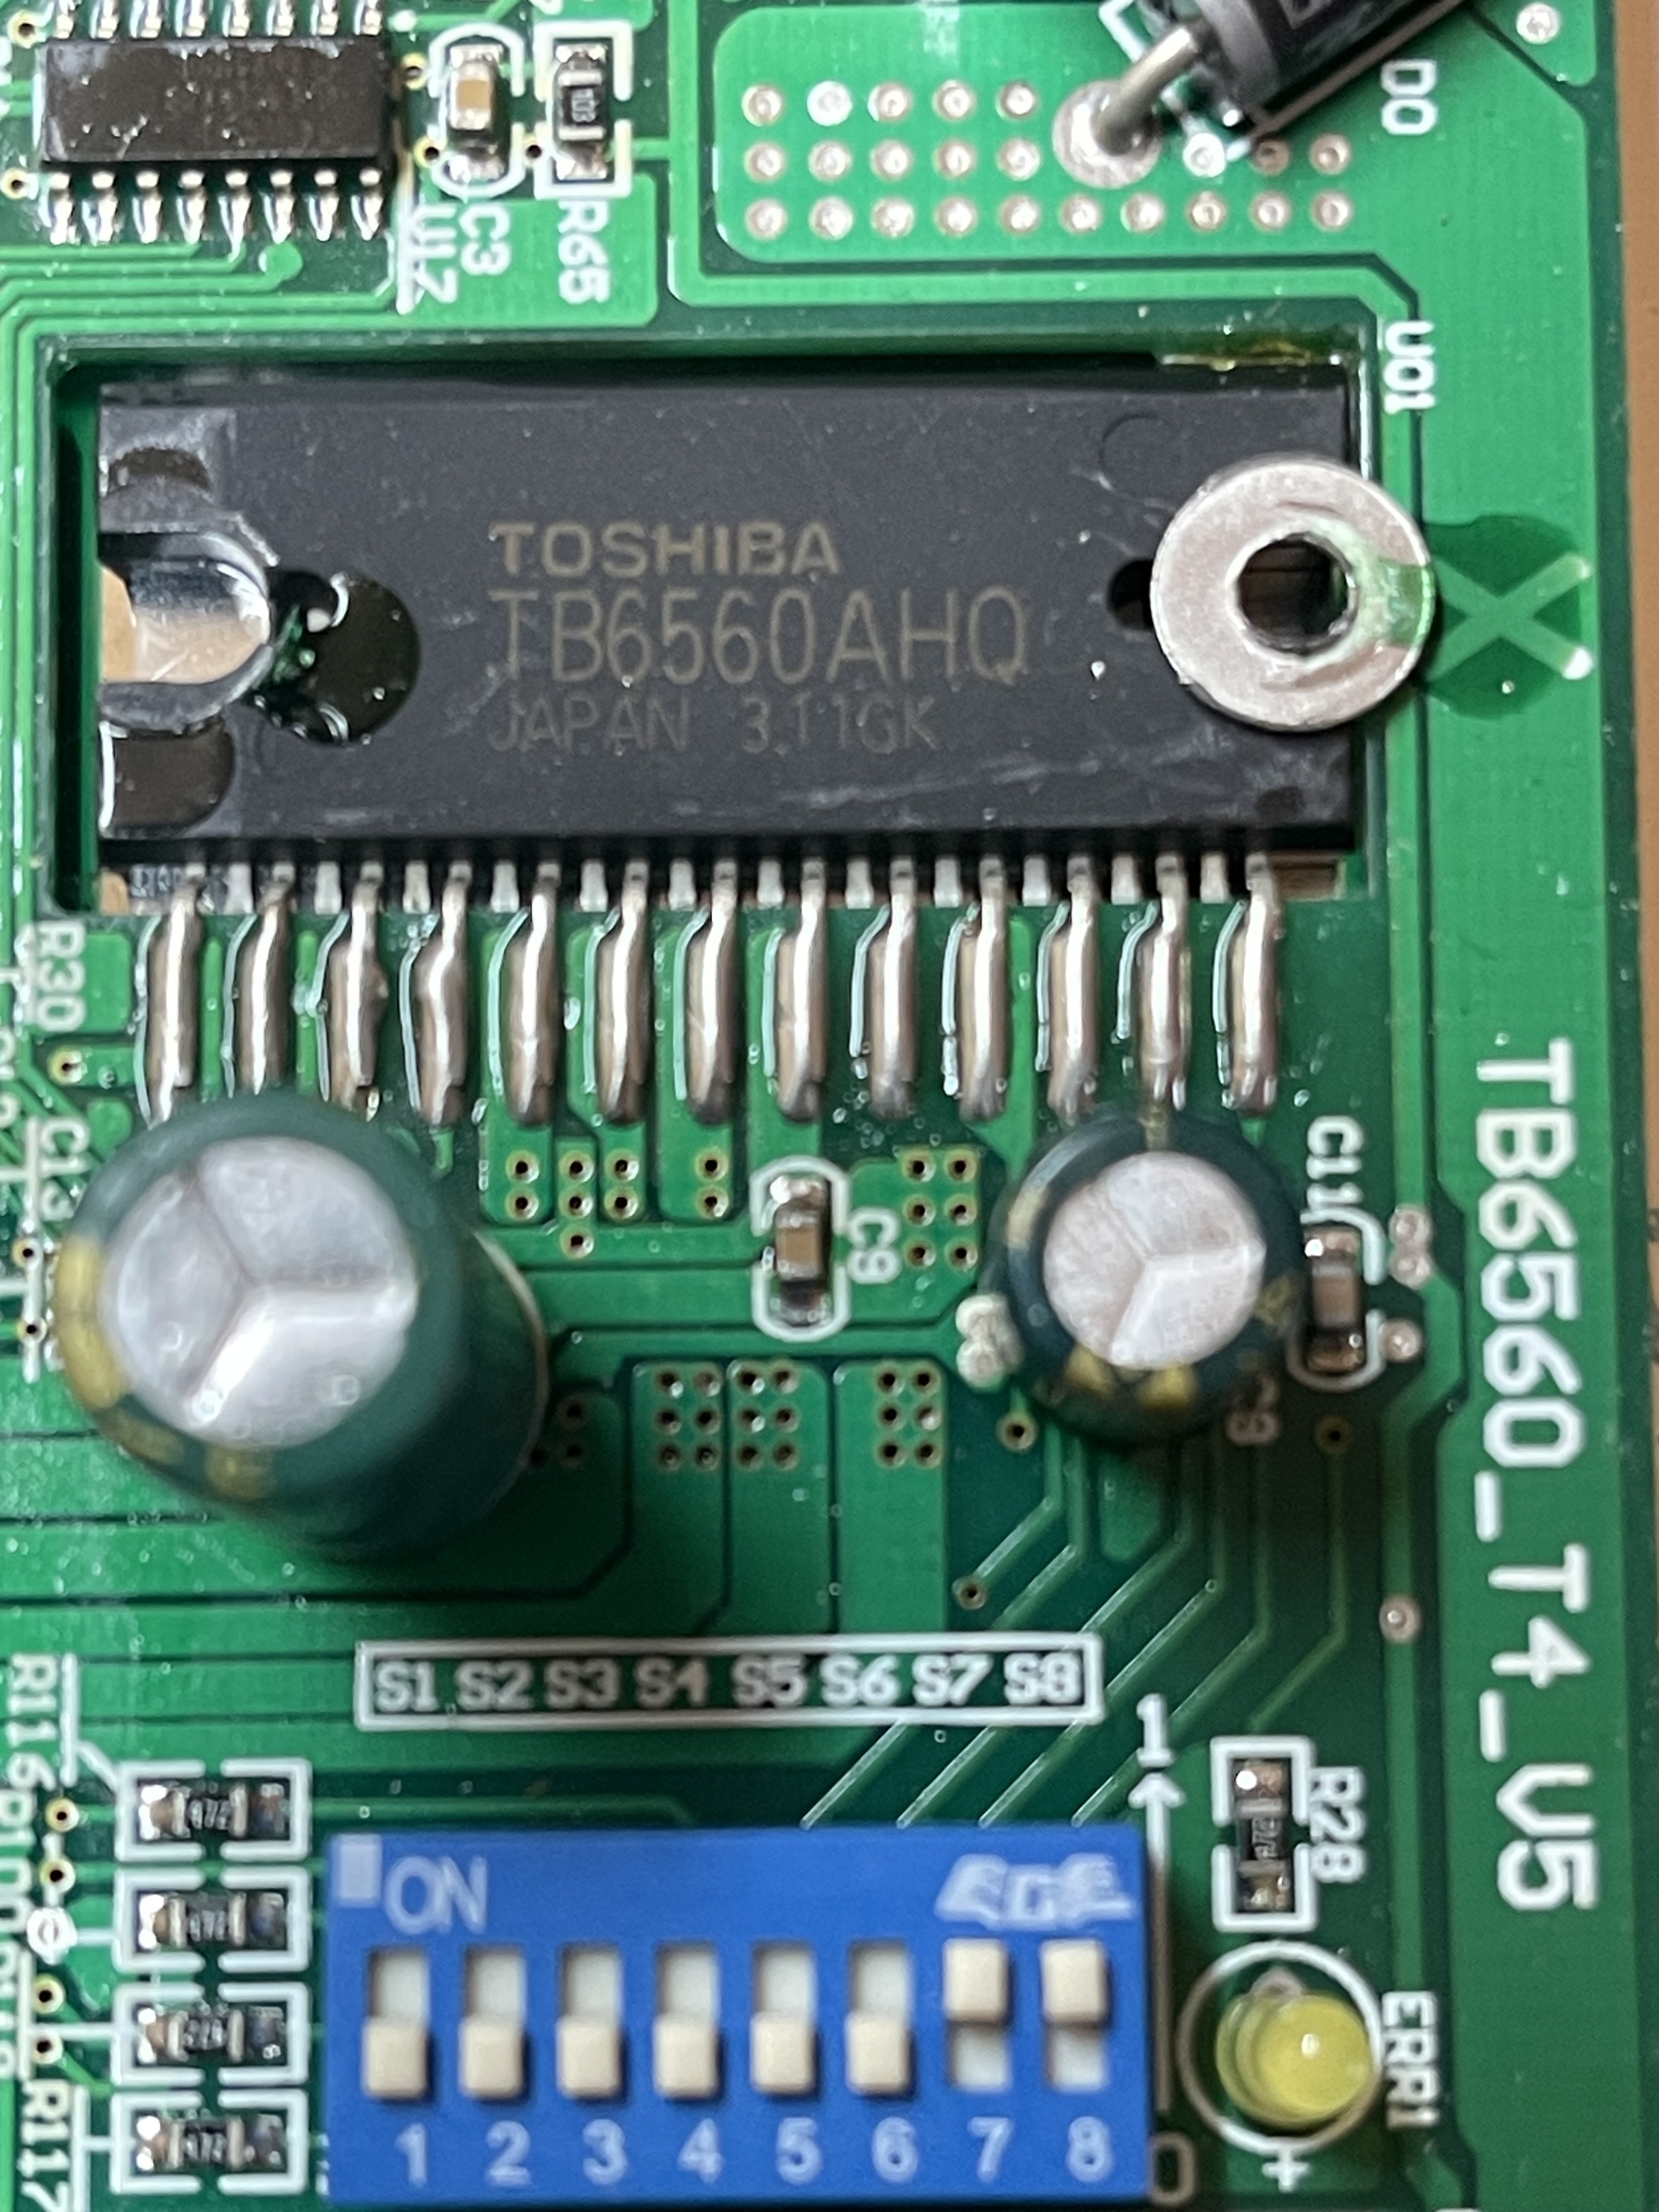
I have been lurking your topic and I must say, have been looking at that controler for way more time than I normaly give these kind of boards. I was triggered to do so by those weird mounted components. I have worked in electronics for a long time and never encountered components mounted inside a pcb like that.
Given, the boards produced at my old workplace were military, medical and communication stuff, so it might be a common practise in mechatronic devices. To me it was a first and had me flipping the photos you posted for hours.
Question. I seem to spot secundairy circuit board(s) behind the U1-4?
Whatever the case there, what I can see of this board, there’s a lot of work going into it. Thát is not and has never been an easy or cheap board to produce in high volumes. You might wanna hold onto it.
Hello again,
Updates have been few and far between but progress has been steady. Mainly choosing how to route the wiring, drag chain, SLB, E-stop, and power supply.
But big news! Today is the day! Every thing has been hooked up and I am about to start calibrating the machine. As the CNC Mogul is not on the list and the manufacturer is defunct. I’ll be taking my time to make sure I get it right.
One last ask of a repeated question. Which settings are required to ensure my dual drive y axis steppers run opposed to each other; ie: one CW and the other CCW?
My biggest fear is getting this wrong and destroying the rack…….thank goodness for the E-stop.
As far as I know both y1 and y2 are -still- coupled in the software side of the slb. You can reverse the Y output but that will reverse both outputs.
It looks like you have 4 wire nema steppers. According to some post in redit and youtube, it is simply a matter of switching a few wires around to inver the direction the motor will step.
Since the motor wires are easiest to loosen at the SLB, I would switch the wires at the SLB. I would however test the Mogul as is, for I can imagine they would use a native inverted motor for the second y-axis or.. maybe even more logic, have the wiring inverted.
If I look at the picrure of the native controller you posted, it seems to feed the same signal to both y-axisesen. I bet they did a wire reverse.
Thanks for the reply. To say that I am sh!t!ng myself is an understatement.
I like your logic and can’t remember if I had to reverse anything in Mach3. I will move the gantry to the middle of the span and try to calibrate the y axis. If that doesn’t then I’ll switch wires.
@hSolo I’m curious. On my Mk1 Long Mill, the Y motors turn in the same direction. Do they need to turn opposite to each other in ball screw or rack and pinion machines?
@gwilki I don’t think it’s required for ball screws but it is for rack and pinion if you want both sides to be symmetric. If each side is a mirror image of the other then one turns CW and the other CCW.
I ended up going with the wiring option. Not only to reverse direction for my Y2 stepper but also my X. Didn’t seem to matter what settings I changed in the firmware (and perhaps I have the conventions backwards) but I wanted movement away from home, lower left corner, (0,0,0), to be positive.
Now my Z moves upward in the positive direction. Perhaps I should reverse that too?
Wel, I don’t have an SLB, my machine is running smoothly (apart from a bad usb cable) when it came out of the box 2/3 years ago, so I’ve not played around with settings much. My helpfulness has reached it limits somewhat.
You might be able to try and invert the z axis in this setting.
But if rewireing is working.. meh if it works, it works.
Oh wait.. z moves up on plus, seems to be the right way to go. No change needed, me think. Oh and please take before pictures of how things were before you started switching. I always find those helpfull when things spiral out of control and I feel I need to restore my foolingsarounds.
So I did the regular old man cell phone thingamajig and went to make a video of my newly calibrated CNC machine proudly returning to the home position…..I swear I hit record after hitting the home button and then hit stop after it had arrived. Well I have a lovely video of the inside of my pocket on the walk home. Oh my. Try again tomorrow.
Managed to set up the limit switches and went through the calibration routine about 5 times. The first go around 100mm sent the machine 522mm….eeeep. Well now the repeatablity is spot on. So I’m pleased with that.
Going to have a go at surfacing the spoil board in the morning.