Thank you , this will help me a lot.
1 Like
Thanks Mike, I will start with a 4x4 and trimm as much I can!
1 Like
Thanks I came here to post that same page for them!
Mike
@mikecmp LIke you, Mike, I wEnt with 4 x 4. I would have gone a bit wider, but space is very limited in my shop. My controller sits on a small shelf off to the left side. If I weren’t so lazy I would lengthen the motor wires and move it out of the dusty area.
I drilled a hole right back where everything came out of the drag chain routed all the wires down through it. I used some 3D printed brackets and screwed the control box upside down to the underside of the table.
I only need to reach under there to turn it in or off so no big deal. And keeps it out of the way.
Mike
If I drill a hole to pass the wires under the table, will the control box reach the front right corner? Or are you saying that it has to be mounted closer to the back because the wires are short?
Sorry I don’t actually have my mail yet. I’m number 20 today?
It had to be close to the drag chain b/c the wires are short. however, it would be trivial to lengthen them if you needed to. I have one of the kickstarter machines and understand the wires are longer now. I would say my box is under the left rail about mid way between the drag chain mount and the rear of the machine with the wires going do through the table right by the drag chain.
Been stuck inside but can get a picture if anyone really is interested in seeing my junky table 
2 Likes
Do you have the files available for this table? I see a lot of talk about fusions 360. I use OnShape. Hopefully they’ll be compatible
1 Like
A belated response to your greetings and I apologies for that as well. Hope to be up and running soon. Unfortunately the Y1-Motor port of the control box is not working. Y-axis motor won’t run when connected to it… Bummer!!!
Hi Robert. Love your table. Very clean and nice design. (Your workshop is amazing as well!)
I was wondering if you had any documentation info on your build, other than the photos you posted.
Thanks!
Greg
1 Like
Love your enclosed design. I am wondering how much of a problem sawdust is on the inside of the glass (or plastic). Do you find yourself constantly having to clean it? Would you enclose it if you had to do it again?
Thanks!
Greg
Wow, what a clean, beautiful build. Nicely done!
Jonathan, I really like what you’ve done for your table and base setup. Have you gotten around to mounting your Longmill yet, and if so, do you have a few photos to share with us?
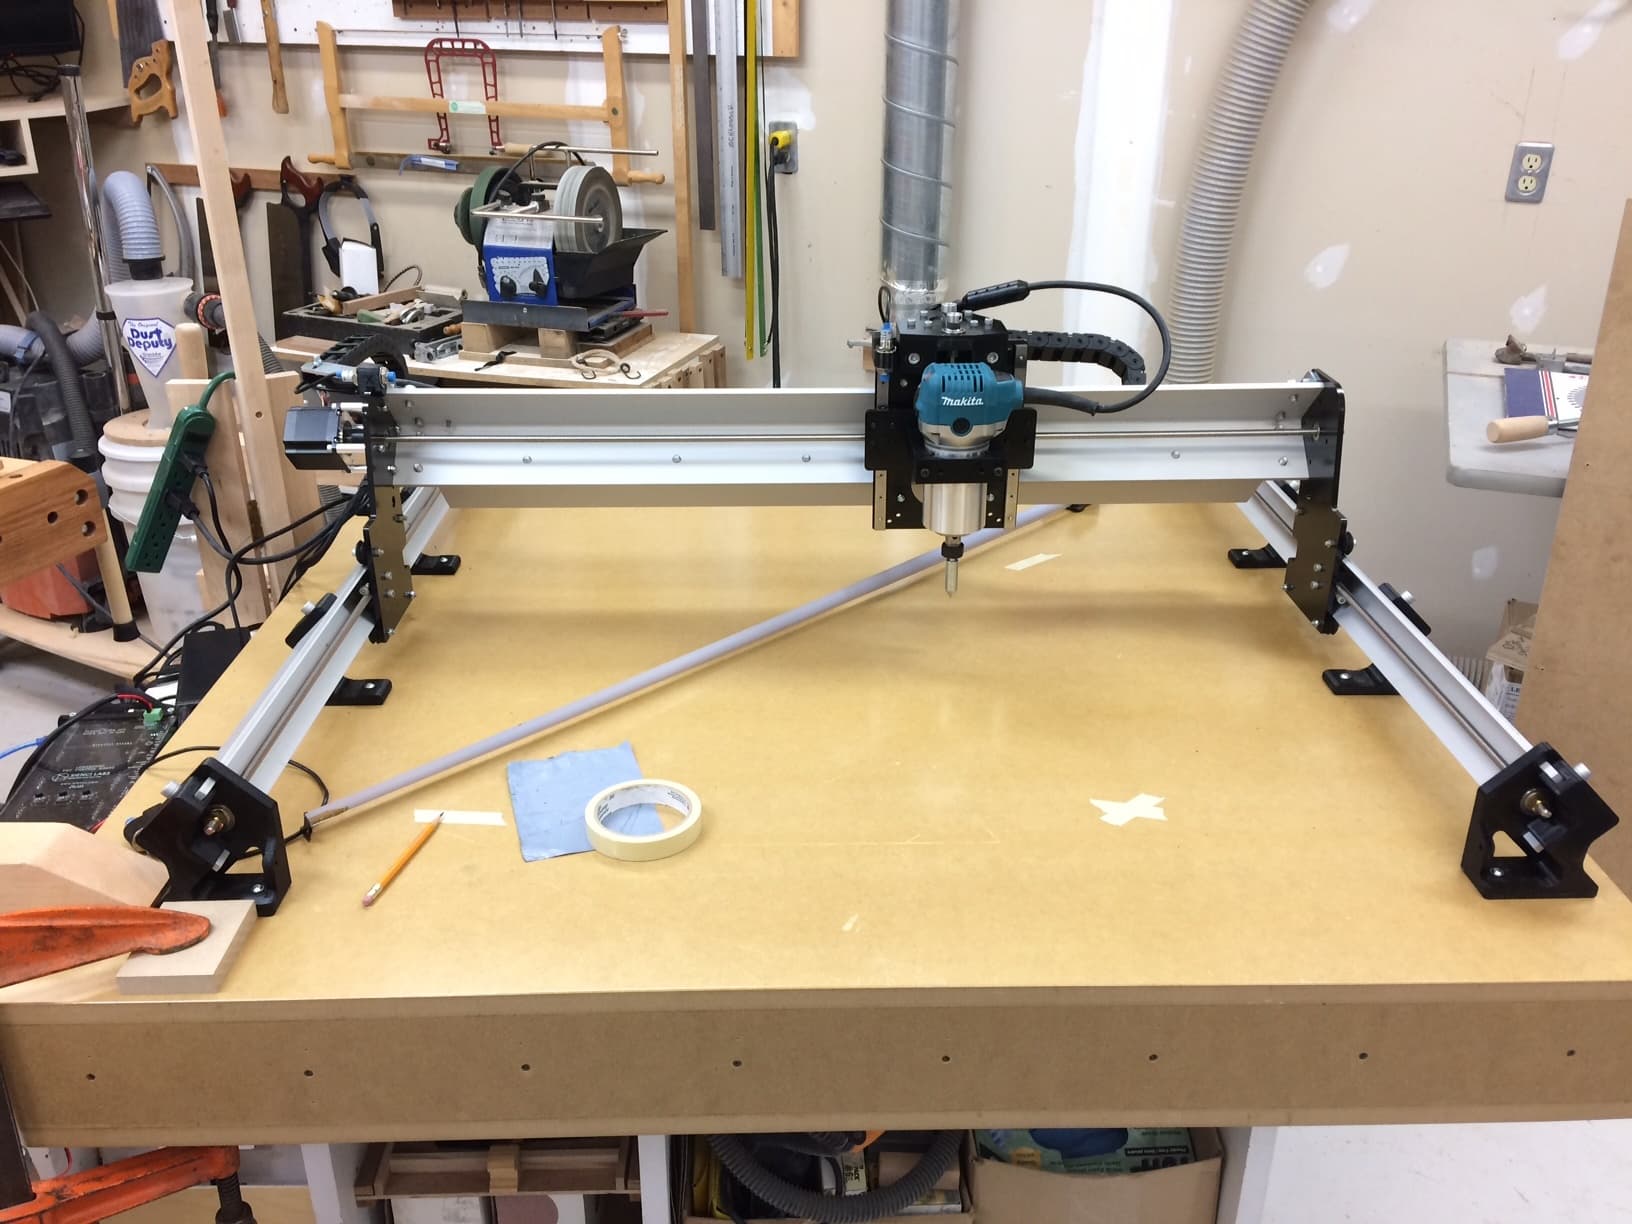
I am setting up my system on the MDF torsion box. Here’s a photo showing it mounted and calibration underway. It’s taking quite a bit of time, but I’m hoping to be able to get around to making my spoil board today.
Hello everyone. I am new to the forum but have really appreciated all the great information I have been reading so far. I just ordered a LongMill MK2, and have been working on a design for my table. I have attached a PDF with detailed drawings.
I would appreciate any comments, observations or suggestions on my design.
Thanks!
Greg
Longmill table build.pdf (395.3 KB)
1 Like
Will love to see pics of the build
1 Like
Anybody use this set-up?
1 Like
One suggestion: you could think of hiding the control box unter the table (or within one/two torison compartements). I have mine installed under the table and see no disadvantage at all… allows for more space on the top and implies less dust penetrating the control box.
3 Likes
Thank you for the suggestion. I can see where that has some advantages. With yours mounted underneath, are you still able to access it quickly if you want to pause a job in progress, or do you not worry about that?
Oh yes, you are right I forgot about theses buttons. I extended mine to some bigger buttons on a small “control panel” located on the front of my LM. This included little soldering on the PCB of the control box. If I am right, the current version of the control box still does not foresees this, so you would still have to solder some cables on the pins of the buttons.
1 Like
OK, good to know. That’s great information. I think I may do the same thing you did and extend wiring for the buttons. Thank you for the feedback.