LONGMILL TORSION TABLE CUT LIST.pdf (17.4 KB)
Oops, thought I had included that.
Hi Torminator,
I was looking for a vertical setup. There aren’t many. Your designed table comes very close for my needs. Also reading that you building a new one. Did you post that design.
I’m going to buy the longmill MK2. New to CNC woodworking. My idea is to do all the preparation before the actual milling on the horizontal table, then set it up vertically and run the project. Will you’re setup be rigid enough. Thanks
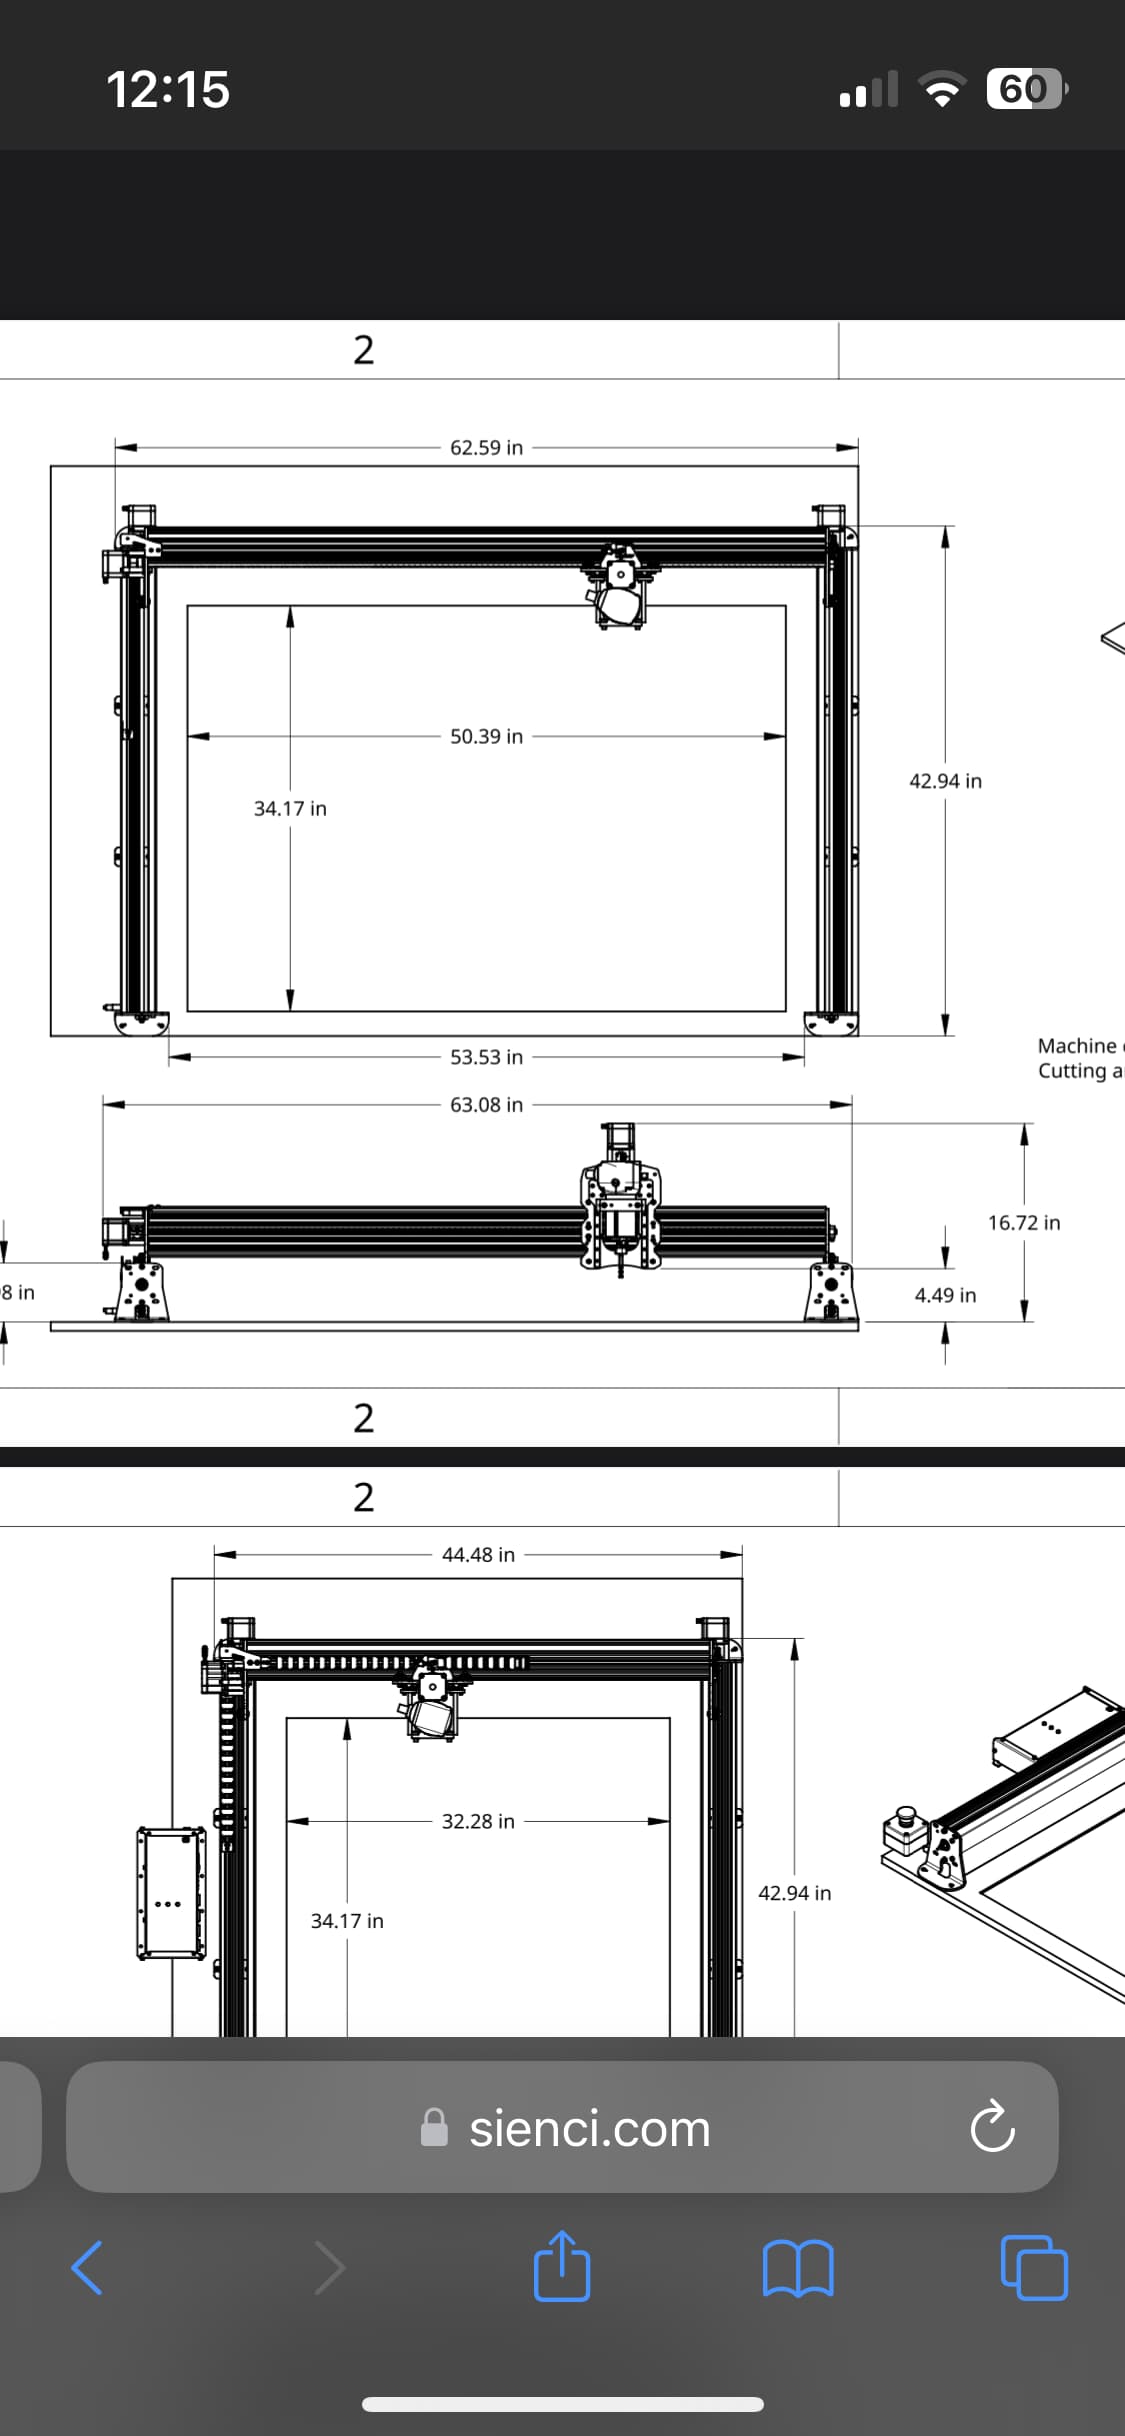
Hey everyone. I’m looking for some confirmation about the 48X30 MK2. Is there actual foot print of the machine 63x43 inches? I just ordered the 48x30 and want to build a table so it’s ready when the machine shows up. Any help is appreciated. Thank you
I can’t speak to actual dimensions, but I’m in a similar boat as you, mine is set to arrive next week!
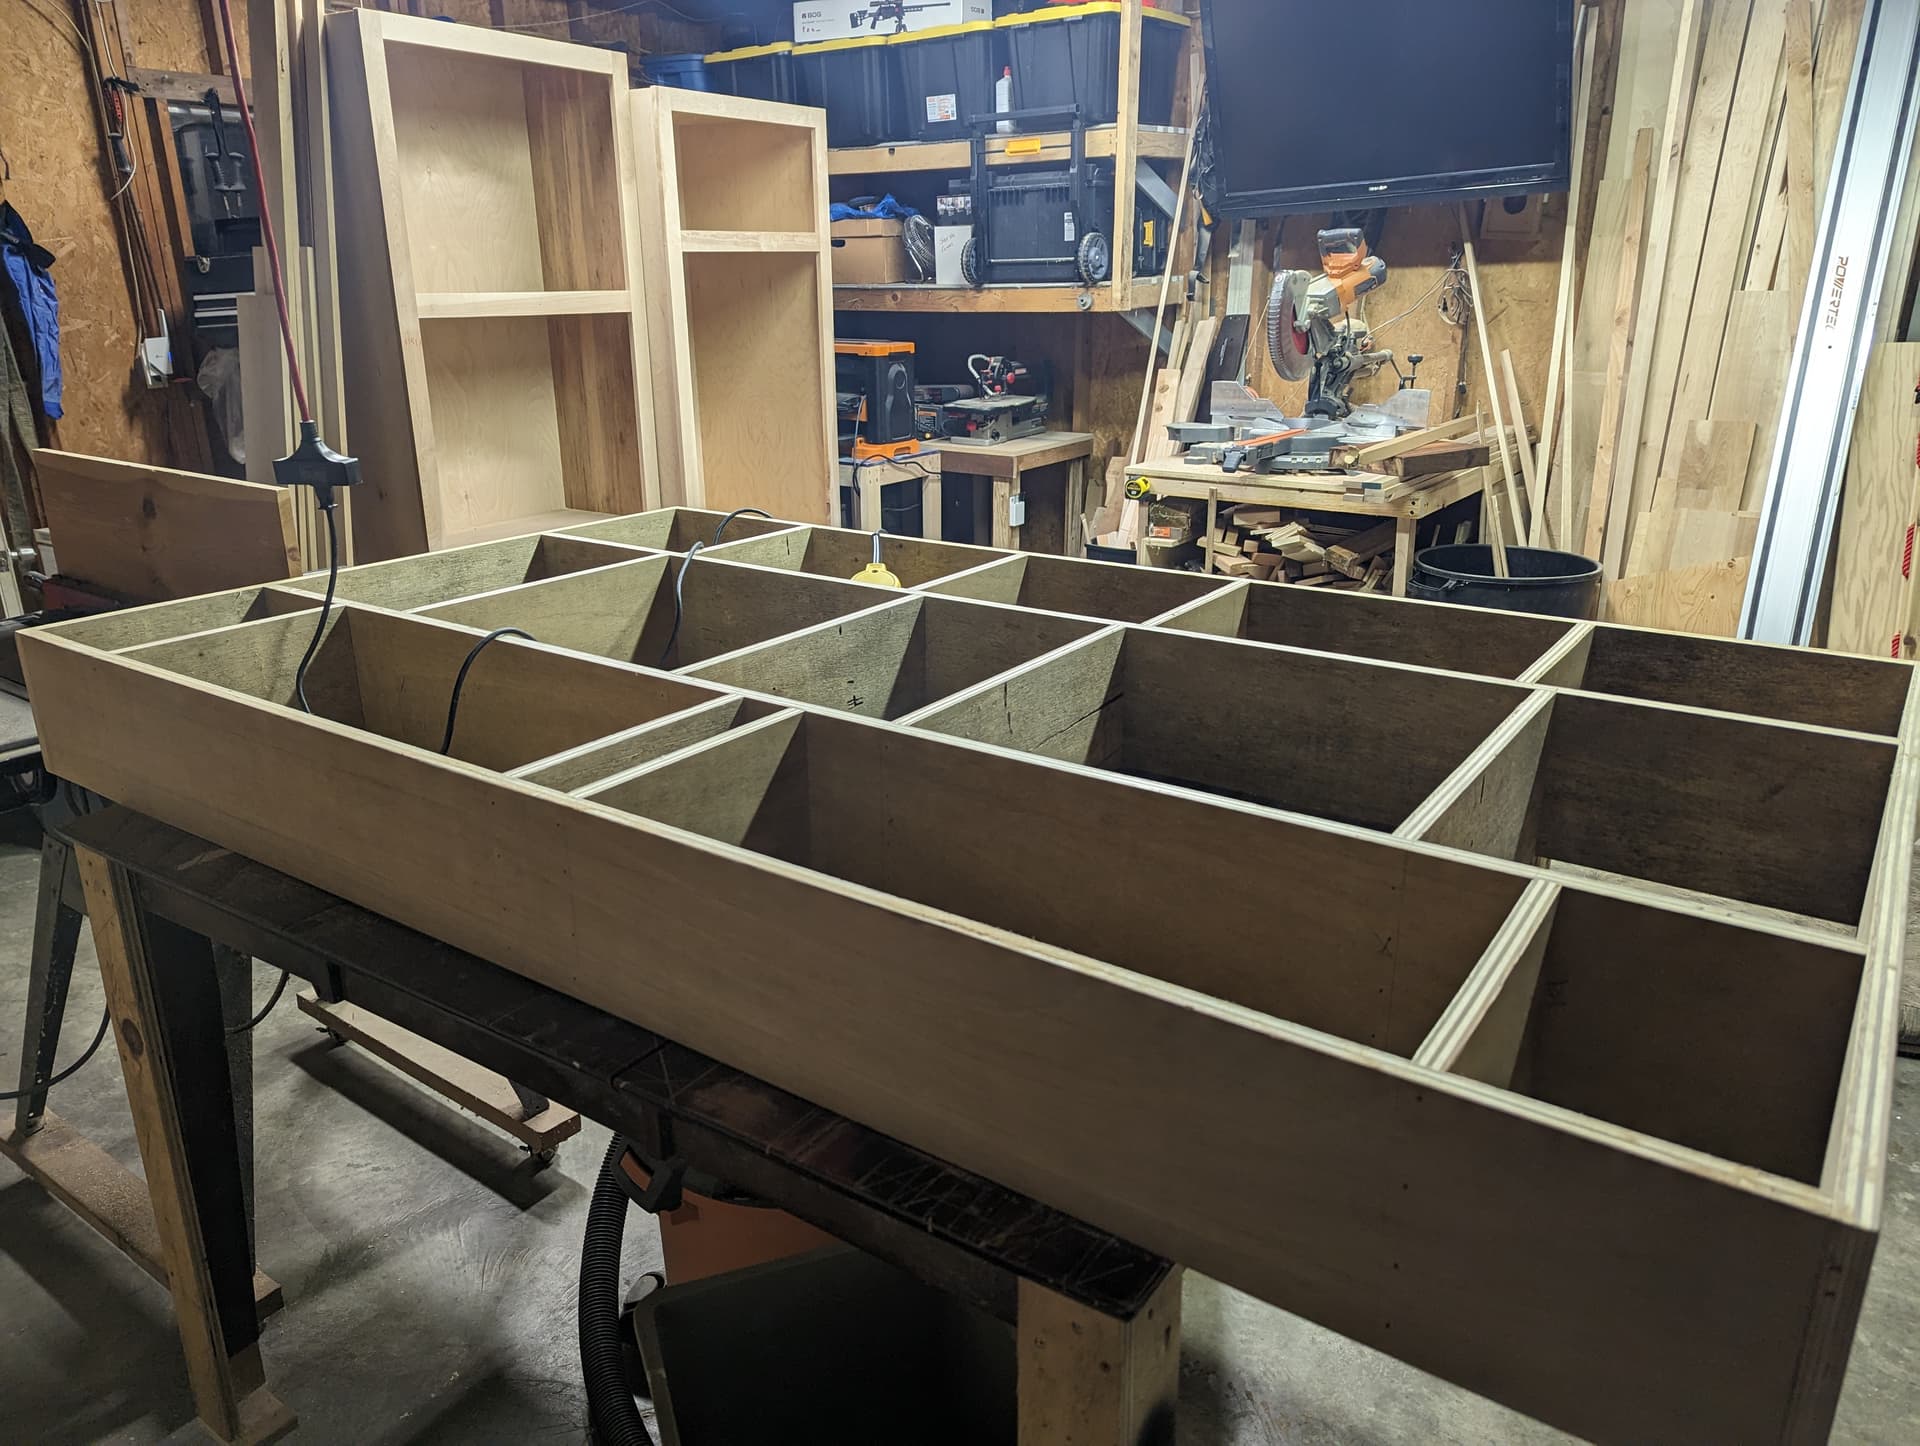
I used their suggested table dimensions of 78x48… Started on the table last night.
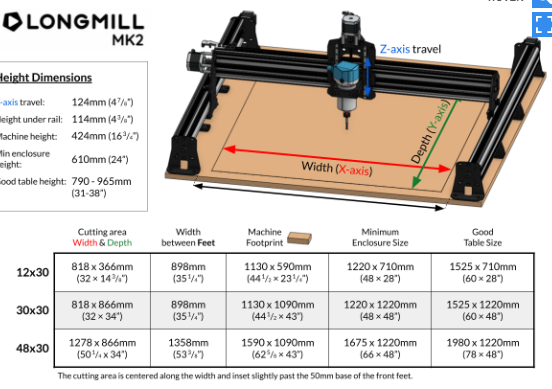
Thanks for the reply! I had not come across this image and the suggested size for the table. Greatly appreciated! Post pics of your table along the way
1 Like
Absolutely, I’ll post pics for sure, and you do the same! I don’t imagine mine will be as fancy as some others posted here, but it should get the job done! ![]()
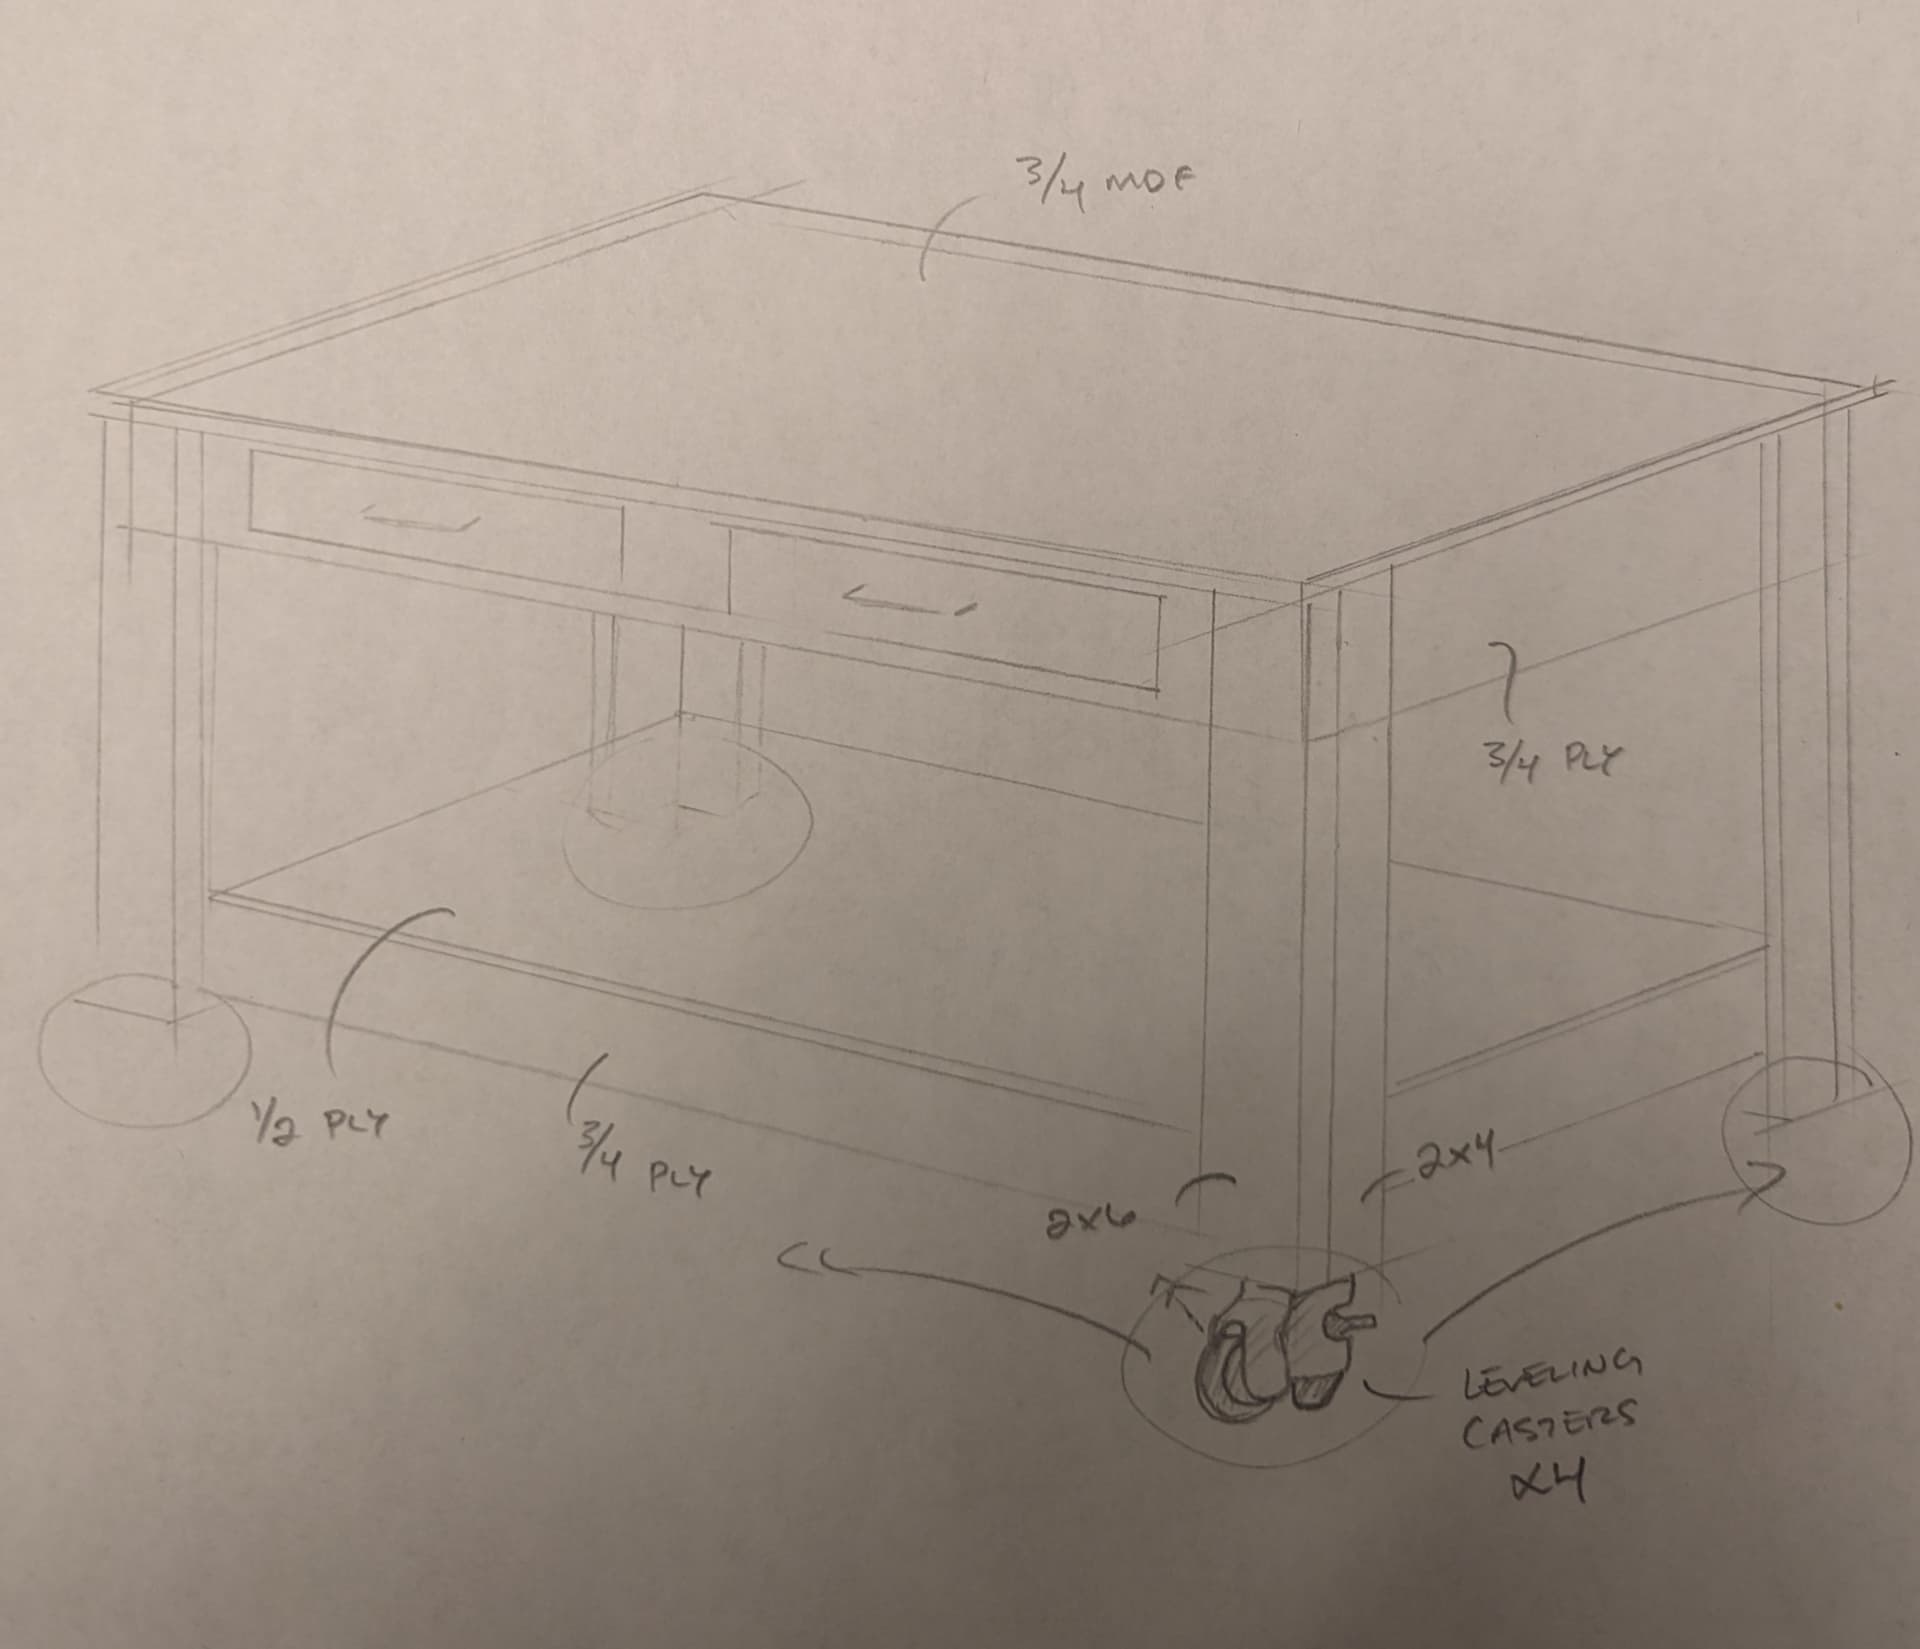
Didn’t have a drawing, just started cutting… Threw a quick sketch together to help the idea inside my head haha…
So far just using wood I had laying around… Will need to pick up some mdf and a sheet of half inch… And some drawer slides… Then going to 3d print the drawer pulls.
2 Likes
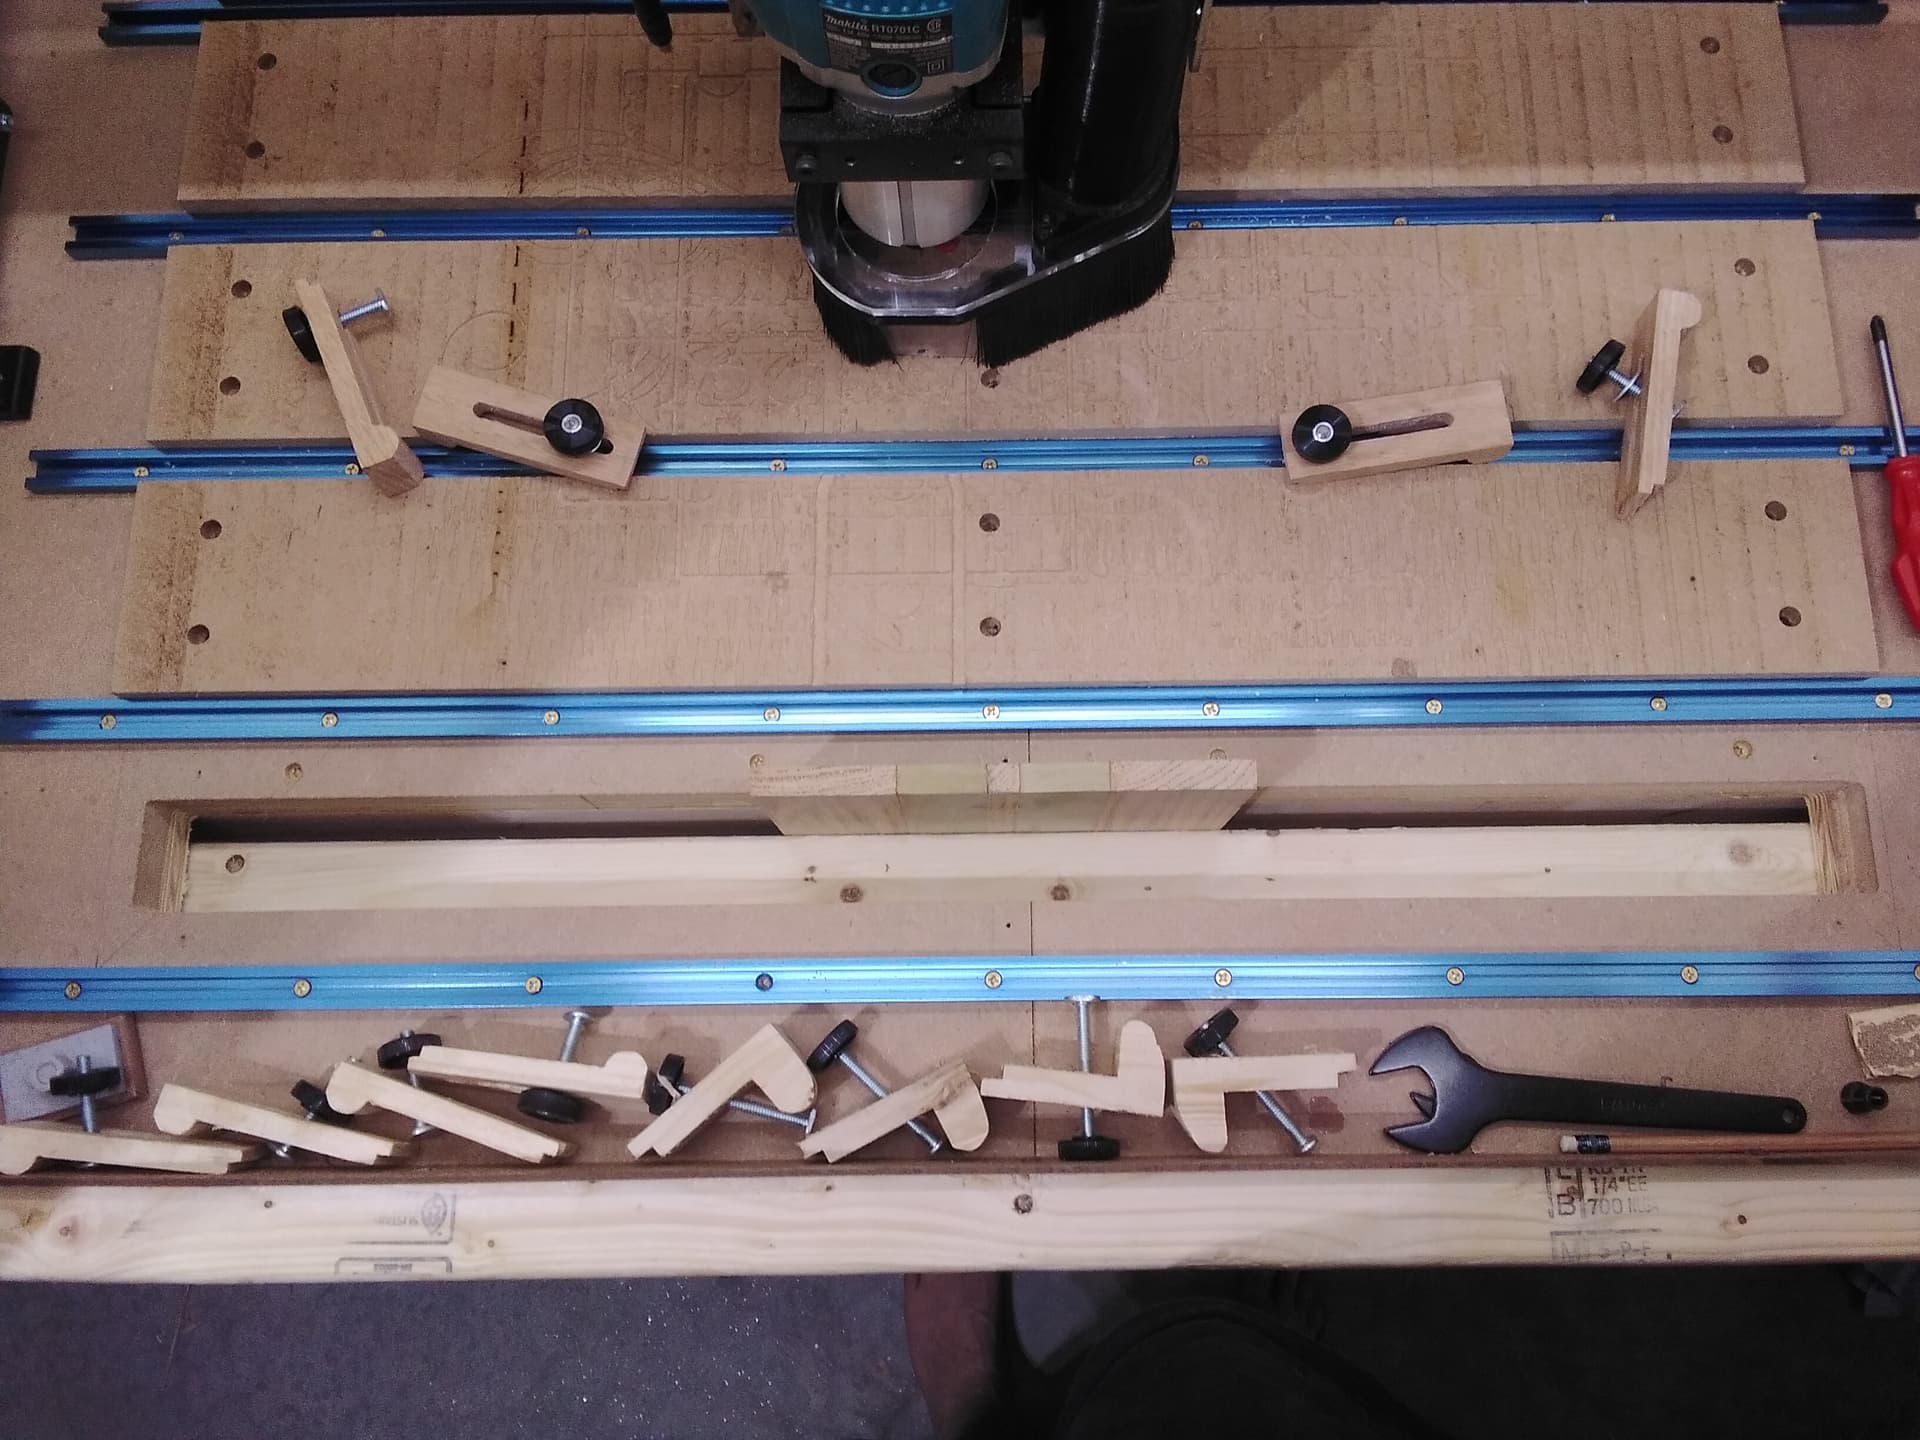
I have a 48 x 30 Longmill MK2 that I knew needed a good solid table like any CNC. However, I wanted the ability to clamp work pieces on end so I could cut accurate dovetails and box joints without dogbone cuts as will occur when they are cut horizontally. The opportunity exists because of the design of the Longmill where the x-axis gantry can move to the full length of the Y-axis rails. My tabletop will be 76" x 48" but it will have a removable section that is 36" x 12" and the opening below it will accommodate stock about 40" long (e.g., a cabinet side or a drawer side). Along with the removable section, the table features five drawers on each side of the recess, pull-out keyboard slides above the drawers and large cubbies on each end of the unit for the electronics and storage. Here are some SketchUp drawings with the full top in place and the filler section removed.
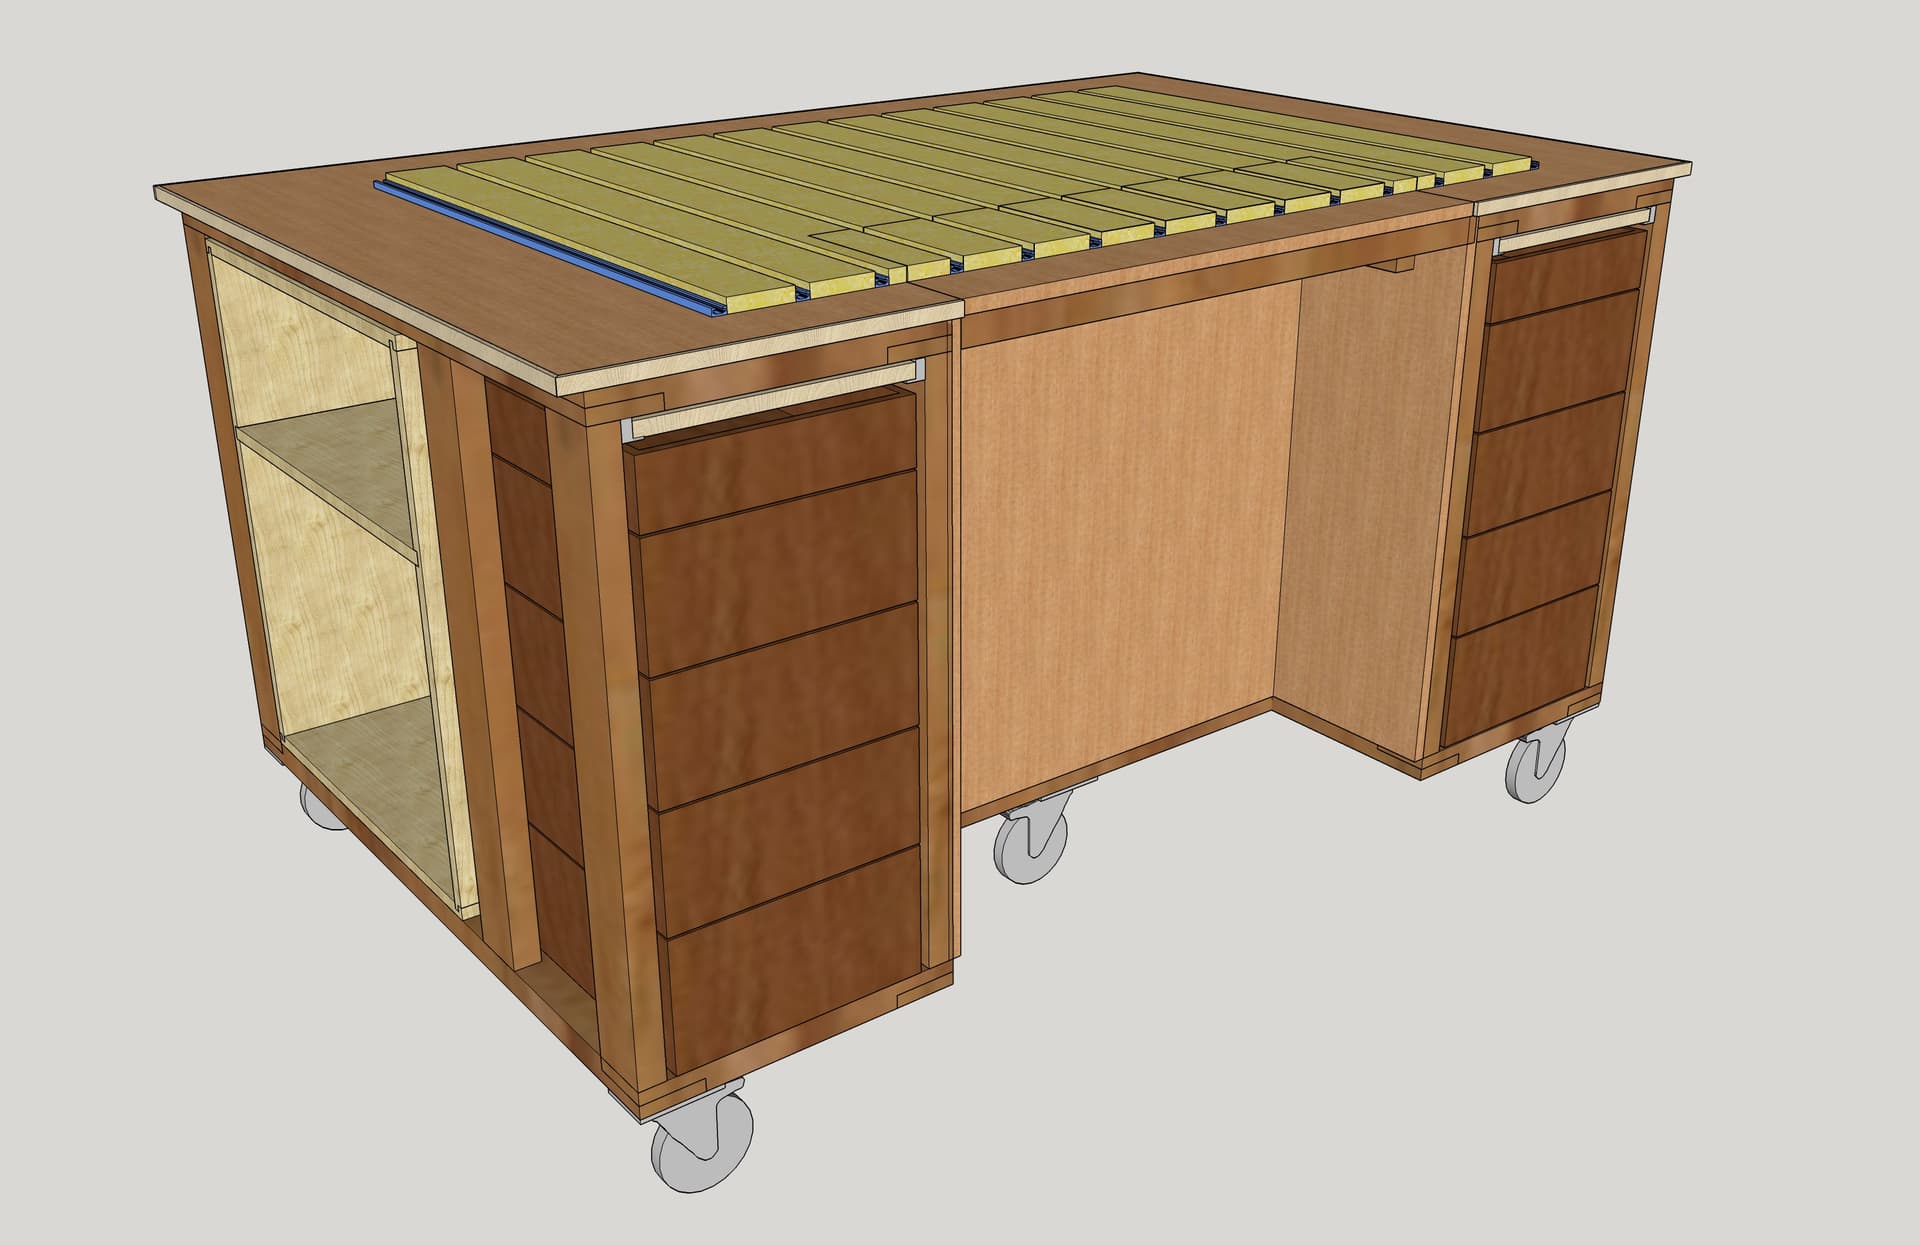
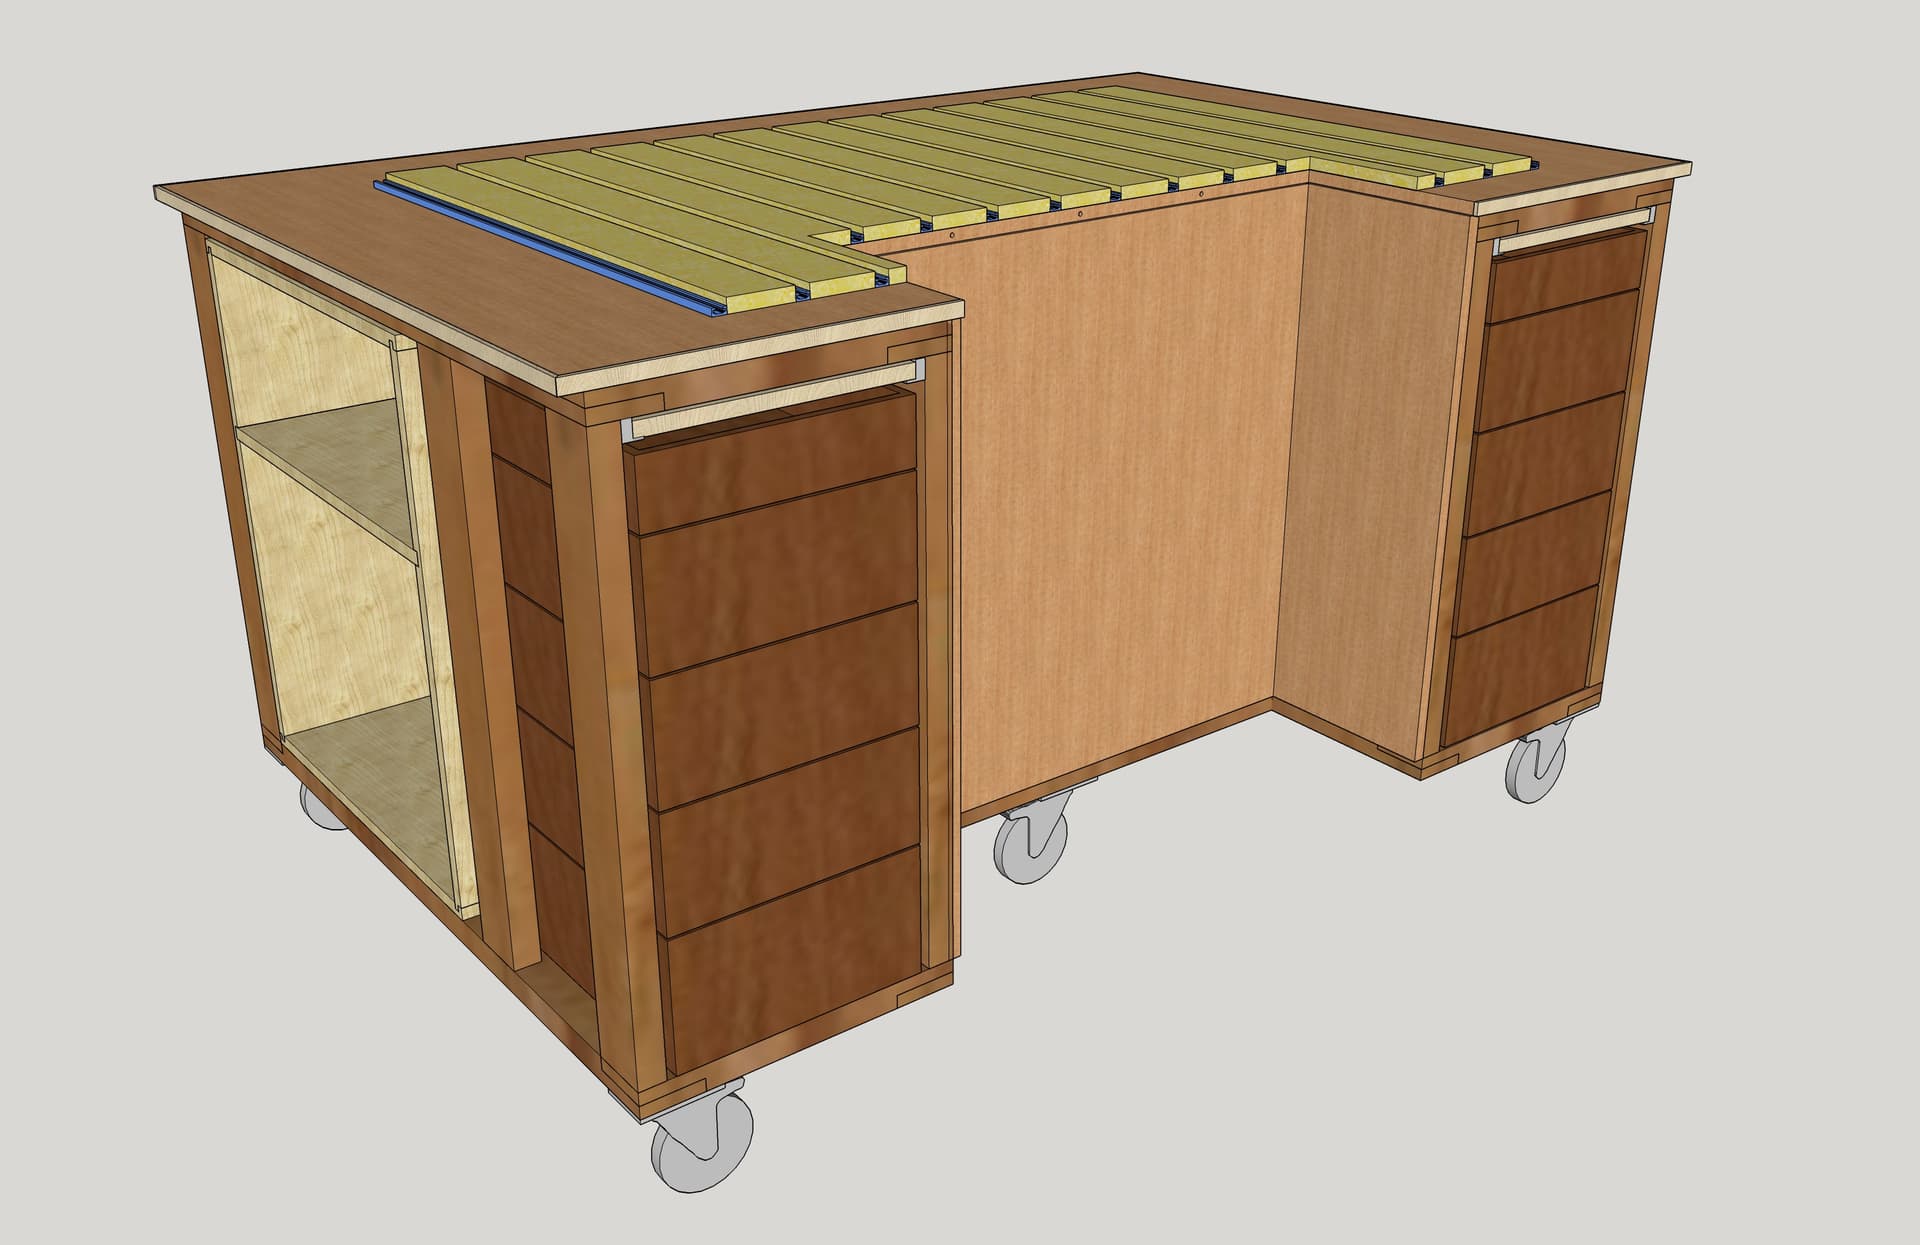
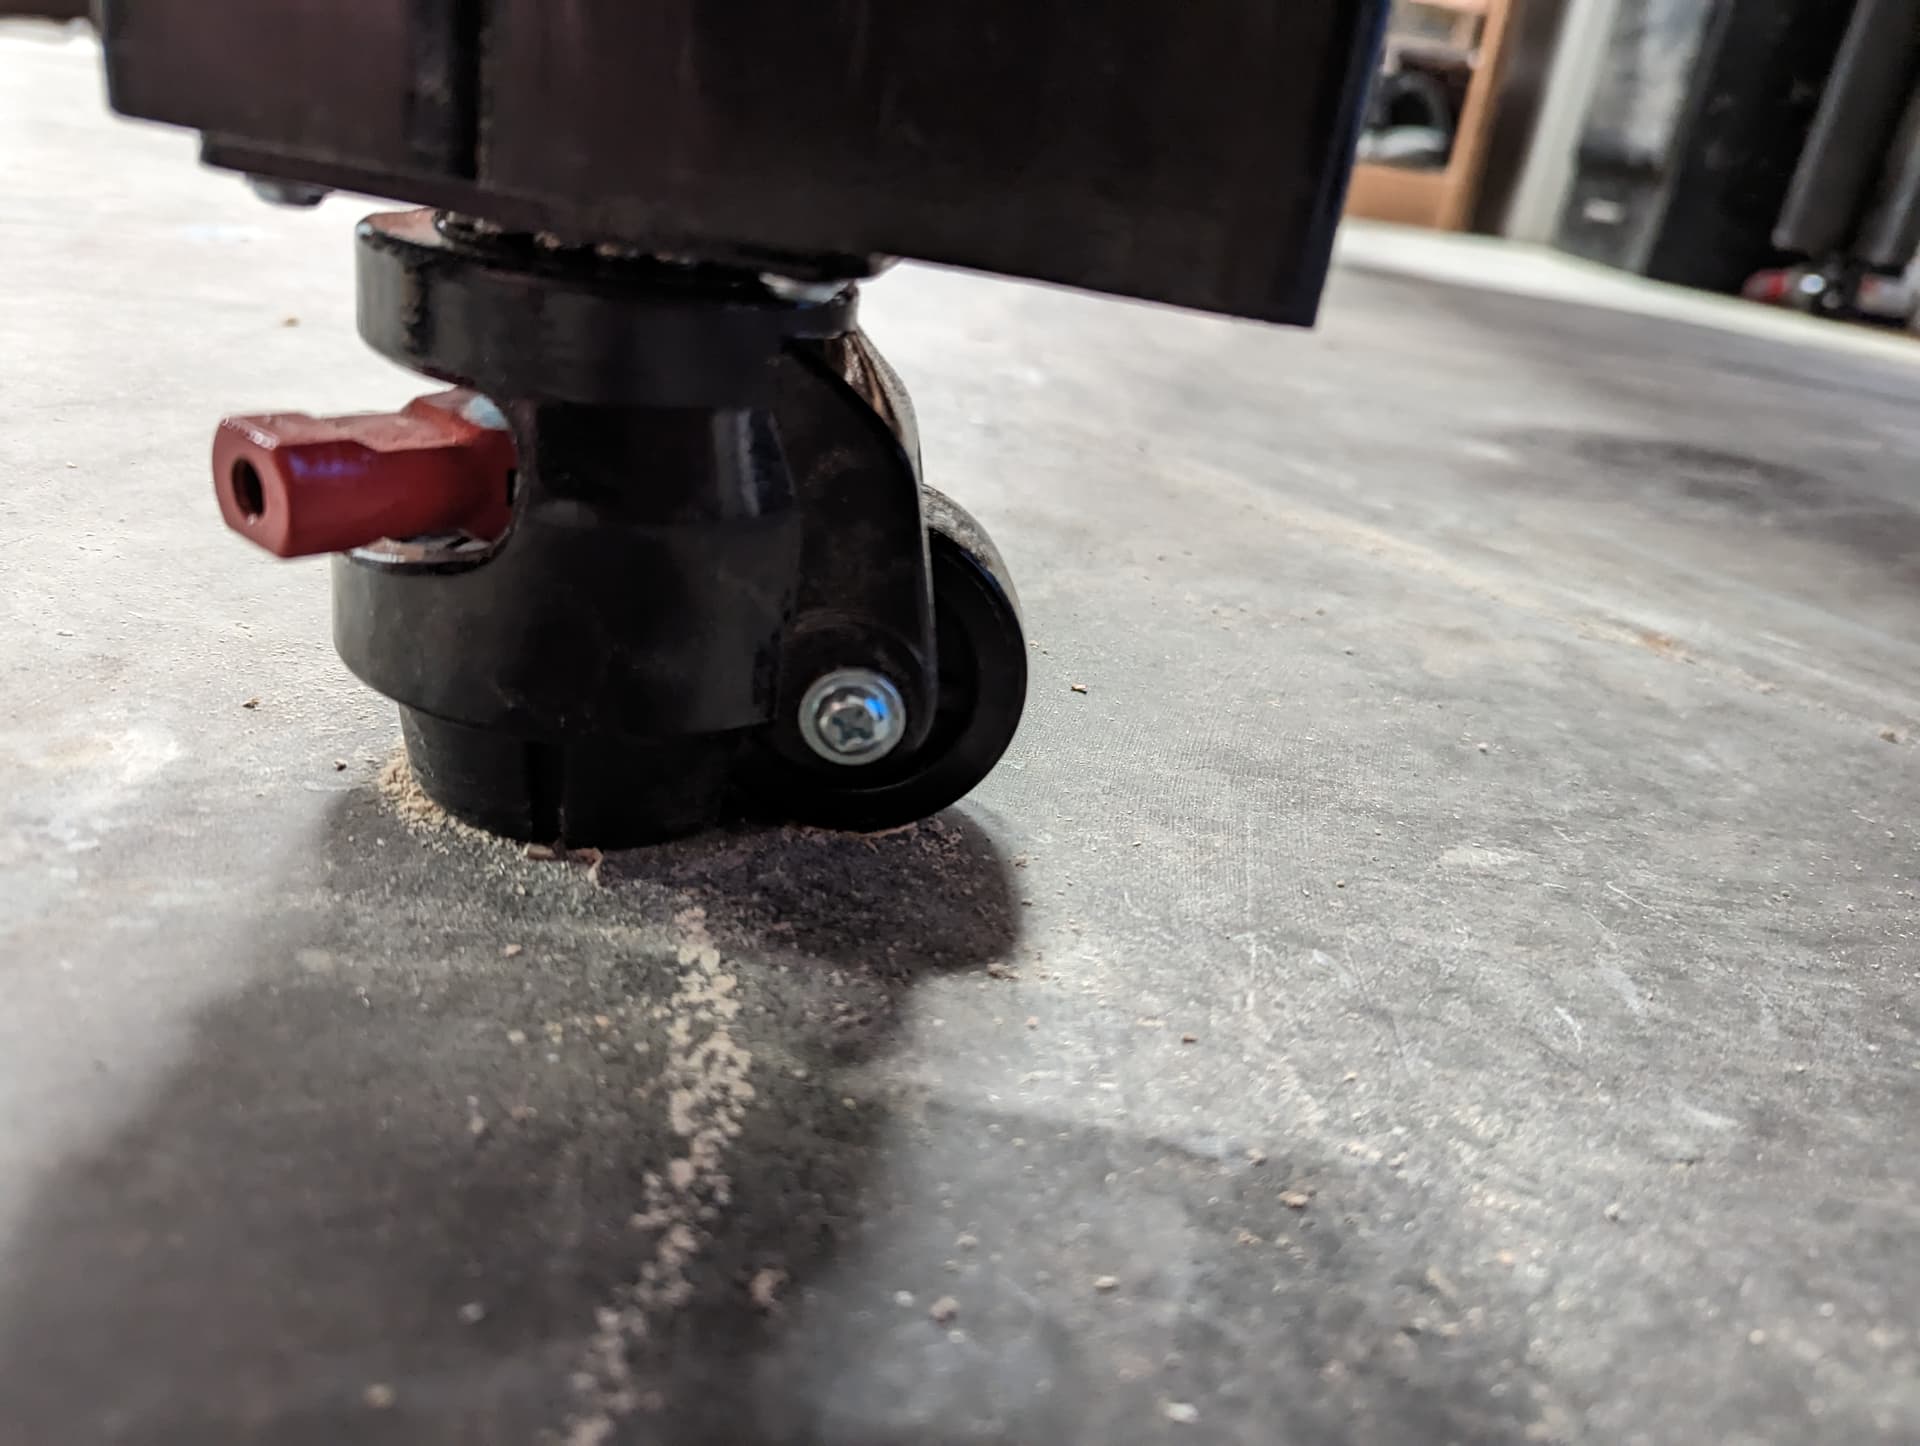
The frame is constructed of 2 x 4 stock with half-lap joints and it will be movable on six 5 inch lockable casters. Still need to work out the work holding details on the facing in the vertical section, but hopefully you get the gist of my design.
1 Like
A moxon vise works well for holding the vertical stock. I recently learned the name of the vise a year after I built mine! There are kits available online to make a moxon vise if you go that route.
I like the design of your table with all that storage space and the ability to hold vertical stock. I only have Vectric desktop so it takes a bit work to make the toolpaths for dovetails, no gadgets, but it can be done.
Be safe and have fun!
Michael
2 Likes
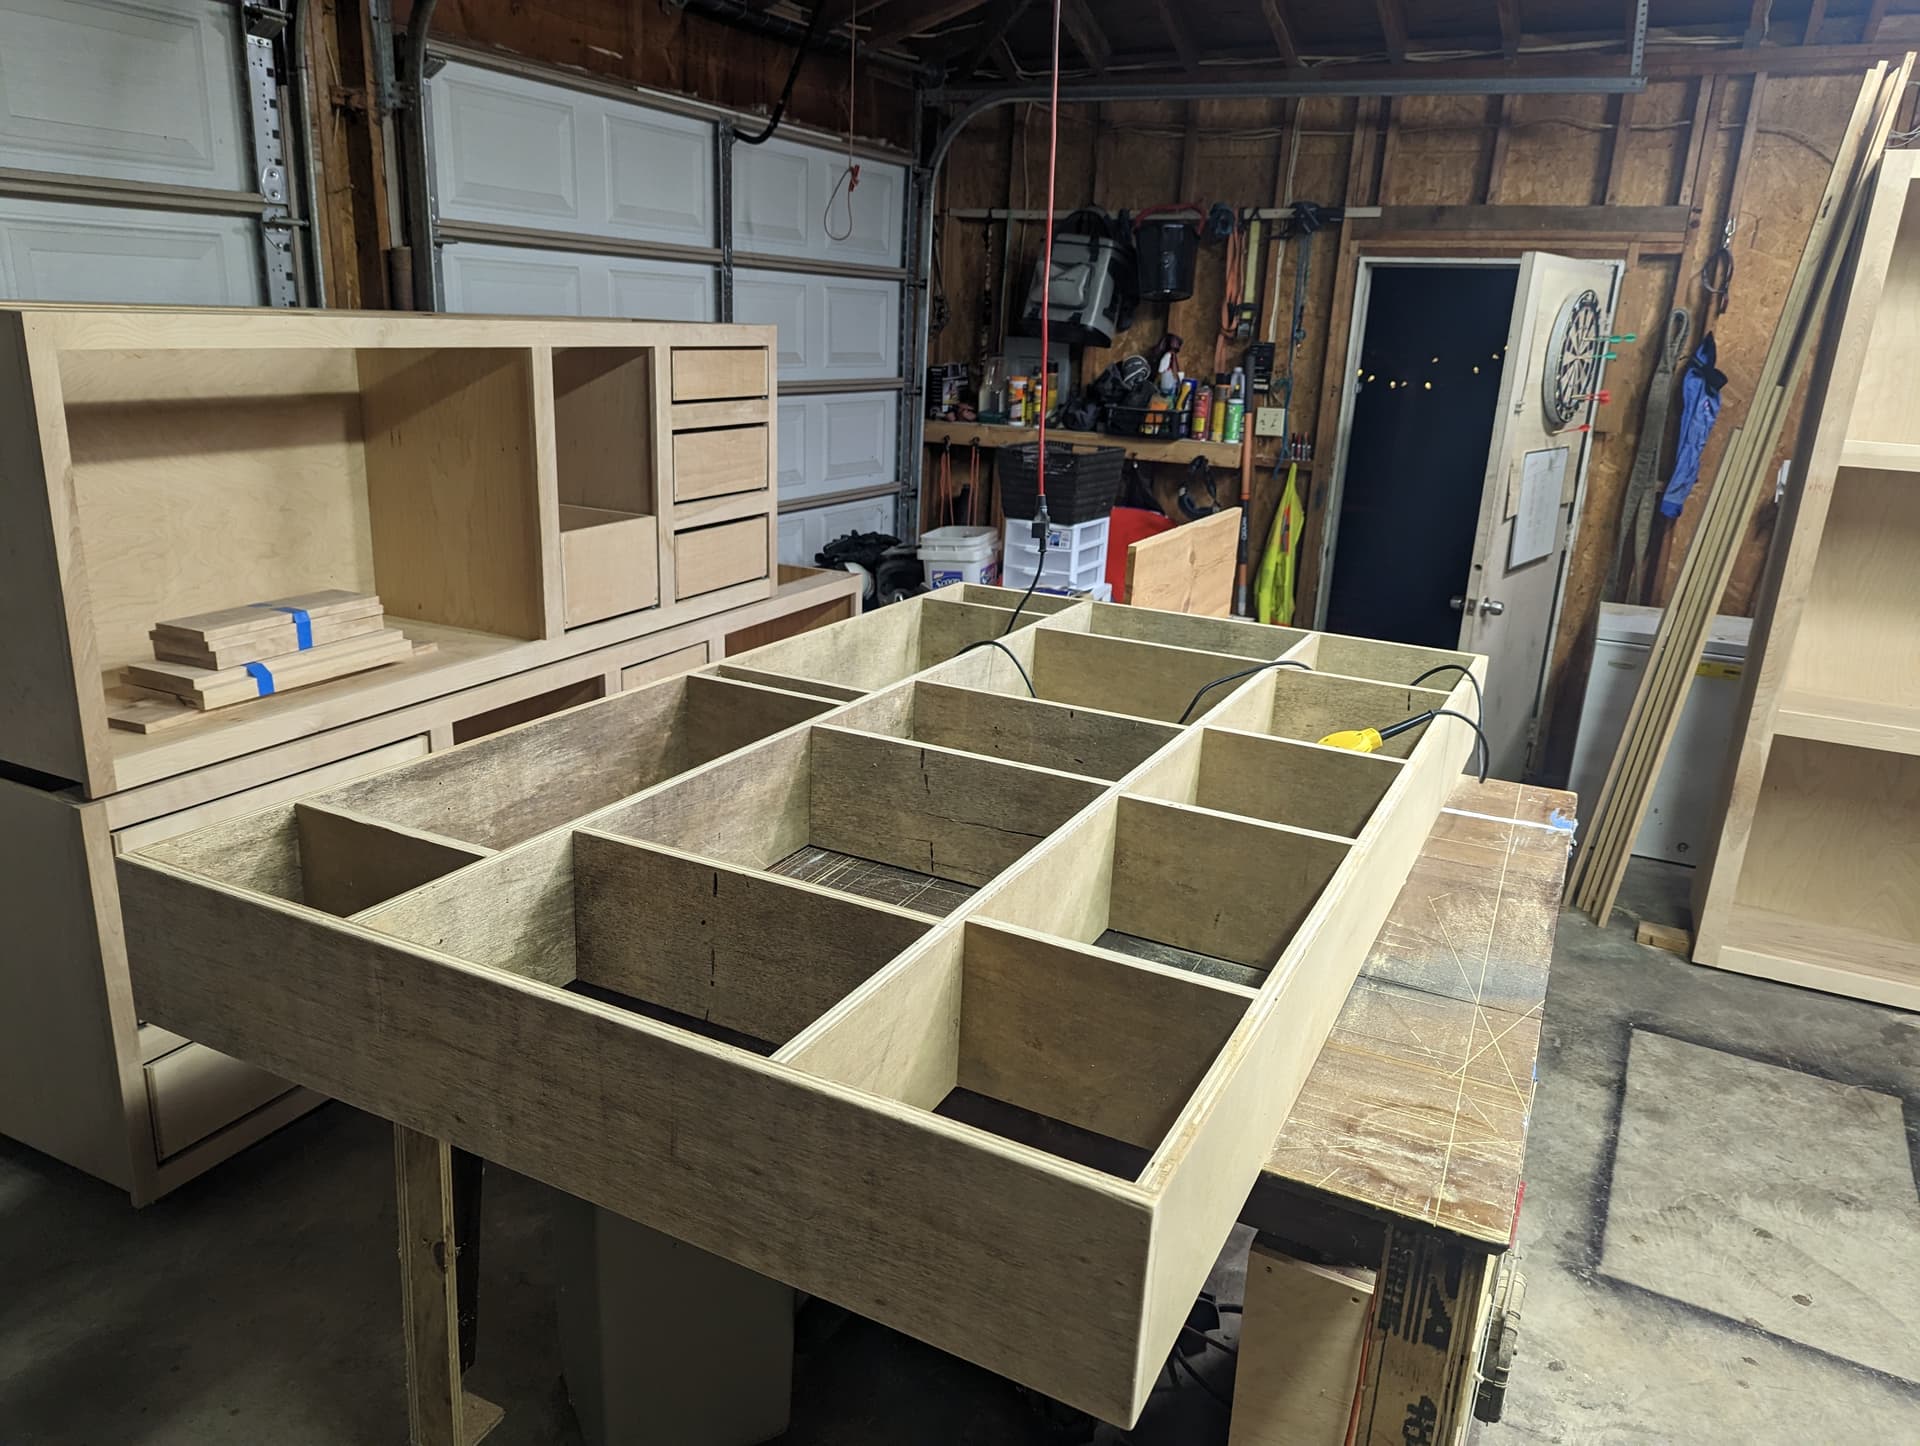
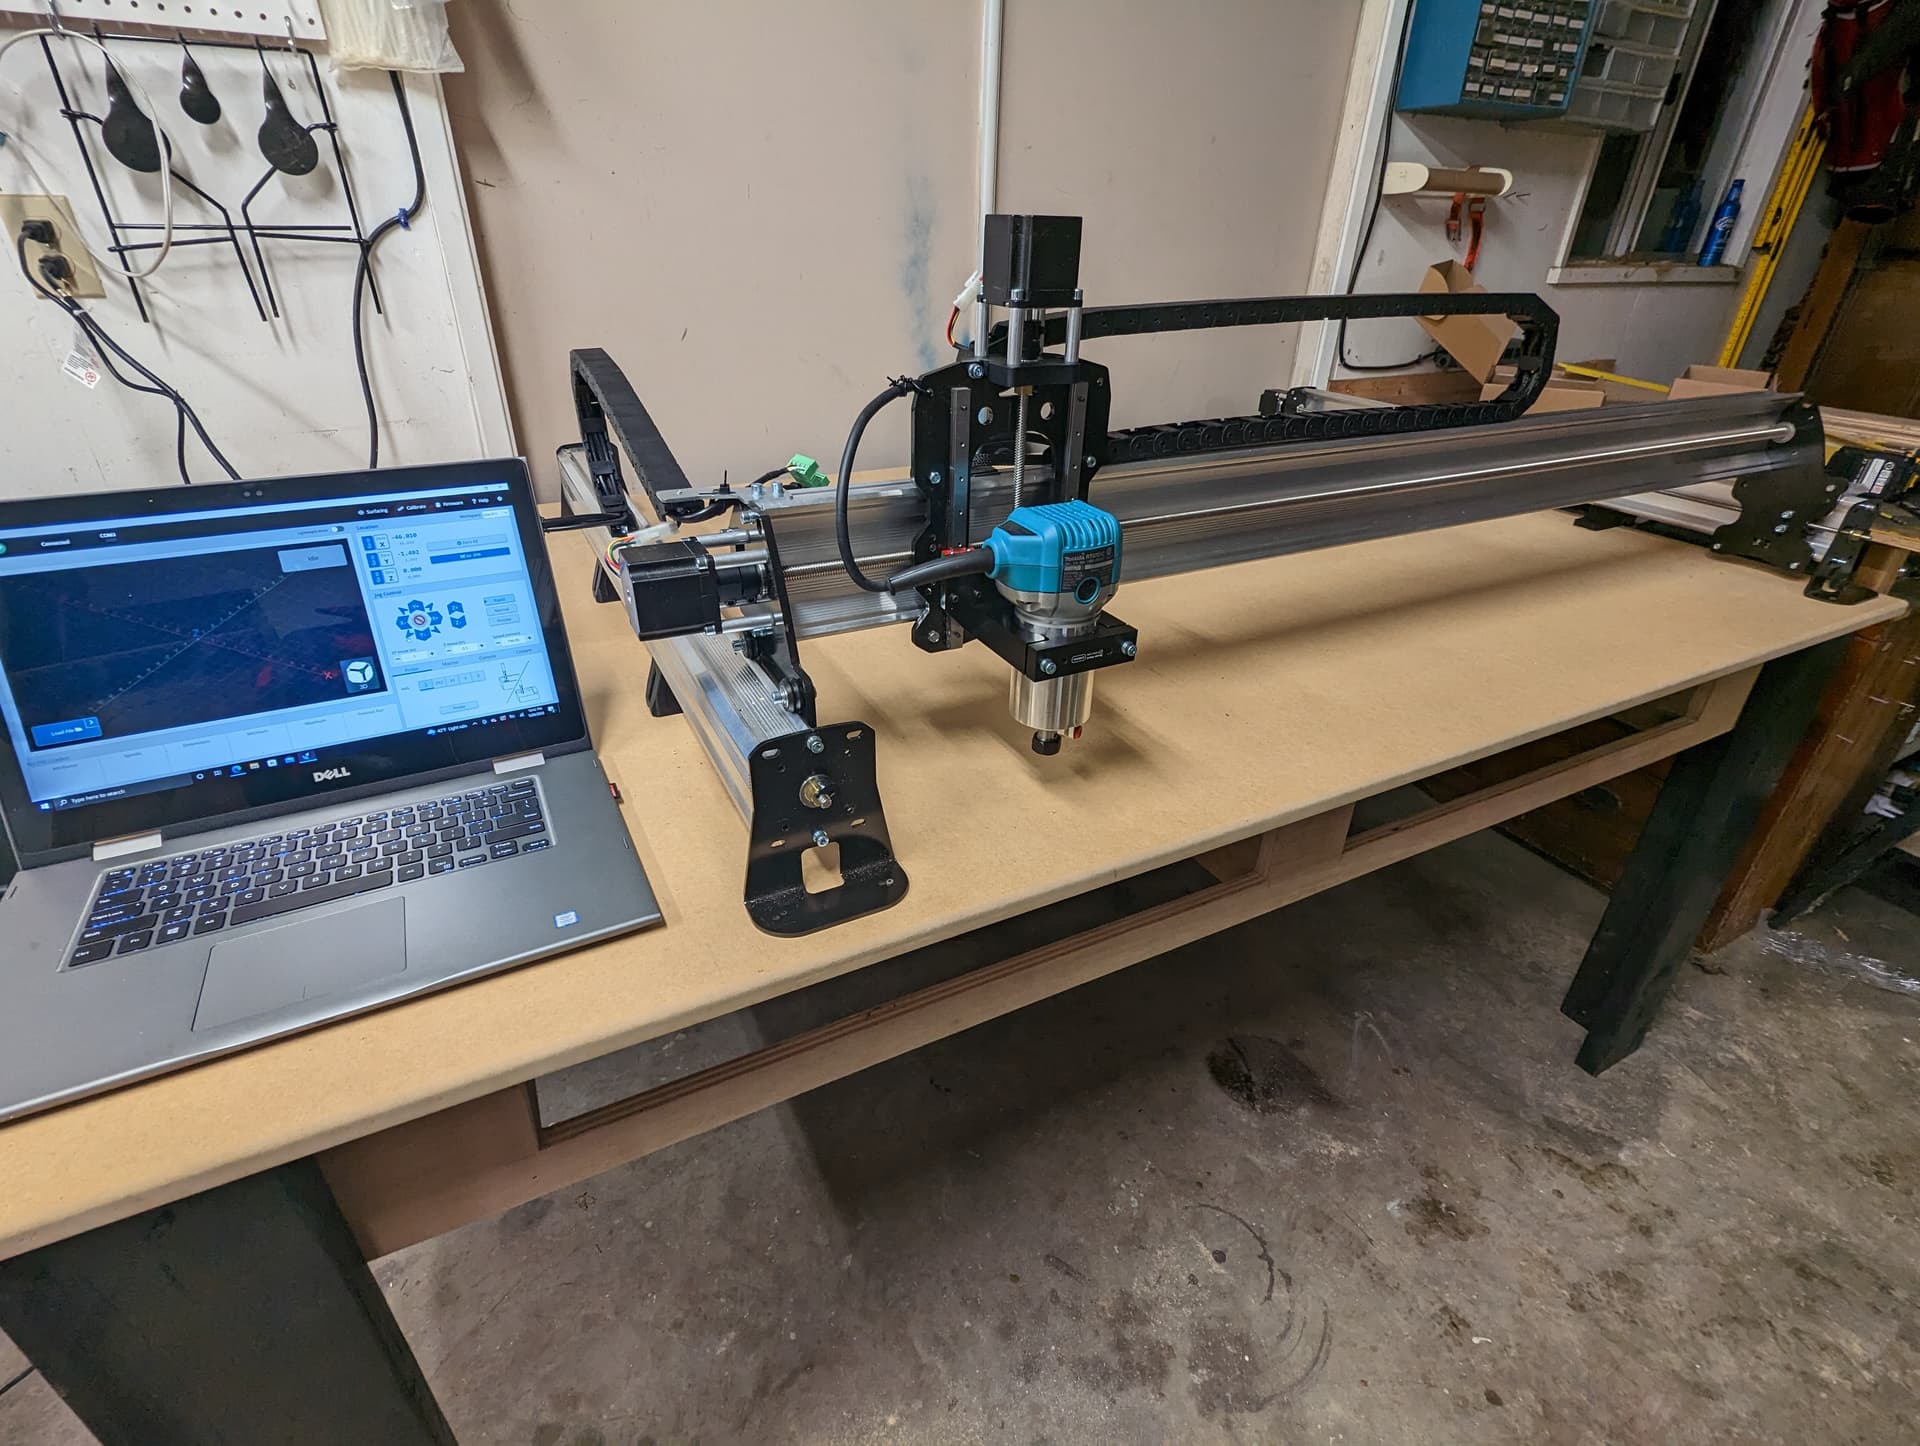
Table still isn’t complete, but longmill showed up, so my impatience made me assemble it! Still some dialing in to do, as well as waste board, and finish table… But it’s coming along.
2 Likes
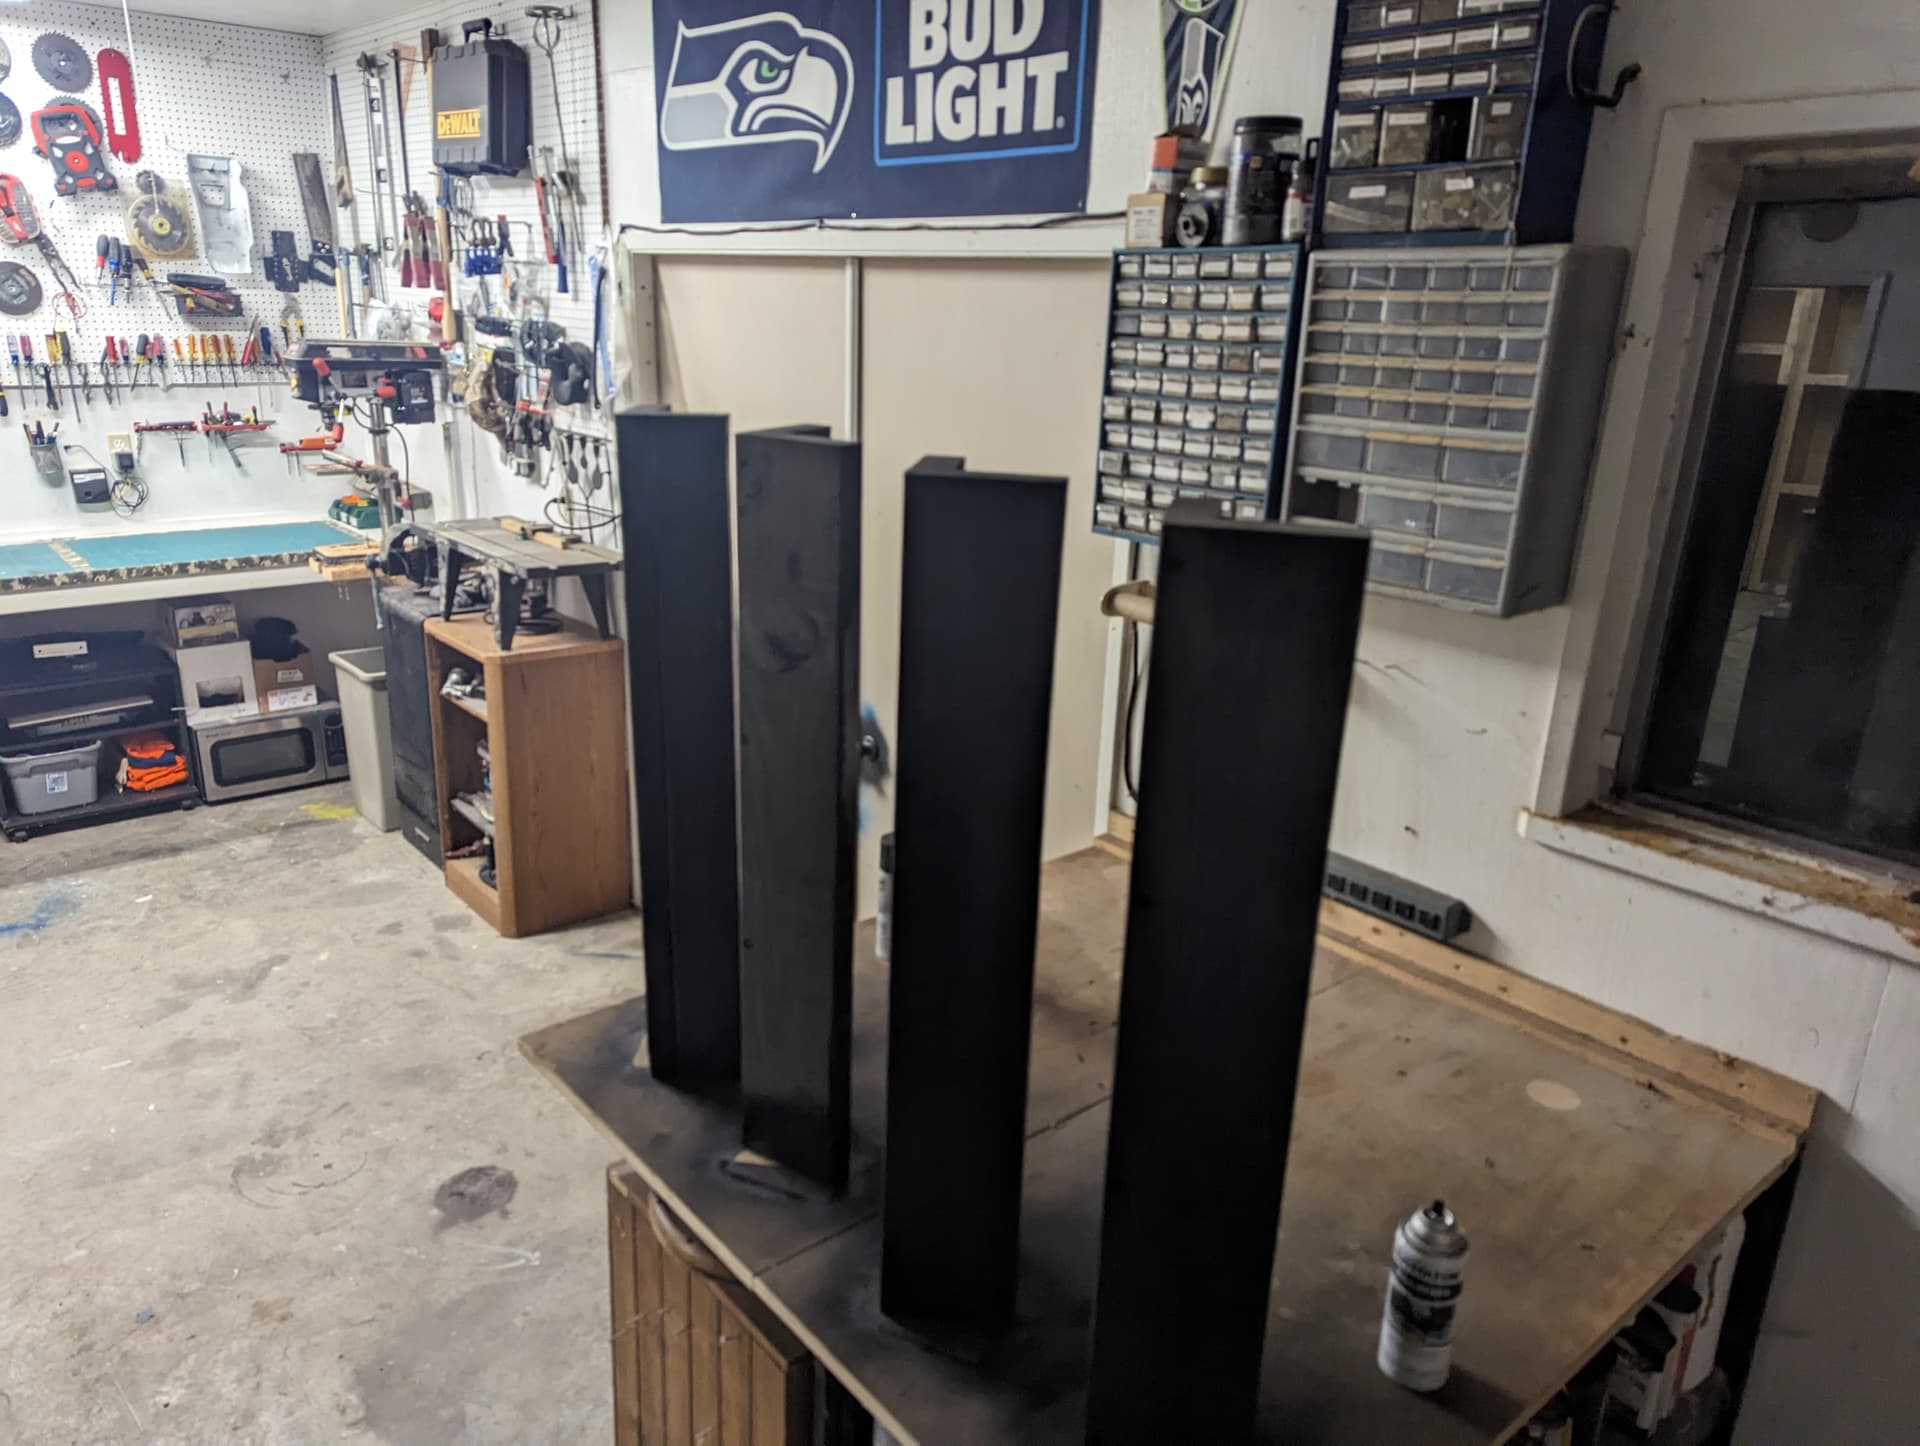
Getting further along on the table, and cut a few projects to test it out. So far so good. The laptop stand was project #1.
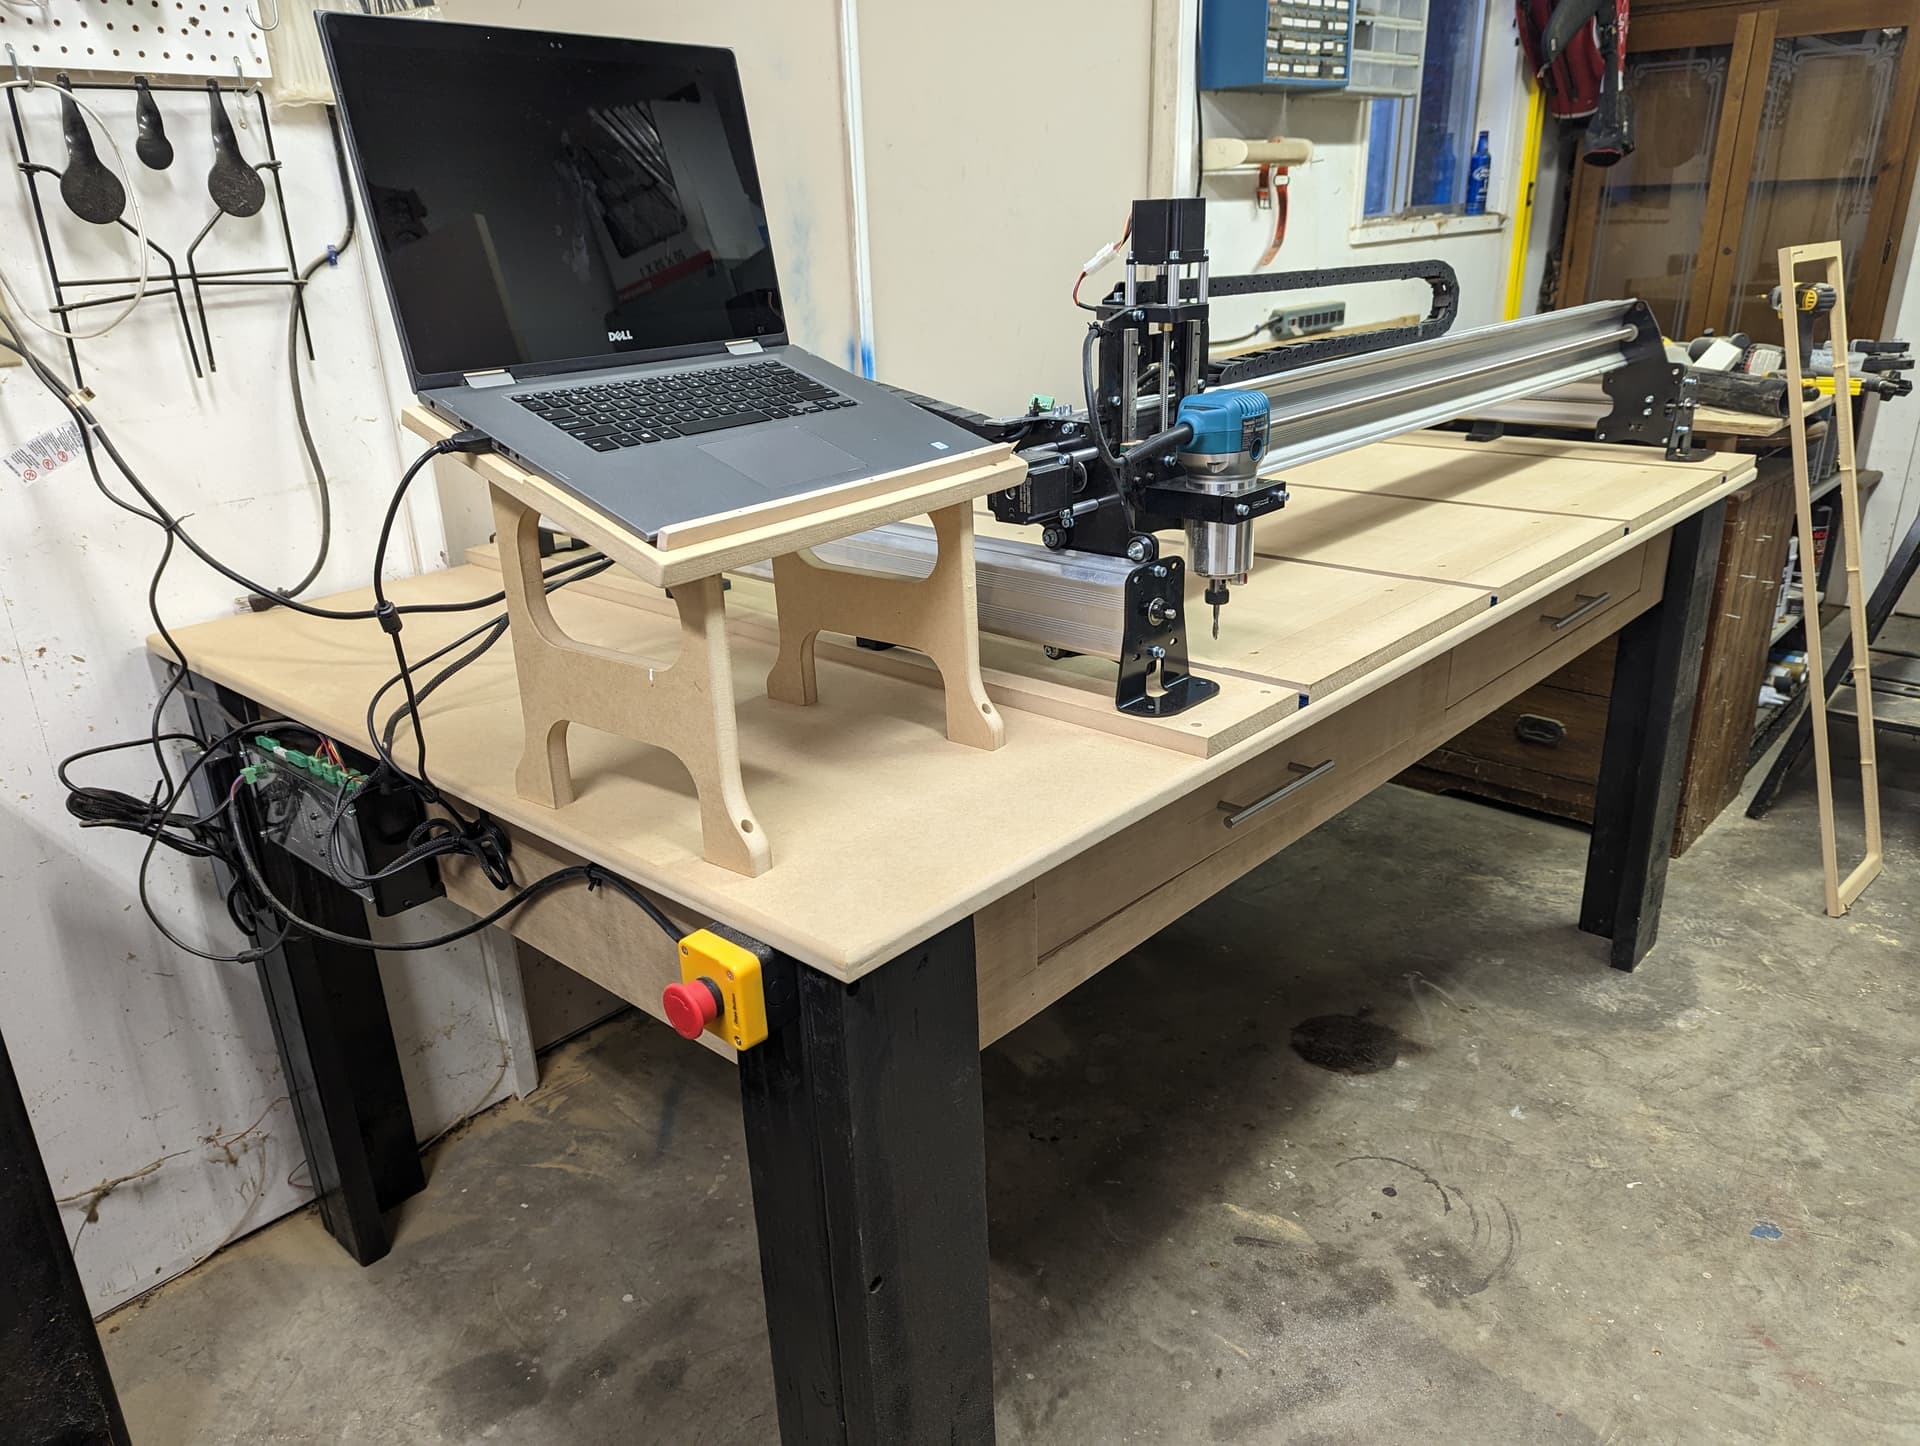
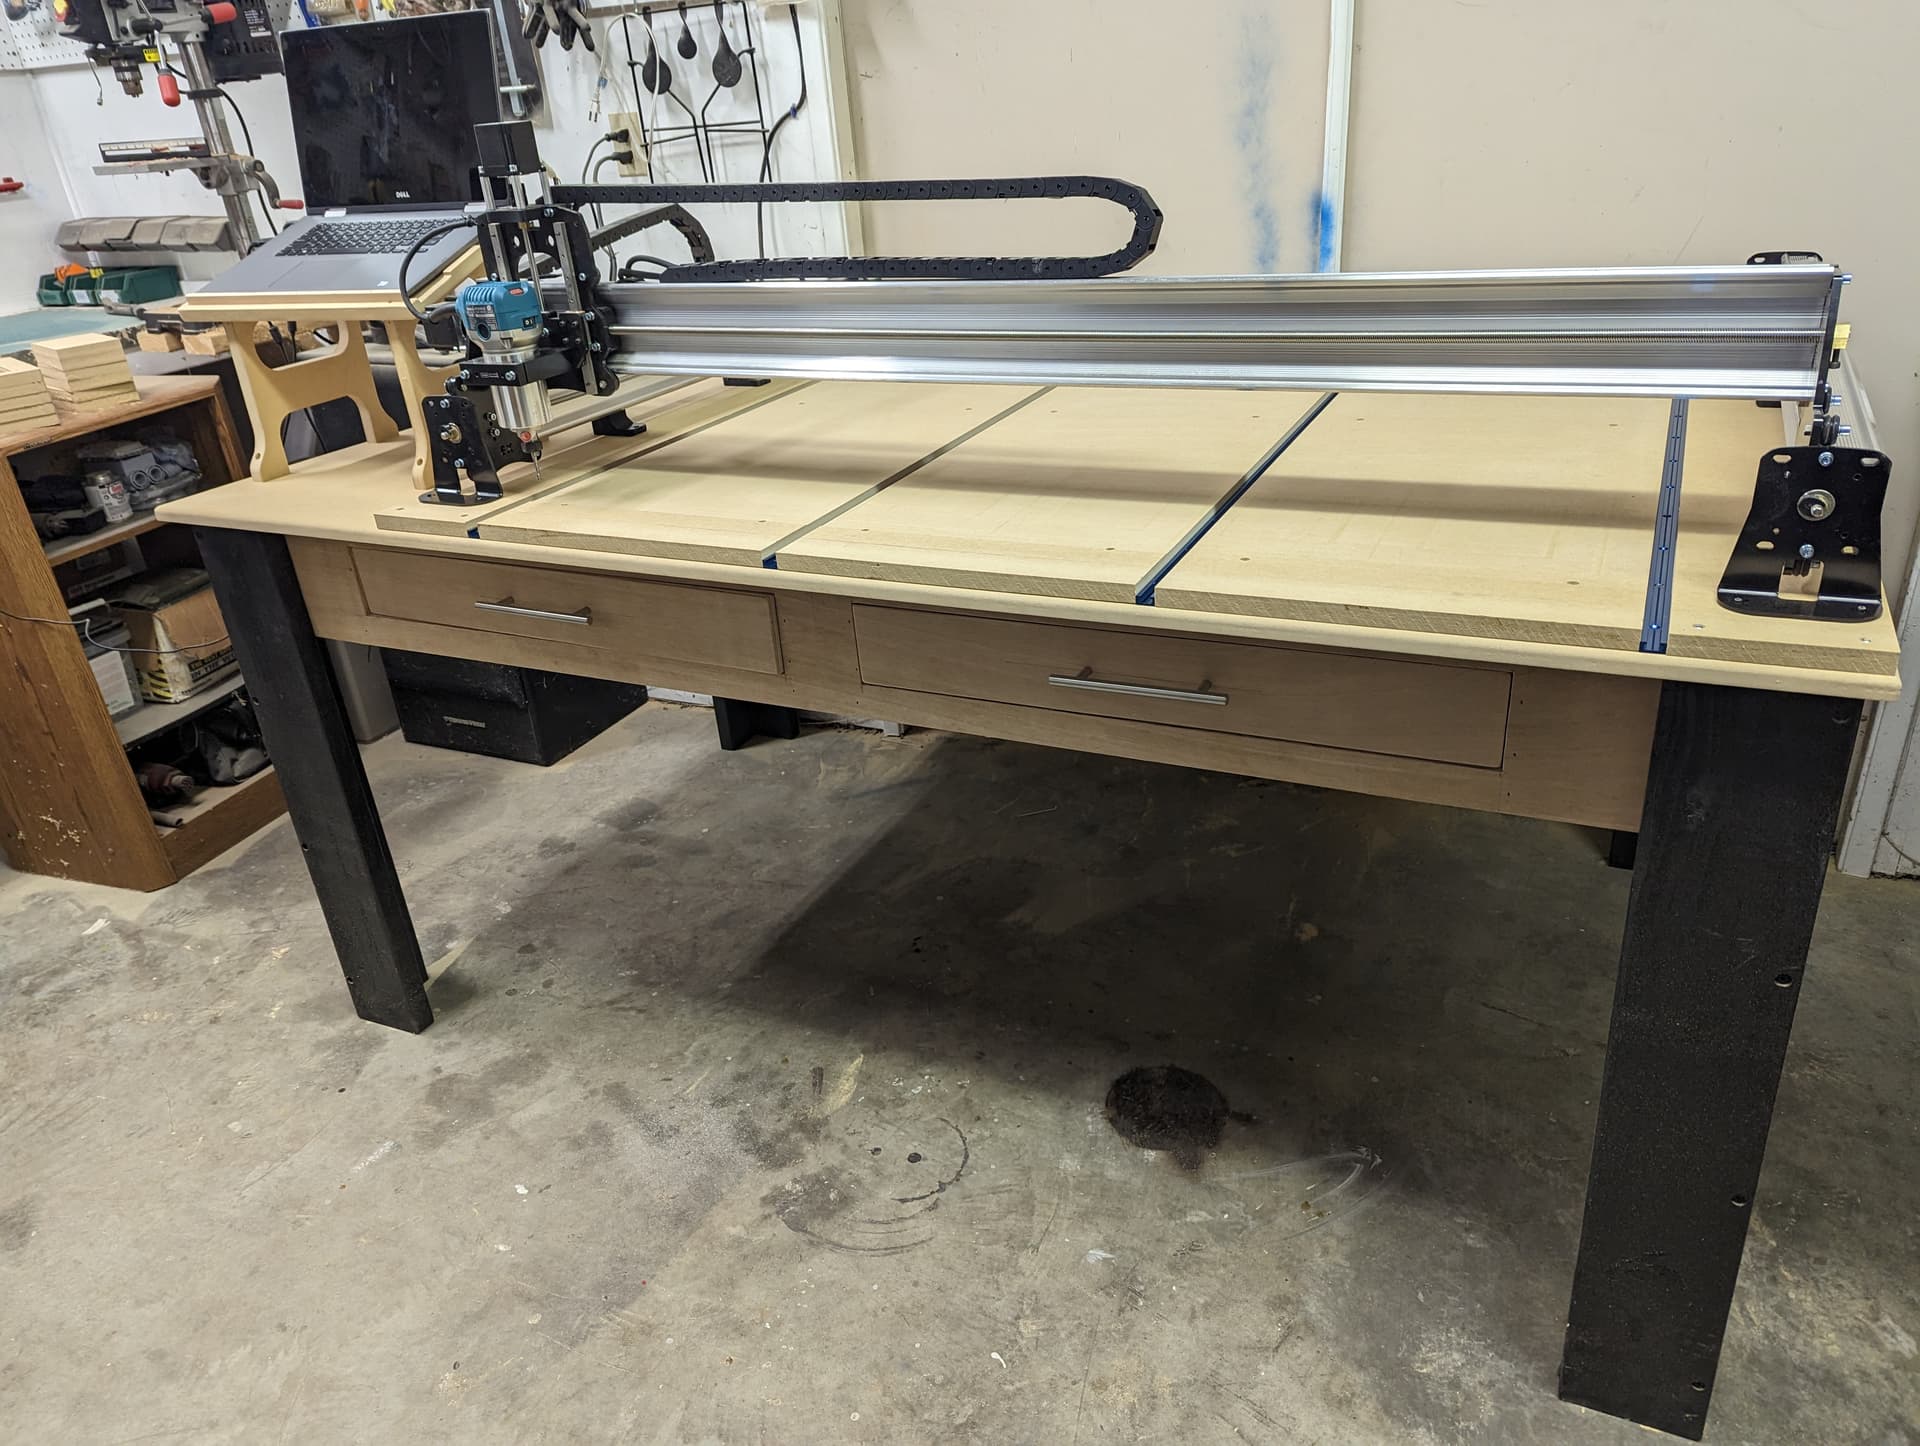
6 Likes
@jphilly I really like your laptop stand! Getting it off the table top helps keep it somewhat clean. Very nice!
Jake
Thanks and yes, since I didn’t add the dust covers it was shooting saw dust straight at it… And I have yet to put the dust boot on, so I figured the laptop stand would be a good first project ![]()
Just a suggestion about your cut out section, why not hinge it so that you could use the track system you already have. You’d just need to lock it down and you could use the hold downs you have. Nice table design you’ve come up wiith.
Good suggestion. My initial concern is having support under the filler piece in the horizontal position and getting that support out of the way when folded down. I’ll work it out.
Any thoughts on running the T track length wise on a 30 x 48 Longmill MK2? So the tracks would be 48" rather than 30".
I only have a 30x30 but I ran my T tracks from side to side rather than front to back. I did it because I wanted the removable first section to hide my vertical clamping rig. It has worked out well and I have never wished that my tracks went the other way.
1 Like
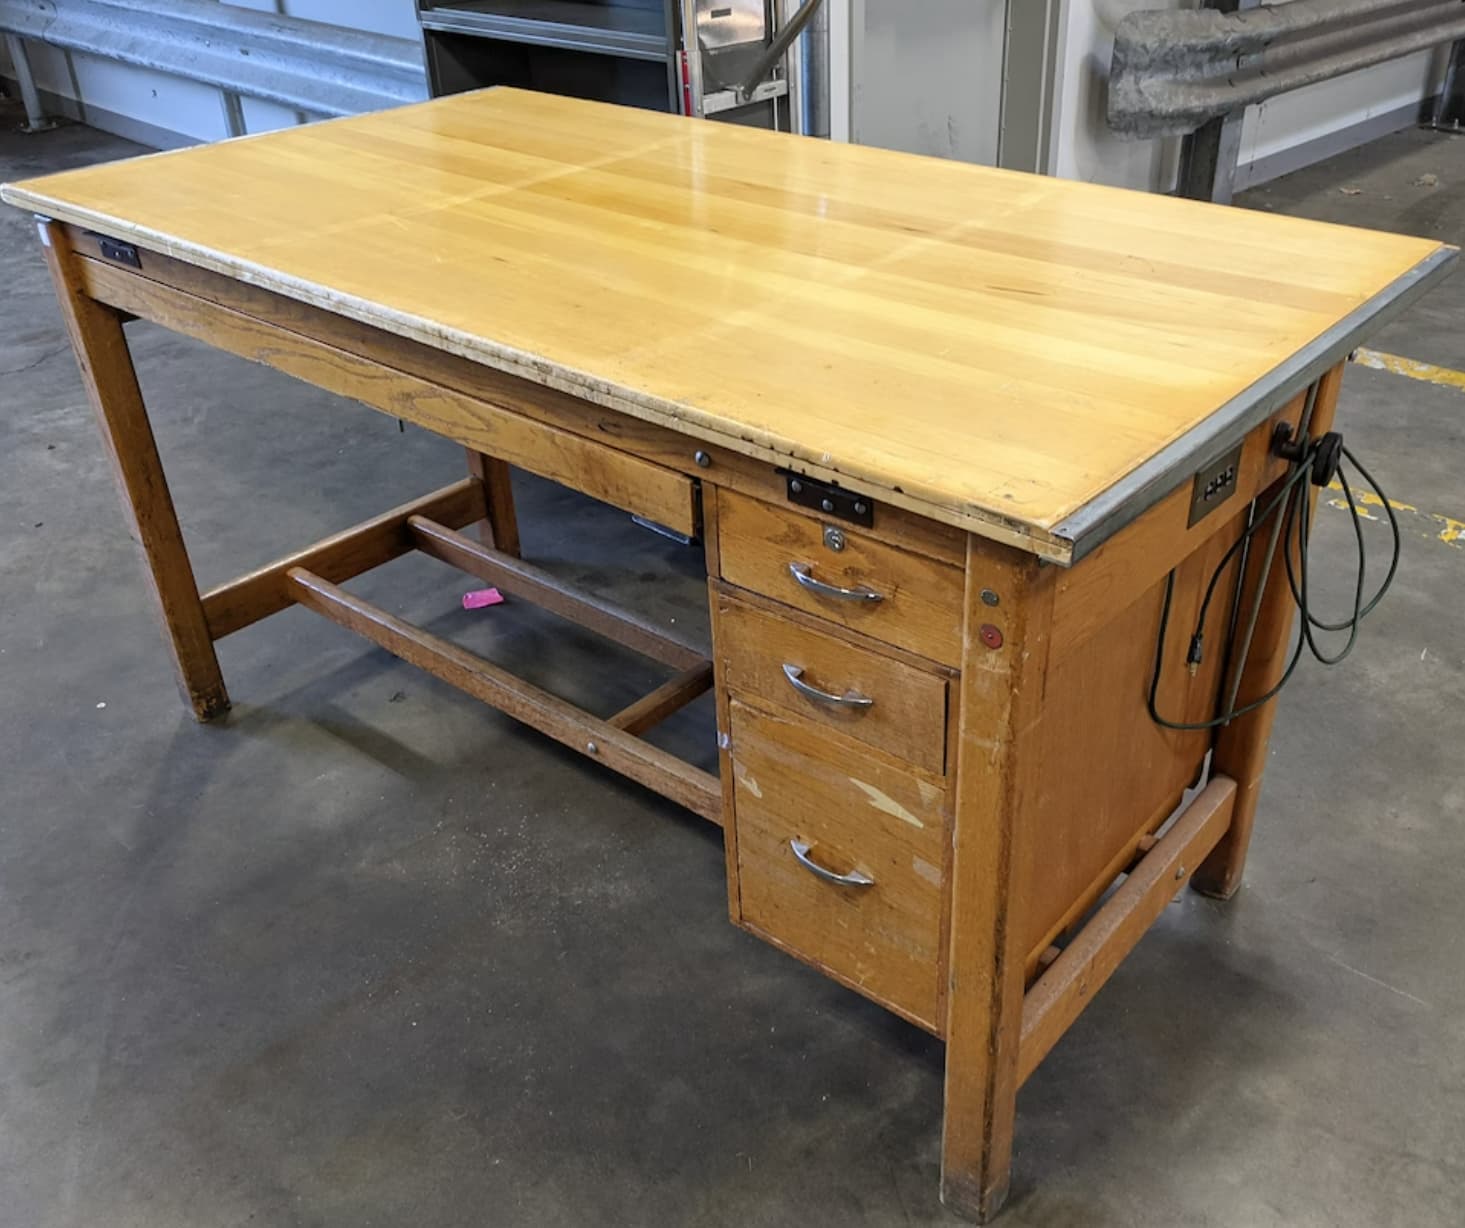
Thanks for this tip btw. Was trying to decide on a table build ahead of my order but really didn’t want to spend 400 on materials to build a work surface. Ended up finding a vintage Mayline Drafting table for $40 that looks like the attached. Its a bit shallow (38") but can modify the top a bit to extend it and then overlay it all with an MDF surface. Huge thanks!
4 Likes
I ordered a 30x48 MK2 and is scheduled to arrive today. I only have 4- 48" T Tracks and plan to run them length wise. Question what would be a good width between them? Wondering if I should run 1 on each outside edge or close to the edge and evenly space the other 2 or only say 6" apart in front to allow for additional ones later? Is 6" a good amount or should I go narrower or farther apart? Thanks for any feedback back.