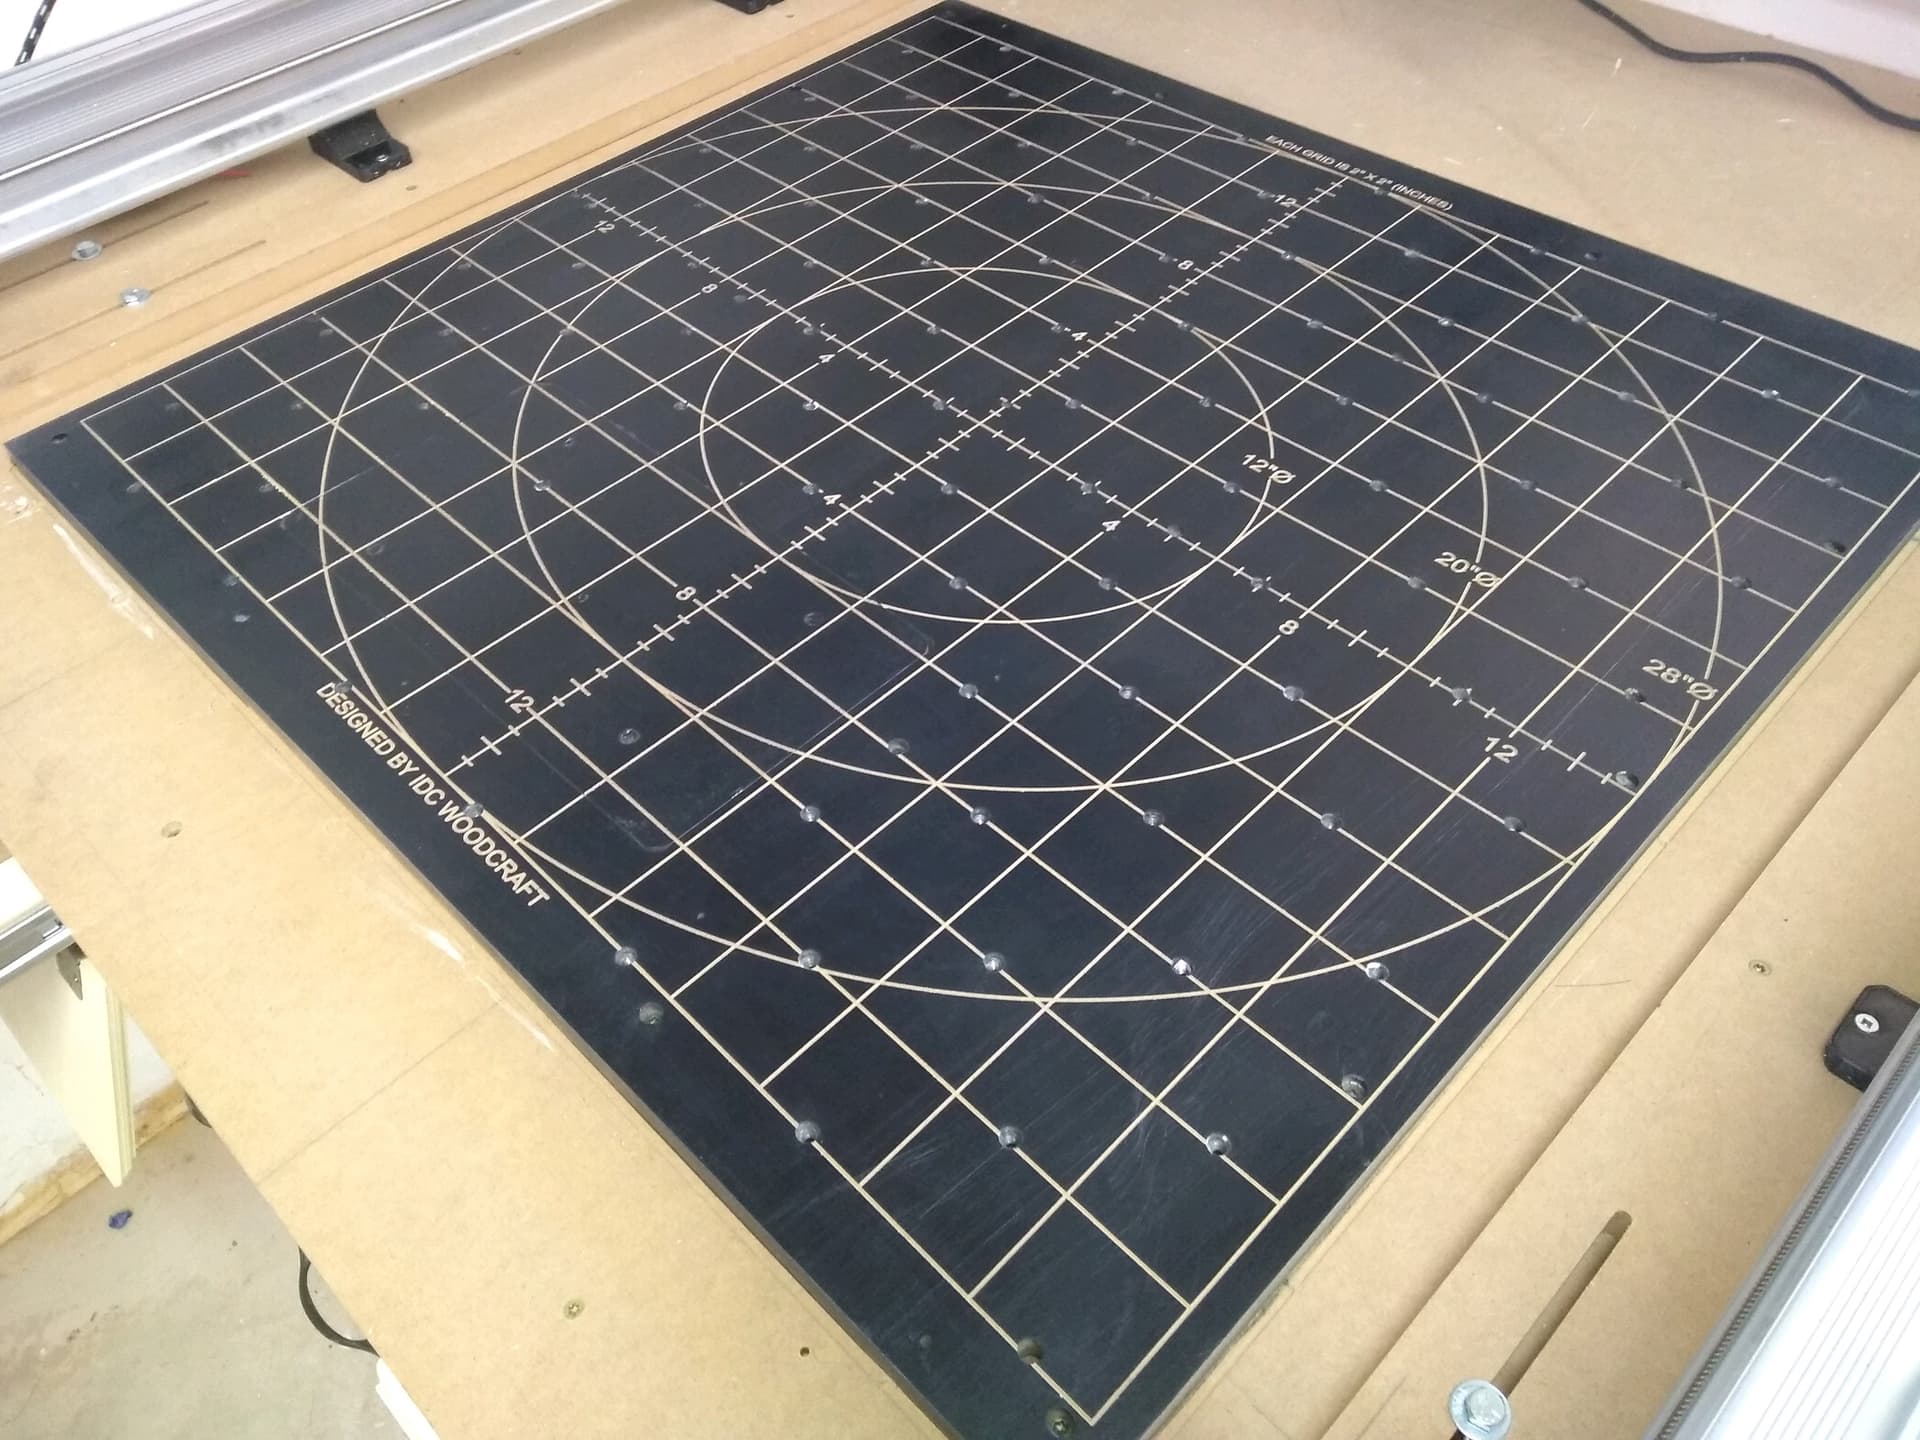
Nice looking table you’ve made, Mike! Hope that the tabletop will be rigid enough to withstand warping. (I see several screw holes located in a grid pattern across the top, which suggests you’ve got some degree of a gridwork there)
Thank you. The table does have supports and it is very rigid. I hope it is enough. I have also made a few modifications to the table. I have taken the top center drawer out made a hole in the top wasteboard, I have placed a small scissor jack in it braced from below. I will make it so I can lower it enough to put a roller in it to use with the laser and when done take the roller out and move that part of the waste board back into place.
So far the jack is mounted and all seems to be working. The system is scheduled to arrive today and after I get it set up I will machine and surface the wasteboard and we should be set. I will let you know how it goes. If it works I will send pictures…
Thanks Jake. I have mentioned in a few places that the holes in the board for the hold downs have different spacing on the X axis than the Y. I’m not sure why but before you cut yours you might want to double check the spacing. It is going to make it a pain to make jigs that will work in both directions.
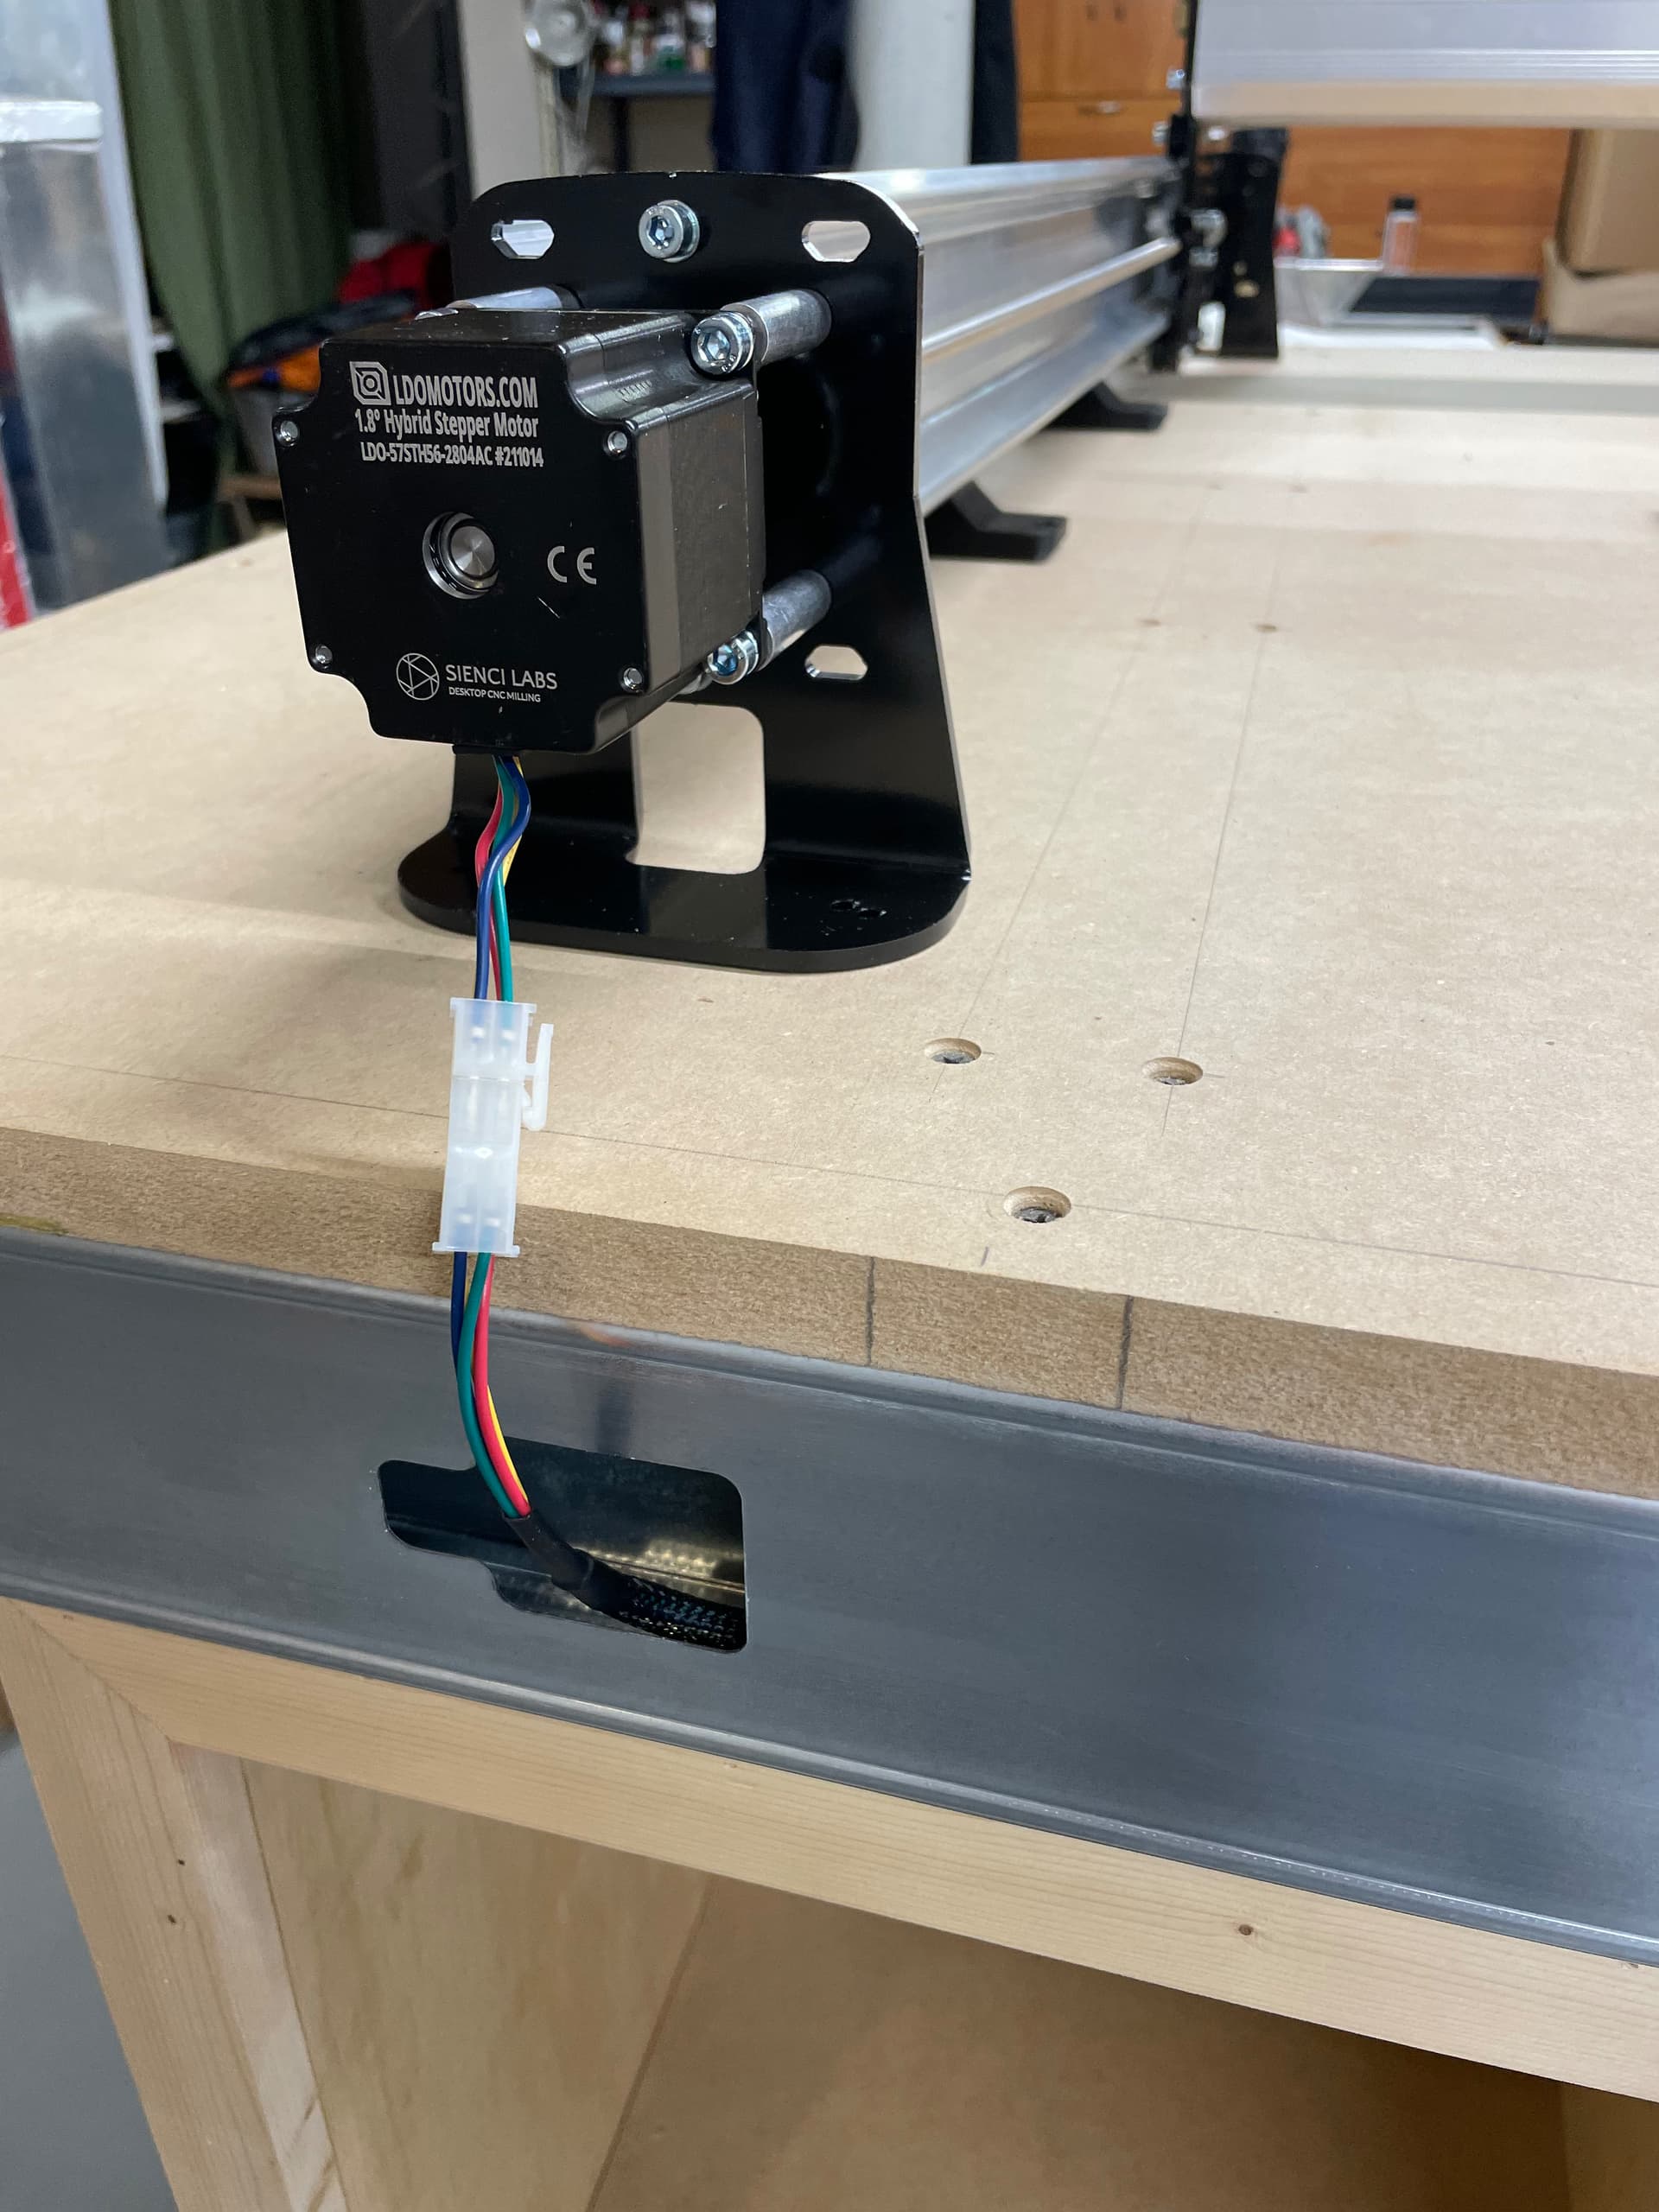
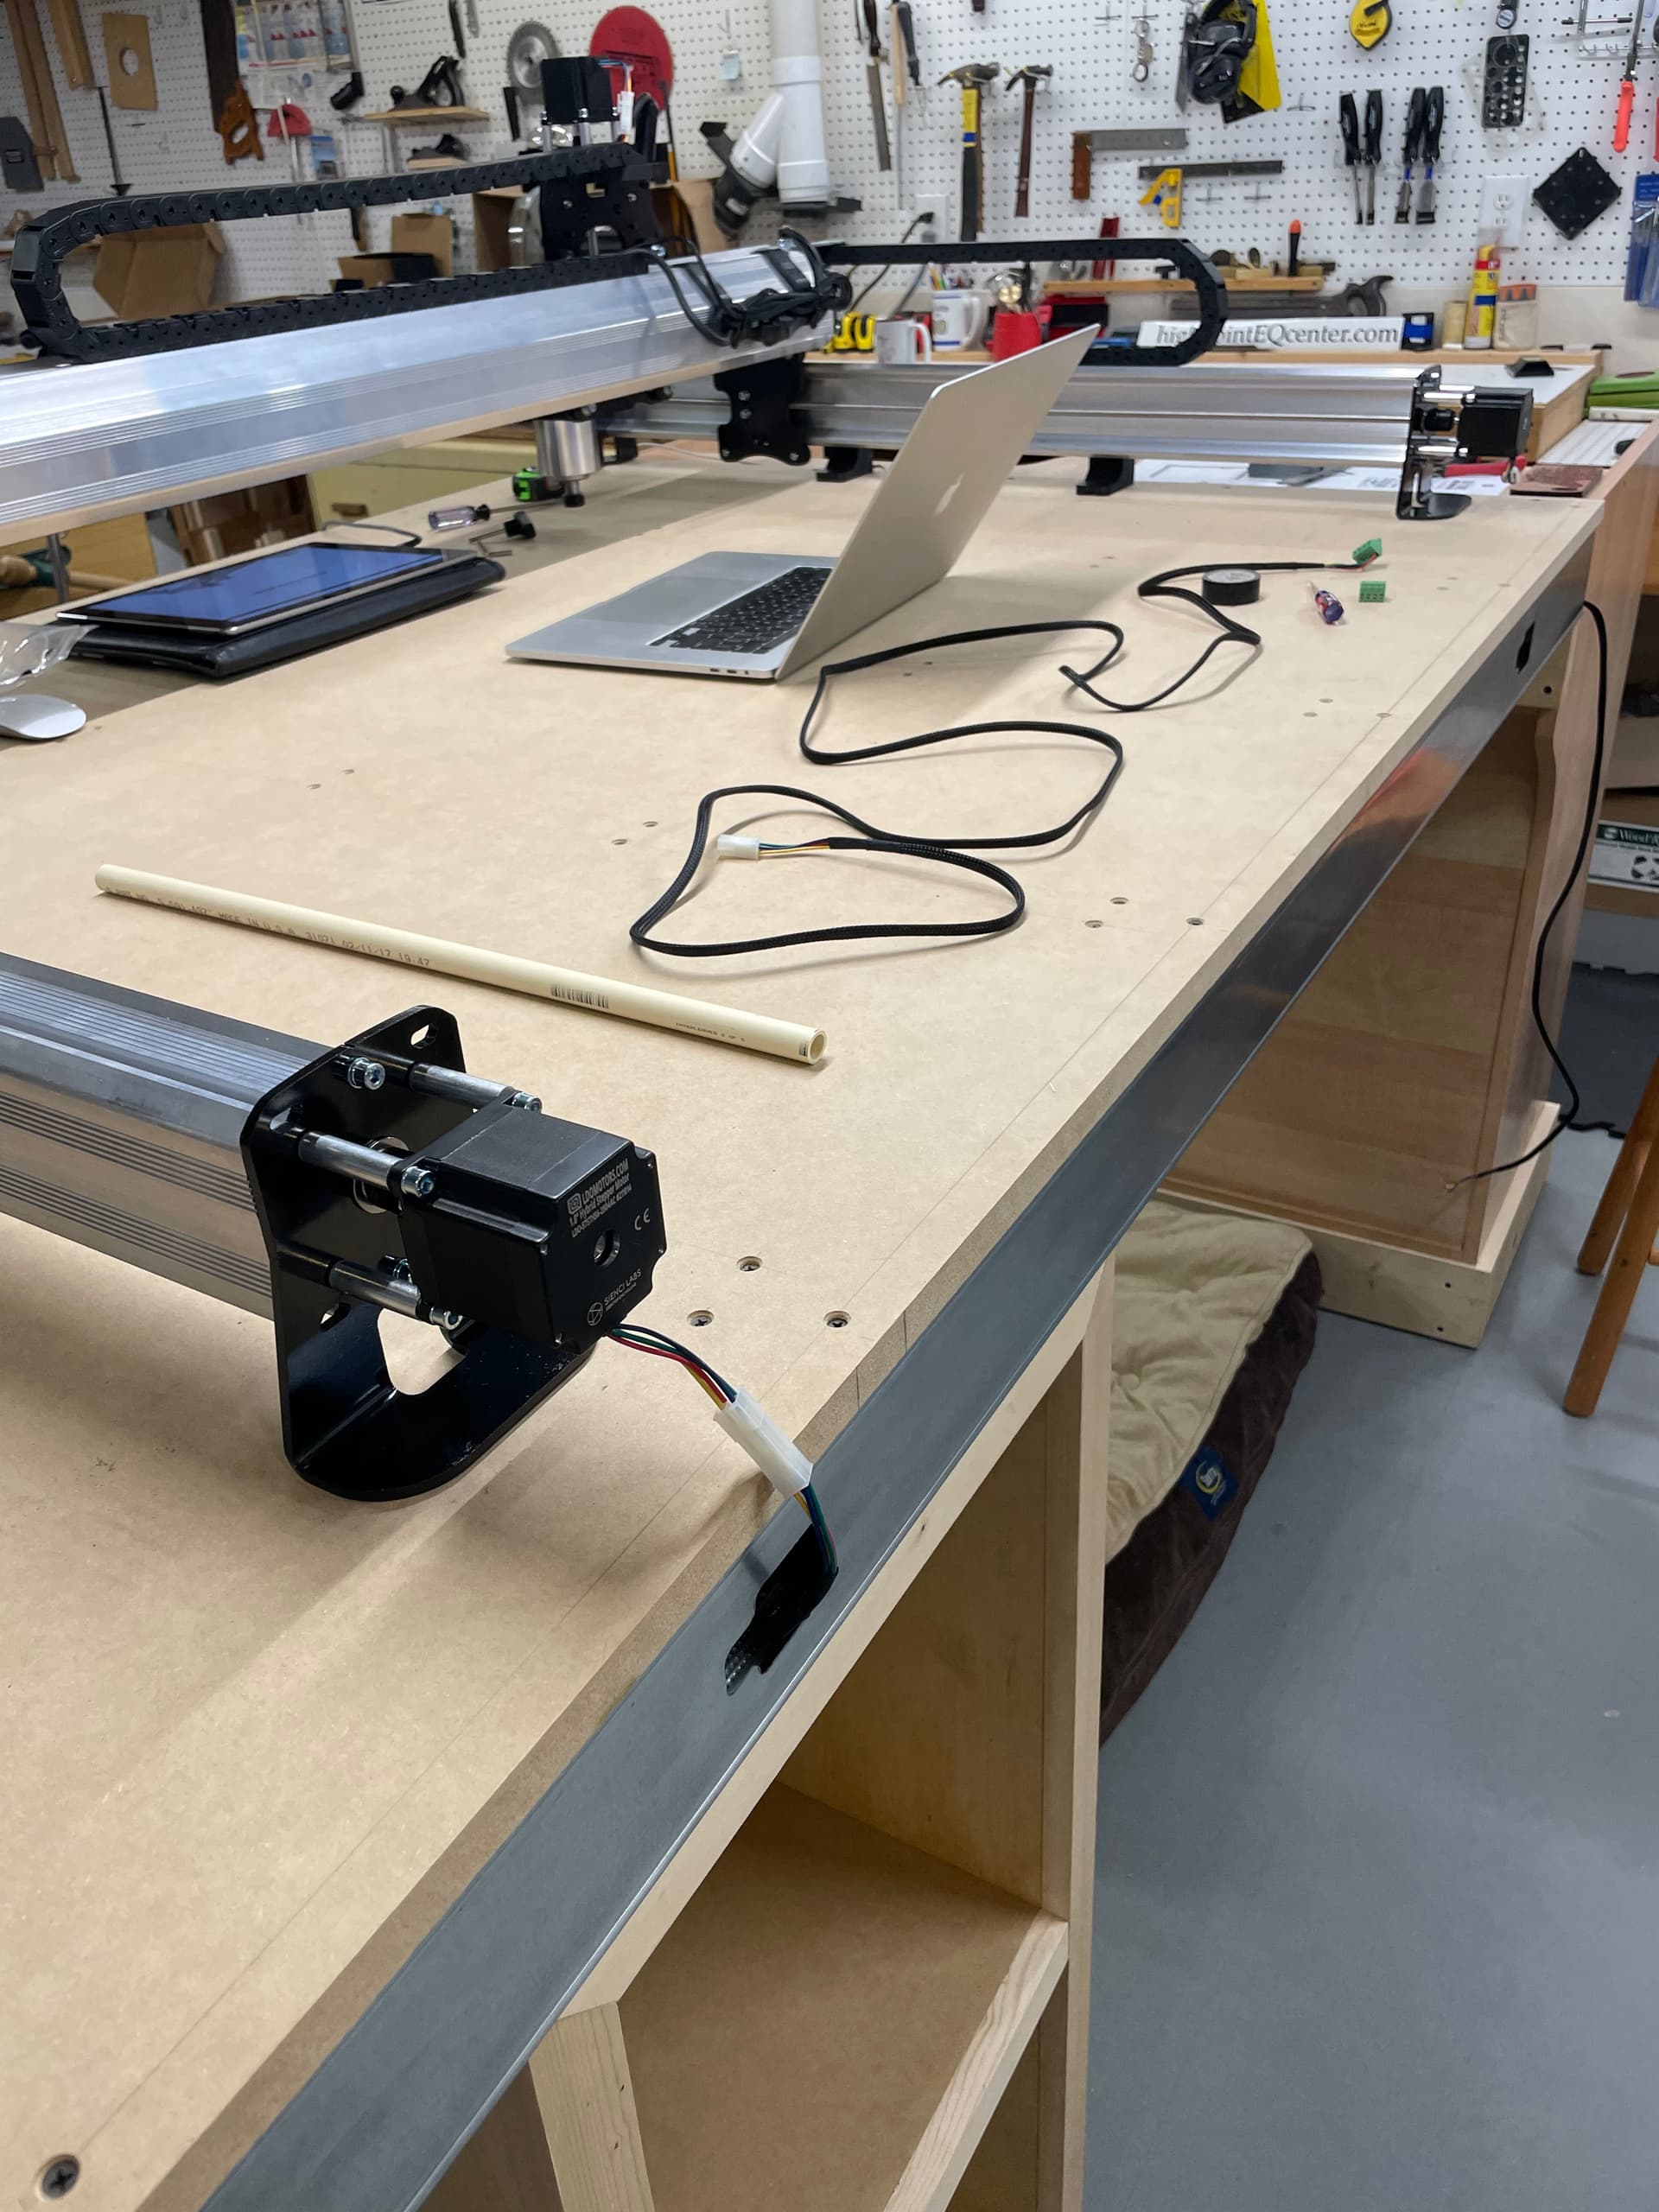
I appreciate that Mike, thanks so much. I am going to fine tune mine and hopefully get it secured to my workbench today. Then I have to figure out the neatest routing for the wiring. It’s getting close to being ready to do more than moving it back and forth.
Jake
Your plans look sound. Only concerns are about wood movement as you are using wood slides to be able to move your spoil board out of the way to use the vertical jig. Not sure where you live an the various levels or rates of humidity in your area or if you are in a conditioned space I.E. heated in winter, mechanical cooling dehumanization in summer.
I am considering something that untilizes 8020 aluminum profile series 15. With 3/4 Baltic Birch top. With a spoil board in MDF like on IDC Woodworking. Also With a removable set back area in the front of the CNC to clamp vertically and or for future usage of a Rotary axis with the Longmill MK2 48 x 30 I recently purchased. Best of luck and your creativity flow in all your endeavors with the CNC.
Thank you for your comments. I suppose time will tell with the wood slides. I am in Pennsylvania, so we certainly get humidity here, but I will have my CNC in a conditioned space. I am hoping that will help mitigate any issues. If it proves to be an issue, my backup plan is to install steel slides with ball bearings. Fortunately, the wood slides are easily removable.
Looks like you were responding to my post from a couple of years ago.
My order was part of the initial run, and it sounded like Sienci was in thrash mode just trying to get all those orders shipped. But they were very responsive when an order wasn’t perfect. And from what I’ve seen on this forum, they use these kind of blips as opportunities to learn and improve their processes.
In the end, my machine has worked flawlessly for the last two years.
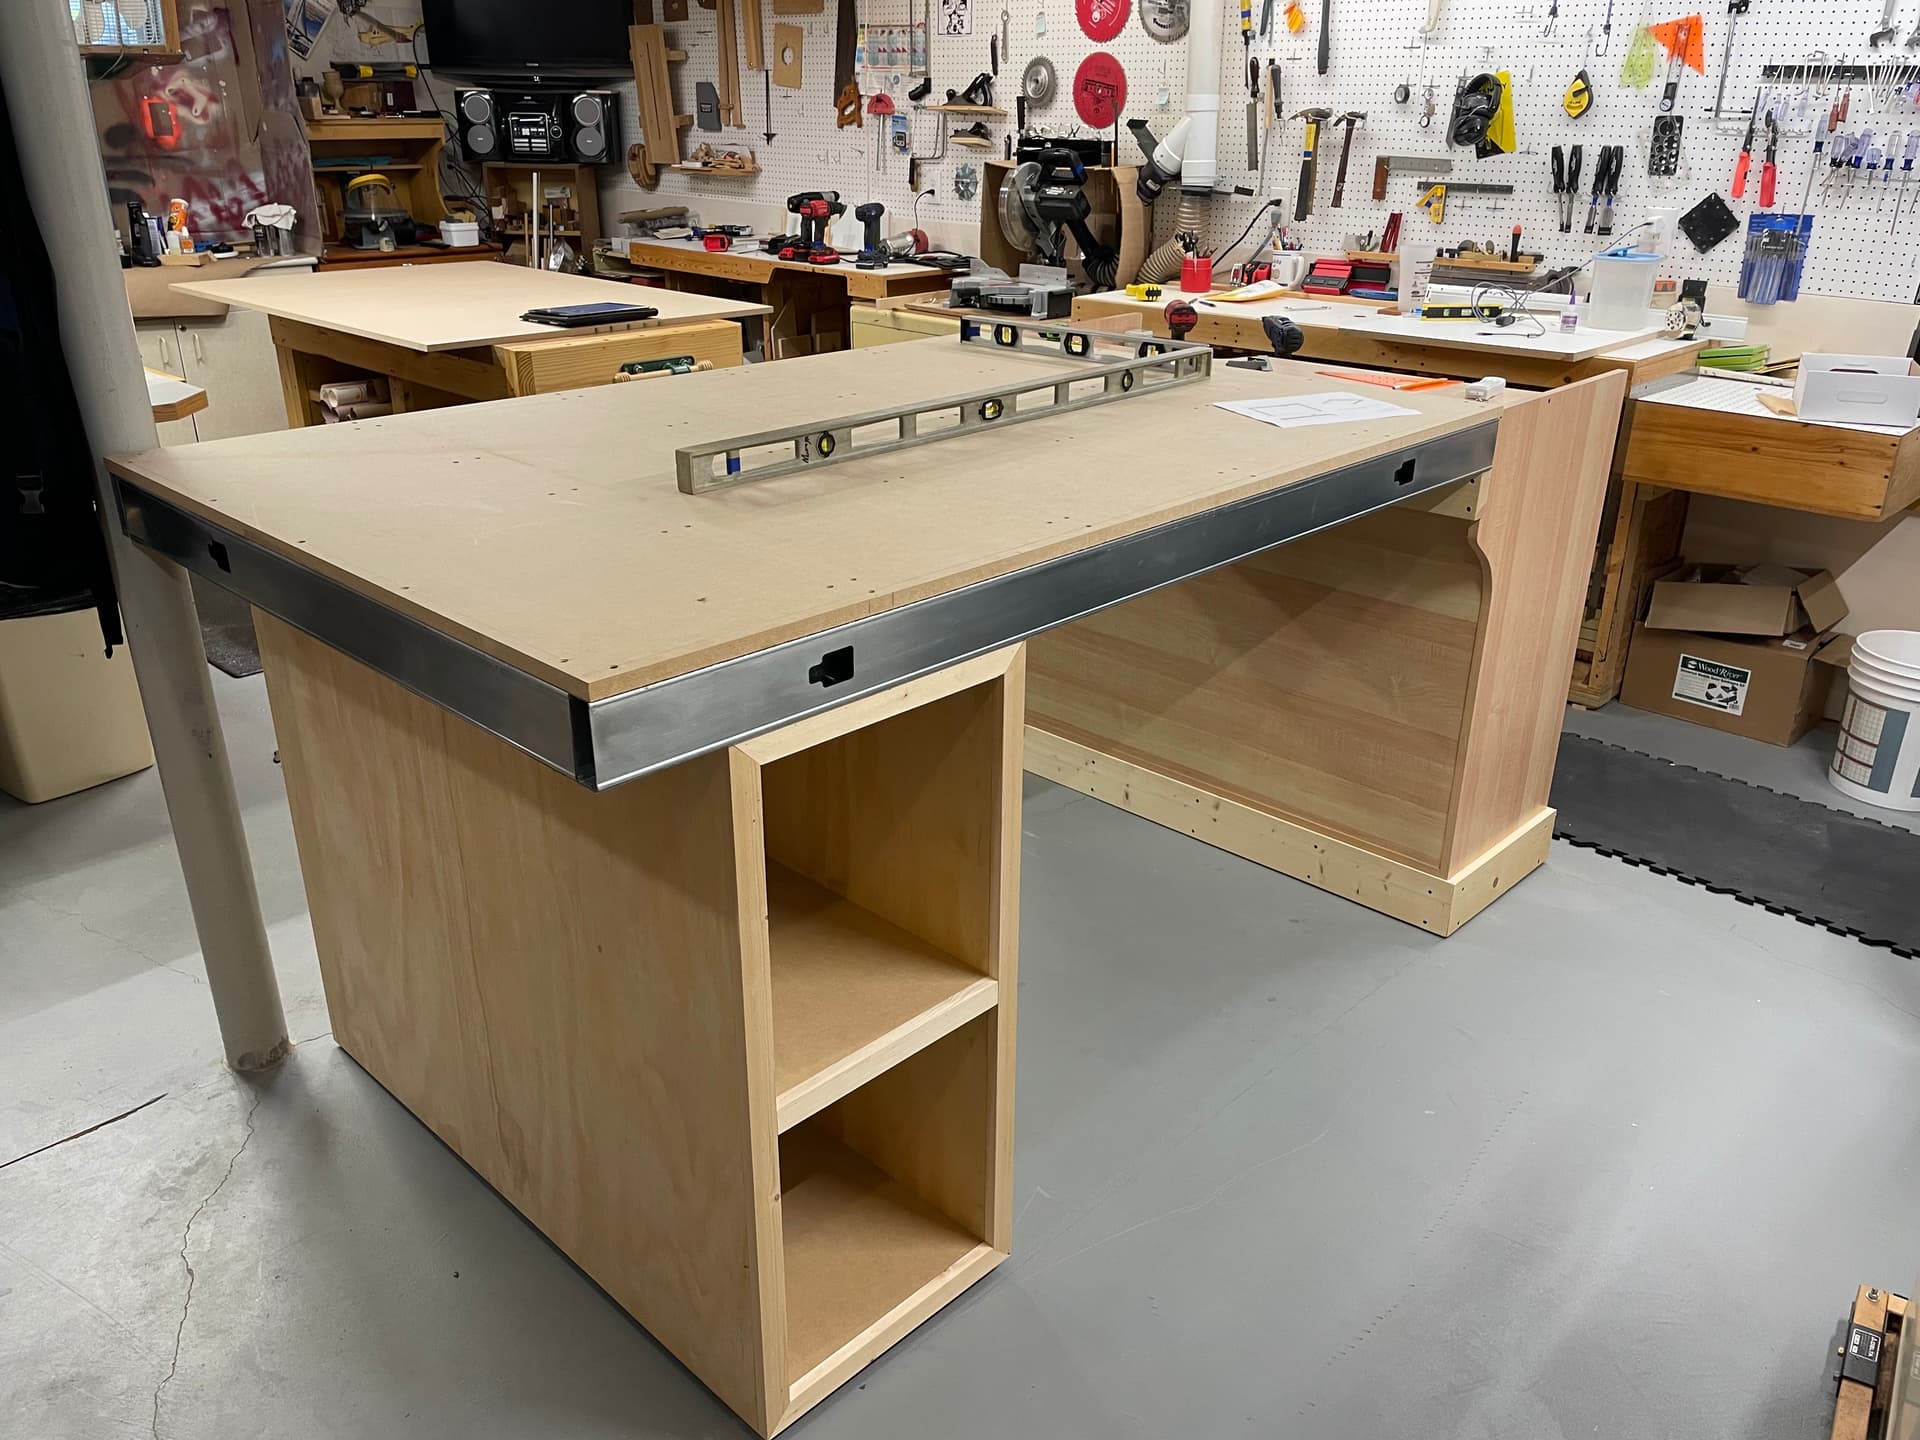
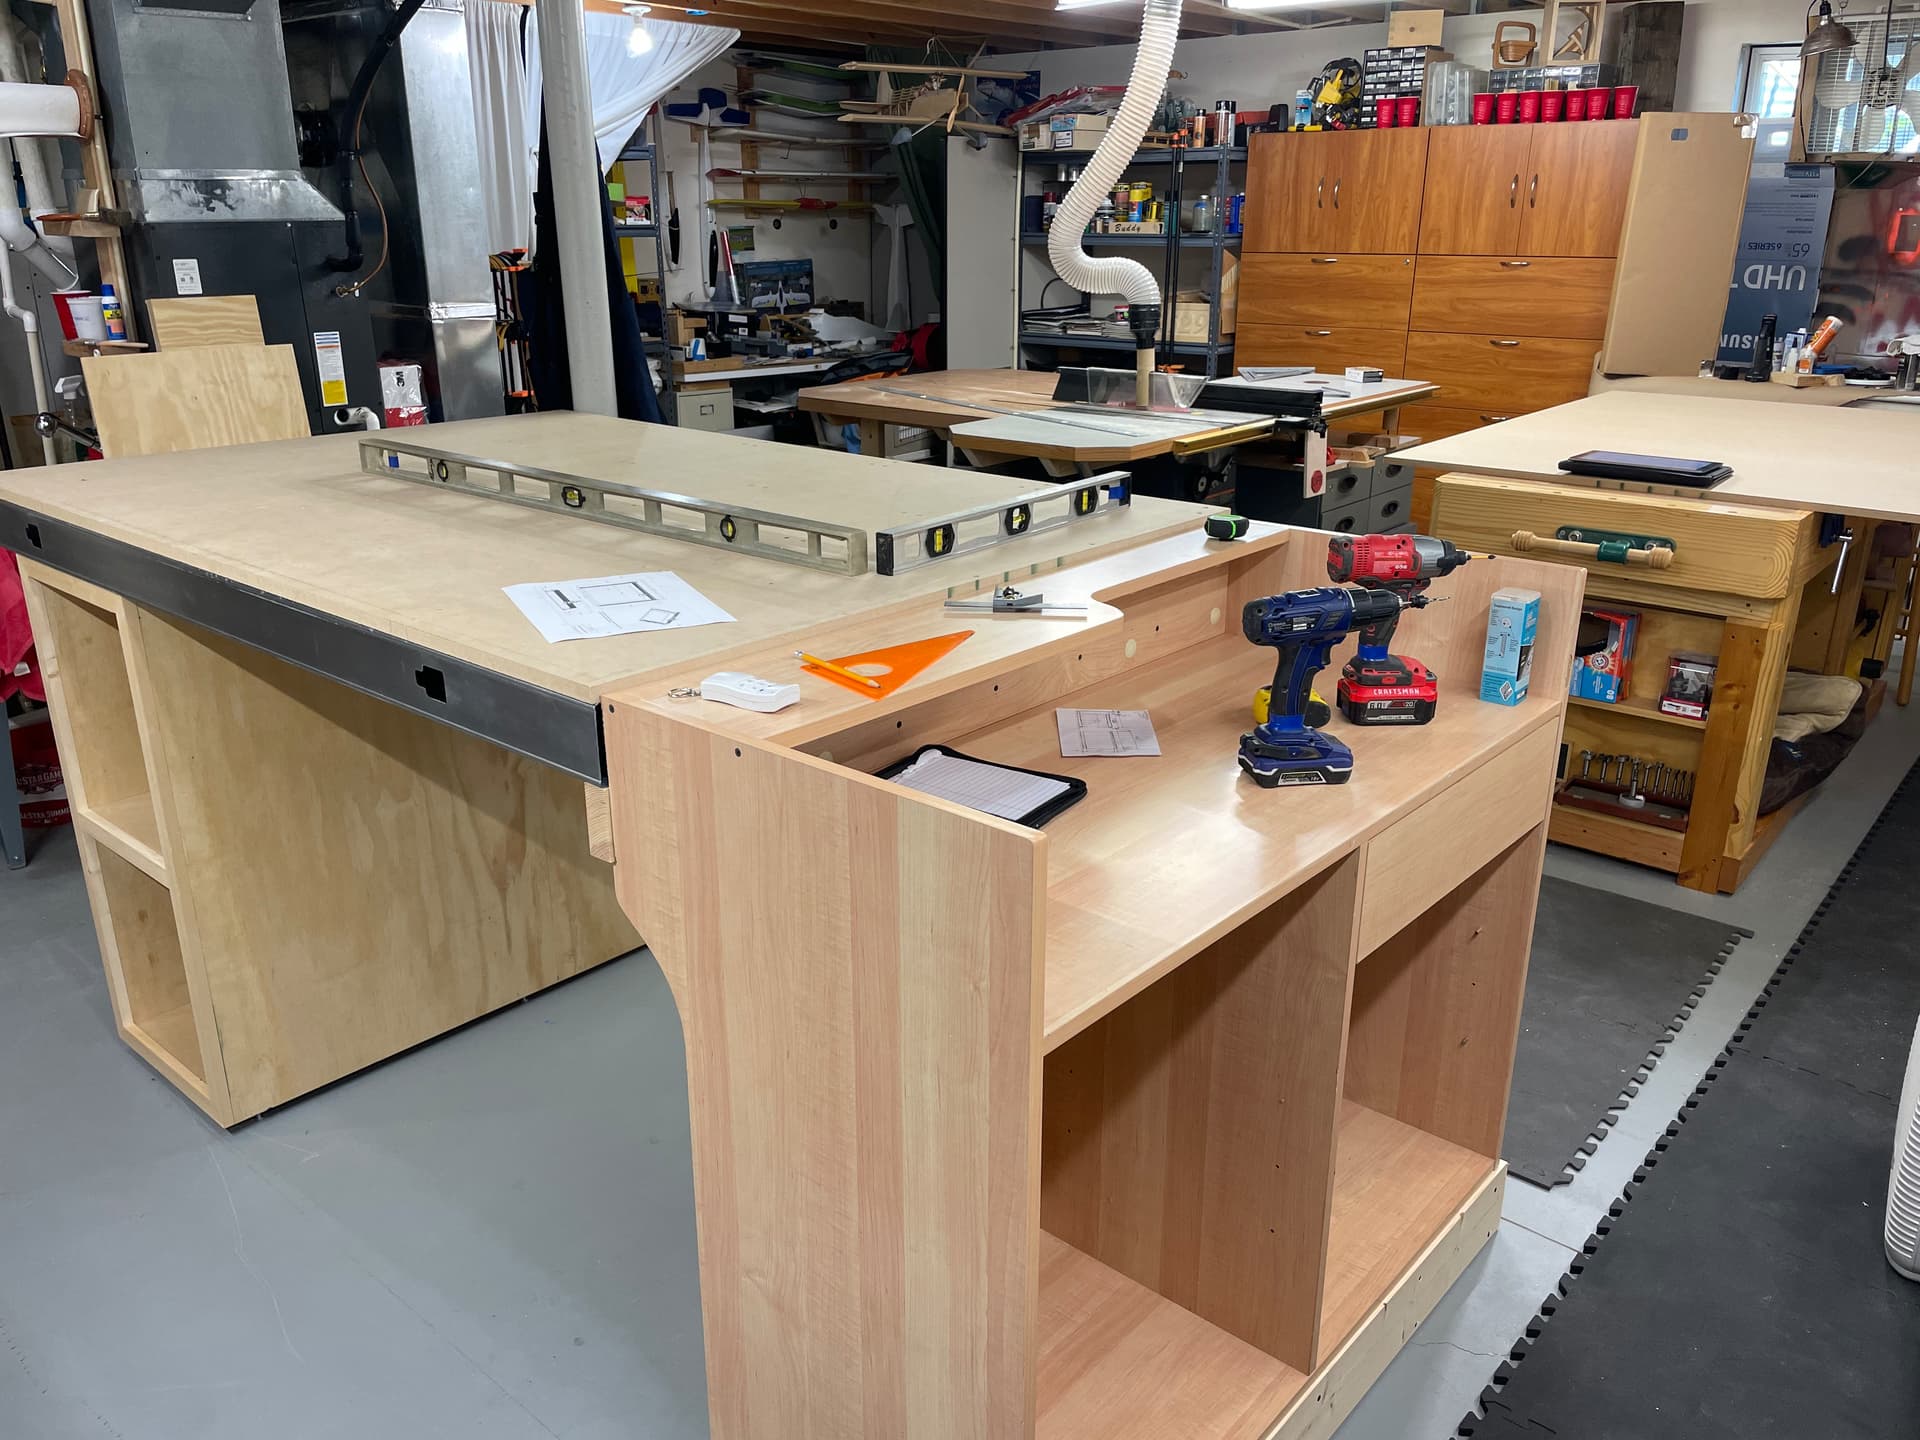
I am currently using this table that I designed and built while waiting for my Longmill to arrive; however, I found that I rarely stowed it vertically and it virtually eliminates the pass-through option for doing projects longer than the machine. Also am looking to upgrade my X axis to 48, so I am designing a new one. However, this design has served me very well to start off with.
Personally, I have done a lot of research into tables for the CNC and I have found that everyone has different uses, preferences, and shop requirements/limitations. There are a lot of really creative and innovative designs out there. Given that you are on this forum, I am guessing you are pretty handy to begin with. My suggestions is to take the features your like from the vast number of designs out there, and incorporate them into your own design specifically customizede to your situation so that it will work with your available space, your power service, dust collection, etc.
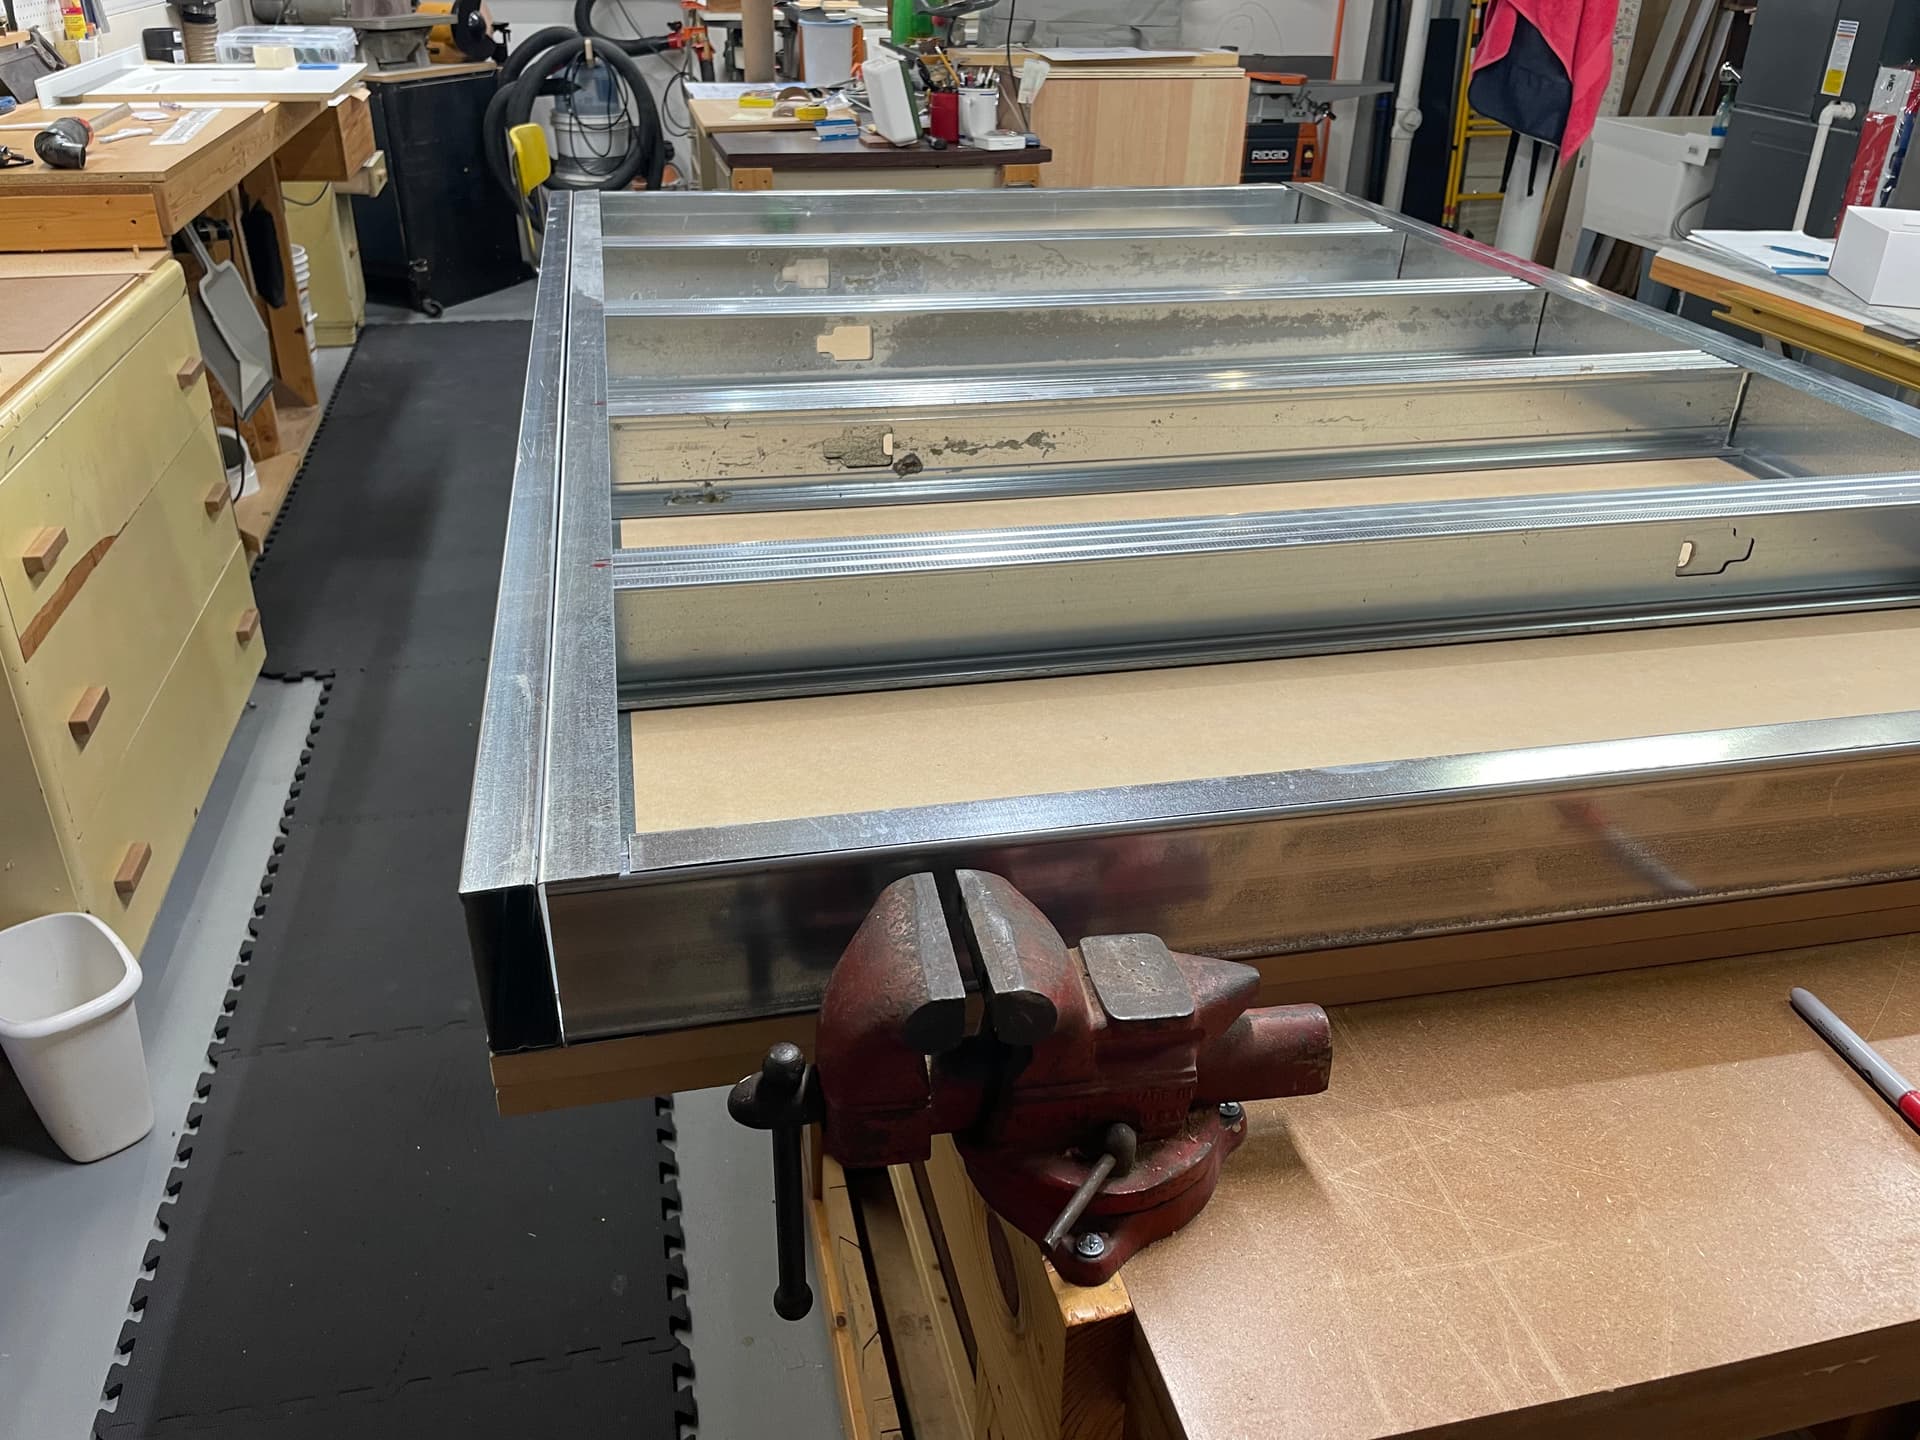
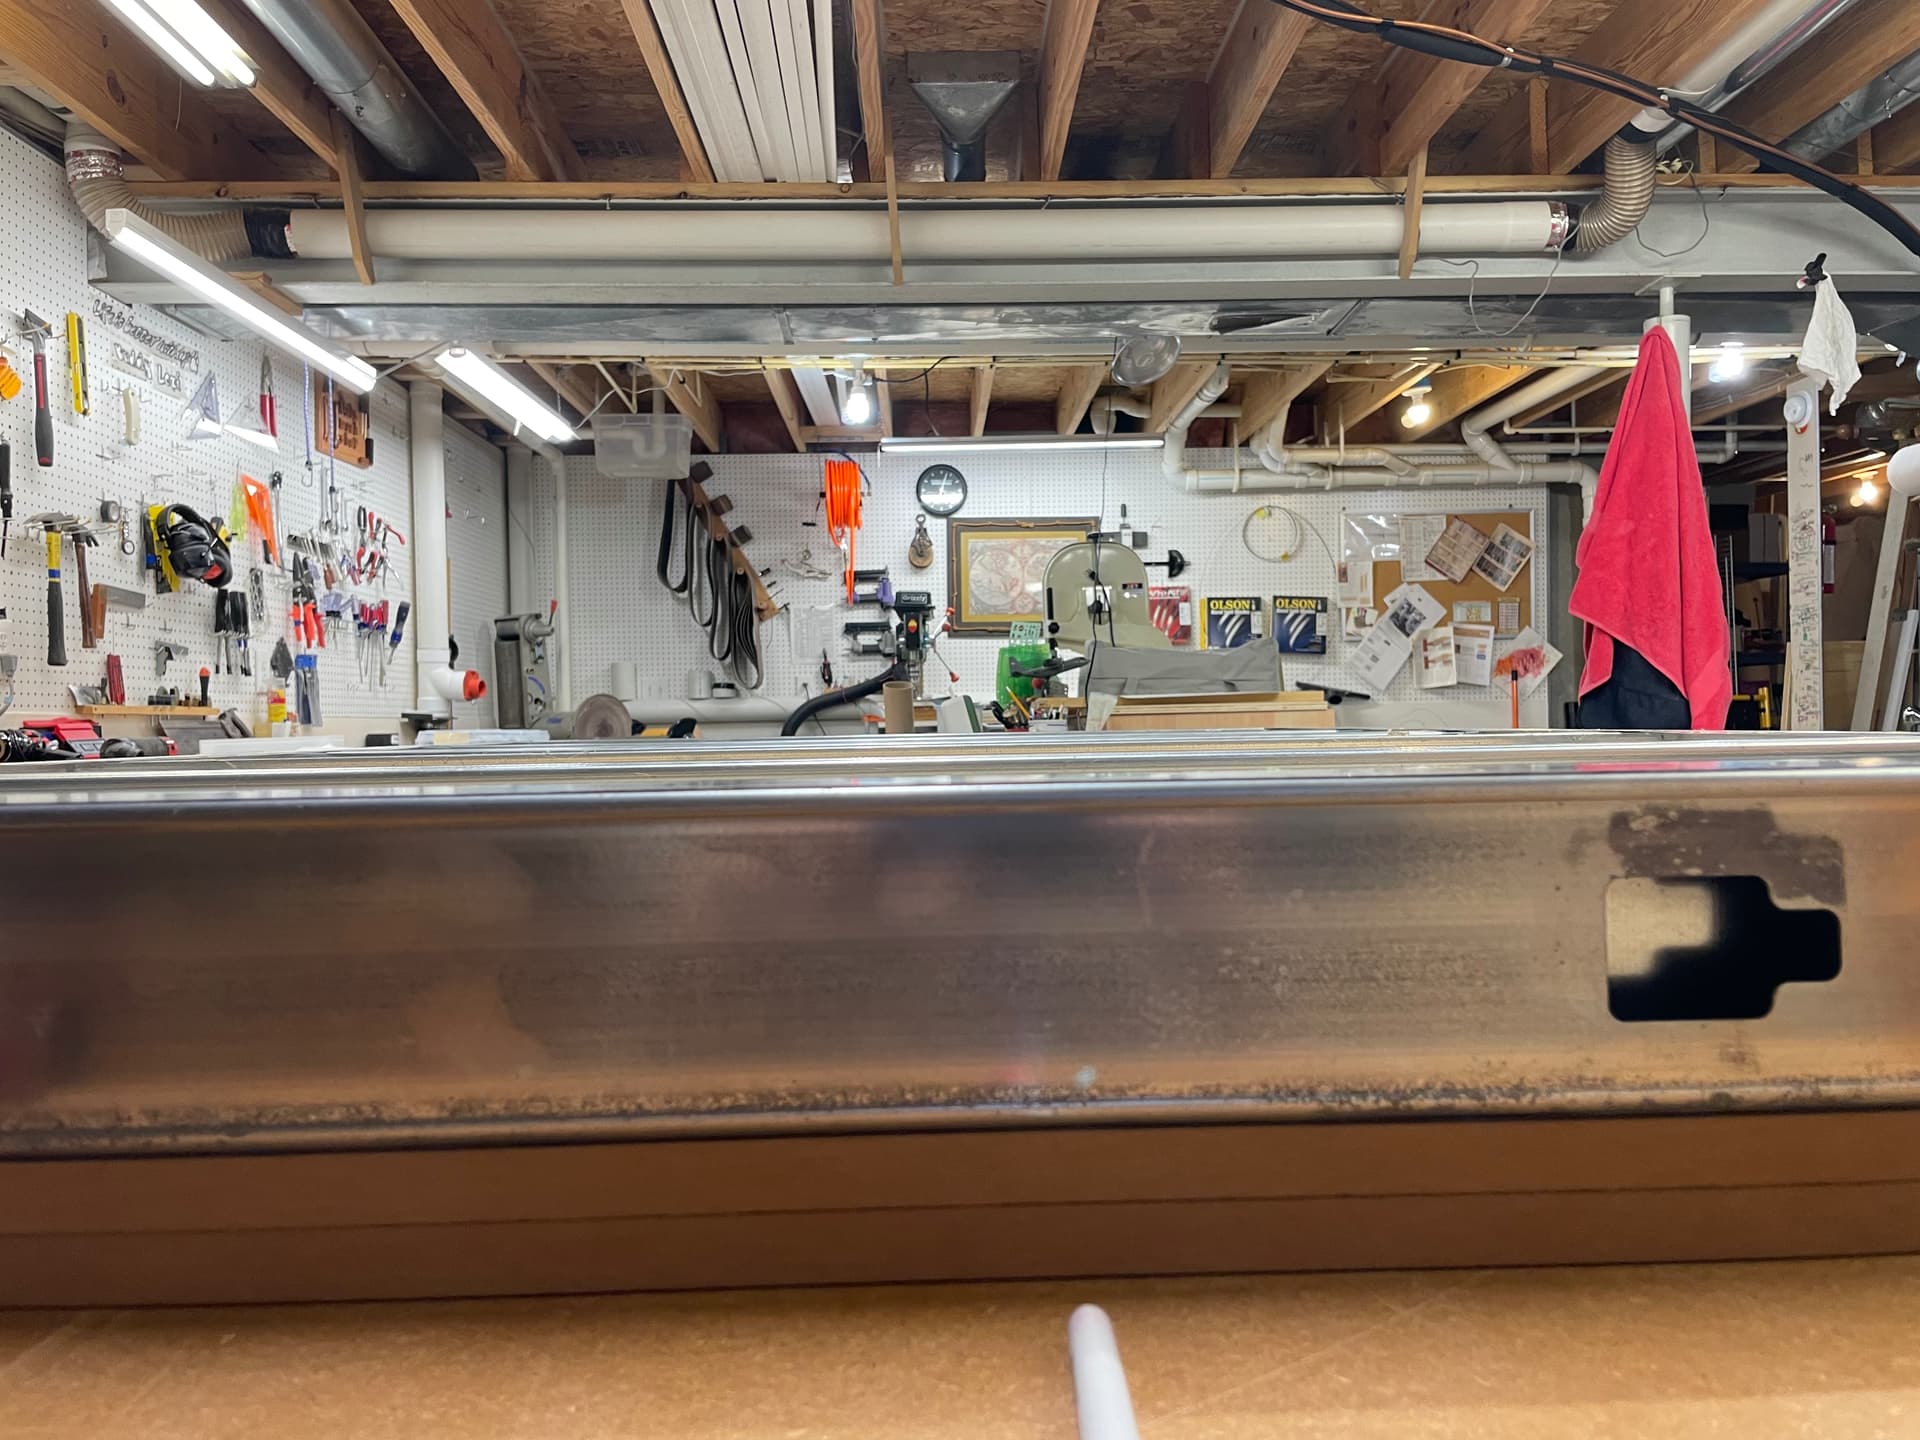
Waiting for the MK2 48x30 to come hopefully mid July. Time to build a table with just a little different design. Yep, I’m a woodworker hobbyists but have a steel design background. Also helps to work for a steel framing manufacture with innovative products (www.clarkdietrich.com). These (test prototype) steel studs have been sitting in the garage for 10 years when I finished the basement and they are still straight as a board??? No an arrow. Starting to put it all together. Let you all know how it goes. Time for more coffee….
I guess I don’t understand your comment about the spacing issue, as from my experience, they should be the same. Mind you, on my hold-downs, I’ve elongated the holes so that the positioning of the bolts isn’t a factor.
Thanks Marty.
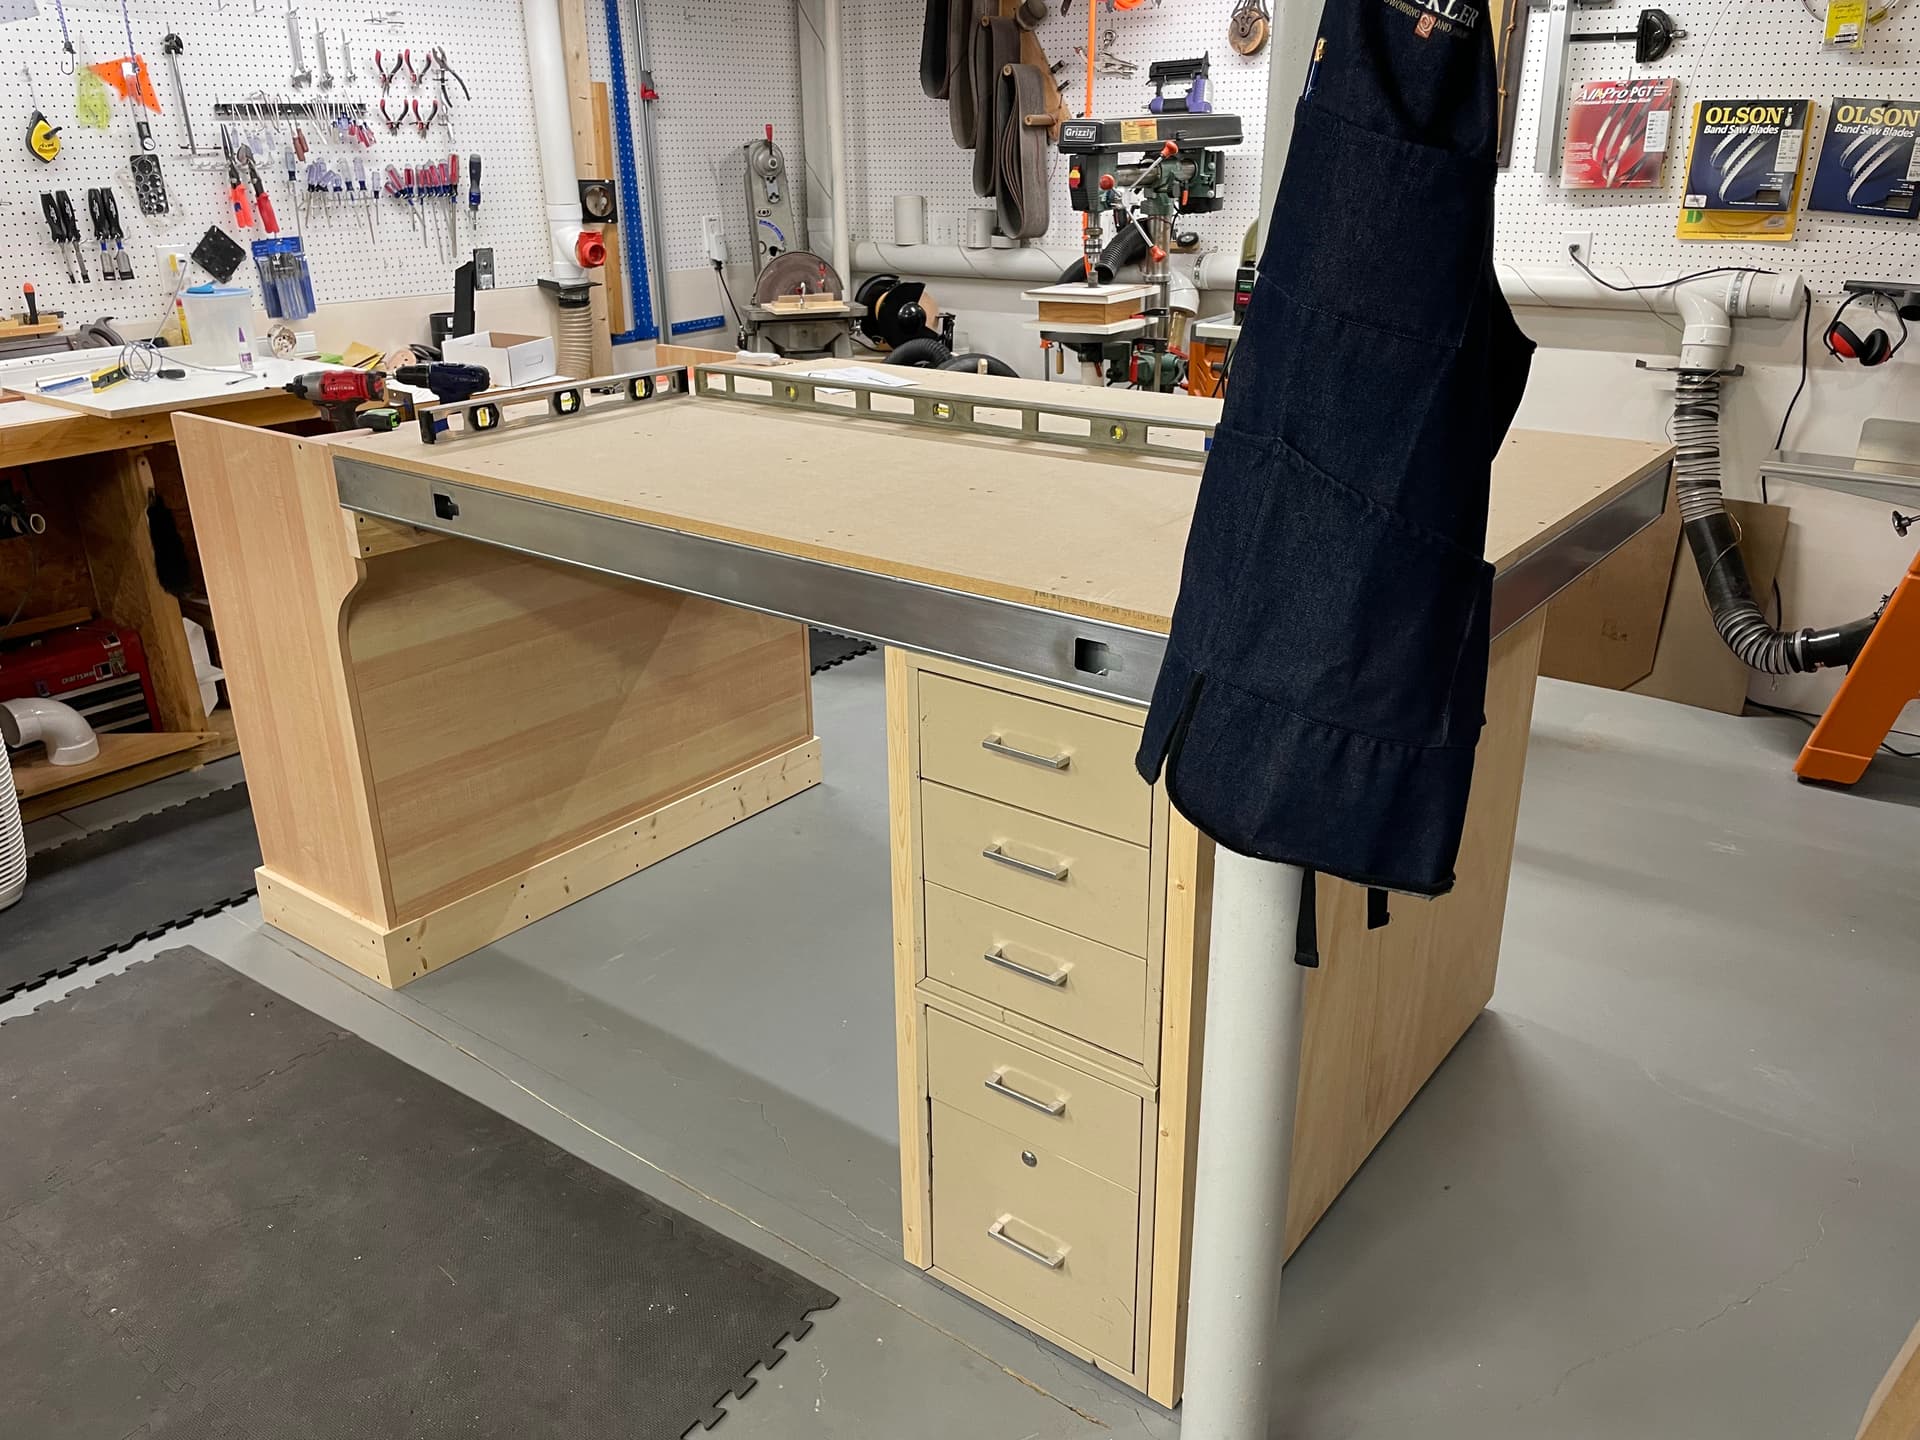
Got the wife to help move the table in place today. I ended up using:
An old welcome table that church didn’t need any more. Anchored it down to the concrete after leveling it on a treated frame. Perfect place for the computer and work desk.
Old heavy duty file cabinets from an old drafting table that was to warped to draw on.
Around the file cabinets is an inside barn door project that I never finished due to it being too heavy. 3/4” MDF frame w/1/4” plywood on both sides. Perfect for holding a table. Put leveling bolts on the bottom.
All in: $120 for two 3/4” MDF boards and time. Helps reusing old stuff. Since lumber is over priced right now. Now I can put that into buying end mill bits
I think what really help was knowing I have time before the LongMill would be here. So, I took my time. #1 advice from the Sienci Team!
Wish I can say I planned for this but I’ll take what I can. Love the quality and install videos/documents for the MK2 48x30. Got it Thursday night and taking my time and taking it all in! Sienci Team, you kick A$$!
Check out this fine build from this user macNmurz. He used a steel stud of sorts, you may want to message him.
Hmm my thoughts , Masonite does have some weight to it. If you are looking into portability there maybe better choices or alternatives. As if you should ever get caught outside on a rainy day Masonite will swell up at every point of penetration.
Personally I am using a Kreg Steel Work bench at 44inches by 64 inches on casters that makes it portable for my MK2 30x48 with Baltic Birch sub base on top with MDF and a cabinet built in made out of Maple Plywood. I will be posting both a PDF plan and a 2022 Sketchup plan with Layout soon along with build photos just purchased the Maple sheets of Ply today. Waiting on the CNC sho p to finish my Spoil board system in MDF and I will post that code as well since I am paying to have the pre-purchased code/design reworked to work on the Sienci MK2 30x48 layout.
Here is a brand new product made from Rice hulls That is water proof, paintable, stainable and is lightweight called ACRE by Modern Mill and is made in the USA in Mississippi
I was given a sheet by local hardwood supplier when plywoods were almost non existent to test. I used it for a small project and returned the rest to the store so someone else could use it, it was free and so far I am impressed
Here is a simple weight chart for plywood and hardboards as Masonite is considered a hardboard.
And here is another link because this post made me think about how much my Baltic Birch weighs so it covers every thing in both SAE (non metric) and metric. Plus the site has a bunch of calculators for all sorts of woodworking projects. Knowledge is power so power up my friends.
EDIT btw please keep us posted as to what route you decide to go and how it all comes together.
Just try cheap plywood for the torsion box part, very light and with good glue, very strong. I would leave the Masonite at home (works really well for epoxy molds)
Cut out ovals in the torsion box to reduce weight if you have to. Steel studs resonate the sound…
and maybe try a portable 1/2" thick spoil board and clamp it to the top of the box