I’m in the process of drawing up how I want to use T-tracks, instead of a threaded waste board, and I’m considering having variable spacing - some close together, some farther, to be able to secure narrow or wide pieces. I don’t have it settled yet… so many options, but something like (horrible text art incoming):
| xx | xxxx | xxxx |
or even
| xxxx | xx | xxxx |
might open up some creative clamping possibilities. I know I could just set them all up spaced evenly, but I do like to over-design things
Keep us updated with your progress, and congratulations on the new machine!
I went with 2 packages of 4 T Tracks at 36" long, my machine is 30x30. With 8 T Tracks one on the front and back outside edge and the others evenly spaced. This resulted in just over 4" between and I cut the strips to 4" wide. I think my machine should be the same depth. 6" apart might be OK but I’m not sure if it works out to an even number for purchasing.
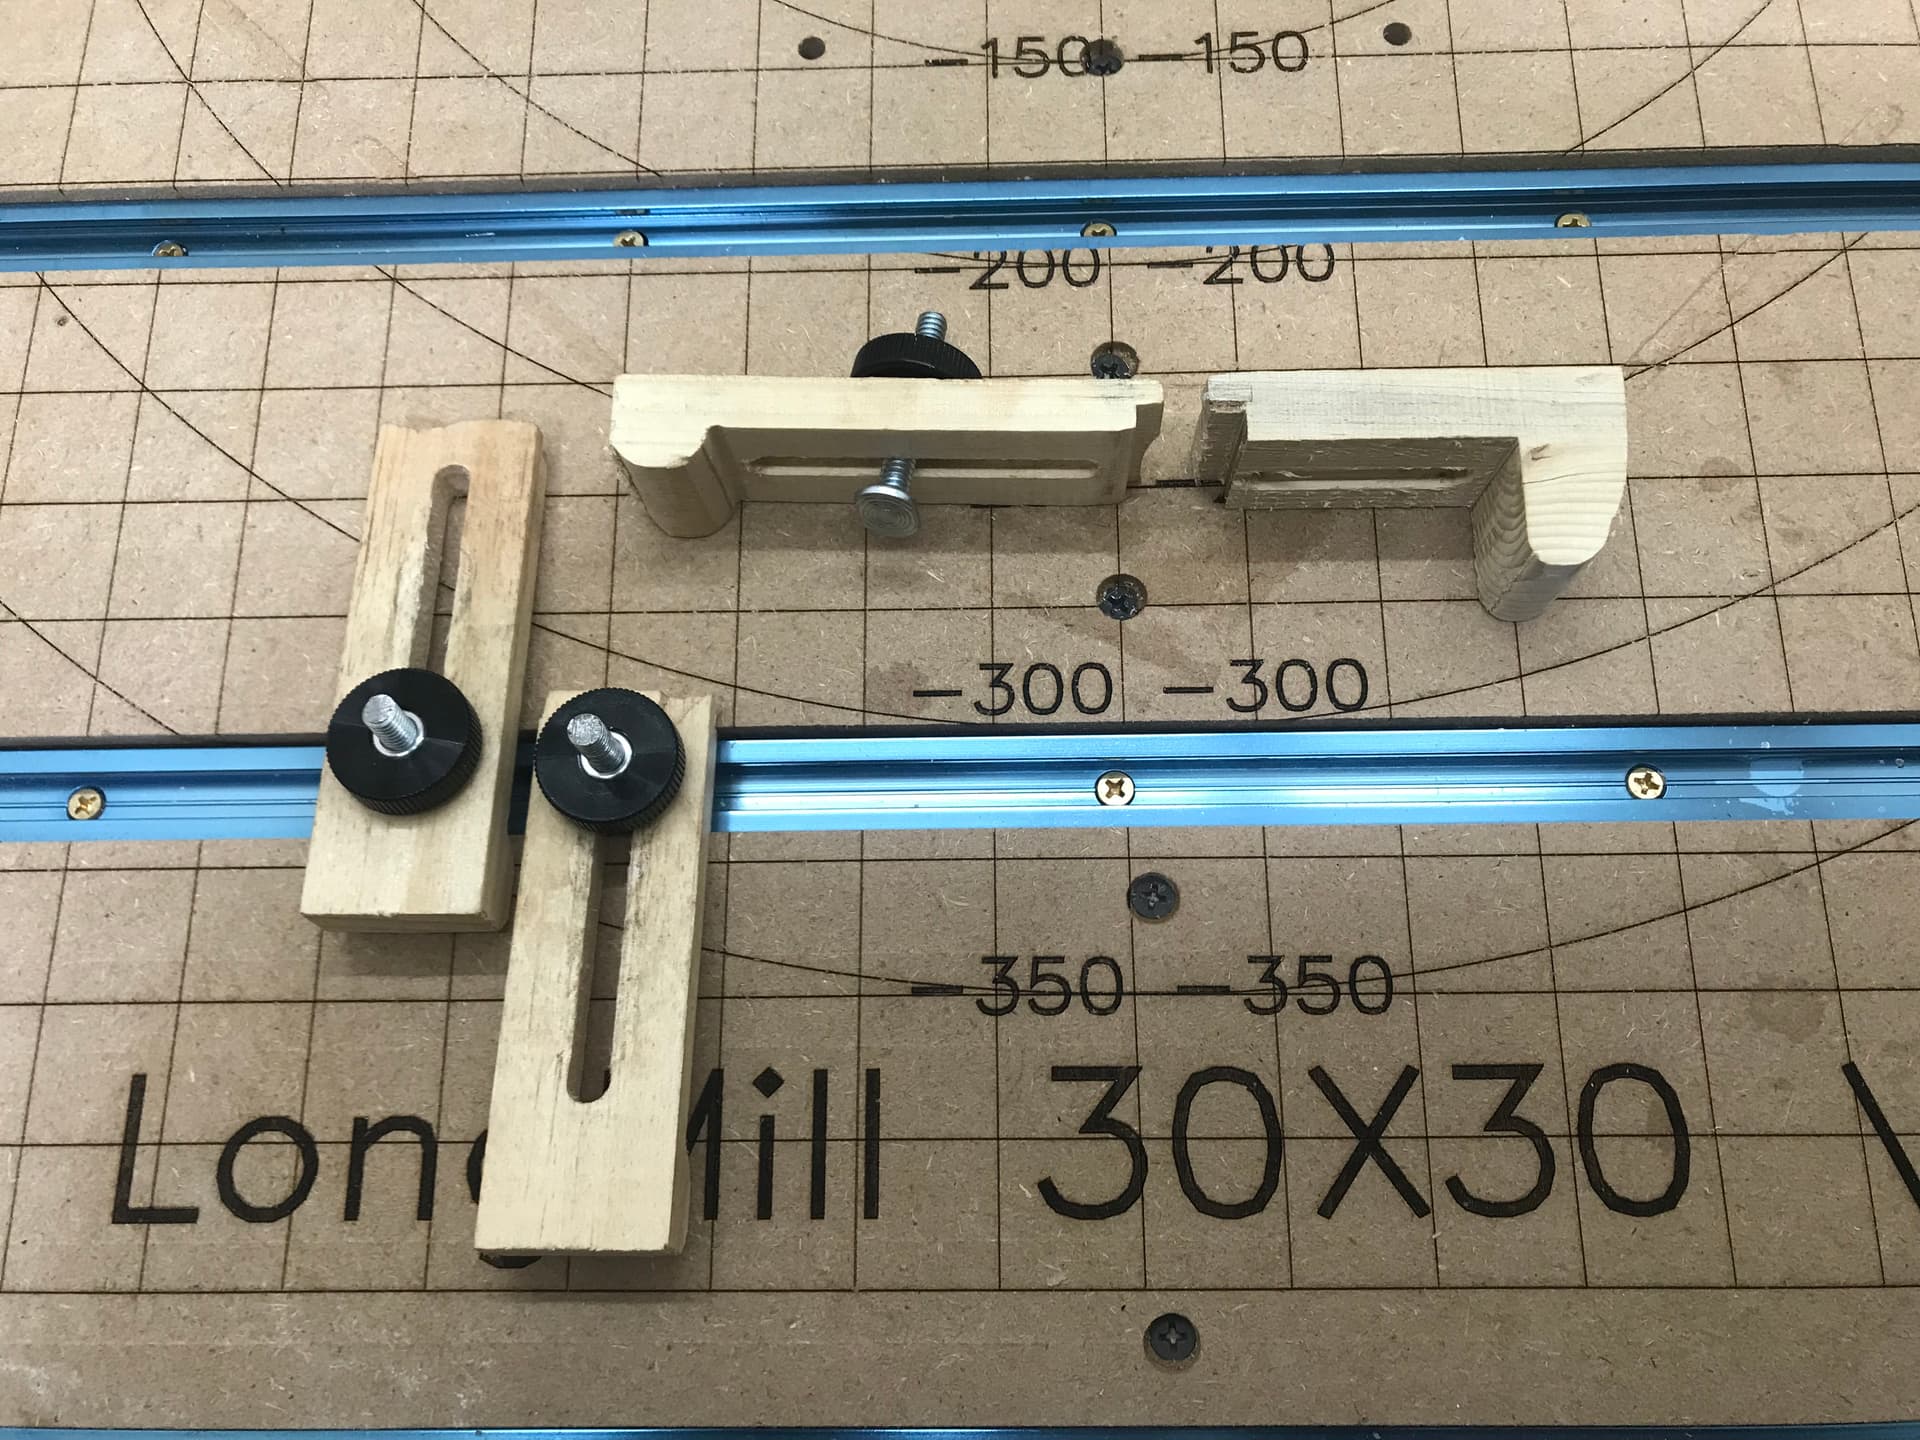
I don’t see a problem with 6" apart depending on the clamps you use. I’m including a pic of the clamp style that I make. They have served me well, I used the moulding toolpath in Vectric Vcarve to make the curved bottom side. The slot allows a good amount of play forward and back. The ‘heel’ of the clamp helps to keep it level. The notch in the front helps to keep the project from moving. I have a couple of different lengths and heights that I use depending on the stock. With 6" spacing they might need to be a bit longer is all.
I have created a separate post for the clamp files. I seem to have misplaced some of them when I re-installed Windows but will upload more clamp files as I make them.
I think most of the noise will come from the dust collection and the actual cutting of the wood rather than the router/spindle. Although I’m guessing here as I’ve never used a spindle.
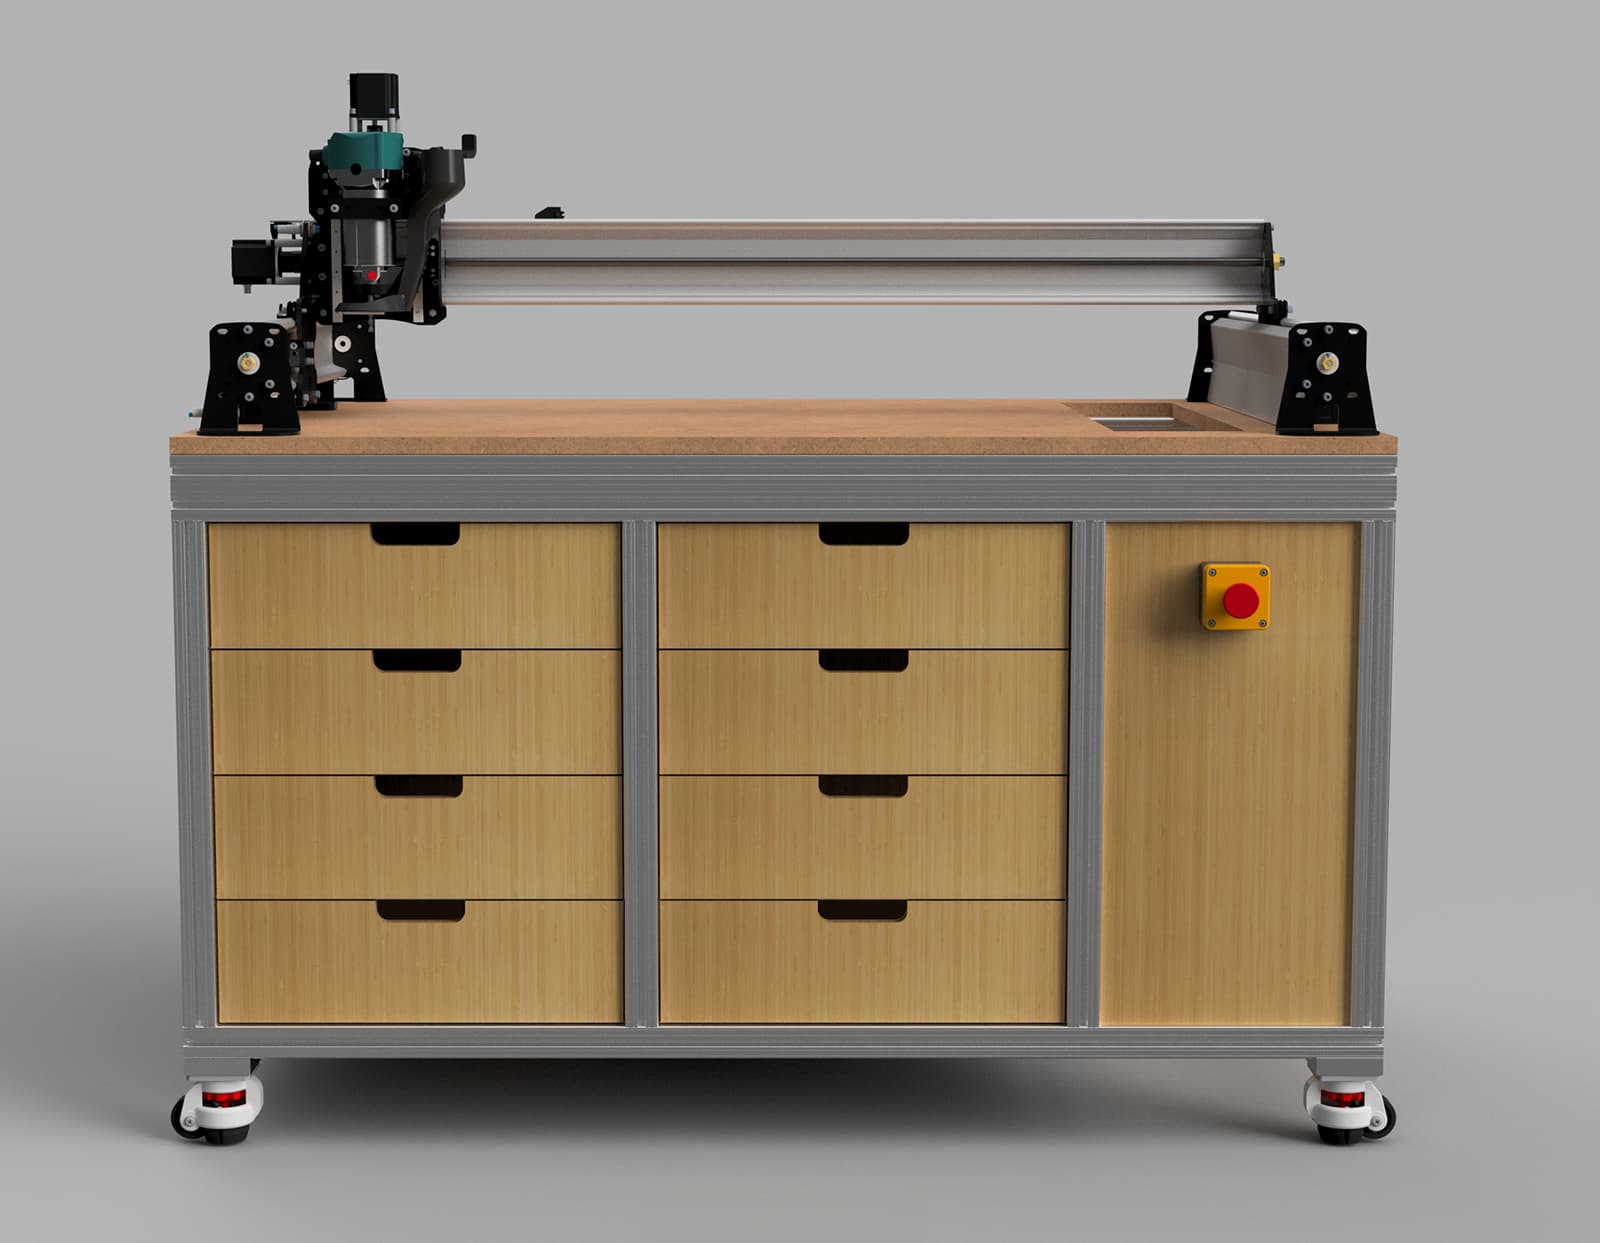
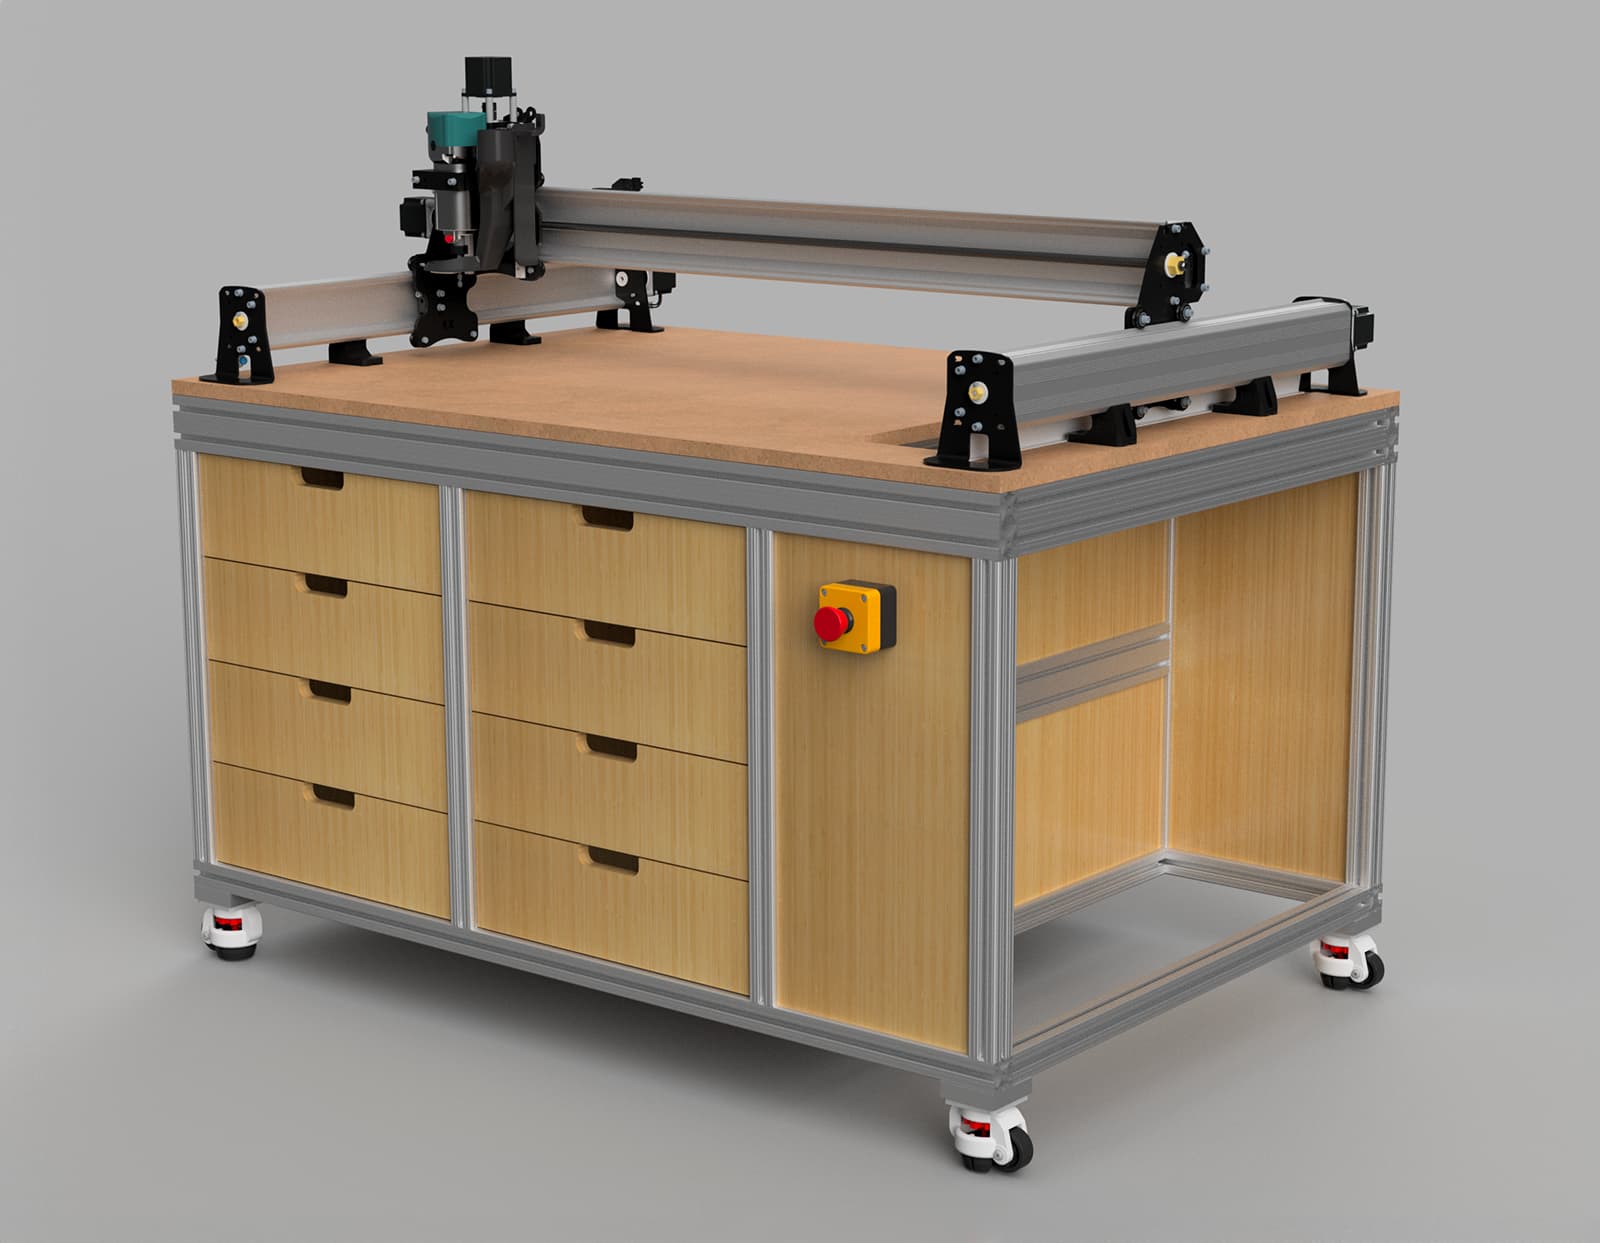
Where is the pivot point located to allow it to store in the back like that? Forgive me I’m new here or is it optical illusion that it is tight against the back. Thanks
If you were asking about my table - I used hardwood instead of dimensional lumber. But dimensional lumber would work just fine - legs would be 3 2x6s and the rails 2x4s
I’m new to CNC but have been a hobbyist carpenter for several years . I understand the importance of having machinery square and level, I’m just not sure the best way to go about it, particularly for mounting my 48x30. My garage floor has it’s uneven spots here and there and while I can build a table out of 2x4’s just as easily as anyone else, I always seem to be off a degree in this direction and another degree in the opposite direction, which leads to anger, anger leads to fear, fear leads to the dark side. What are the best ways to ensure that I’m built square and level OR how to adjust if there is a slight tilt to the table once I have her set up? Thanks for any responses in advance.
Torsion box (I hope I’m correct on that spelling) built properly will remain flat and square. It also adds the opportunity for additional storage.
As far as level, there a multitude of adjustable feet for the bottom of the legs. Let your inner carpenter go wild.
All you’re really concerned about is the top surface being dead flat, level is secondary.
Yes taking possession of a new 30 x 48 MK2 tomorrow and still working on my table design. I believe it will be in their good table size recommendation. Not sure about the torsion box design but I do want drawer and t tracks. Down the road most likely a enclosure will go over it.
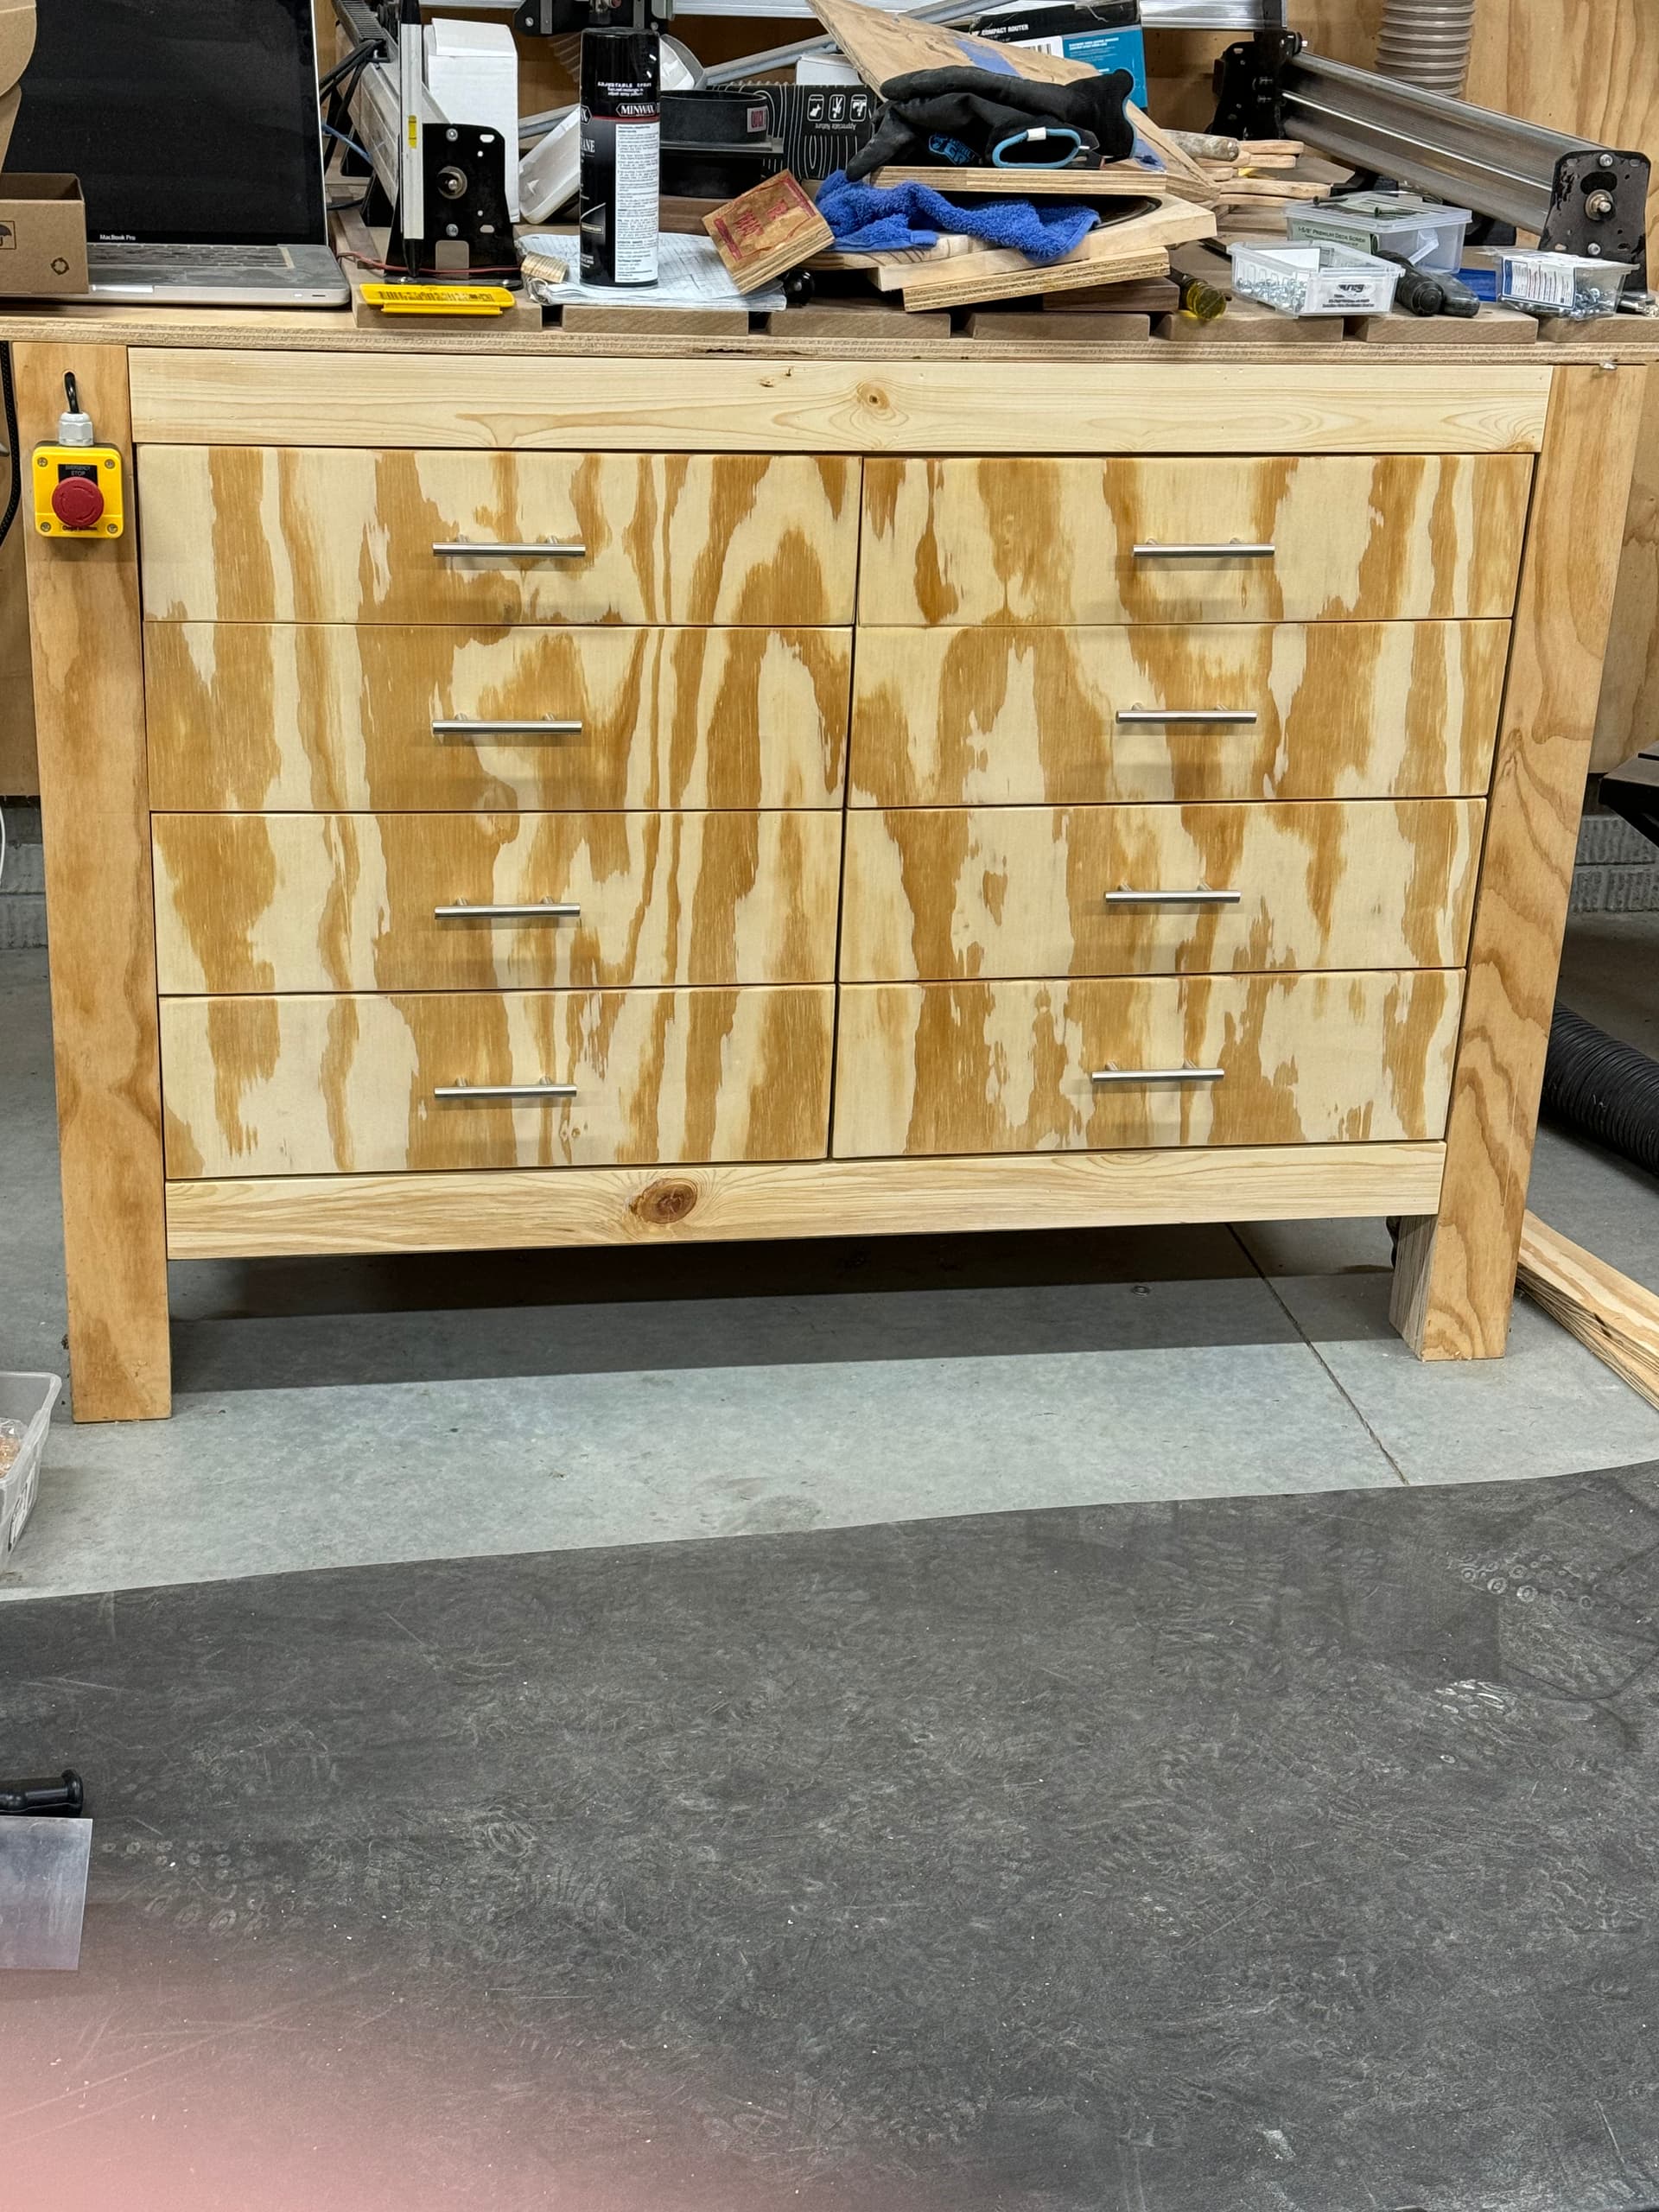
Congrats on your LongMill @Rowjr! A table can be anything you like it to be. Make sure it is flat or as close to flat as you can get. Drawers are good, I just built drawers for my LongMIll a solid 2 years after I got it up and running. I wanted to ensure my workflow met my design. I still have half of the table to design out. Please excuse the mess on the LongMill. That pic was from when I added my drawers.
@Rowjr I new @Jake had a post about his table somewhere and I found it.
He has a bunch of photos there and his table looks sturdy. My table is 2x4 construction but if I had seen Jake’s first I might have gone the laminated plywood route as the pieces are nice and straight without spending half a day at the big box store searching for the best 2 by’s. If you have a decent table saw to cut nice pieces it might be the way to go!
It is sturdy! My original one of these is over 15 years old now and just as sturdy as when I built it. The second one is my outfeed table for my cabinet saw. Best addition ever! To be able to cut a 4x8 sheet of plywood and not have it fall on the floor is a real game changer.
If I can be of assistance, let me know. My only advice if you go this way is know your plywood. The article recommends AC, which I used for the original workbench. It lacked voids and was decent quality. The BCX I used for both my outfeed and my CNC table wasn’t ideal, but the prices were much more easy to handle.