I watched IDC woodcraft video on traming Altmill. He says to tram then surface. It seems to me that you would get a general idea of where your traming is then surface. After that adjust as needed and surface again…sound about right? Should be simple and I dont know why Im making a mountain out of a molehill!
I am a bit shocked you are calling for an Eddie. Everybody knows Eddies are not famous for being the most reliable partners when it comes to doing things the right way. We cut corners around molehills.
Especially tramming. My machine, has no clear option to tram and I am not really caring for it either. I surface at a 45° angle and I am seeing that due to a wee slop I get ridges. Instead of correcting the slop, I just invert the surfacing angle and run the too path again creating a nice pattern. (Itll sand out.) So, not realy the guy to call out for.
I can theorise with you about howto go about this molsmountain you have though. If I would have a wasteblard I needed to surface, I would want to do that only once. That means it needs to be trammed before surfacing like IDC states. I would however first surface a piece of waste-wasteboard ontop of the waste board to see if my tramming is indeed on par.
There are tools specific for tramming and I think that if you are going to do something, it needs to be done right or close to right. So maybe research the tramming process first before engaging your main wasteboard and go with the secondairy wasteboard option untill you wacked that mole?
This is not the first time I’ve had this discussion. If I remember correctly I got some criticism about surfacing twice but I think it’s necessary and here’s why.
Put it this way, you just mounted some strips of MDF or whatever for your spoilboard and you want to surface because it might have high spots. Right? So if you tram first how do you know that device in Eddie’s picture wasn’t on a high or low spot during tramming?
It’s kind of a chicken and egg problem but if you surface first then at least the spoilboard should be mostly flat with consistent highs and lows that show up as a pattern of lines. At least then if your always putting the dial indicator on the same part of the pattern, mid point between the lines let’s say, you have some hope of tramming correctly.
Then you surface the second time and hopefully the lines are gone or close enough for you. If not then it’s rinse and repeat time. Surface, tram, re-surface is all I’ve ever needed though. Remember that any tram issues will be magnified with a larger radius bit. I have a 40mm surfacing bit. If I get slight lines with that a 1/4” bit leaves basically no lines.
Right or wrong, that’s how I do it and my reasoning for doing so.
EDIT: I’ll also add that I only think this double surface is necessary when both tram and spoilboard surface conditions are unknown. After your original assembly I think you can assume your spoil board is okay if you disassembled something and need to tram and vice versa for maintaining the spoilboard.
I agree Michael. I will probably get it as close as I can, surface and repeat. I went ahead and bought a tramming tool similar to the one Eddie posted a pic of. My machine is out in both directions. I double checked to make sure the gantry was lined and against the reference lines as stated in the assy directions. They sent two eccentrics for what I assume is the yaw adjustment which they worked to correct in that direction. Just need to get the nod taken care of.
Another thing, no where in the directions does it instruct you to use the eccentrics in the gantry plate. I watched the IDC woodcraft video on tramming and he uses them in the gantry plate. I wonder where he came up with the idea to do that. Im not sure that I agree with the way he does stuff sometimes.
Correct, allthough he has good beginner advice, they should not be taken as gospel. No ones words should be. I haved raised eyebrows with some of his do’s and dont’s, but as always, when my eyebrow goes full seagull mode, it triggers me to look deeper into it.
I don’t care if I learn through innitial correct or incorrect information. If something triggers me, I do the dive.
That is the same way I kinda look at him. I dont know if I trust him completely but I was impressed by his altmill video where he stood on that dang thing. Im sure sienci likes him…he has to be great for sales.
In the first video of him that I saw, he stood on a LongMill, and jogged the Y from front to back to show how strong a LongMill is. Suffice to say I’ve had a pretty low opinion of his video’s from the start. A test like that demonstrates nothing related to a mills performance unless your going to use it as exercise equipment IMHO. Pretty sure he took it down so it might be hard to find.
OMG he did it for the AltMill too. You sneaked a post in on me.
EDIT:
That might be true, lots of gimmicks work…
He might be an awesome guy, I didn’t stick around long enough to find out, so please don’t take it as me putting a person down. I just don’t care for the style of content I saw.
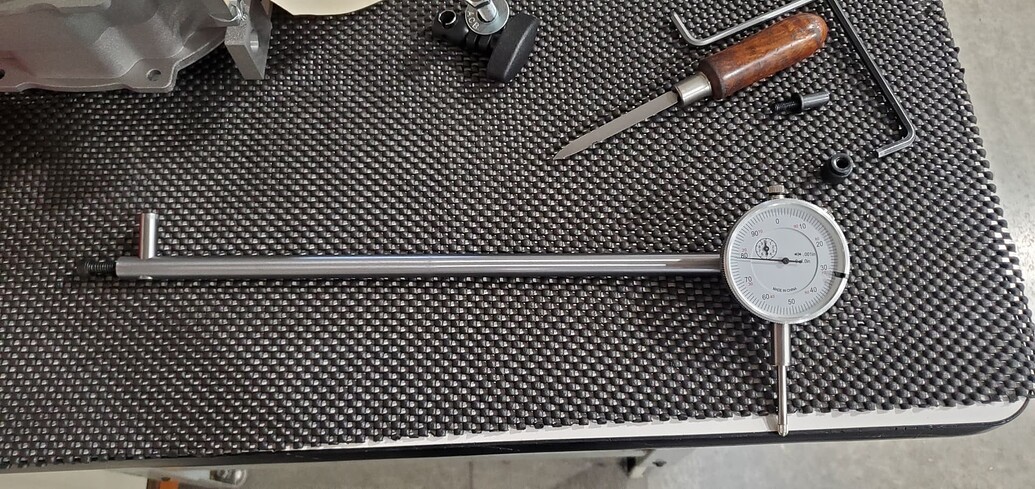
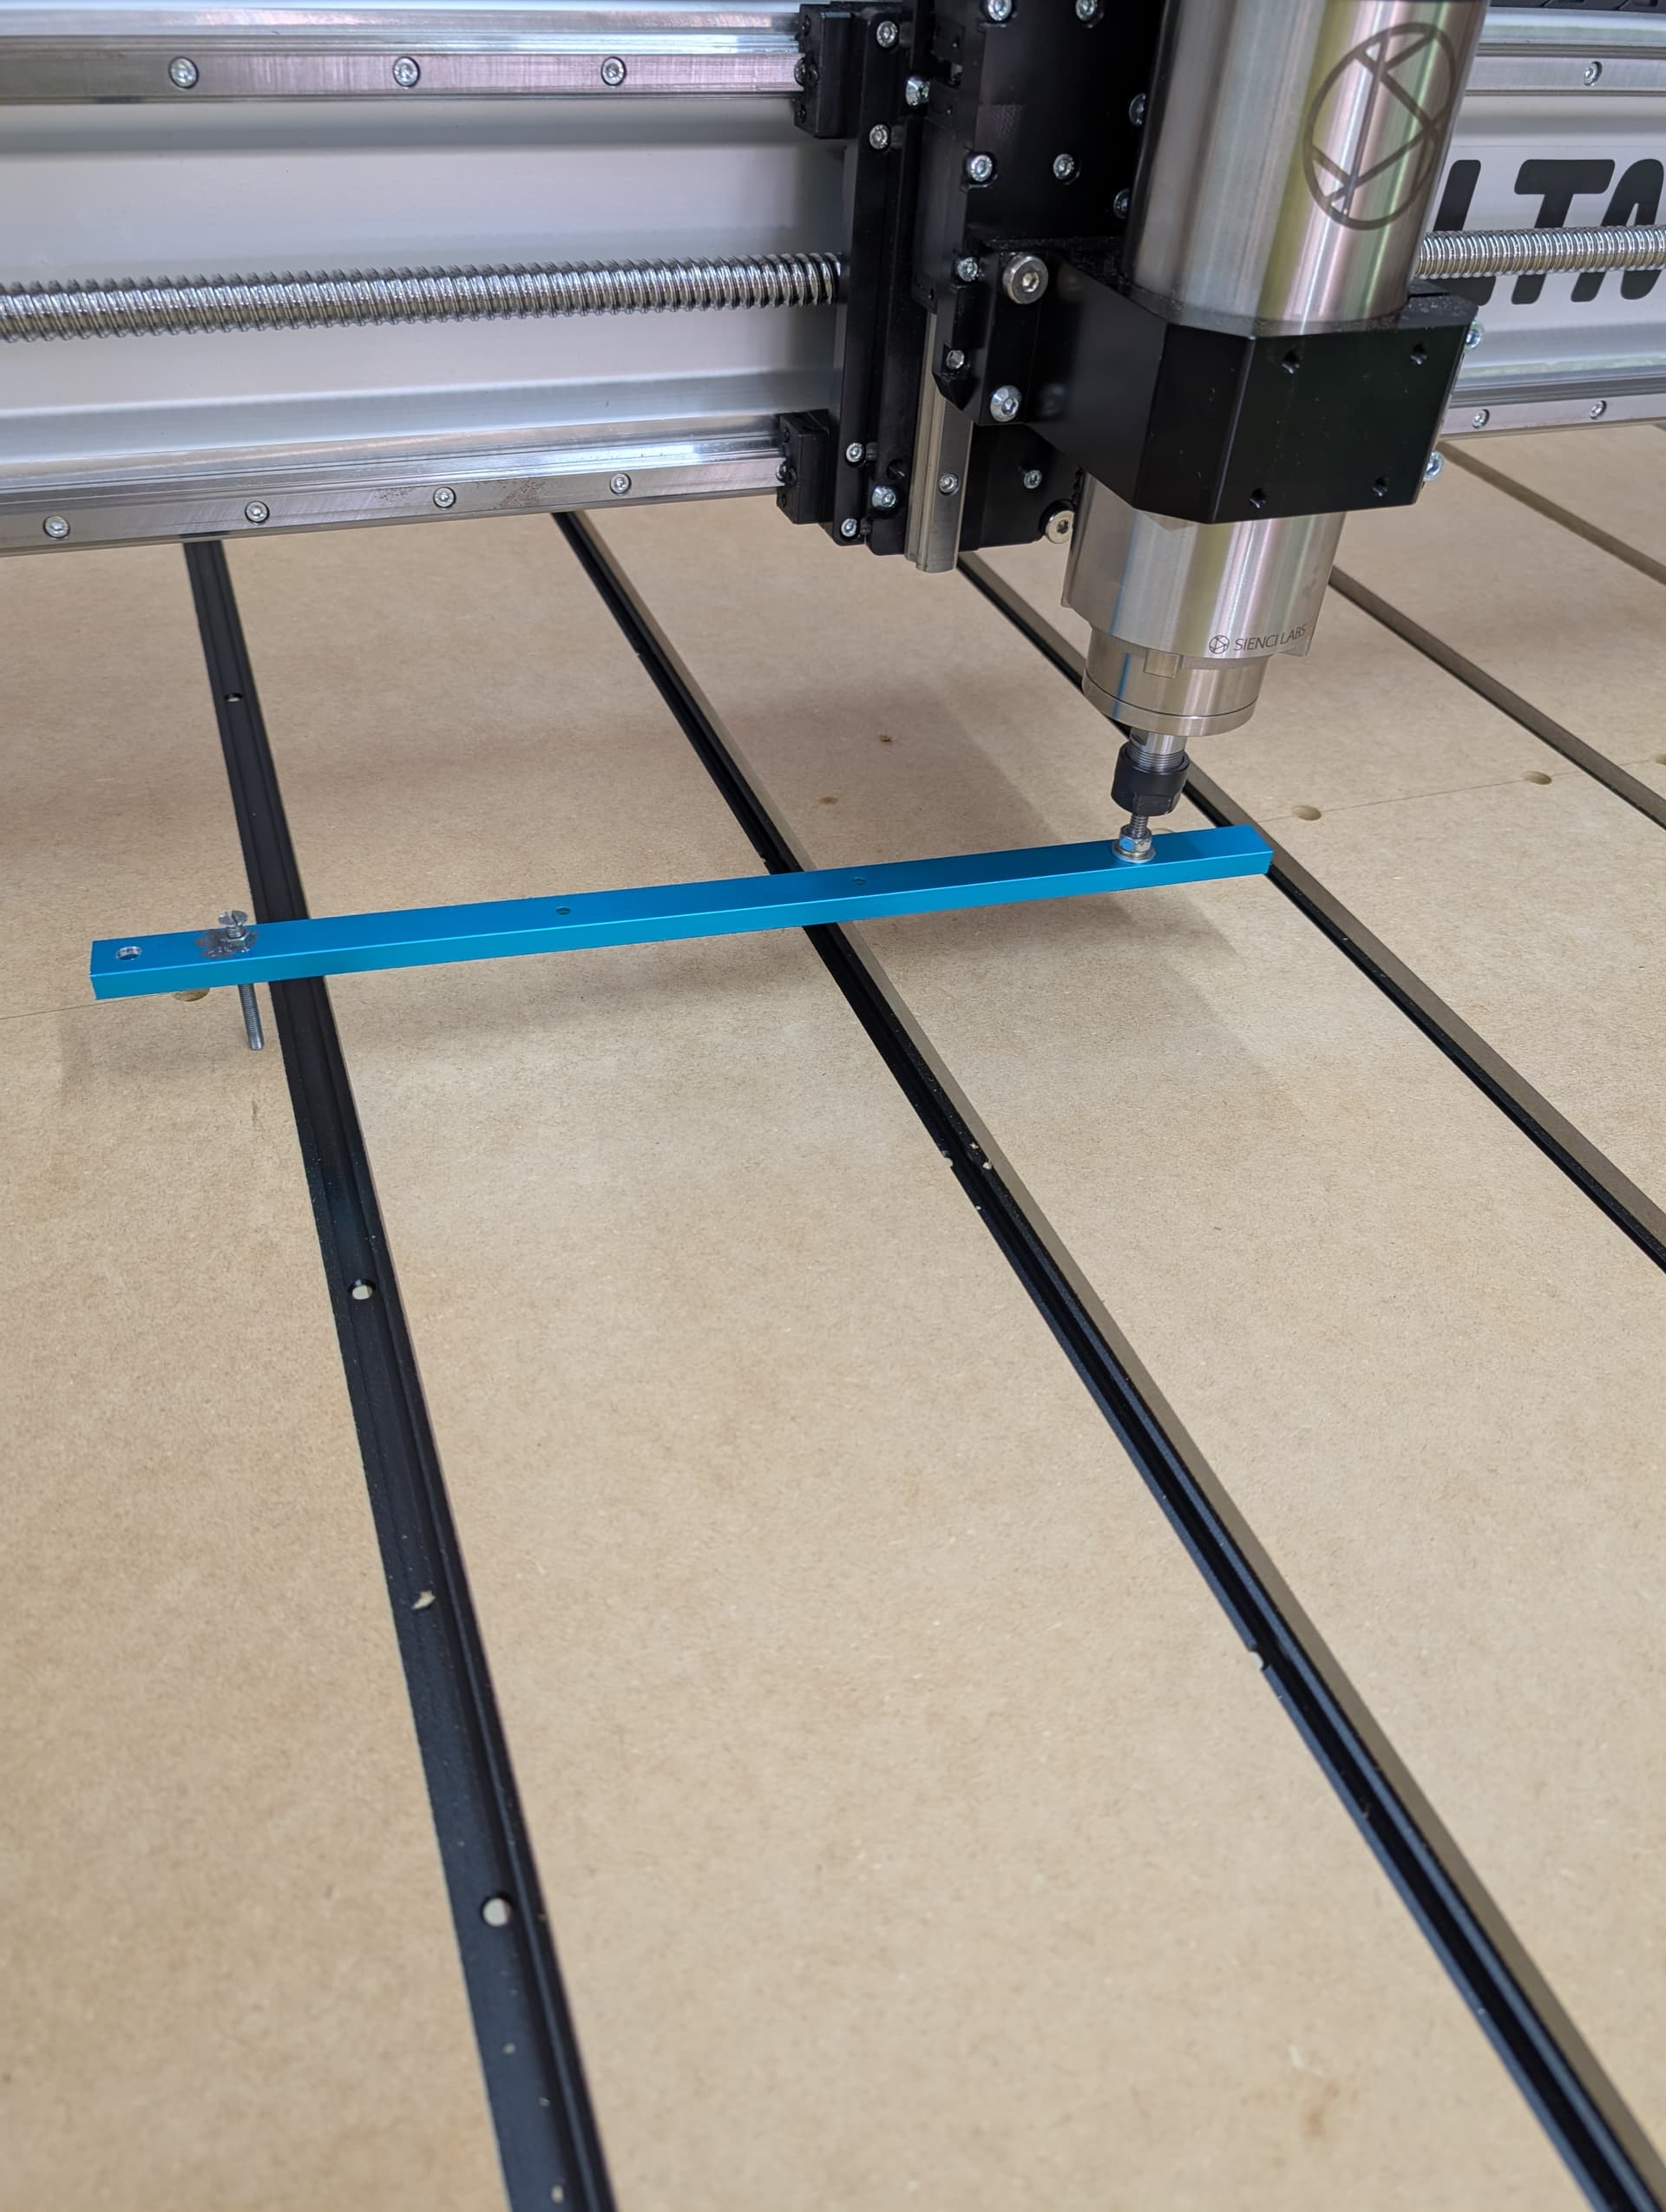
While I eagerly await my tramming tool, I constructed a rig to help me check the measurements. From side to side I am dead on. From front to back, Im about 30 thou out. That is like .78mm. That is over a 24” diameter circle. Do you guys think It is time to just go ahead and surface or try to get it closer before I do the first surface?
Lets do some math and see if I remember how to do it. Let’s try to figure out how big the ridges would be with a 1/4” bit.
30/24 = x/0.25
x = 30/24 x 0.25
x = 1.25 x 0.25
x = 0.3125
That means, if my math is correct, that you’d be off by 0.3125 thousands over a 1/4” or 0.0003125” if you prefer. You’ll probably surface with a bit bigger than a 1/4” but it’s a popular size for actual work which is why I chose it. Just replace 0.25 with your actual surfacing bit diameter to get the number for your surfacing bit.
Maybe that will help you make your decision. You likely can get closer if you have a way to correct the nod but it’s not as bad as it first appears depending on your use case. Metal vs wood vs ? For woodworking with a 1/2” bit or less I think your already at a point where not too much sanding would be necessary. It could be that we CNC woodworkers exaggerate the need for perfect tramming a bit. That said I’m all for doing your best!
The only fly in the ointment is that you are trying to tram against an unknown surface which is an approximation. Normally tramming would be done on a mill where the mill table is known to be flat and the mill’s head is trammed to the mill table.
Even if you were to surface the table and then put a granite surface plate on it and did the tramming on that, you still have the potential for error.
I would mount my normal surfacing bit run the routine and then look at the result - does it look (or feel) like you want this to be improved? If a quick sanding would fix the issue I would not bother keeping in mind that something as simple as a humidity change can screw things up.
The only time you can even see this kind of an error is when you surface things and how often do you do that? If you said ‘I surface cutting boards all day long and have to manually sand them afterwards’ then it might be worth it (or get a good wide belt sander)
I would like to add that from past experience, if you try to improve ‘good enough’ you can end up screwing around for hours and never get it quite 100%.
Im with you. I feel that I have a pretty good surface already but I know that un-surfaced it is not perfect. Between you and Michael I have what seems to be rock solid advice…thx!
Do you guys disable soft limits when you surface? If I try to do the max area that the machine will do I get alarm2 error. I was going to run a surface operation without a bit for the first time to make sure I have a grasp on machine operation. I dont have a total grasp on soft limits but Im getting there.
When I started I disabled soft limits. Now, between having my soft limits dialed in and a larger surfacing bit I don’t need to.
Might I suggest using the mill to get the measurements for the surfacing operation if your not already. Set XY zero to where your surfacing bit just reaches all of one corner then jog til it just covers the opposite corner and use the displayed values in gSender for the dimensions of the surfacing operation.
If you can reach when jogging without getting an alarm the surfacing should go okay. If you can’t reach the opposite corner then your soft limits are too short.
And, as usual, you hit the nail on the head….If I bring it to the forward left corner until it stops and set it to zero, I move to the forward corner and enter that X value, then move to the rear left corner and enter the Y value I will get the alarm 2. I assumed that means Im outside my soft limits. That is why I was thinking of disabling the soft limits for this job. My surface area is the whole bed so I would like to get the 49 by 49 area that is available to me. I guess technically I have not set any soft limits except what was set when I received the machine. Like I say…my other machine had no way to set soft limits so it is something that is new to me.
Okay, it’s not a problem to turn them off and then surface.
While they’re turned off it would be a good time to home and then carefully jog to the end of the X, with your dust boot on, and stop just before anything hits i.e use precise jogging when close. Then you have the X number to set the X Max travel to. If you accidentally hit the end, home and try again. Do the same for the Y but the dust boot shouldn’t be a problem for the Y. I’m not even sure it’s a problem with the X but I think I remember someone with an AltMill saying the boot crashed and broke. Maybe it’s different with the MK2.
EDIT: Just to be super clear, when setting the soft limits start at the home position, don’t move to the front left. It will be the smaller machine coordinates in gSender that have the value for max travel unless you also zero the work coordinates at the home position. You should notice that right after you home the smaller machine coordinates will be 0. The bigger work coordinate values will depend on where you set XYZ 0 for your project.
So remember that homing sets the machine coordinates to zero whereas hitting the XYZ, X, Y or Z zero buttons sets the work coordinate(s) to zero.
Also I forgot to mention the Z max travel. For that I removed the bit and jogged as low as possible without the axis hitting the end. Soft limits won’t protect your bit from crashing into the stock or spoilboard.
Usual preface, I’m with PreciseBits. So while I try to only post general information take everything I say with the understanding that I have a bias.
I won’t address anything specific to IDC, for what I hope are obvious reasons. However, I will say that traming in general is only as useful as the machine you’re working on is rigid and repeatable (for the work you are going to do with it).
My personal opinion is it’s worth it at a base level but don’t go nuts on it. EVERYTHING is a spring. That includes your gantry, spindle/router mount, the bit you’re cutting with, etc. So even if you get a “perfect” tram… It’s only with the tool you used to tram, in the material you’re cutting, or at ZERO load (depending on the type you do and how you are measuring it). Change those parameters and something WILL deflect (bend) differently.
Basically if you apply enough force to the mill or machine you are bending it out of tram when it’s cutting. So don’t go overboard or into too much brain death over it (unless chasing zeros is a fun hobby for you).
That said, while it’s still an issue with variables and deflection, I would ALWAYS surface the spoil board before cutting on it. It won’t make it level (unless your machine is and has no deflection). But, it will make it “true” to your spindle, or at least closer to “true”. That will make for less issues with depth differences.
Admittedly, all of the above is subject to specific use. Sometimes it might make more sense to go deeper into the rabbit hole.