Z Plunge into Project at Start?!?

Hi all -

Just getting back into CNC after a long gap and I’m running into a persistent issue. Some details:
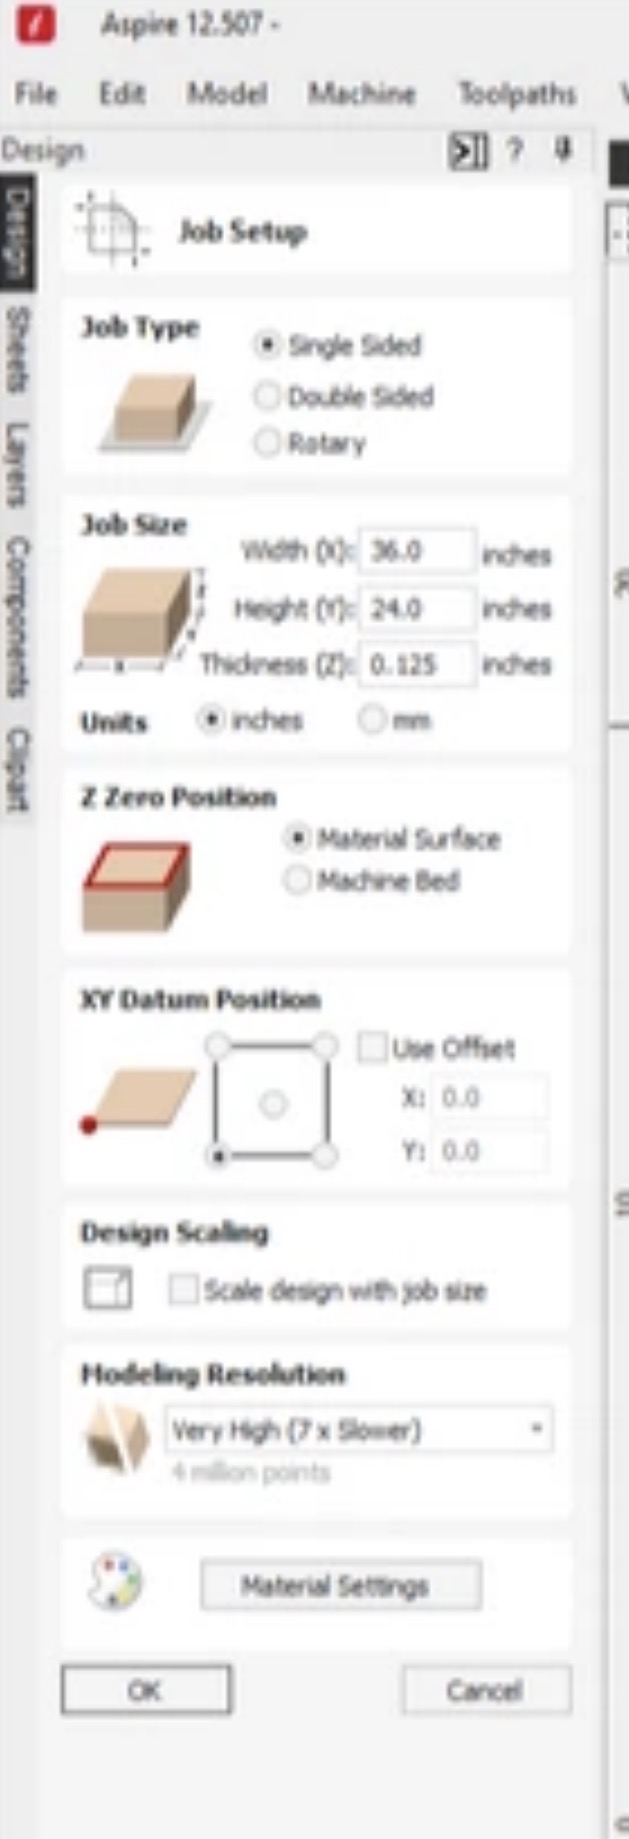
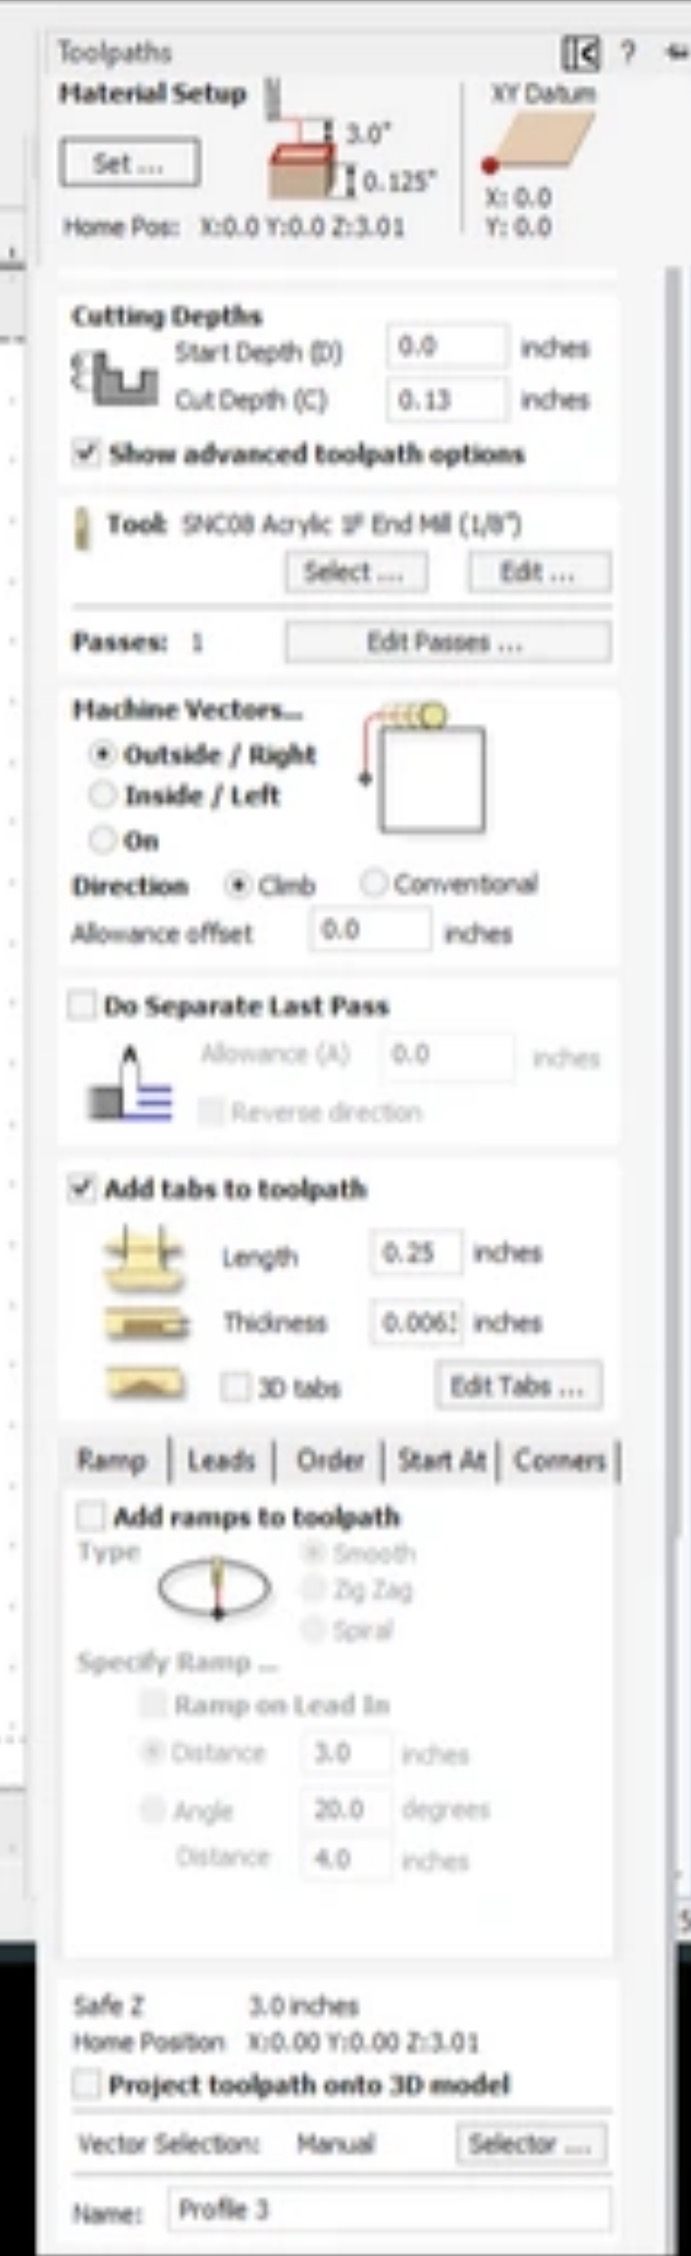
Vectric Aspire 12.5
Longmill MK2 with SLB and homing switches
gSender 1.5.7

Simple project, cutting a profile path through 1/8" acrylic.

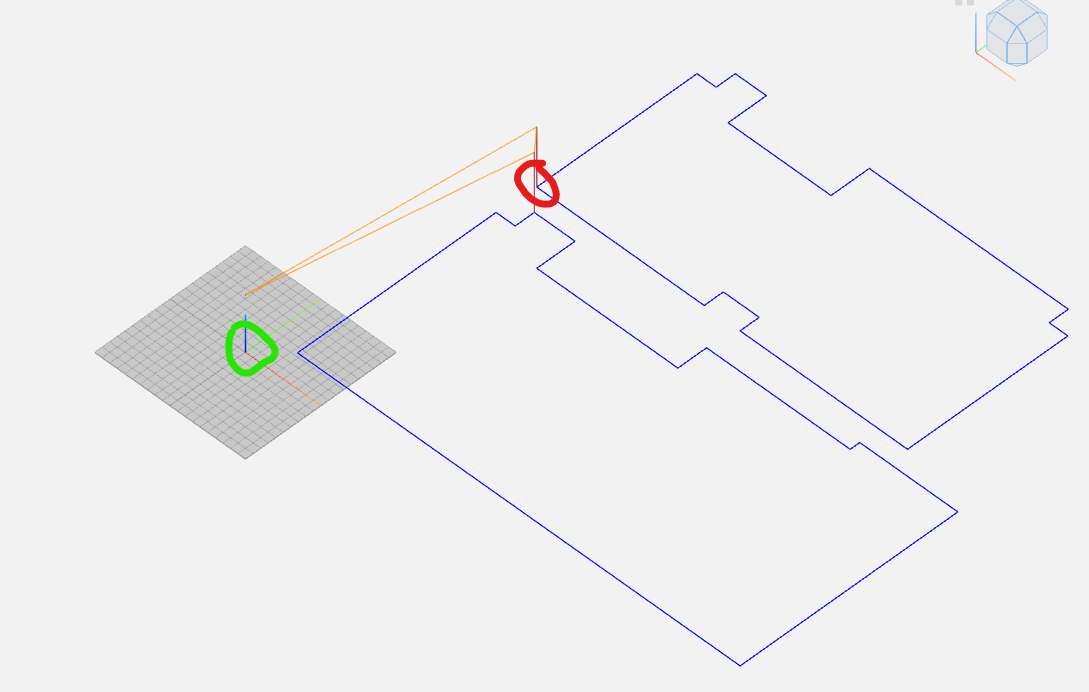
Material thickness set to 0.125" in Aspire. Profile toolpath created, preview looks good. Rapid gaps for clearance/plunge set to 3", start point is X0/Y0/Z3".

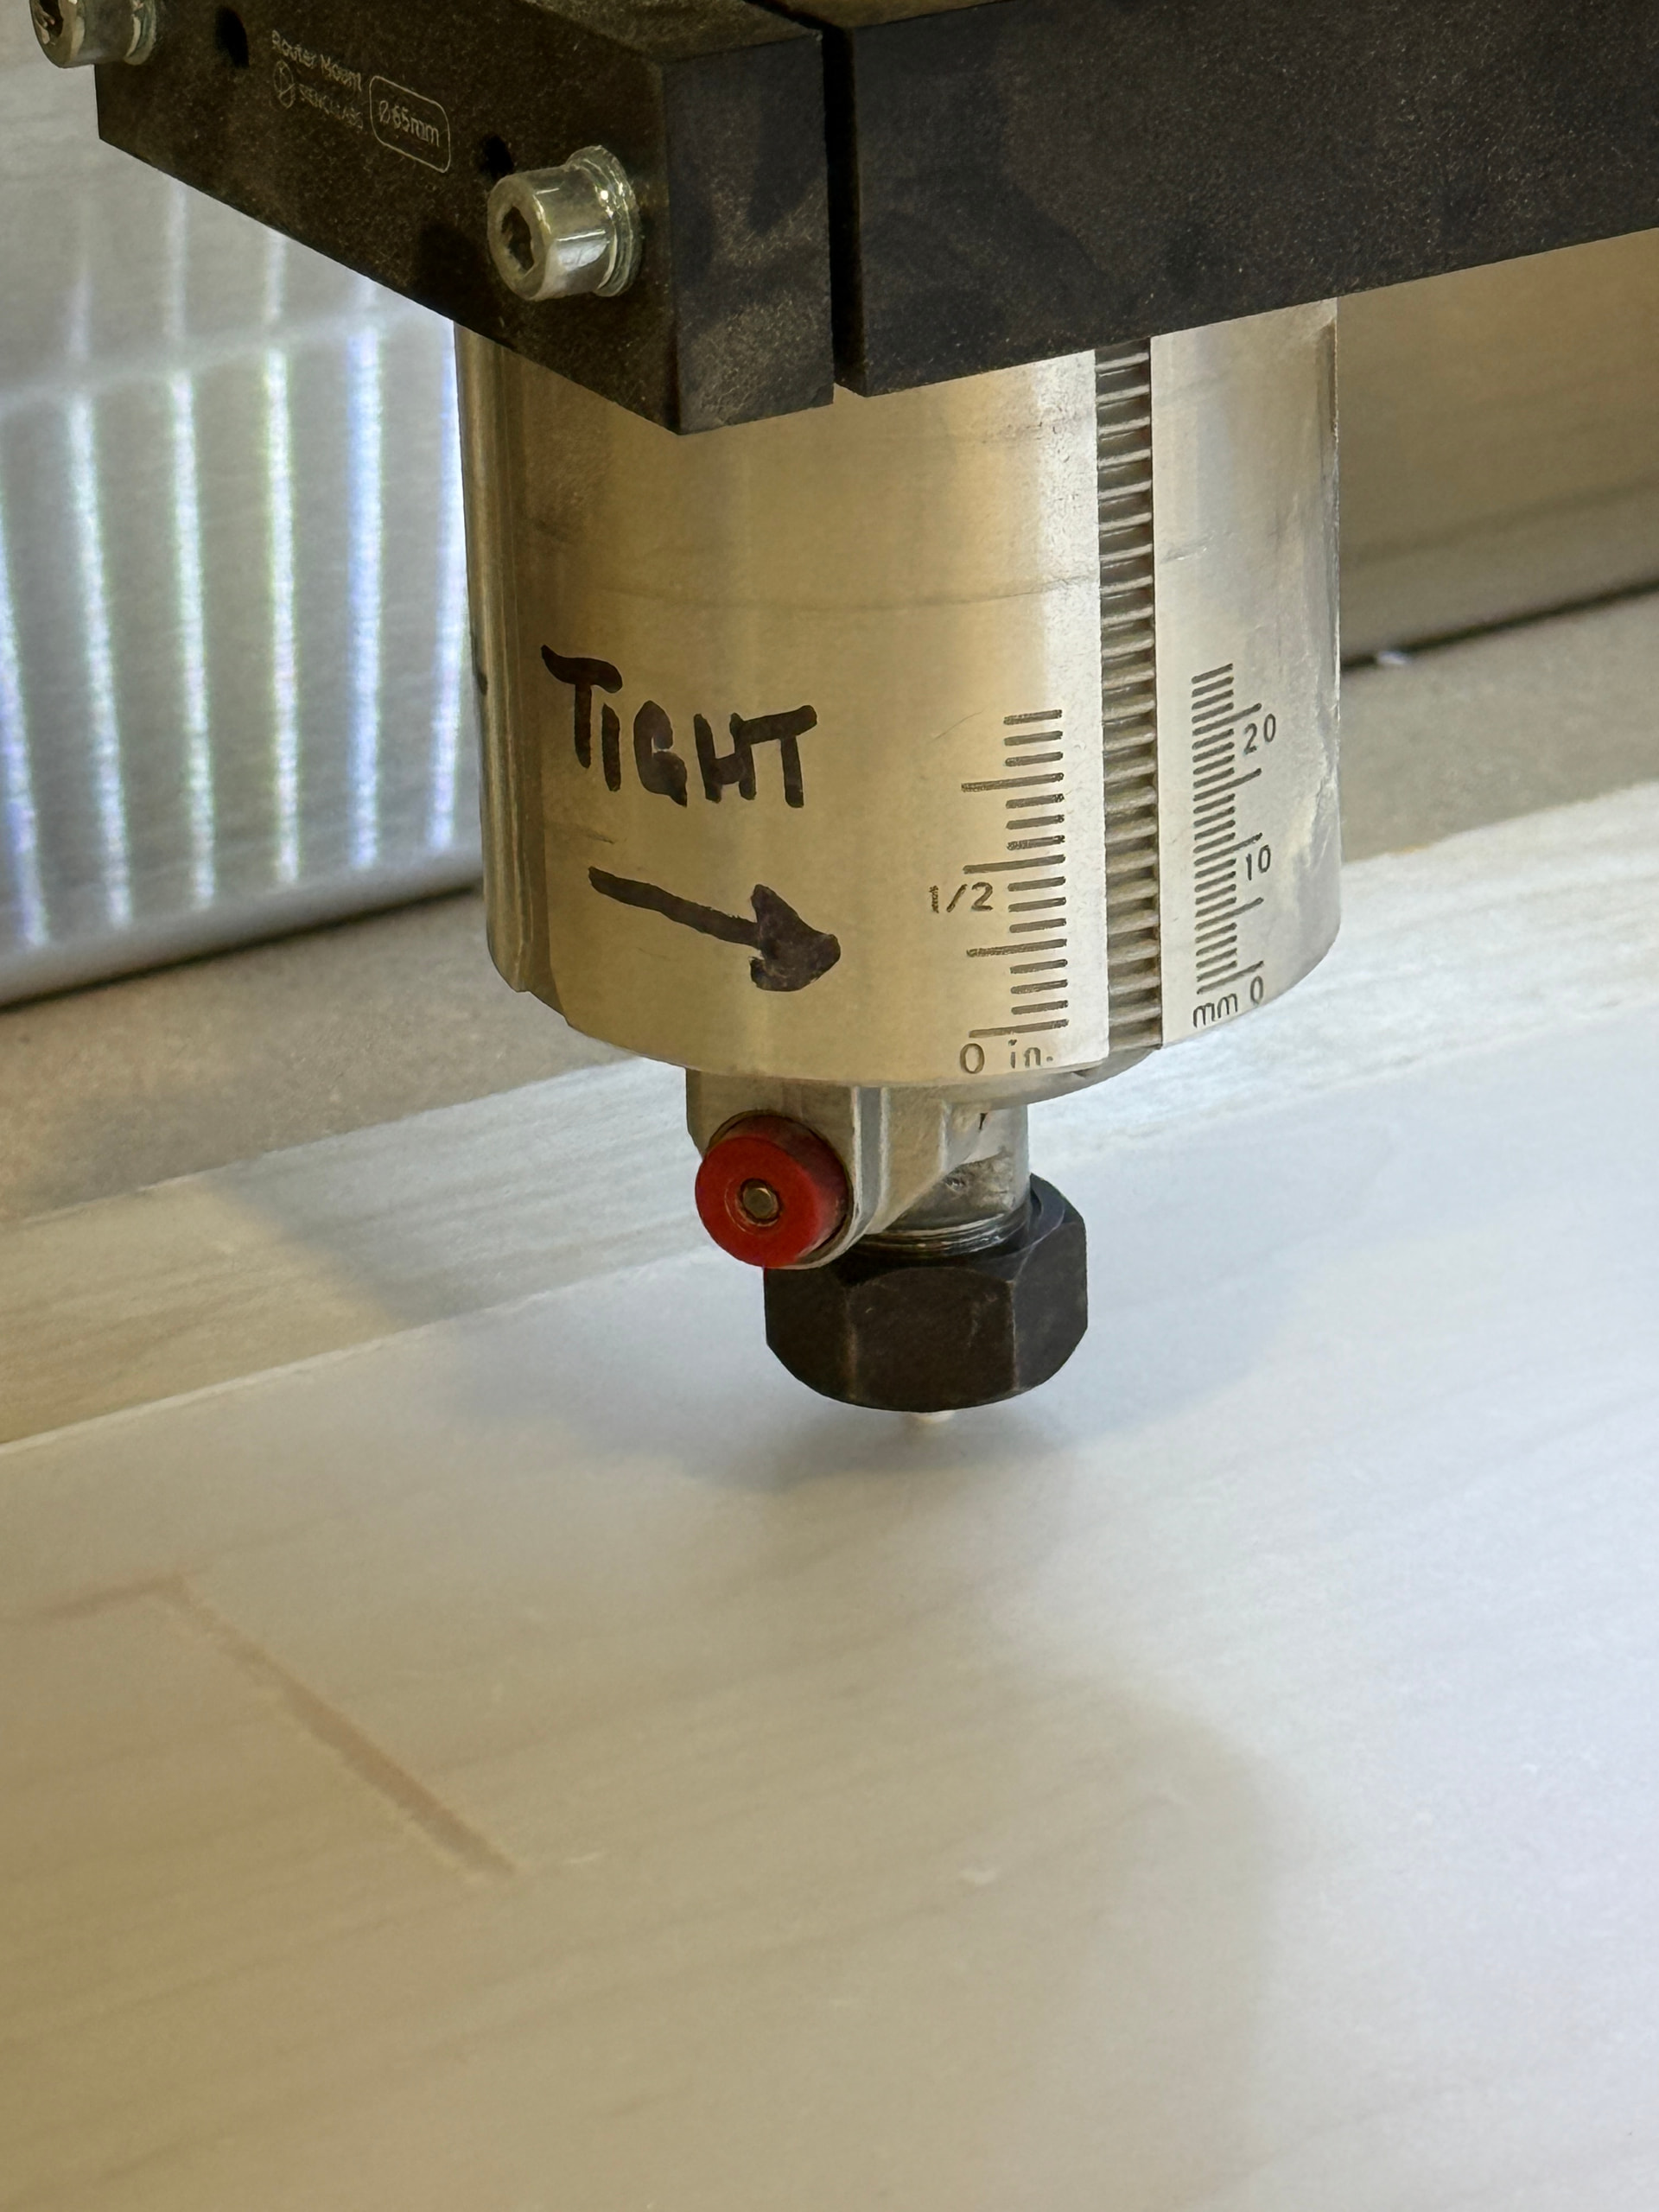
Load the toolpath into gSender, looks good. Acrylic is mounted to spoilboard.

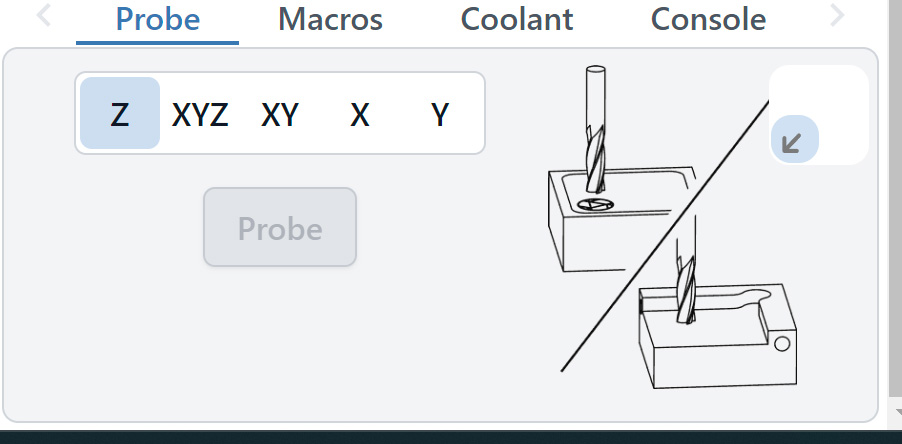
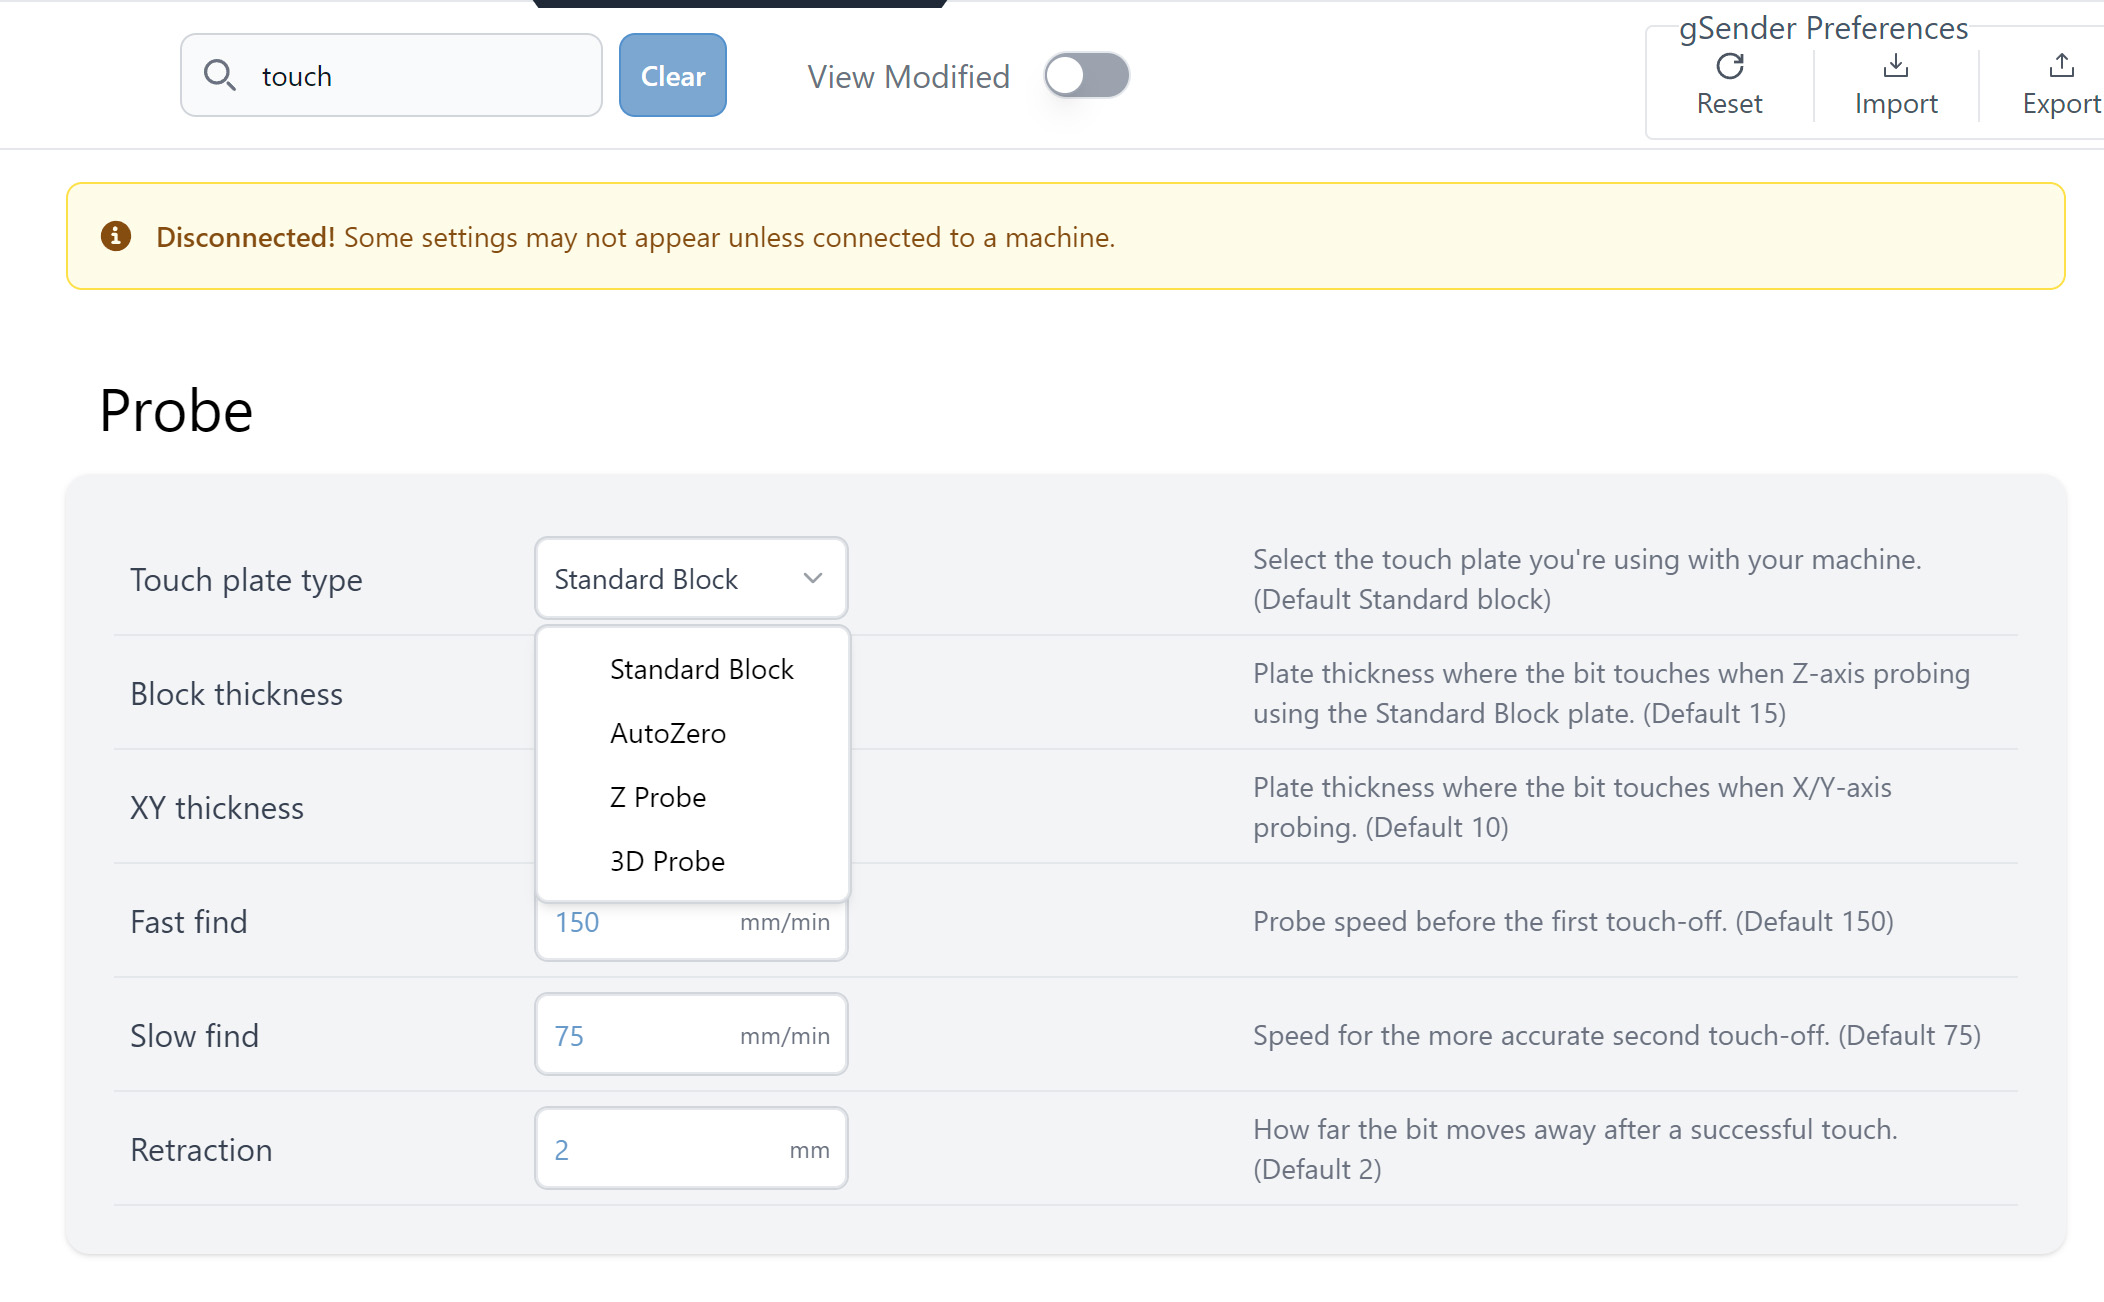
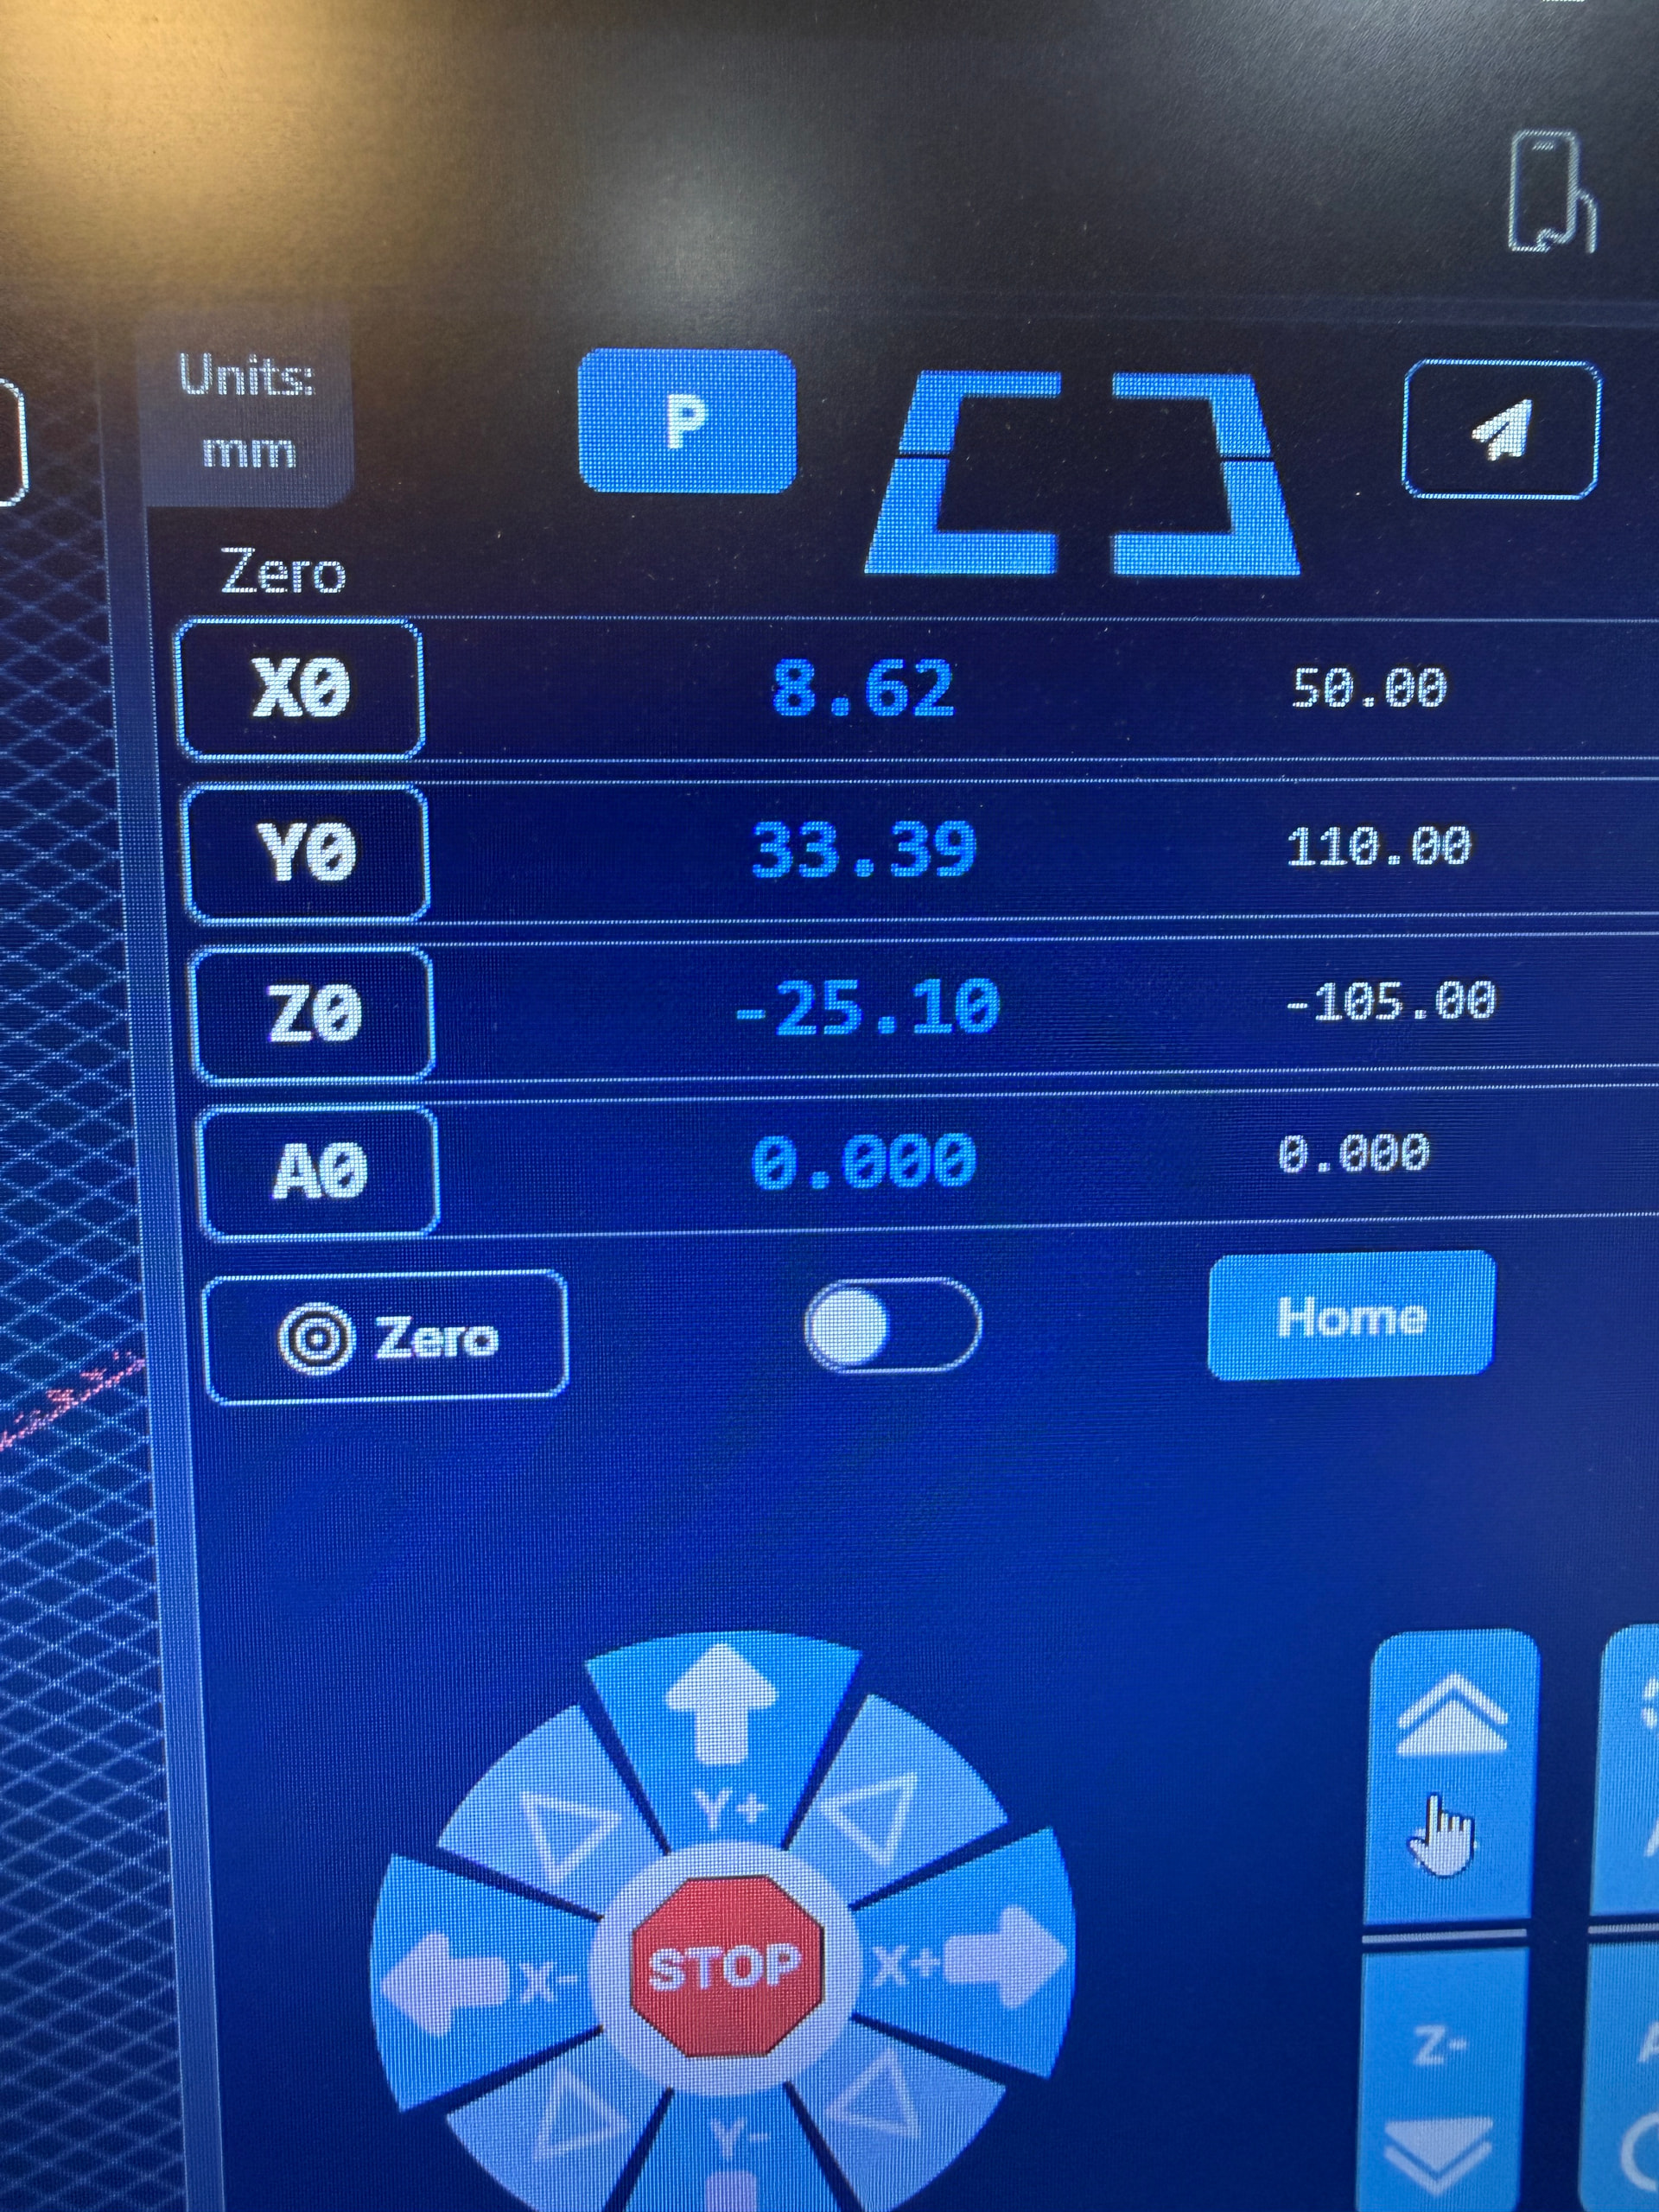
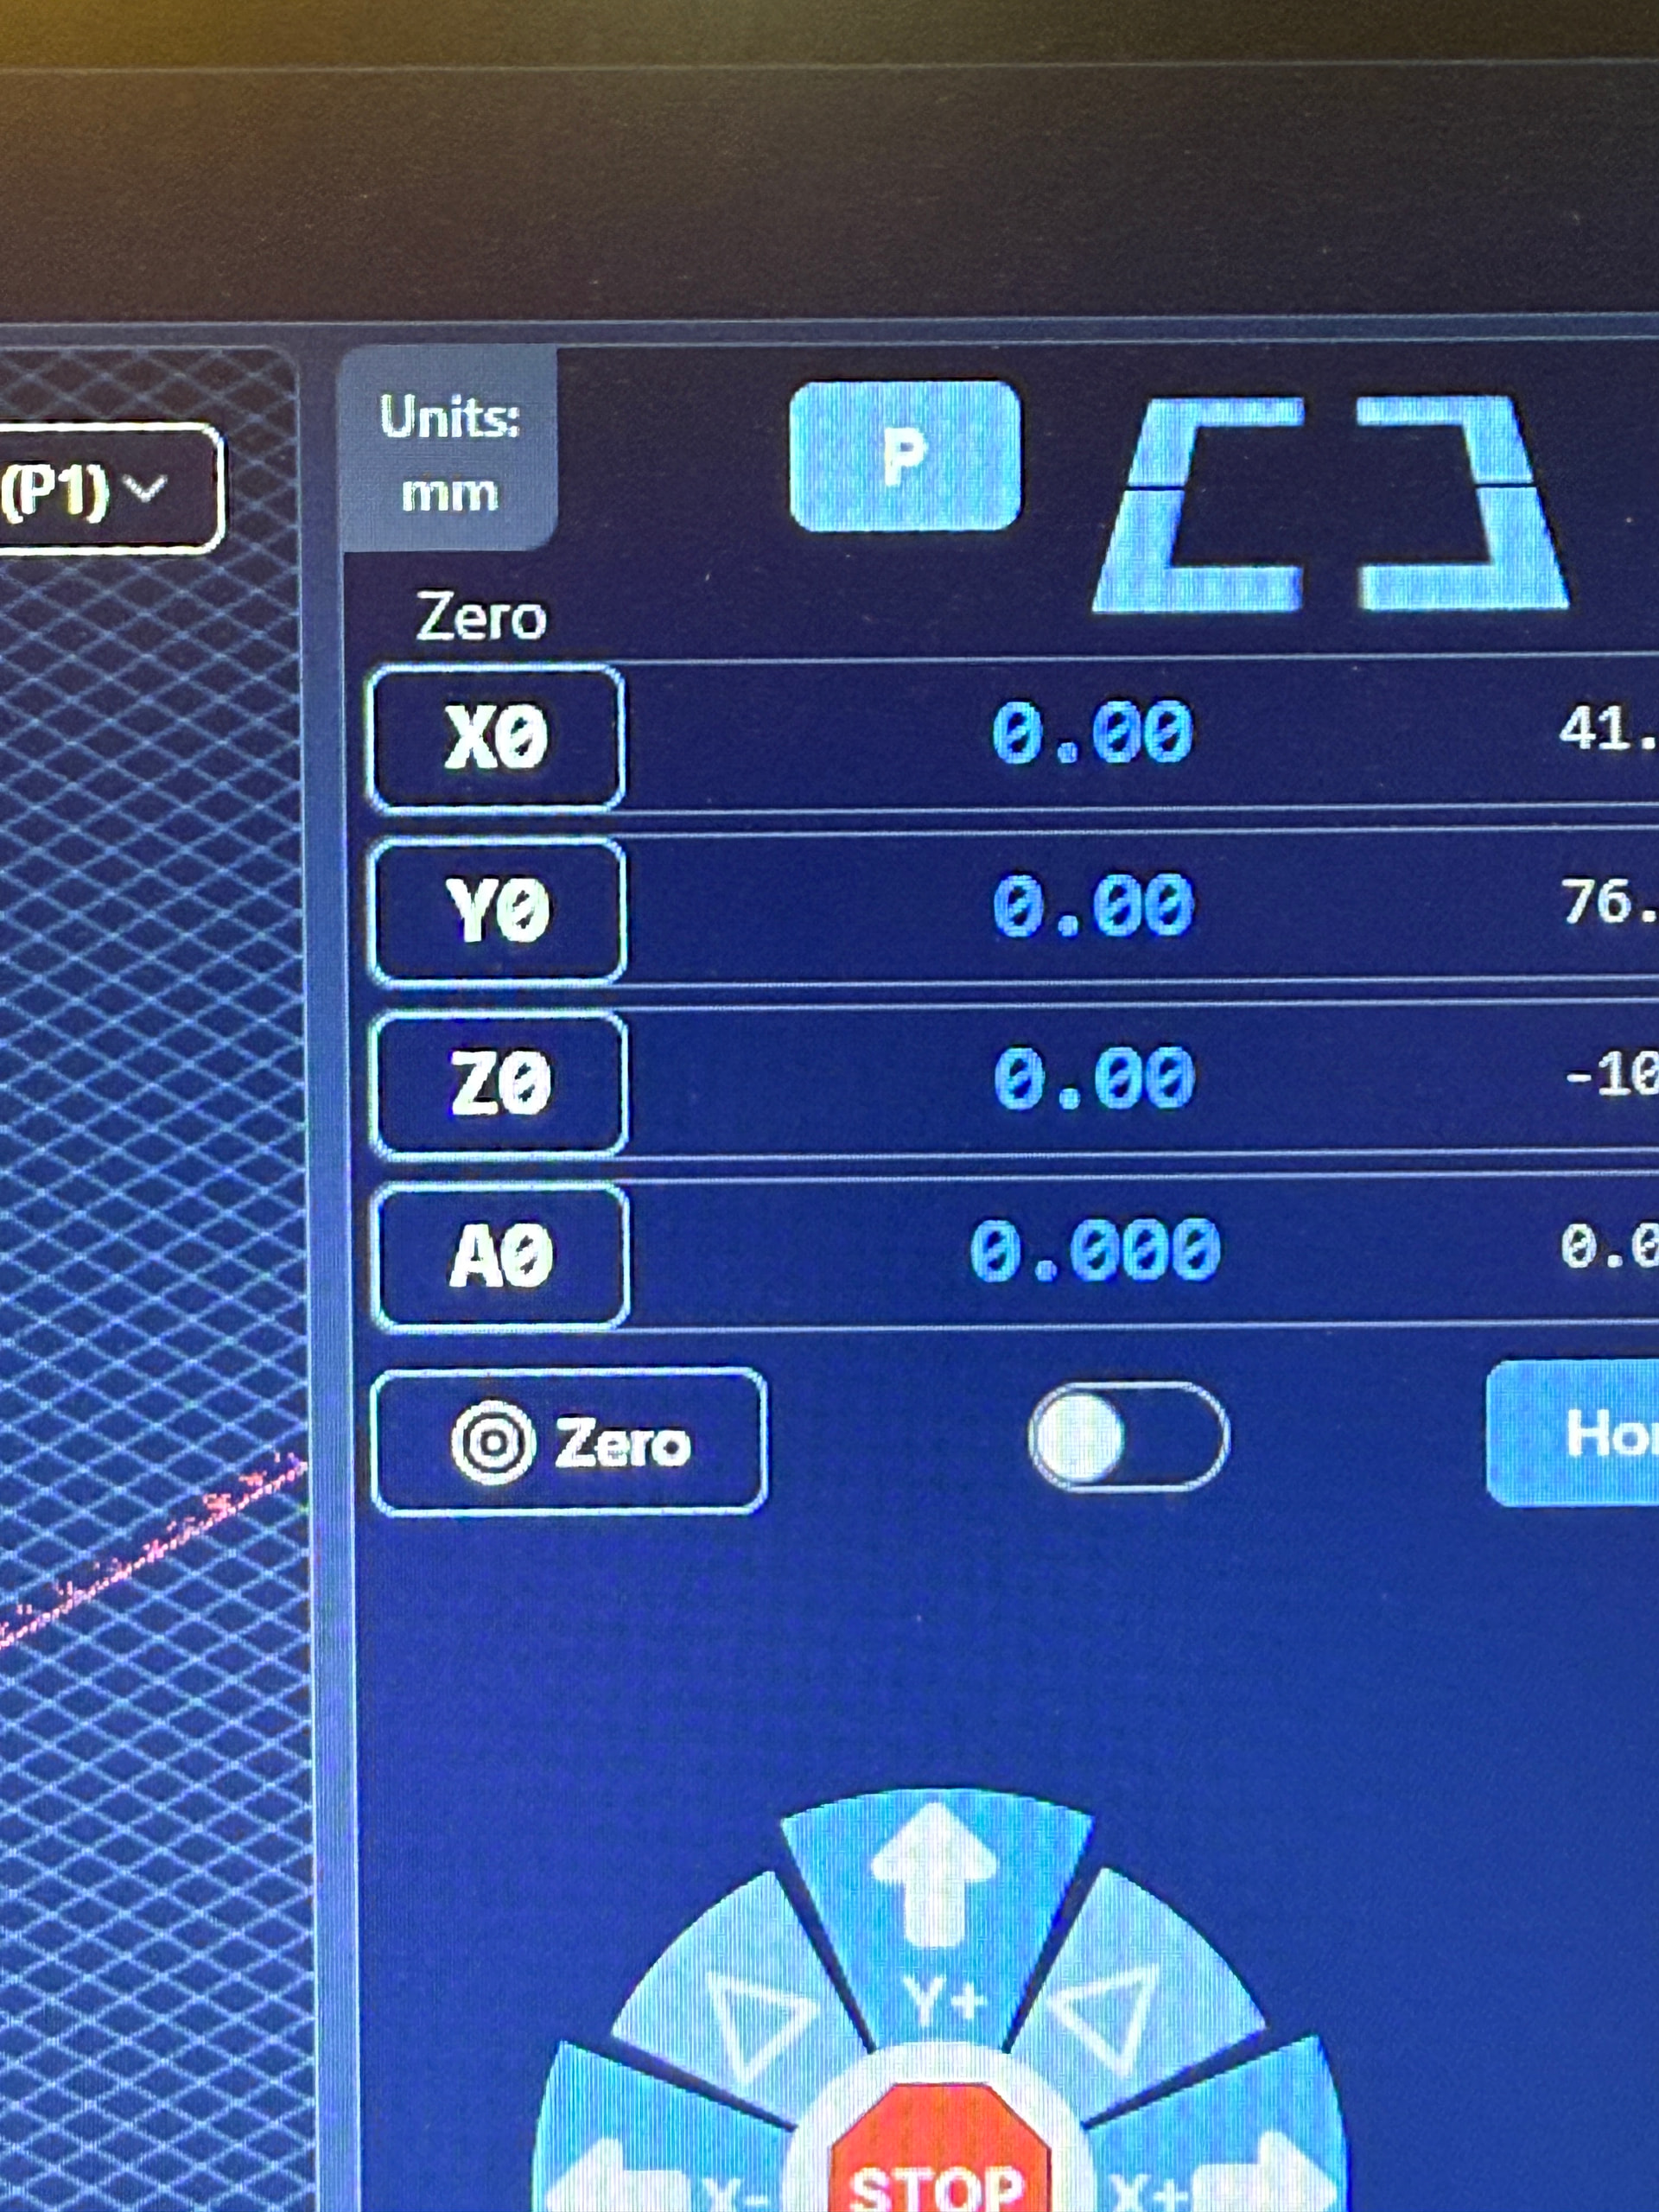
Home the machine, machine is zeroed using AutoZero Touch plate, X0/Y0 correct, Z height is 1.0 mm off the acrylic.

Run an outline and it goes just fine, returns to start point correctly.

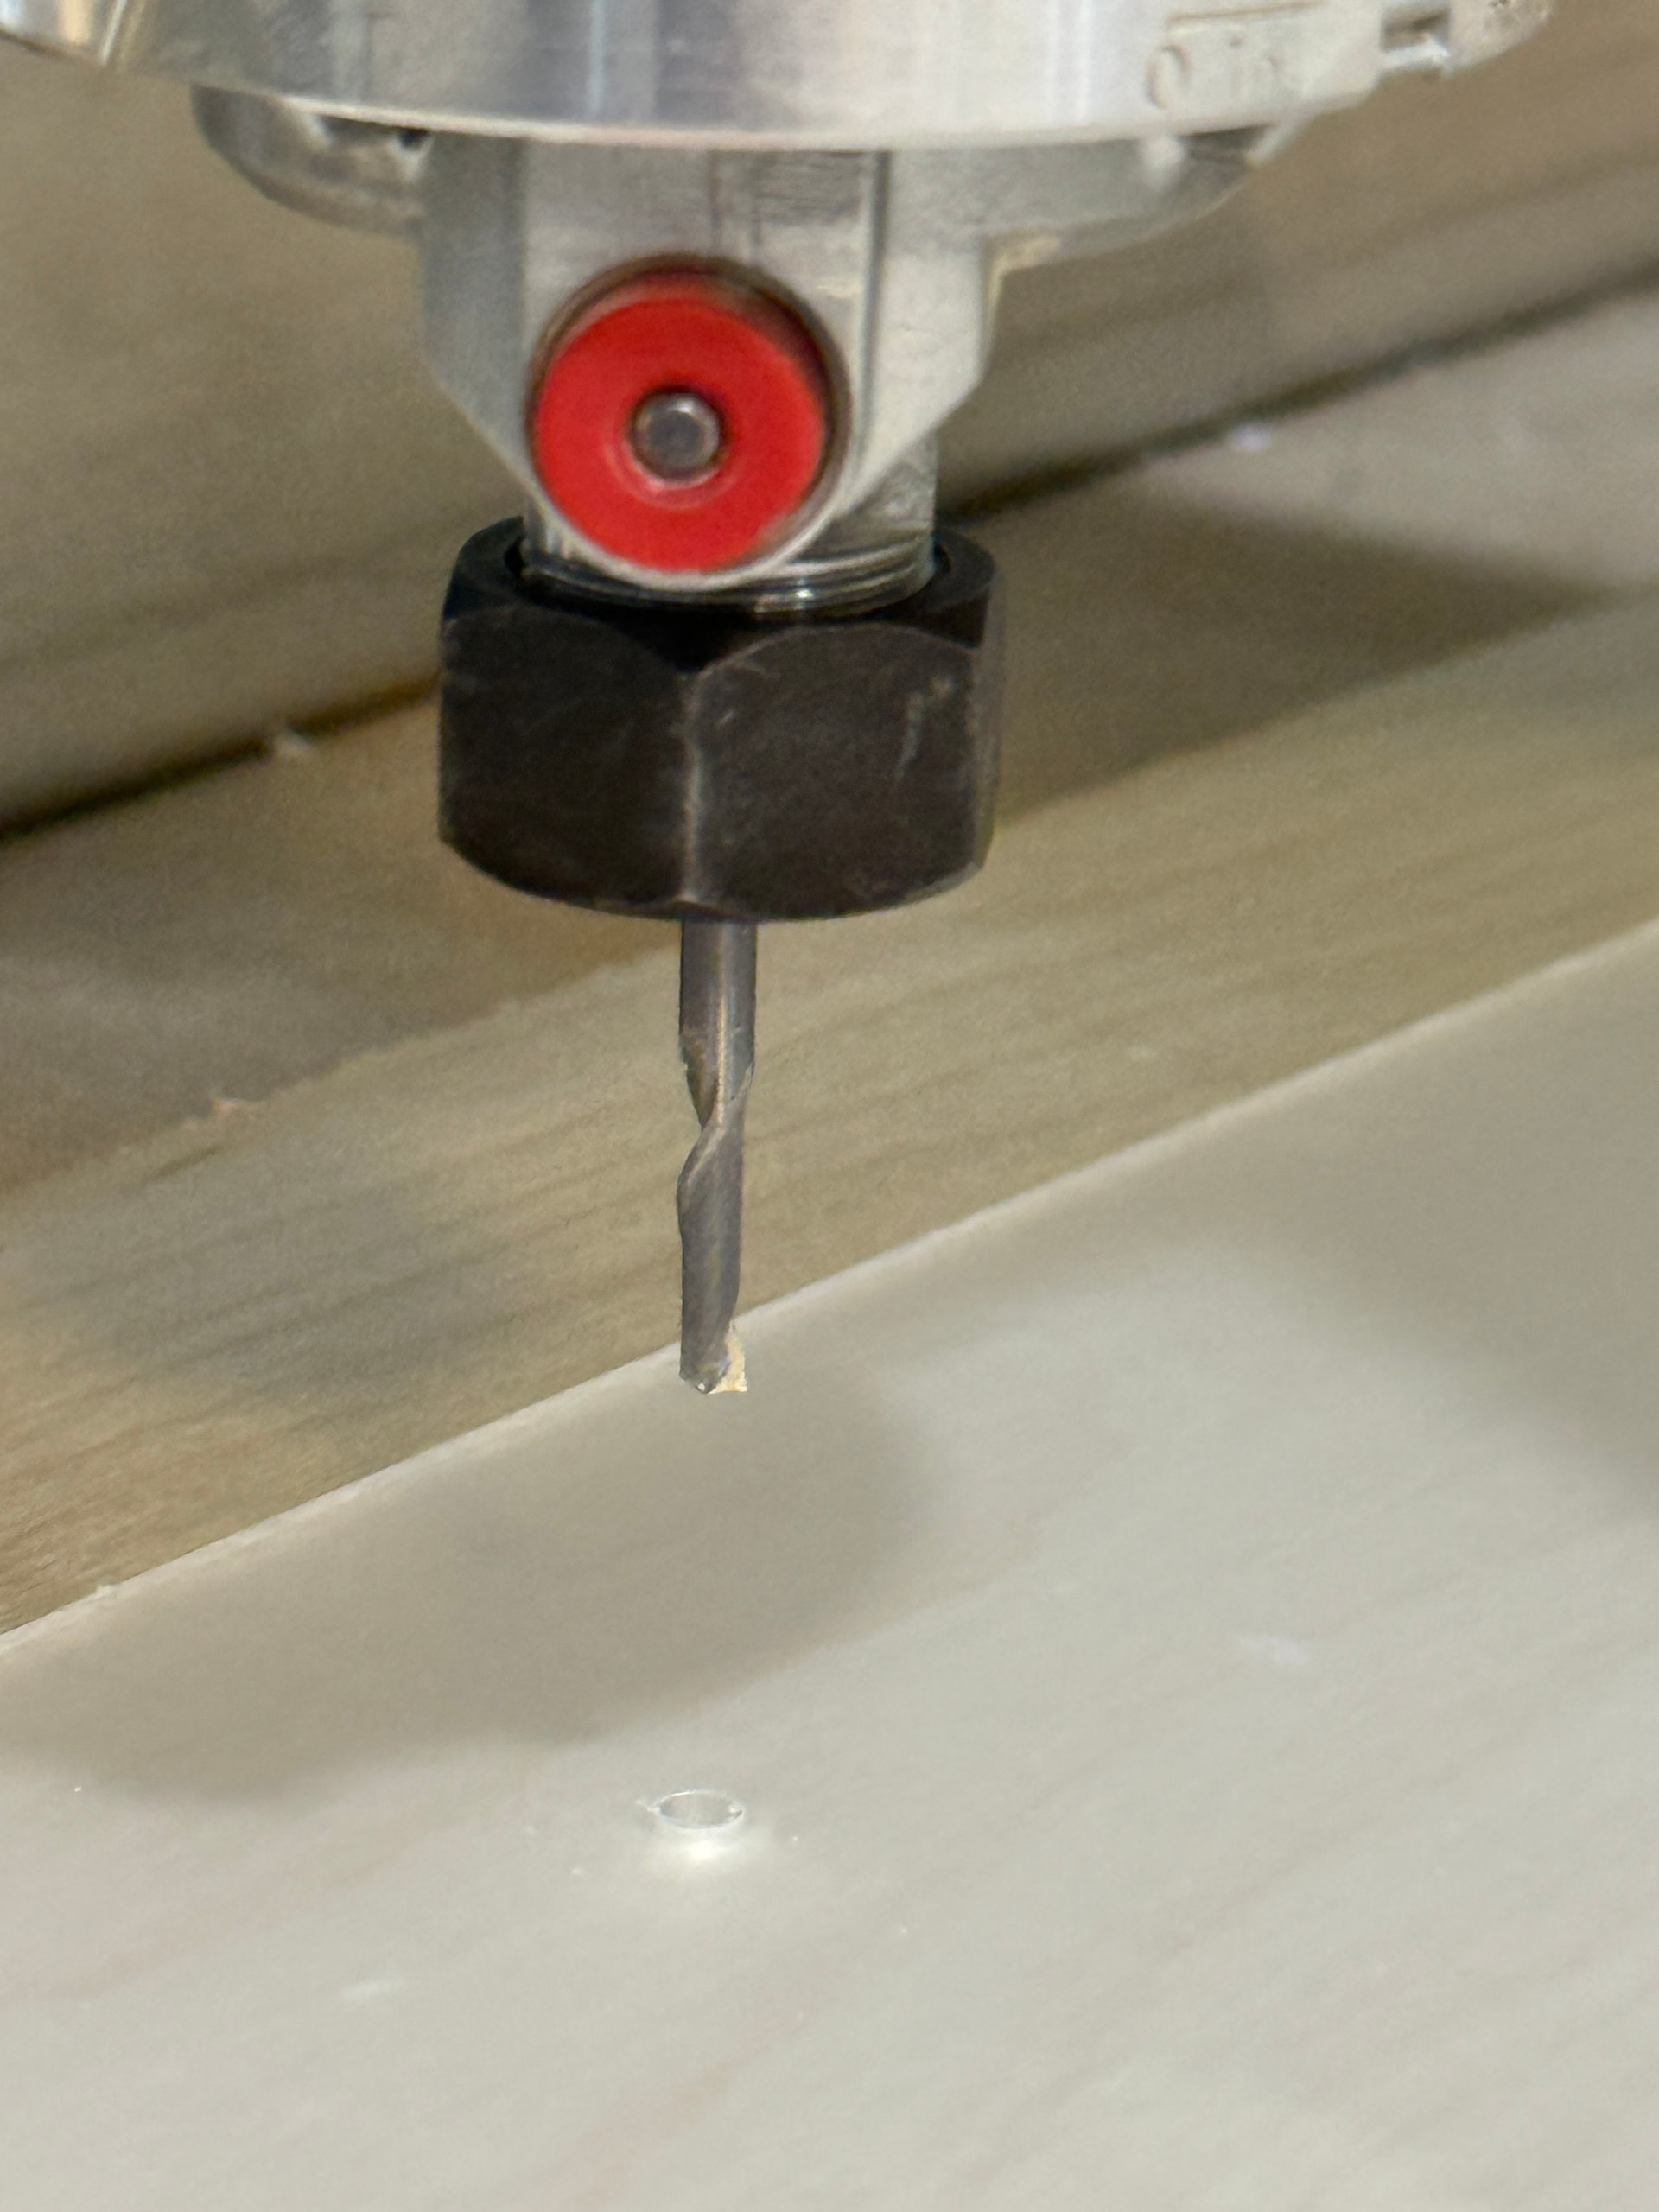
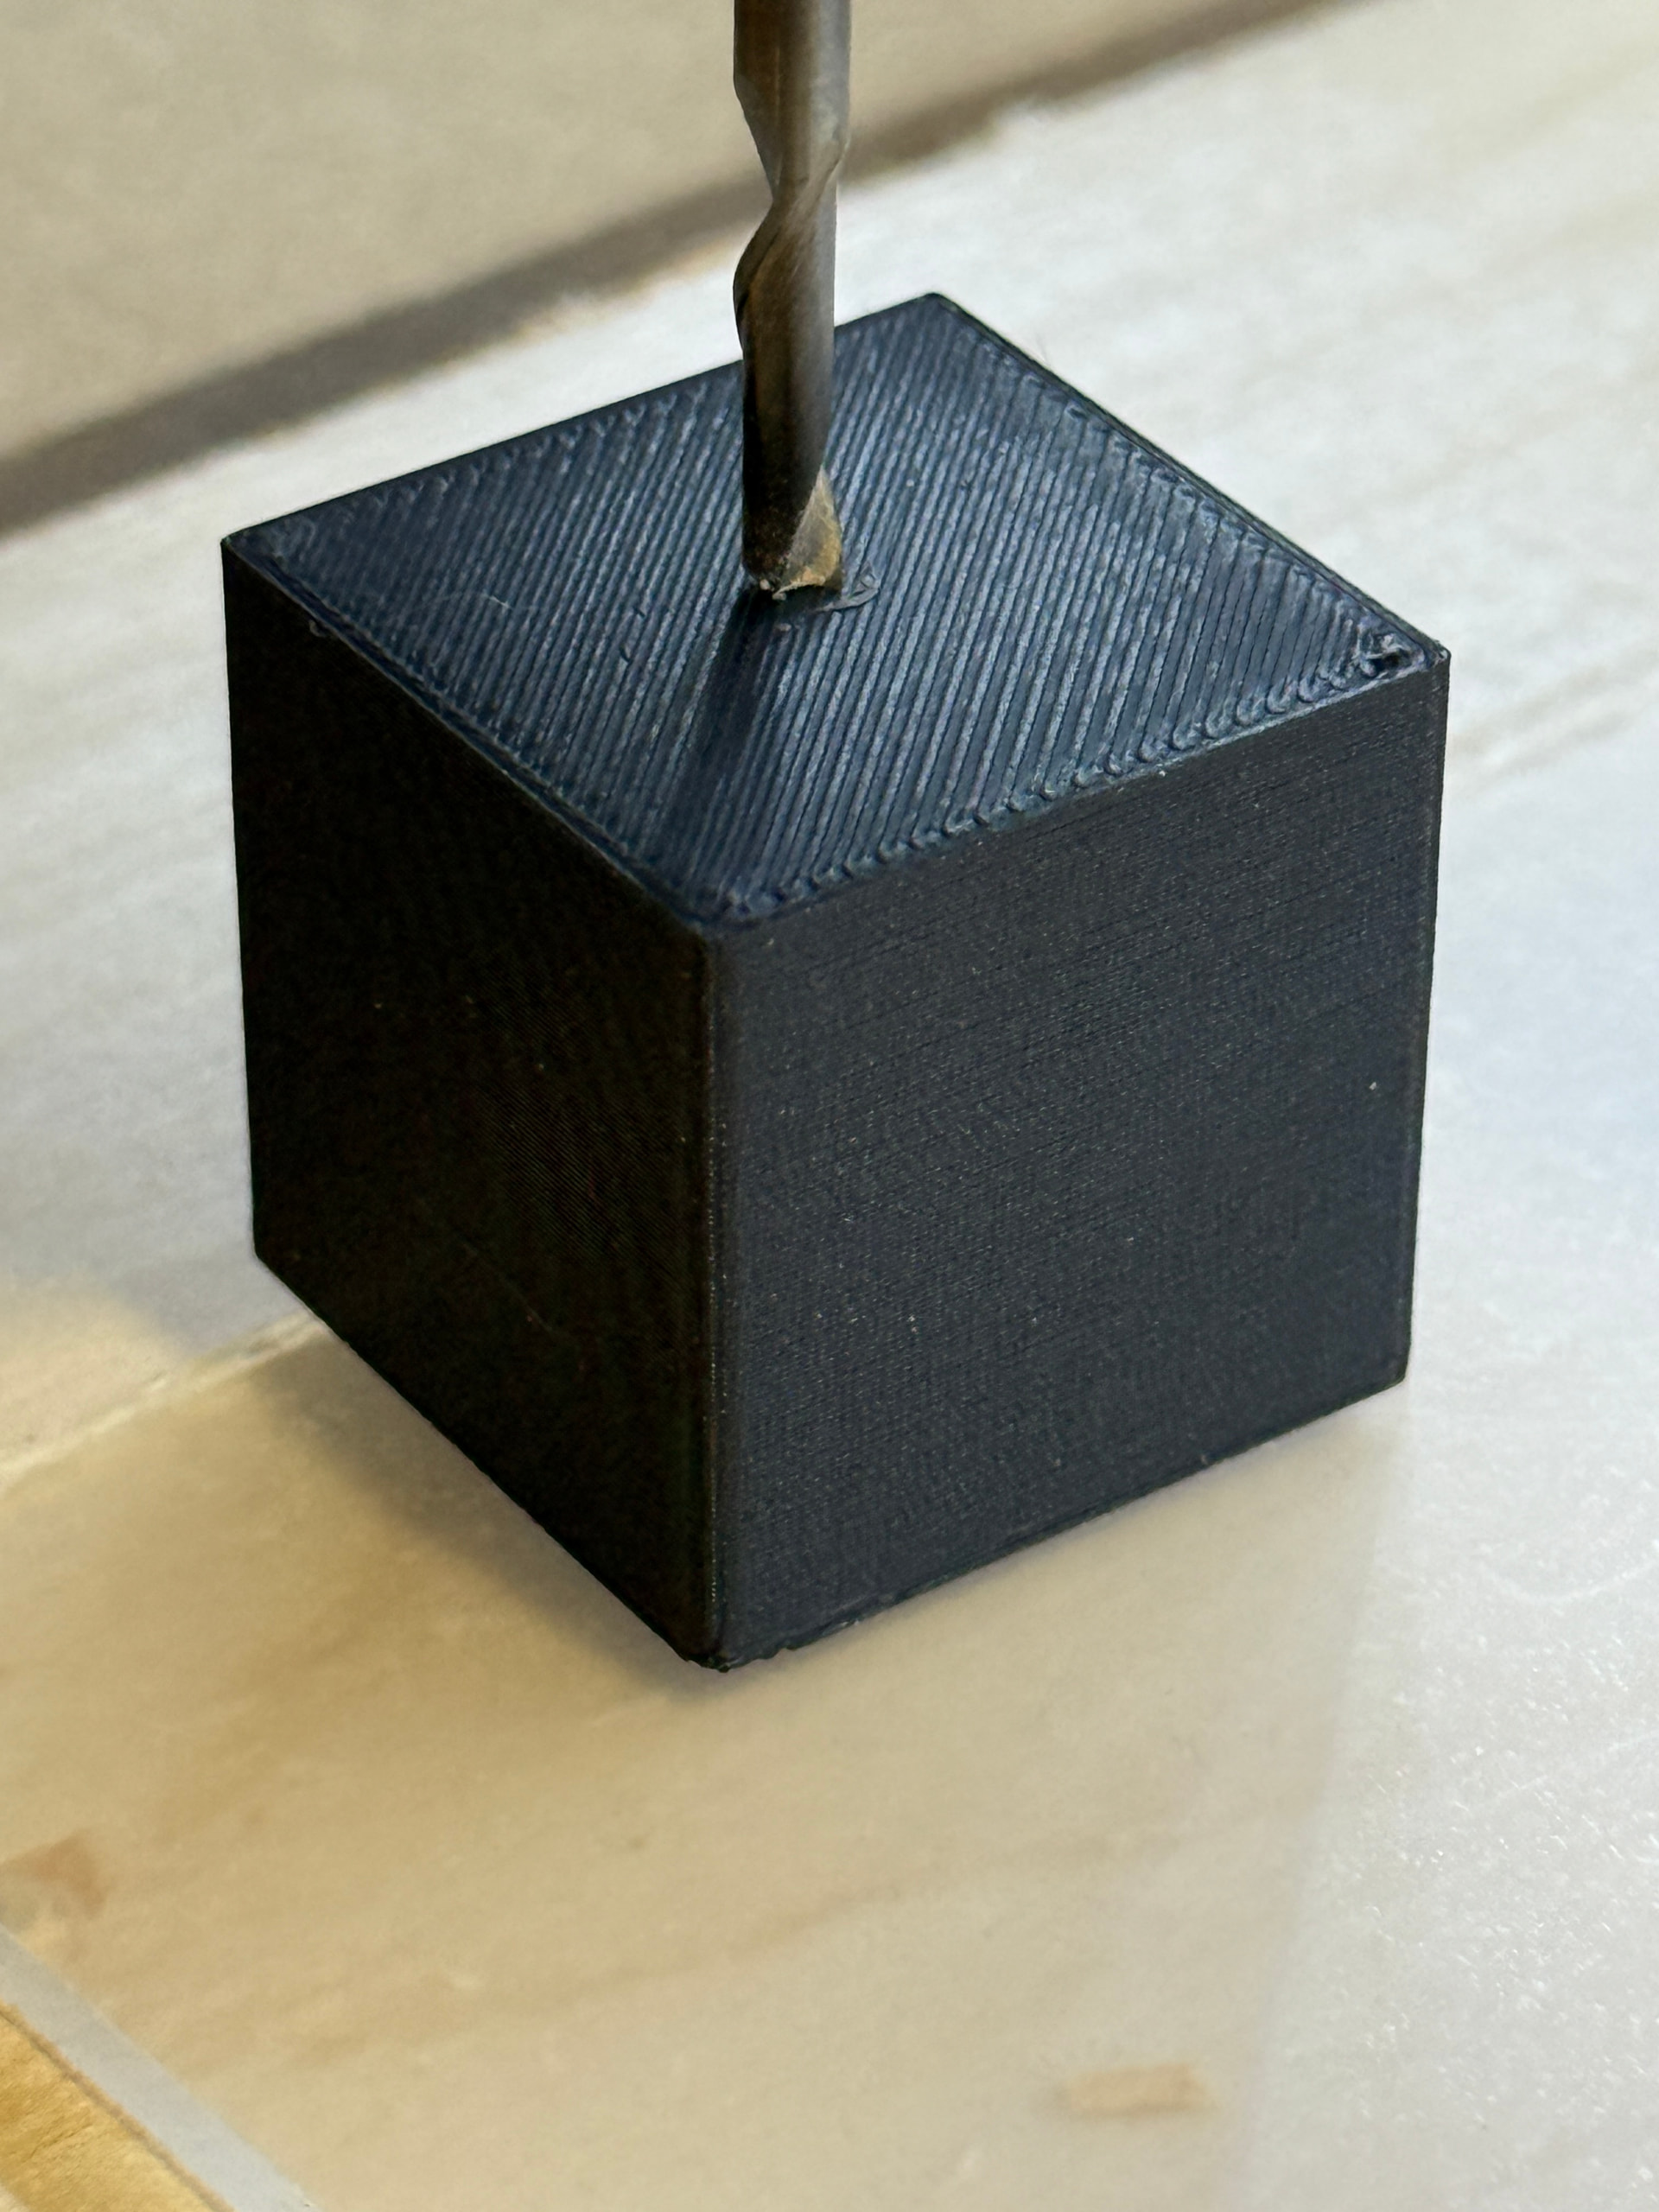
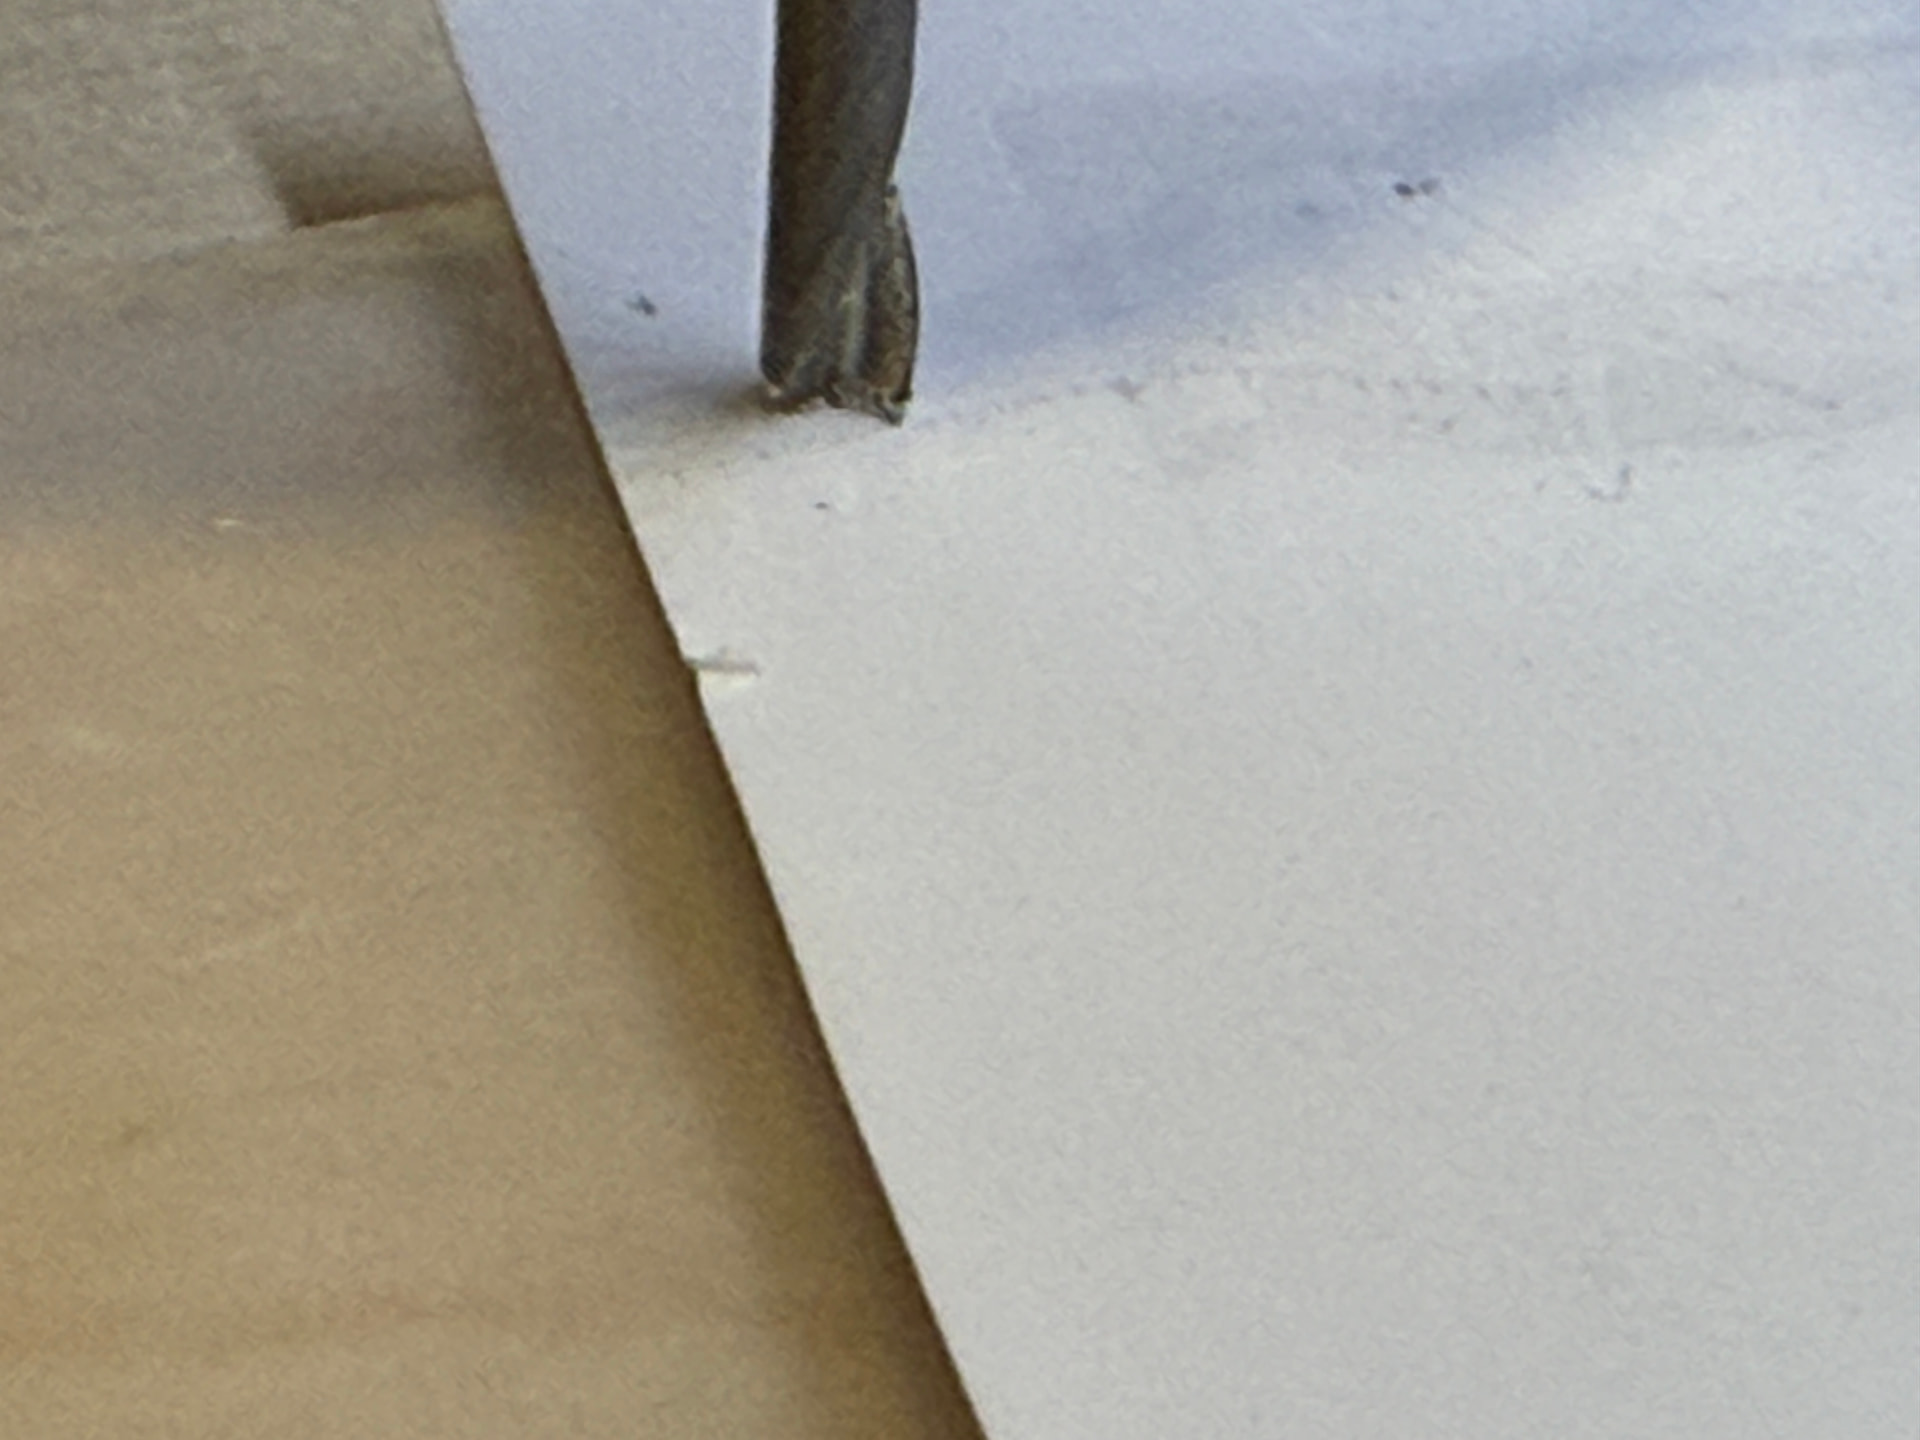
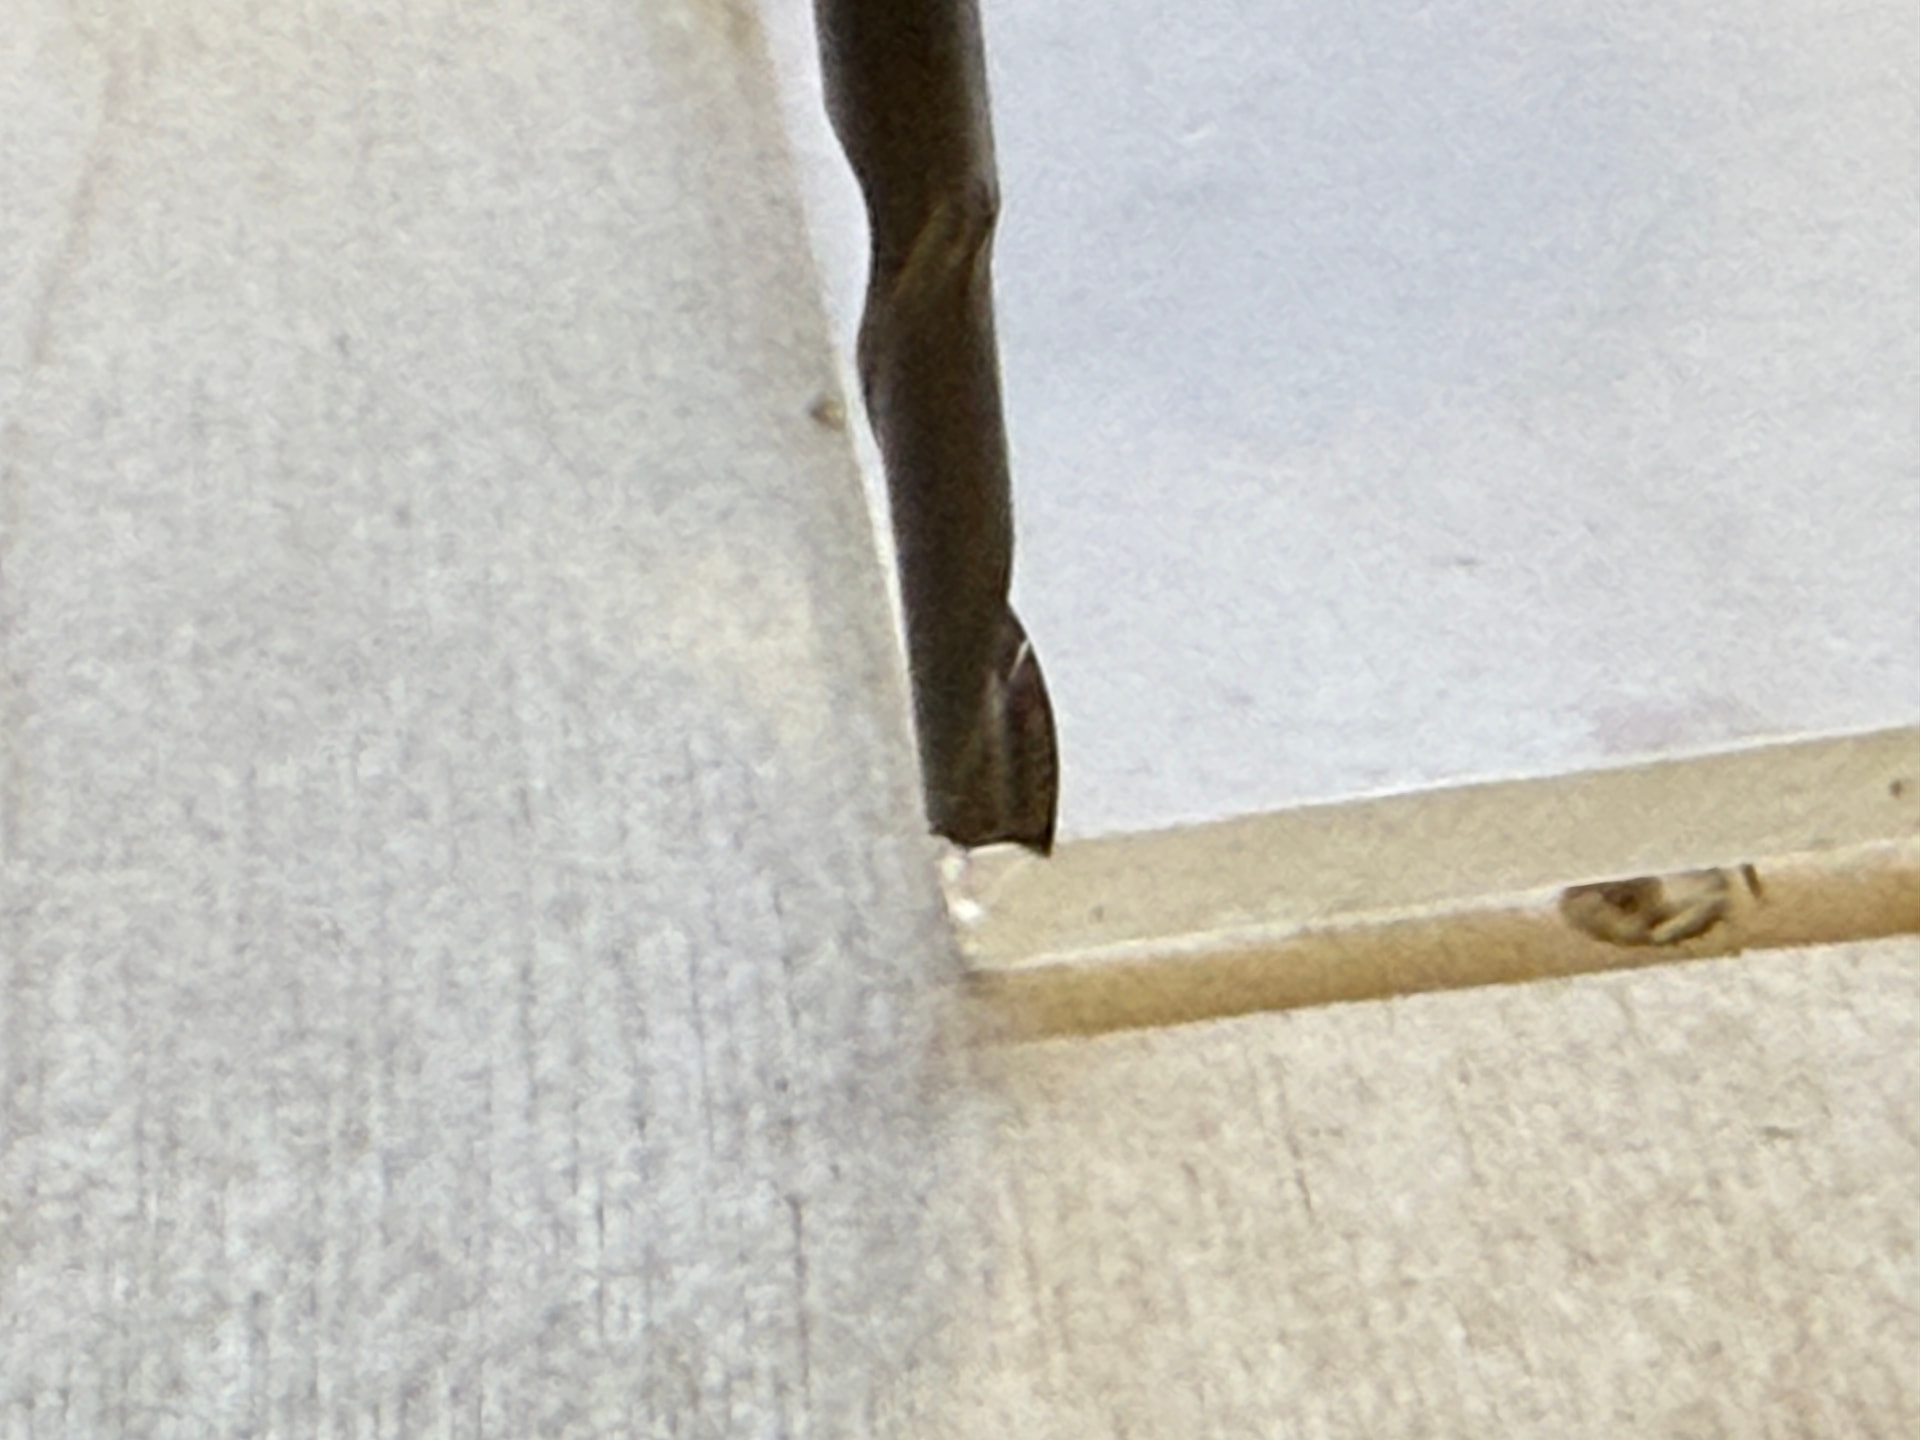
Start the job, it moves to the start point for the first project and buries the bit into the spoilboard. I checked everything I can think of, no idea what the issue is.

Any help?

I’ve included the CRV3D file for those with Aspire to check it and also the .gcode from Aspire’s output.

Thanks for reading.

Profile 3.gcode (922 Bytes)
ethan-aquarium.crv3d (131 KB)

This may be a simple observation but once this same problem happened to me. I was miffed. But after I had updated gSender for some reason the touchplate configuration had changed back to the default touchplate and not the auto-touchplate. After you make sure you have the autotouch plate selected in the config you could also check to see if you have the proper touchplate direction selected. For me the fact that your Z is 1mm above the acrylic seems just too low. The files you shared looked good to me.

I will check that, thank you.

I believe strongly in Occam’s razor and usually the simplest answer is indeed the correct one.

Thanks for your input.

@DaveChevalier Still having problems? I did an air carve with your g-code and it ran just fine on my Altmill.

Just to make sure we’re talking about the same thing, when you say you homed your machine, you mean you pressed the “home” button in gSender? It then went through the homing sequence (move up to home Z, move to back to home Y, move to left to home X) without any issue ? In other words, your physical zeros (not your job or workspace zeros) should be at the rear left corner and as high as your spindle can go.

When you say “it moves to the start point for the first project”, do you mean it moves to your XY0 (circled in green) or to the location circled in red?

The safe height defined in your g-code is 76.454mm. So when it reaches the point in red, your spindle will drop by about that amount to get to your Z0 and then drop some more (3.3 mm according to your code) to start the cut.

Yes. My X0 Y0 home is front left for me, but otherwise a proper homing sequence in gSender moves correctly and Z0 is up off the job near the extent of travel. I then use the AutoZero block to take a reading off the top corner of the material surface in the same area, and it moves to the correct spot after showing X0, Y0, and Z1.00.

And in response to your other question: yes, the job starts, spindle raises up, moves to the location you indicated in red, and then plunges down into the material. I hit the stop and have to reset the machine to raise the spindle out.

Why is it dropping -3.3mm? I can’t find anywhere in Aspire that adds up to that other than my cut depth being 1.3mm. [edit: 0.13 inches, I mistyped.]


Thank you for your time and assistance!

@Karver_one

Unfortunately that was not the issue, the block type was set correctly.

Thank you for the suggestion though!

@DaveChevalier 0.13" is 3.3 mm

Okay, yes, that’s correct.

However, my material is 1/8” or 0.125 inches decimal, and I’m cutting slightly lower to allow for complete cut through, so 0.13 inches.

That’s 3.175mm material, and 0.13 would be 3.302mm - so why is the plunge through to the router nut happpening?

I need to just start working in mm from now on perhaps to save any confusion.

1 Like

@DaveChevalier if you manually position the bottom of your end mill to the surface top, does Z read 0? It should if you used the auto zero touch plate.

@DaveChevalier And if you jog z up by 25mm in gSender, does a ruler also measure 25mm?

I will check that when home and reply.

Thank you.

@DaveChevalier Note that the Auto Zero Touch plate has a lip of about 4mm at the corner used to zero xyz in one step. If you that corner to zero xyz, your material needs to be more than 4mm thick. The touch plate won’t sit flat on your workpiece otherwise. That’s probably why your z0 is 1mm from the surface (as per your original message).

In your case, I’d use the other side of the AZTP to zero z.

@DaveChevalier Also note that when you use the AZTP, your bit needs to stick out of the collet by more than the inside depth of the AZTP (20mm). With a 1/8" bit, you may not reach that minimum if you insert the bit too deep in the collet.

In this case, the zero will be registered when the collet hits the AZTP and not when the bit hits the AZTP.

It still seems to me a touch block issue. I agree with Chucky about the lip. You could also just Z0 it manually to the surface of the material using a piece of paper. This would eliminate any touch block issues. Actually I do this now for almost all my work since I have been through what your going through now more than a few times.

@Karver_One and @Chucky_ott

Okay, so. Thanks for the tip about the ATZP and the lip, I never realized that was an issue as it definitely was wiggly on top of the acrylic but I actually had been holding it steady before, but either way, good to know. Let’s move on.

Used the AZTP to pick up X0 Y0, flipped the block, used the corner as shown to pick up Z0. Tool moved to X0 Y0 Z0 correctly.

Loaded the .gcode and started the job (figured it couldn’t be worse and I definitely had a proper calibration for the surface of the material now).

Toolhead up, move to the place it always had, and…


That’s through the acrylic and into the 12mm plywood below. Here’s the bit placement for reference:

Approximately 25mm of bit out of the end of the collet. It was not just a little bit deep in the surface.

So I reset the machine, quickly printed a 25mm calibration cube (which I checked with calipers to be within approximately 30μm of accuracy) and took a Z height off the top of the cube. I could feel the tooth of the bit scratching the grooves on the cube.

I then had gSender move Z -24.00 mm and manually dropped it down in precise mode until I couldn’t move a piece of paper between the bit and the acrylic.

10 micrometers deeper than 25mm.

The CNC is moving at an accuracy I would expect for this price point, yes?

And the job is still doing the same thing, burying the bit in.

I did it again.

Took the Z manually off the material using the paper. Took XY with the AZTP.

Same result. Has to be the file, right?

But others have checked it and said it runs fine on their machine.

I am stumped. Any other suggestions?

Thanks for everyone’s time.

  • Dave

@DaveChevalier hmmmm.

Can you reduce your safe height from 3" to say 1" and then recalculate the tool path?

Then change your z0 from the material surface to about 50mm higher.

Then do an air carve (maybe remove the end mill) with your new gcode and observe the z coordinates at different stages?

At least this will let you observe what is happening without damaging anything. When it starts to “carve”, your z coordinates should be the cut depth you defined.

(The reason you’d want to change the safe height is because if you raise the z0 by 50mm, you might trip a limit with a safe height of 75mm)

@DaveChevalier If you want to verify your gcode, you can run it through ncviewer (ncviewer.com). You can go through the code, one line at a time to see what happens. You can check if the drop in z matches what’s defined in the code.

I did as requested.

NCviewer reports the Z height as -0.3302 during the job with the exception of the tabs, when the Z height changes but returns to -0.3302.